

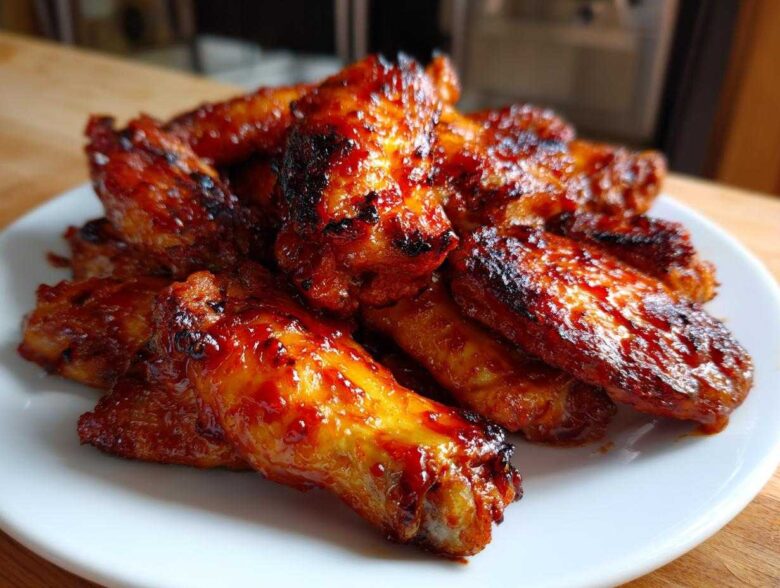
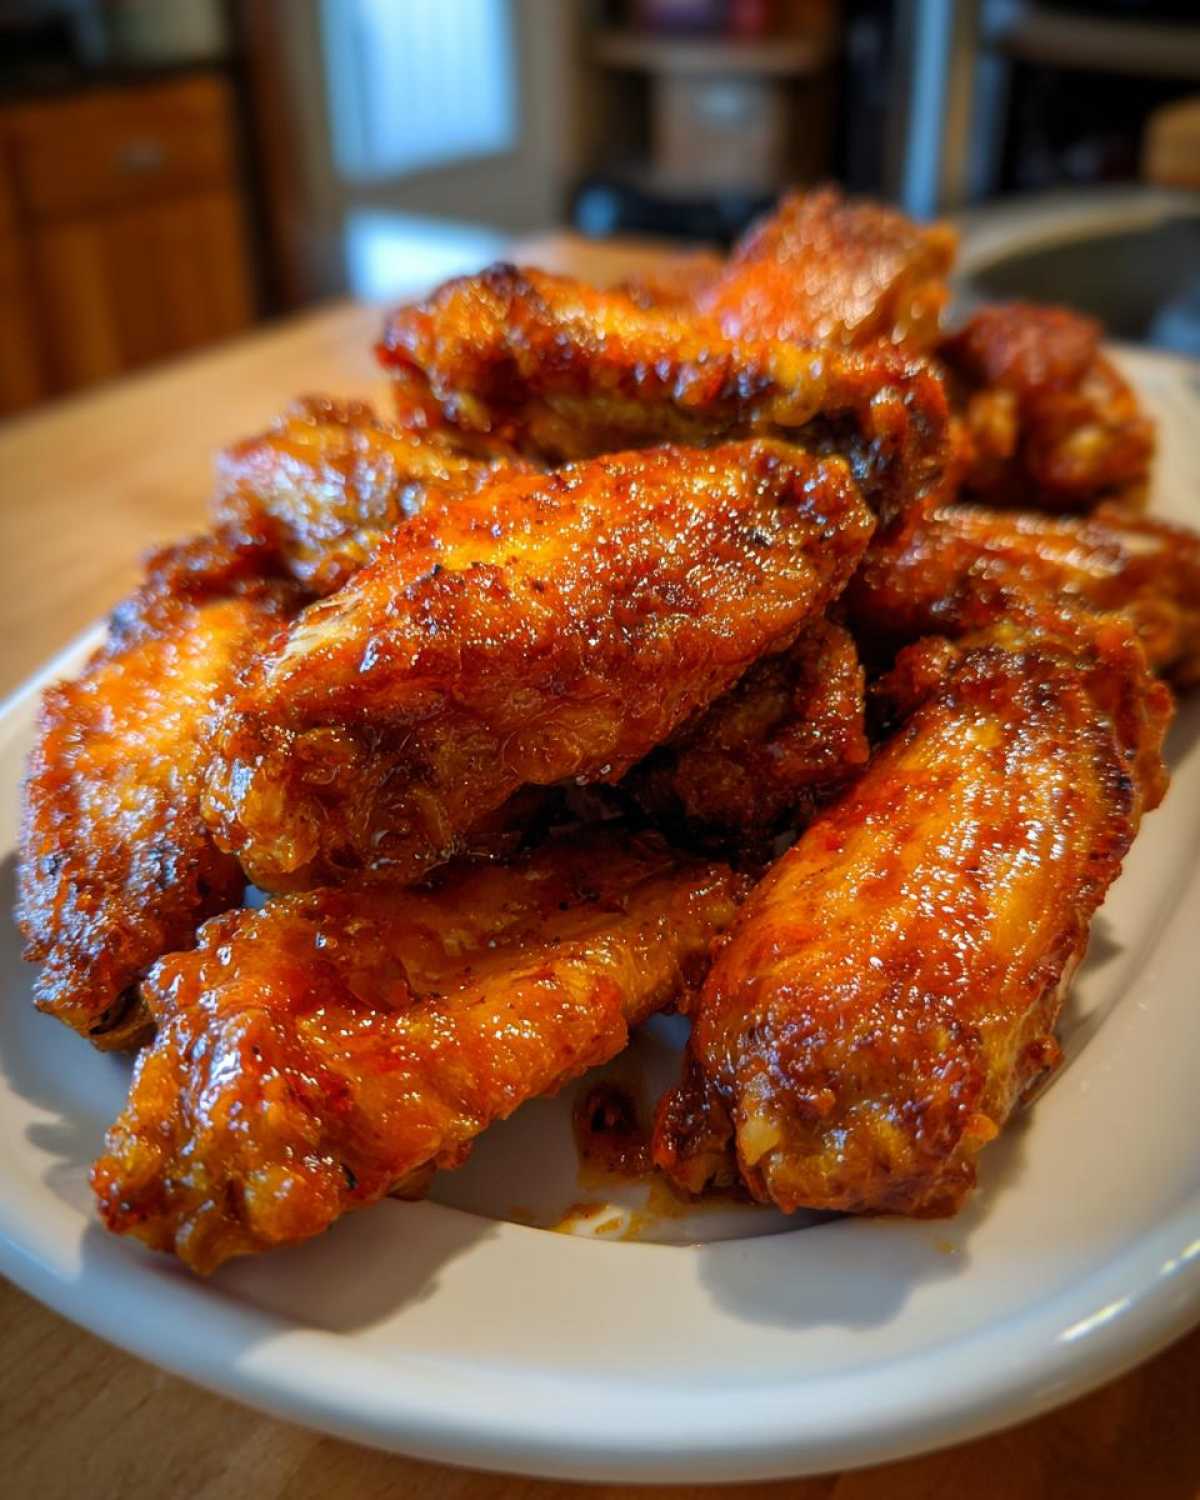
Oh my gosh, you know that feeling! You want hot, crispy chicken wings, the kind that crackle when you bite them, but they absolutely *must* be coated in that thick, glistening, sweet and spicy glaze. If you’re like me, the thought of deep-frying sends you running for the nearest oven. Well, honey, I’ve been locked in my kitchen for years mastering the art of the non-fryer wing, and I finally cracked the code for the perfect **Sticky Sweet Chili Chicken Wings Oven Baked**. Trust me, after trying this double-bake method, you won’t miss the fryer one bit. It’s my go-to for game day snacks! You can check out everything else on my main recipe hub right over here at my recipe index page.
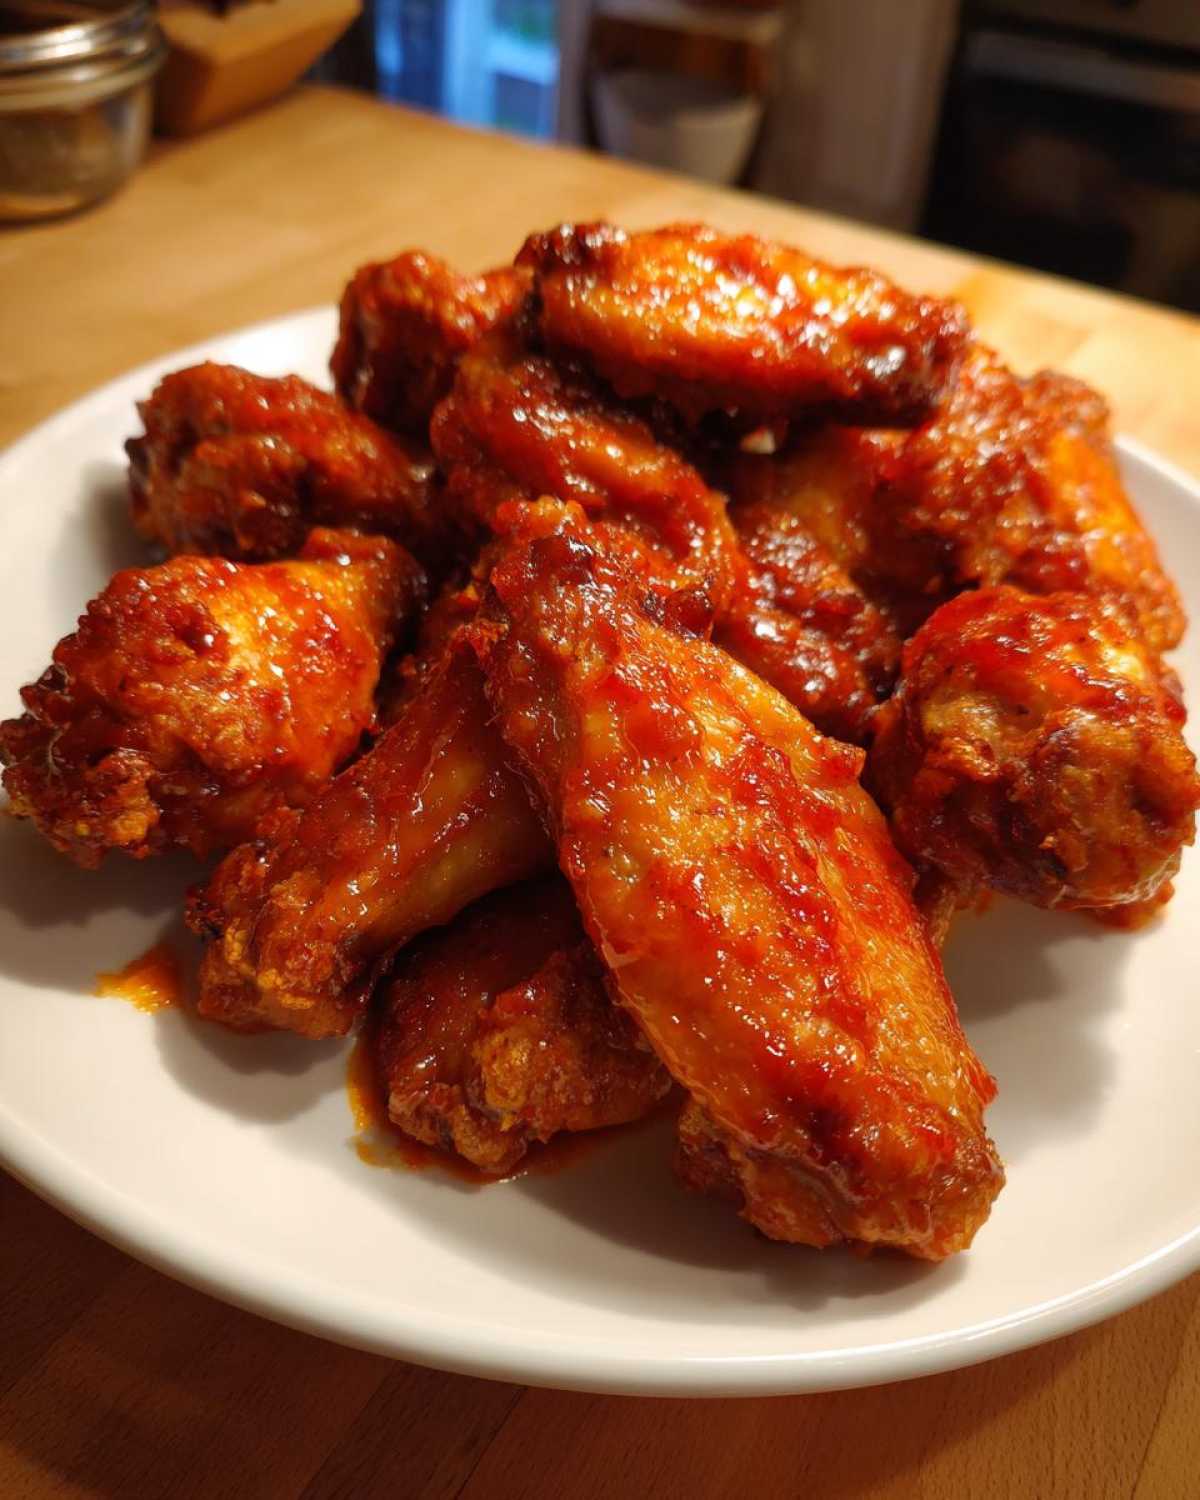
Why This Is the Best Oven Baked Chicken Wings Recipe
Friends, if you thought you needed a giant vat of oil to get great texture, think again! This recipe proves you can achieve seriously crispy wings right on a regular sheet pan. It’s easily the **best oven baked chicken wings** recipe I’ve ever developed. We’re getting that amazing crackle!
- This is the ultimate **sticky chicken wing recipe no fryer** required—it’s healthier and way less hassle.
- The sweet chili glaze caramelizes beautifully under high heat, creating that satisfying sticky shell.
- It’s fast enough for a random weeknight craving but impressive enough for a big party!
We do all the hard work upfront so you don’t have to hover over hot oil.
The Secret to Crispy Oven Baked Chicken Wings Recipe
The secret isn’t the sauce; it’s the dry prep! We use a little bit of baking powder—don’t skip it!
That baking powder mix works wonders to dry out the skin during the first, high-heat bake. Then, once the wings are cooked through and crispy, we hit ’em with the glaze and send them back in for the final blast at 450 degrees. That double-bake action is what locks in the texture and makes the sauce sticky, not watery. You can read more about my general crispy wing techniques over here: my crispy oven baked wings guide.
Ingredients for Your Sticky Sweet Chili Chicken Wings Oven Baked
Okay, gathering what you need is the easy part! Honestly, this recipe is brilliant because it’s mostly standard pantry stuff mixed with that amazing sweet chili sauce. We’re using two pounds of wings, split into those cute little drumettes and flats. Make sure you have your baking powder handy—it’s the real MVP for crispiness, so we need a full tablespoon!
The sauce itself is a quick simmer job. We’re mixing the sweet chili sauce with honey for that beautiful stickiness, some soy sauce for depth, and fresh aromatics like ginger and garlic. Remember, the wings have to be bone-dry before they even see the seasoning. It’s worth the extra paper towel dab, promise!
Ingredient Notes and Substitutions for Sweet Chili Glazed Wings
Let’s talk specifics so you nail that perfect texture. When you buy baking powder, try to grab the aluminum-free kind if you can find it. It just tastes cleaner when it dries out the skin for our **sweet chili glazed wings**!
As for the sweetener in the glaze? I listed honey, but brown sugar works just as well if you prefer a slightly deeper molasses flavor. If you want to ramp up the heat for extra spice, don’t be shy with adding an extra teaspoon of Sriracha right into the sauce mixture when you simmer it. That’s how you turn these into my ‘Dangerously Delicious’ **Asian baked wings recipe**!
How to Make Sticky Sweet Chili Chicken Wings Oven Baked Step-by-Step
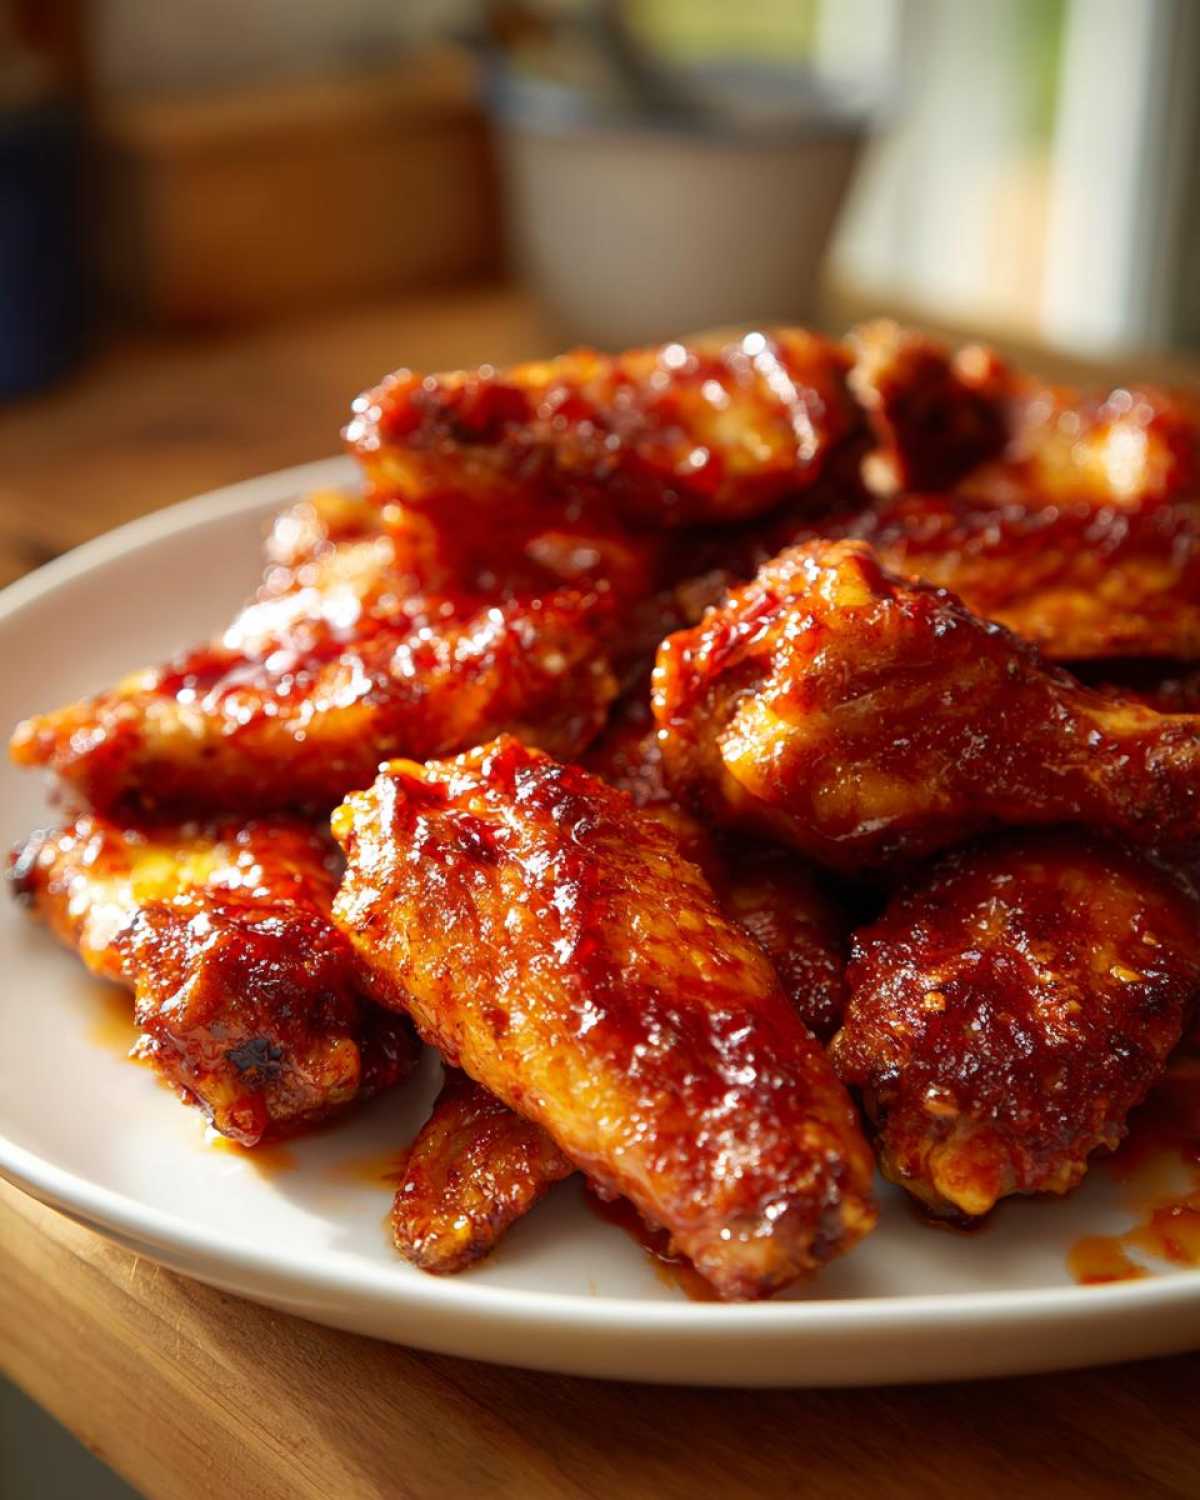
Alright, here comes the fun part—turning those raw wings into golden, glazed perfection! Follow these steps exactly for making your **Sticky Sweet Chili Chicken Wings Oven Baked**, and you’ll have the best sauce coverage you’ve ever seen from a home oven. It all comes down to timing and managing that heat, so grab your apron!
Preparing the Wings for Optimal Crispiness
First things first: moisture is the enemy of crispiness! You absolutely cannot skip this first step. Take all your separated wings and pat them aggressively dry with paper towels. I mean it—they need to feel like suede, not slick. Once they are dry, toss them in a bowl with the baking powder, salt, and pepper. That powder creates little pockets when it hits the heat, drying the skin out further. Lay these coated wings out on your foil-lined sheet pan with a wire rack. Make sure nothing is touching; give them space to breathe so they brown evenly.
Creating the Homemade Sweet Chili Sauce for Wings
While those wings are getting their first bake, we whip up the glaze! Dump the sweet chili sauce, honey (or brown sugar), soy sauce, vinegar, fresh ginger, and garlic into a small saucepan. Put that over medium heat and just bring it to a gentle simmer. You only need about three minutes, stirring constantly until it looks a little thicker—not super thick yet, just warmed through and combined. When you pull the wings out for the first time, this sauce needs to be ready to go. You can find my full guide on making sauces ahead for your meals over at weeknight preparation tips.
The Double-Bake Method for Perfectly Glazed Baked Wings Guide
The first bake is twenty-five minutes at 425°F; this cooks the chicken. When it’s done, pull the wings out fast! Now you increase the heat to a blazing 450°F! Right away, brush half of your lovely sauce over every single wing. Send them back in for fifteen minutes. Then, pull them out one last time, brush with the remaining sauce—this is where you build the *sticky* layer—and bake for a final five to seven minutes. Watch them closely here, because that sugar burns fast, but that slight char is what makes these **glazed baked wings** absolutely irresistible!
Tips for Success with Your Sticky Sweet Chili Chicken Wings Oven Baked
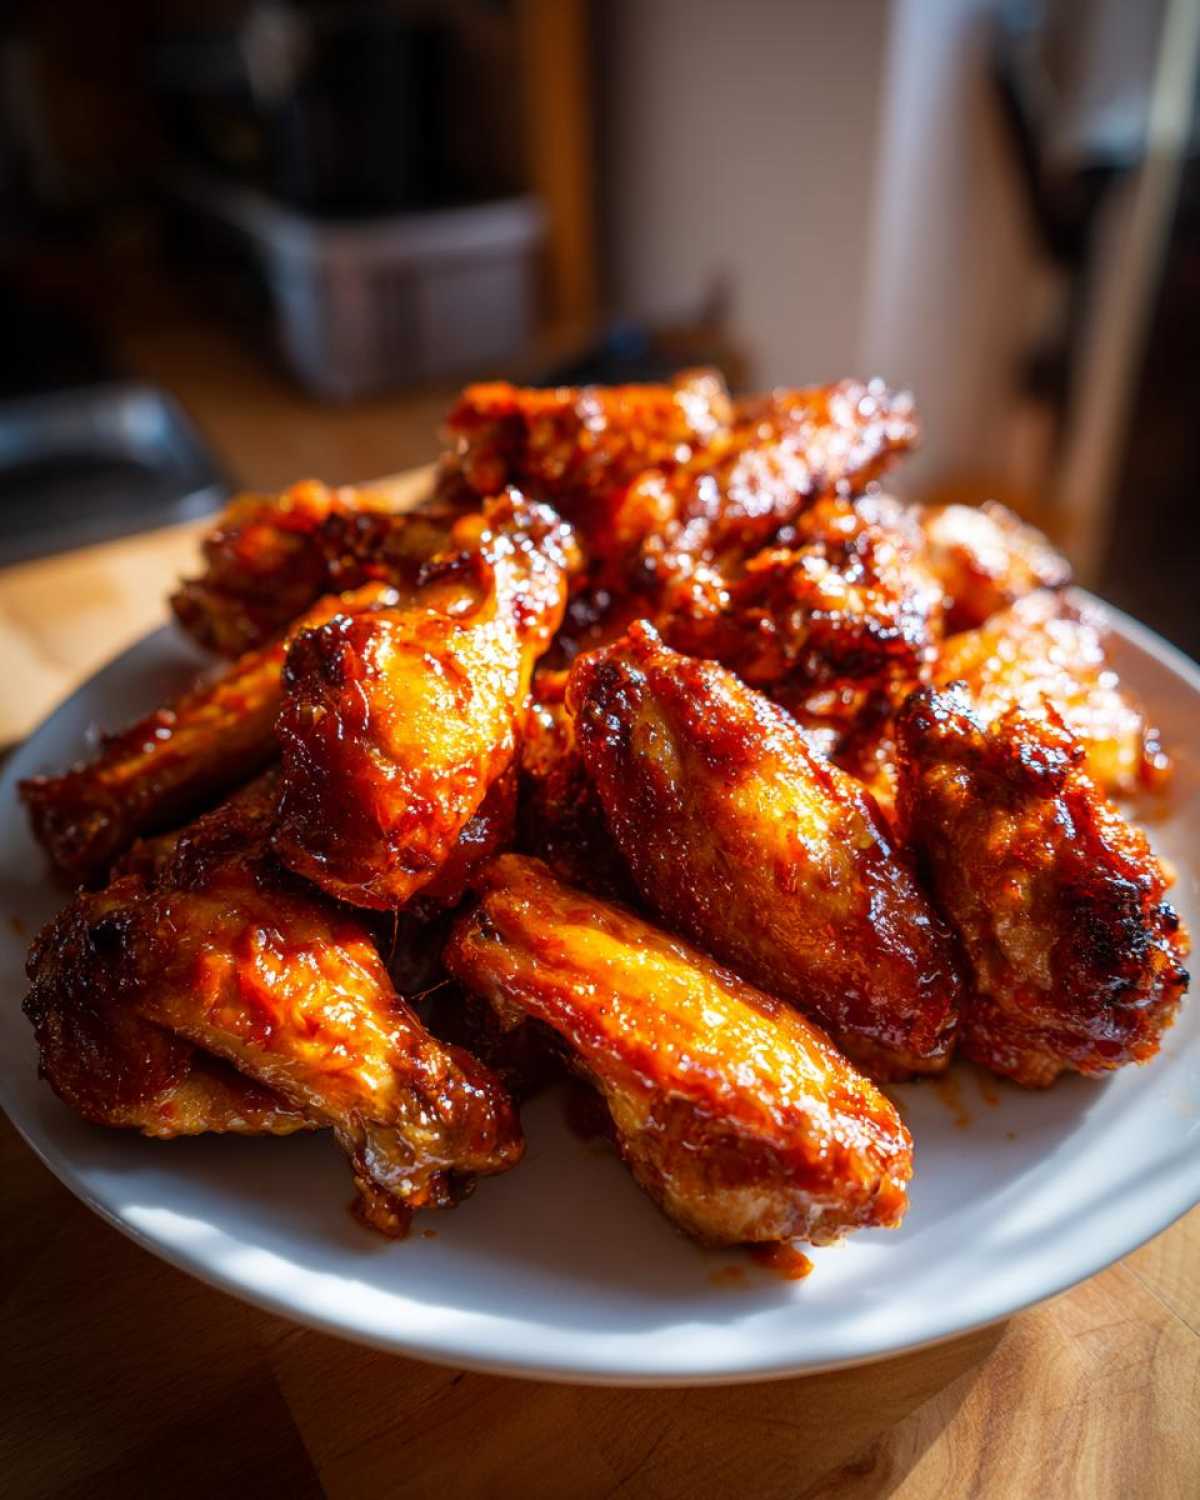
Listen, even with the best recipe, wings can go wrong if you rush the heat steps. The biggest pitfall is trying to sauce the wings too early. If the wings aren’t fully cooked after that first 25 minutes, the sauce will just steam them instead of glazing them, and you get mushy skin!
To avoid that, make sure your first bake is spot on. You want them looking cooked, but still pale enough to accept the glaze. Second, watch that final five minutes like a hawk. Sugar burns fast! If you want truly **saucy chicken wings oven method** results, brush on that last coat of sauce just before serving time.
I’ve put together a handy little guide to glazing baked wings that goes into oven placement if you’re worried about getting those bottoms crispy, too!
Equipment Needed for Easy Baked Sweet Chili Wings
You don’t need fancy gadgets for these **easy baked sweet chili wings**, thank goodness! I try to keep my list short because who wants a stack of single-use cooking tools? For this recipe, you really only need three major things—plus, of course, your mixing bowls.
The most important piece? The wire rack. Seriously, skip trying to put them directly on the foil-lined baking sheet. The rack is what lets the air circulate underneath so the bottom of the wing gets just as crisp as the top. You’ll also need a standard, sturdy rimmed baking sheet that fits under that rack.
And finally, that little saucepan we talked about for the sauce. It doesn’t have to be heavy-bottomed or anything special; just big enough to hold all the sauce ingredients while they simmer for a few minutes. That’s it! Sheet pan, rack, and a pot—you’re ready for **game day chicken wing recipes baked**!
Serving Suggestions for Party Wing Recipes Baked
Now that you have these gorgeous, sticky little flavor bombs, what do you serve them with? These **party wing recipes baked** are bold, so they need a cooling counterpoint. If you’re serving them as appetizers before your big cookout, a simple platter of crisp celery and carrot sticks is perfect for dipping.
If you’re turning this into a full dinner, I love serving them over a big bowl of plain steamed jasmine rice to soak up any extra glaze that drips off. For a cooling dip, skip the standard ranch! Try a quick mix of sour cream, lime zest, and a pinch of salt. It cuts right through the chili spice beautifully. For more snack ideas, check out my sweet and salty game day mix!
Storage and Reheating Instructions for Sticky Sweet Chili Chicken Wings
Don’t panic if you have leftovers—though honestly, these **Sticky Sweet Chili Chicken Wings Oven Baked** rarely last that long in my house! If you do manage to save some, try to store them in an airtight container in the fridge for up to three days. The tricky part with baked, glazed wings is the stickiness; they will definitely get softer once they chill.
Here’s the key: Never use the microwave! That just turns the skin into rubber. The best way to revive them is spreading them back onto a wire rack over a baking sheet and popping them back into a 375°F oven for about 8 to 10 minutes. If you are in a hurry, the air fryer works miracles too. A few minutes at 380°F gets that sticky coating nice and tacky again!
Frequently Asked Questions About Perfectly Cooked Chicken Wings Home Oven
It’s funny how many questions pop up once people start making these! I deal with them all the time when I’m perfecting things like my main guide on **perfectly cooked chicken wings home oven**. You can find all my best techniques documented here: my ultimate guide to home-oven wings. Here are the things folks ask most often about getting these **Sticky Sweet Chili Chicken Wings Oven Baked** just right.
Can I make these Sticky Sweet Chili Chicken Wings Oven Baked ahead of time?
This is a great question, especially if you hate rushing before a big party! You have two options, but honestly, one is way better than the other. You can bake the wings completely through—following Step 4 (the 25-minute initial bake) and Step 6 (the 15-minute sauce brush)—and then chill them. Store them sauce-free! When you’re ready to serve, just heat the oven to 400°F, brush them with the sauce, and do that final 5-7 minute caramelization. If you sauce them fully ahead of time, they will definitely get sticky, but the skin won’t have that fresh-from-the-oven snap, you know?
How do I make the Homemade Sweet Chili Sauce for Wings spicier?
If you need more heat than what the standard sweet chili sauce provides, it’s super easy to adjust! I already mentioned using Sriracha, but when you are simmering your sauce mixture, throw in a few dashes of your favorite hot sauce, or even some red pepper flakes. Just remember, keep tasting as you go! You don’t want to overpower the *sweet* part of the glaze. A little pinch of cayenne pepper works really well to boost the heat without changing the texture of the glaze much at all.
Can I use frozen wings for this recipe?
Oh, sweetie, no. Please don’t try to make **crispy oven baked chicken wings recipe** work with frozen wings! Frozen wings have too much ice crystal water inside, and your oven will spend the entire cooking time steaming them into mush before they ever have a chance to get crispy. You have to start with wings that are completely thawed and, most importantly, patted totally dry. If you thaw them overnight in the fridge, give them an extra hour on the counter to warm up a bit too!
Can I use baking soda instead of baking powder?
That’s a solid question, as sometimes we all reach into the cabinet for the wrong white powder! For this specific application—drying the skin for the **no fryer** method—you really need baking powder. Baking soda is much more alkaline, and if you use too much, it leaves a noticeable, slightly metallic or soapy taste, even after rinsing. Stick to the baking powder for that perfect, neutral flavor against your glaze.
Nutritional Estimates for This Asian Baked Wings Recipe
Now, I want to be super clear about this part. Since we are talking about **Sticky Sweet Chili Chicken Wings Oven Baked**, which have sugar and soy sauce in that beautiful glaze, we need to talk about the numbers. Please remember, these figures are rough estimates! I’m just looking at the raw ingredients list, and the actual count can change based on how thick your sauce simmers down or how much skin you actually eat. For the full scoop on how I calculate these things, you can check out my general nutritional disclaimer page.
These numbers are based on a serving size of 4 wings, which feels like a good starting point for an appetizer portion of these **Asian baked wings recipe**!
- Serving Size: 4 wings
- Calories: About 350
- Fat: Around 18 grams
- Protein: A hefty 28 grams!
- Carbohydrates: Roughly 20 grams
- Sugar: About 18 grams (that’s where the sticky comes from!)
- Sodium: Approximately 550mg
They might look decadent—and they certainly taste like it—but getting nearly 30 grams of protein in a small appetizer serving is pretty great, especially when you are making them yourself and controlling the ingredients!
PrintOven Baked Sticky Sweet Chili Chicken Wings
Follow this guide to make crispy, sticky sweet chili glazed chicken wings using only your oven. This method uses a double-bake technique for a perfect coating.
- Prep Time: 15 min
- Cook Time: 45 min
- Total Time: 60 min
- Yield: 4 servings
- Category: Appetizer
- Method: Baking
- Cuisine: Asian-inspired
- Diet: Low Fat
Ingredients
- 2 lbs chicken wings, separated into flats and drumettes
- 1 tablespoon baking powder (aluminum-free)
- 1 teaspoon salt
- 1/2 teaspoon black pepper
- 1/2 cup sweet chili sauce
- 1/4 cup honey or brown sugar
- 2 tablespoons soy sauce
- 1 tablespoon rice vinegar
- 1 teaspoon grated fresh ginger
- 2 cloves garlic, minced
Instructions
- Preheat your oven to 425 degrees Fahrenheit (220 degrees Celsius). Line a baking sheet with foil and place a wire rack on top of the foil.
- Pat the chicken wings completely dry using paper towels. This step is key for crispiness.
- In a medium bowl, toss the dry wings with baking powder, salt, and pepper until evenly coated.
- Arrange the wings in a single layer on the wire rack. Do not overcrowd the pan.
- Bake for 25 minutes.
- While the wings bake, prepare the sauce. In a small saucepan, combine the sweet chili sauce, honey (or brown sugar), soy sauce, rice vinegar, ginger, and garlic. Bring the mixture to a simmer over medium heat, stirring until slightly thickened, about 3 minutes. Remove from heat.
- After the initial 25 minutes, remove the wings from the oven. Increase the oven temperature to 450 degrees Fahrenheit (230 degrees Celsius).
- Brush half of the prepared sauce evenly over all the wings.
- Return the wings to the oven and bake for another 15 minutes.
- Remove the wings again. Brush with the remaining sauce. Return to the oven for a final 5 to 7 minutes, watching closely to allow the glaze to caramelize without burning.
- Remove from the oven and serve immediately.
Notes
- For extra crispiness, do not skip patting the wings dry before seasoning.
- Use aluminum-free baking powder for the best results with the coating.
- If the sauce seems too thin after simmering, let it cool slightly; it will thicken as it cools.
Nutrition
- Serving Size: 4 wings
- Calories: 350
- Sugar: 18
- Sodium: 550
- Fat: 18
- Saturated Fat: 5
- Unsaturated Fat: 13
- Trans Fat: 0
- Carbohydrates: 20
- Fiber: 0
- Protein: 28
- Cholesterol: 90