

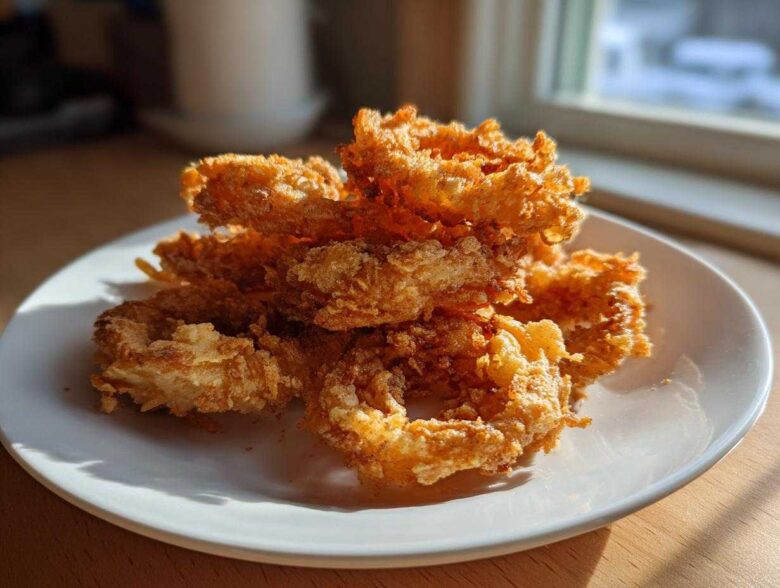
Are you like me? I swear, sometimes I just *need* that deep-fried crunch, that satisfying shatter when you bite into something perfectly golden. But honestly, the mess, the lingering smell, and the oil… forget it! That’s why I went totally obsessed trying to crack the code on making flawless Air Fryer Onion Rings. After what felt like a hundred batches (seriously, my husband thought I’d lost it!), I finally nailed it. Trust me, this recipe delivers that copycat restaurant crunch without slathering everything in grease. This is the healthier snack you’ve been waiting for!
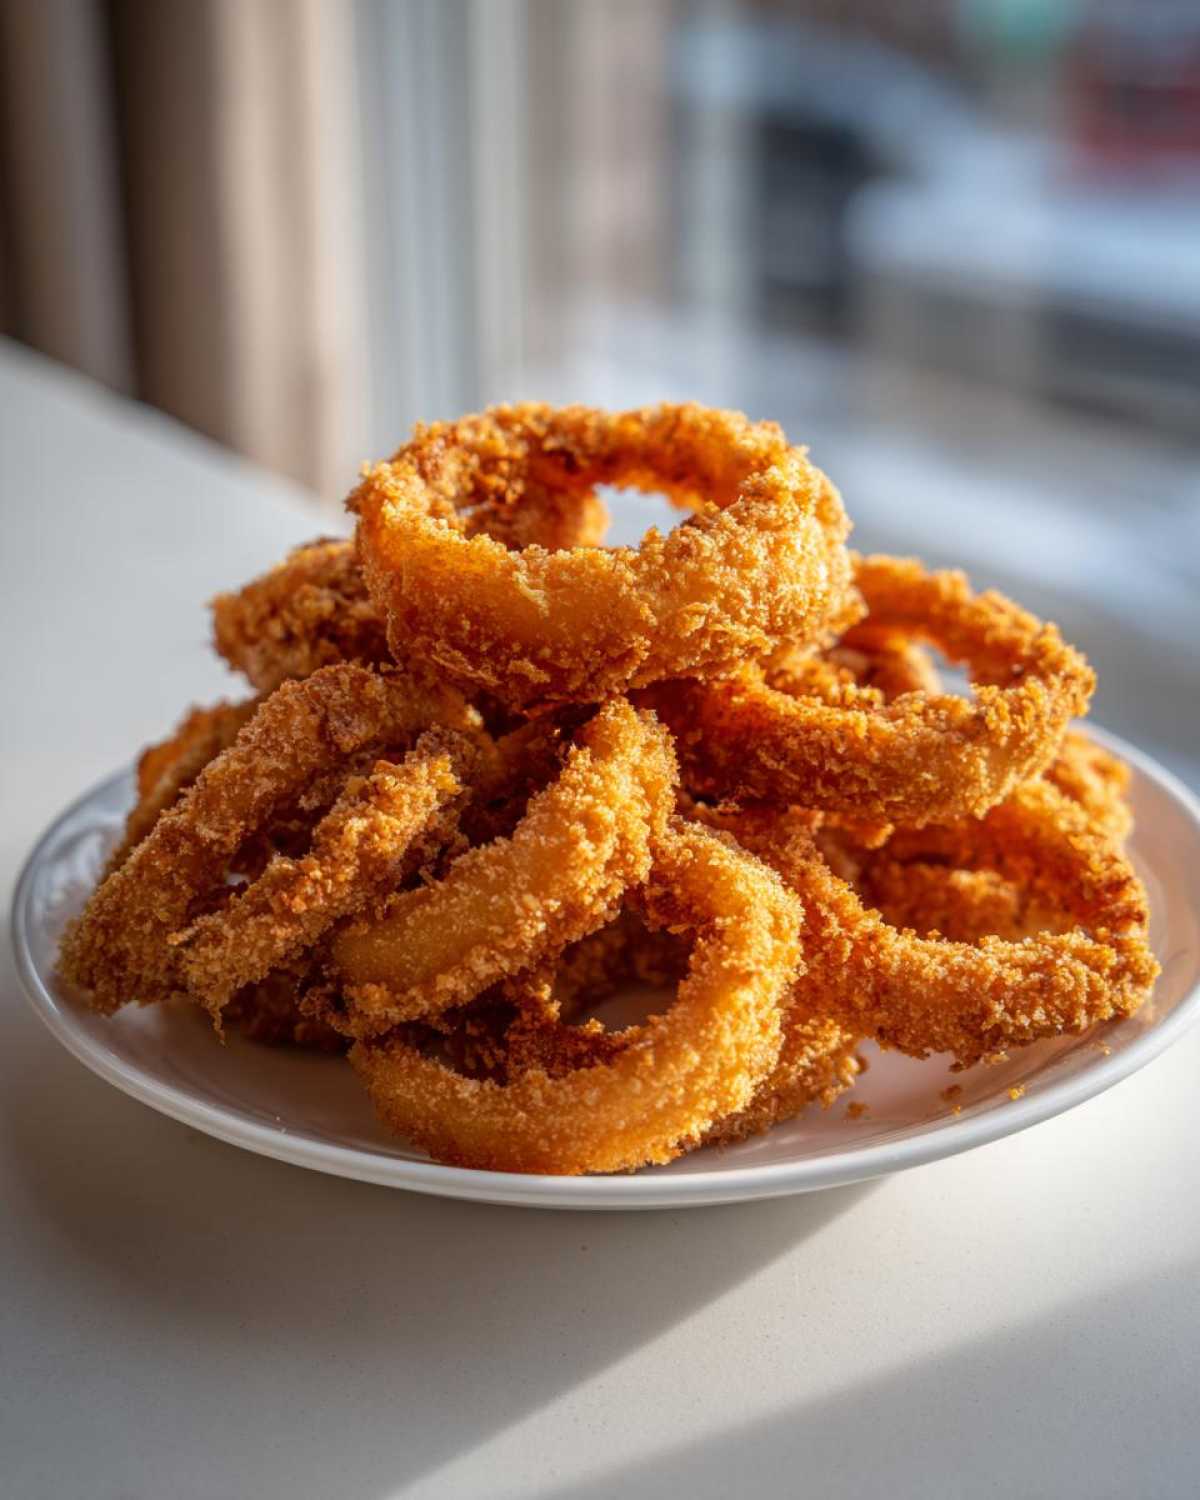
Why You’ll Love This Crispy Air Fryer Onion Rings Recipe
Honestly, these homemade rings changed my snack game completely. They hit every single craving I have when I’m missing take-out, but without any of the guilt. You’re going to want to make these constantly!
- No more soggy results! We use Panko and a quick chill step to guarantee a shatteringly crisp coating every single time.
- They’re dramatically healthier than the diner version; we use just a tiny spritz of oil instead of submerging them in fat.
- This whole process, from slicing to serving, takes less than 30 minutes. It makes them perfect for a quick weeknight side dish or snack.
- The three-step breading station is super straightforward, which means even if you aren’t usually a breading pro, you won’t mess this up!
- You get that perfect onion-to-coating ratio—no giant clumps of flour or naked spots where the onion peaks through.
Seriously, once you try this method, you won’t ever want to go back to the frozen stuff. They taste so fresh!
Ingredients for Perfect Air Fryer Onion Rings
Okay, let’s get the pantry ready! The ingredients here are super simple, but the prep details matter—especially how you handle those onions. Don’t just eyeball this, especially the breading part, because that’s where the magic crunch comes from. If you have your ingredients ready to go, the rest of the recipe flies by. Trust me, measuring out the Panko is critical!
Here is exactly what you need for about four crispy servings:
- Two large yellow onions. These are my favorite because they soften up nicely while still holding their shape.
- One full cup of all-purpose flour. This is the foundation for our first coat.
- One teaspoon of salt, half a teaspoon of black pepper, and half a teaspoon of paprika. That paprika is just for a tiny bit of color and warmth, it’s my favorite secret addition!
- Two large eggs, which you will need to lightly beat with a quarter cup of milk. Make sure those eggs are fully mixed into the milk—no streaks!
- A generous cup and a half of Panko breadcrumbs. I mentioned this before, but Panko is non-negotiable if you want that huge crunch.
- A can or bottle of cooking spray that is oil-based. You aren’t deep-frying, but you need that light spritz to help the coating turn golden brown.
When you cut those onions, you want them to be about a quarter-inch thick. Thicker than that, and they steam before the coating crisps up. Thinner, and they shrink down too much. It takes a little practice, but you’ll get the hang of slicing them perfectly right away!
The Best Breading for Air Fryer Onion Rings: Technique Matters
Listen up, because this is the absolute key to success when making Best Breading for Air Fryer Onion Rings. Forget those sad, soggy oven versions you’ve had before. We’re going old-school with a three-step dredge, and trust me, it locks everything in place and guarantees that satisfying shatter!
First, we hit the dry station: our seasoned flour mix. This first coat gives the wet mixture something to grab onto. Next up is the second bath—the eggs and milk. This is the glue! Dip each ring completely, letting any major drips fall off. Then comes the rockstar: Panko breadcrumbs. I insist on Panko because those coarse crumbs create far more surface area than fine crumbs, which equals maximum crunch in the air fryer. You have to press them on firmly, really embedding that Panko into the egg wash.
Here’s the trick I learned after a few batches where my coating tried to escape mid-cook: Once they are fully breaded, put them on a plate near the fridge and chill them for about 15 minutes. This lets the moisture in the breading settle and helps it stick like glue. It’s a small extra step, but it means you won’t lose your delicious crust when they start cooking! If you want to see some other great kitchen tips, check out my main blog page for more ideas!
Onion Preparation and Separating the Rings
Before we even touch the breading stations, the onions have to be ready. Slice those beautiful yellow onions into uniform rings—I aim for exactly 1/4-inch thick. If they are too skinny, they just disappear into crust, and that’s a crime! Once sliced, you have to gently pull them apart into individual rings. Be careful here; you want zero nesting. If two rings stick together, the inner one will steam while being breaded because the air can’t circulate, leading to sogginess later on. Take your time separating them fully before moving to the flour.
How to Make Crispy Air Fryer Onion Rings: Step-by-Step Instructions
Now that we have our perfectly breaded rings ready to go—remember, they might have had a little chill break?—it’s time for the main event! Making great Air Fryer Onion Rings isn’t just about putting them in a basket; it’s about managing that hot air flow correctly. This is how we get that unbelievably crisp exterior without drowning them in oil.
First things first: preheat! You absolutely must preheat your air fryer to 380°F (195°C) for a solid five minutes. Putting anything into a cold basket means the crust starts cooking slowly and absorbing moisture right away, which is the first step toward sogginess. Get that basket screaming hot first.
Once hot, give the bottom of the basket a light spray of your oil-based cooking spray. Then, arrange your beautiful, breaded rings in a single layer. I cannot stress this enough: A single layer! If they overlap or pile up, the circulating air gets blocked, and you end up steaming them instead of frying them. Work in batches; it’s worth the extra minute!
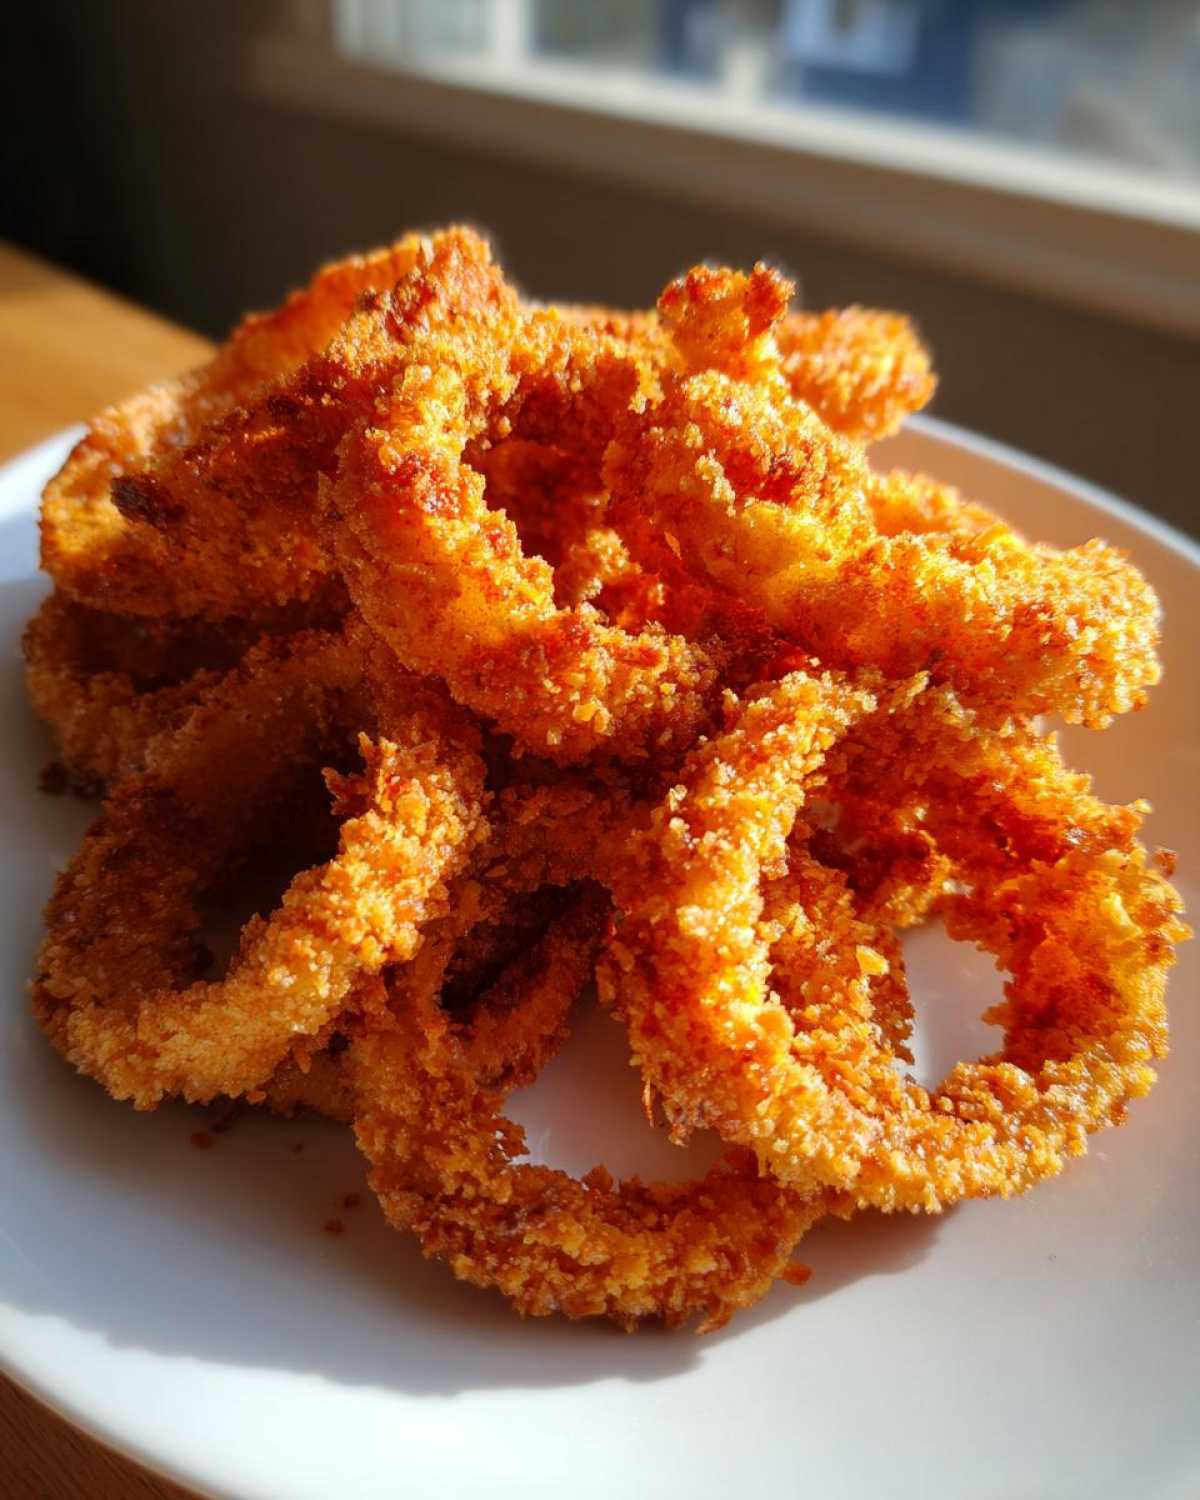
After they are arranged snugly (but not touching!), give the tops a light but thorough spritz of cooking spray. This promotes that gorgeous, golden browning we want. Pop them in and set the timer for 10 to 12 minutes. But here’s the crucial part: halfway through the cook time, pull them out, flip every single ring over, and spritz the newly exposed side again. This ensures even color and crunch. When they come out looking golden and sounding crisp when you tap them, they are done! Serve them immediately, maybe check out my recipe for Air Fryer Ranch Chickpeas while you wait for them to cool slightly.
Air Fryer Cooking Tips for Crispy Food
To be the king or queen of crispy snack food in your air fryer, time and space management is everything. For these onion rings, 380°F is the sweet spot—hot enough to crisp the Panko before the onion inside turns to mush. If you turn the heat up much higher, you risk burning that delicate coating before the center softens. Stick to that 10-to-12-minute window, but remember that flipping halfway is mandatory for beautifully browned rings.
My number one piece of advice for achieving Air Fryer Cooking Tips for Crispy Food is to *never* overcrowd the basket, period. If you are making a big batch, you must cook it in shifts. Think of it like a busy highway: too many cars means traffic jams and slow movement. In the air fryer, those traffic jams mean trapped steam, and steam equals soft breading. Better to have two perfect, quick batches than one massive, slightly disappointing one!
Troubleshooting Common Air Fryer Onion Rings Issues
Don’t you just hate it when you follow the steps perfectly and *still* have a small disaster? It happens to all of us! Making these rings is easy, but sometimes the breading decides to stage a dramatic exit mid-fry, or worse, they end up tasting a little limp. Don’t throw that basket out yet! Usually, we can fix these issues with just one tiny adjustment next time.
If your breading keeps falling off, I bet you didn’t press hard enough when you dipped it into the Panko! Backtracking to the chilling step helps immensely, but if they are already falling apart during the dip, you need to use more pressure. Really flatten that Panko onto the surface of the egg-washed ring, almost like you’re trying to squash it into the onion itself. That firm press creates a mechanical bond that loves the high heat of the air fryer.
Now, for sogginess—this is almost always a humidity problem. Did you overcrowd the basket? That’s the number one culprit. If the air can’t rush around every surface, the moisture released from the onion gets trapped underneath the coating instead of evaporating. Solution: work in smaller batches! Secondly, did you skip the preheat? That initial blast of 380°F slams the door shut on moisture trying to escape the coating. If you skip the preheat, the coating creeps instead of crisps. Keep that air flowing efficiently, and you’ll never have a soggy ring again!
Serving Suggestions for Your Homemade Air Fryer Rings
Okay, we’ve got these perfectly golden, shatteringly crisp rings straight out of the basket. They are officially the most delicious, Easy Air Fryer Appetizer you’ll ever make! But let’s be real, onion rings aren’t complete without the perfect dip, right? You need something cool and tangy to cut through all that savory crispiness.
My go-to, lightning-fast sauce is just a quick mix of good quality mayonnaise and your favorite ketchup. Stir them together, maybe add a tiny splash of Worcestershire sauce if you have it—bam, instant creamy classic sauce. It’s what I grew up dipping everything in!
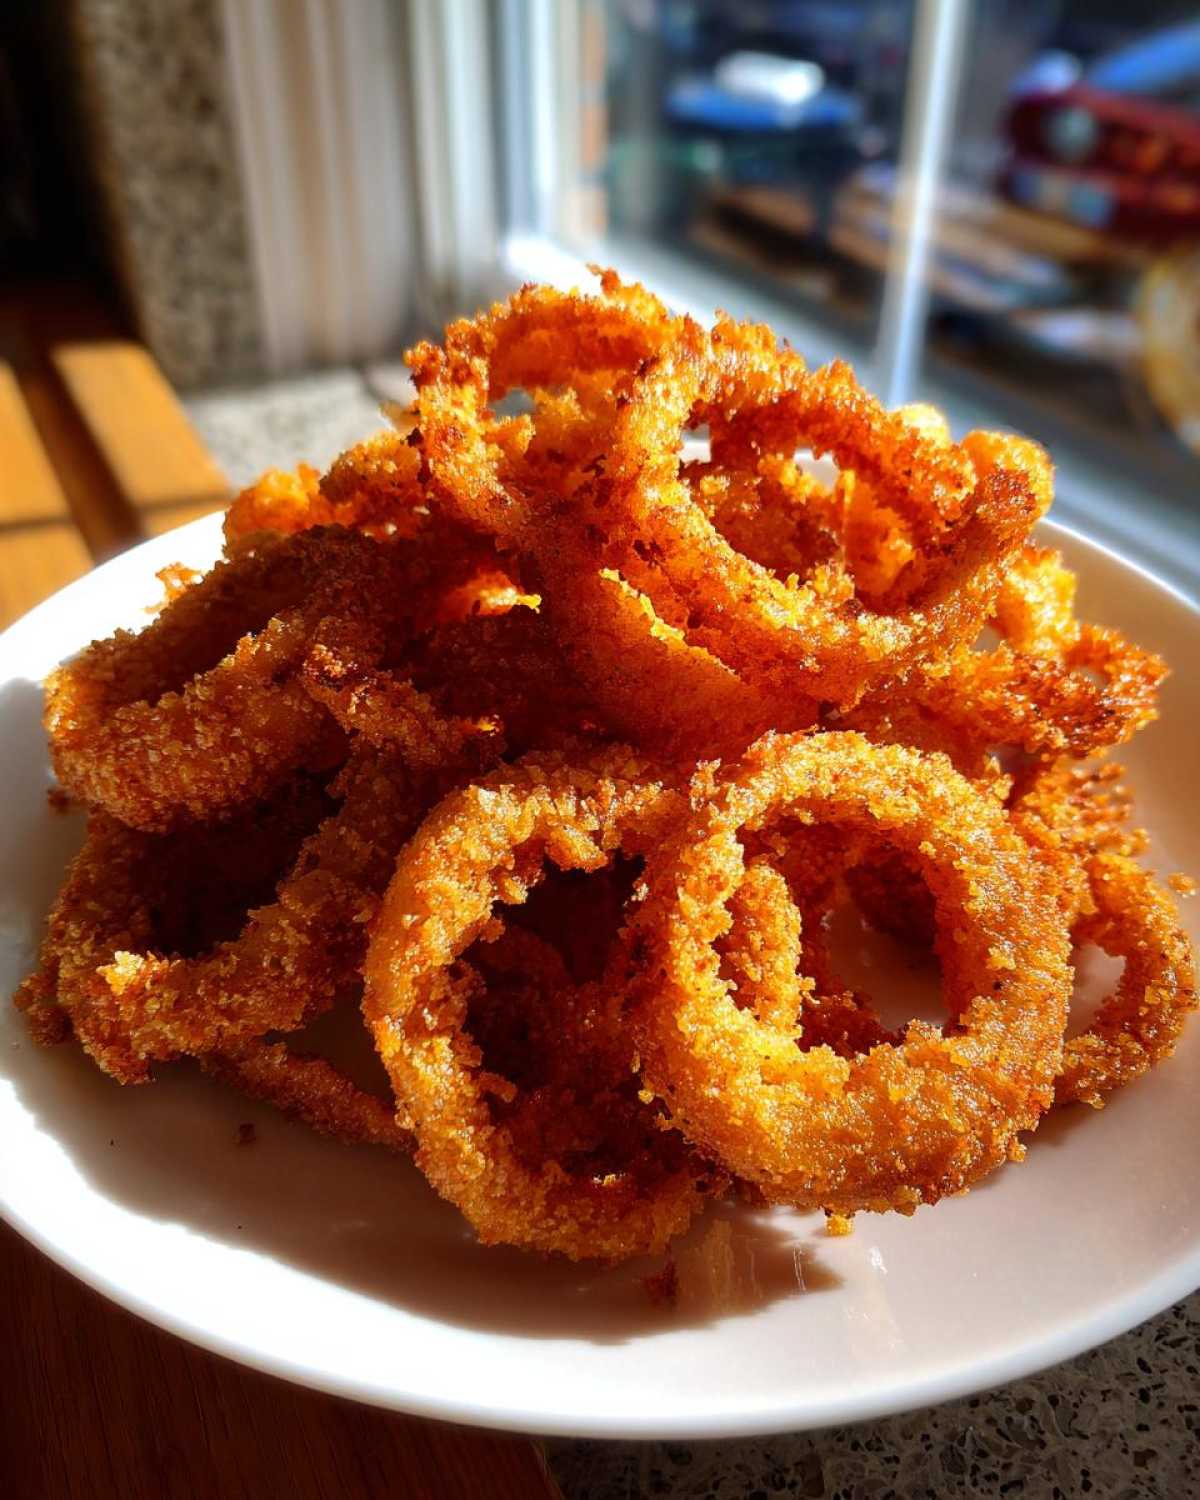
If you want to spice things up a bit, try a sweet chili sauce. The sweetness and mild heat combine beautifully with the fried onion flavor. It’s fantastic, and it brightens everything up. Speaking of amazing sauces, if you have leftover mayo, you have to try my Jalapeño Cheddar Dip next time you need serious appetizer fuel. These rings are so good, they deserve the best partners!
Storage and Reheating Instructions for Air Fryer Onion Rings
Nobody ever really has leftovers because these go so fast, but sometimes you’re making a huge batch for a party or someone just couldn’t finish their serving. That’s fine! The good news is that these hold up okay for a few hours, but if you want that straight-from-the-basket crunch back, you have to reheat them the right way. Don’t even think about the microwave; that’s the enemy of crispy coatings, trust me!
For storage, just let the rings cool down completely after they come out of the air fryer. Once cooled, pop them into a completely airtight container. If you can, lay a paper towel on the bottom before you stack them, just in case there’s any residual moisture clinging to them. They’ll keep okay in the fridge for up to two days, but they will definitely lose some of their snap after the first day.
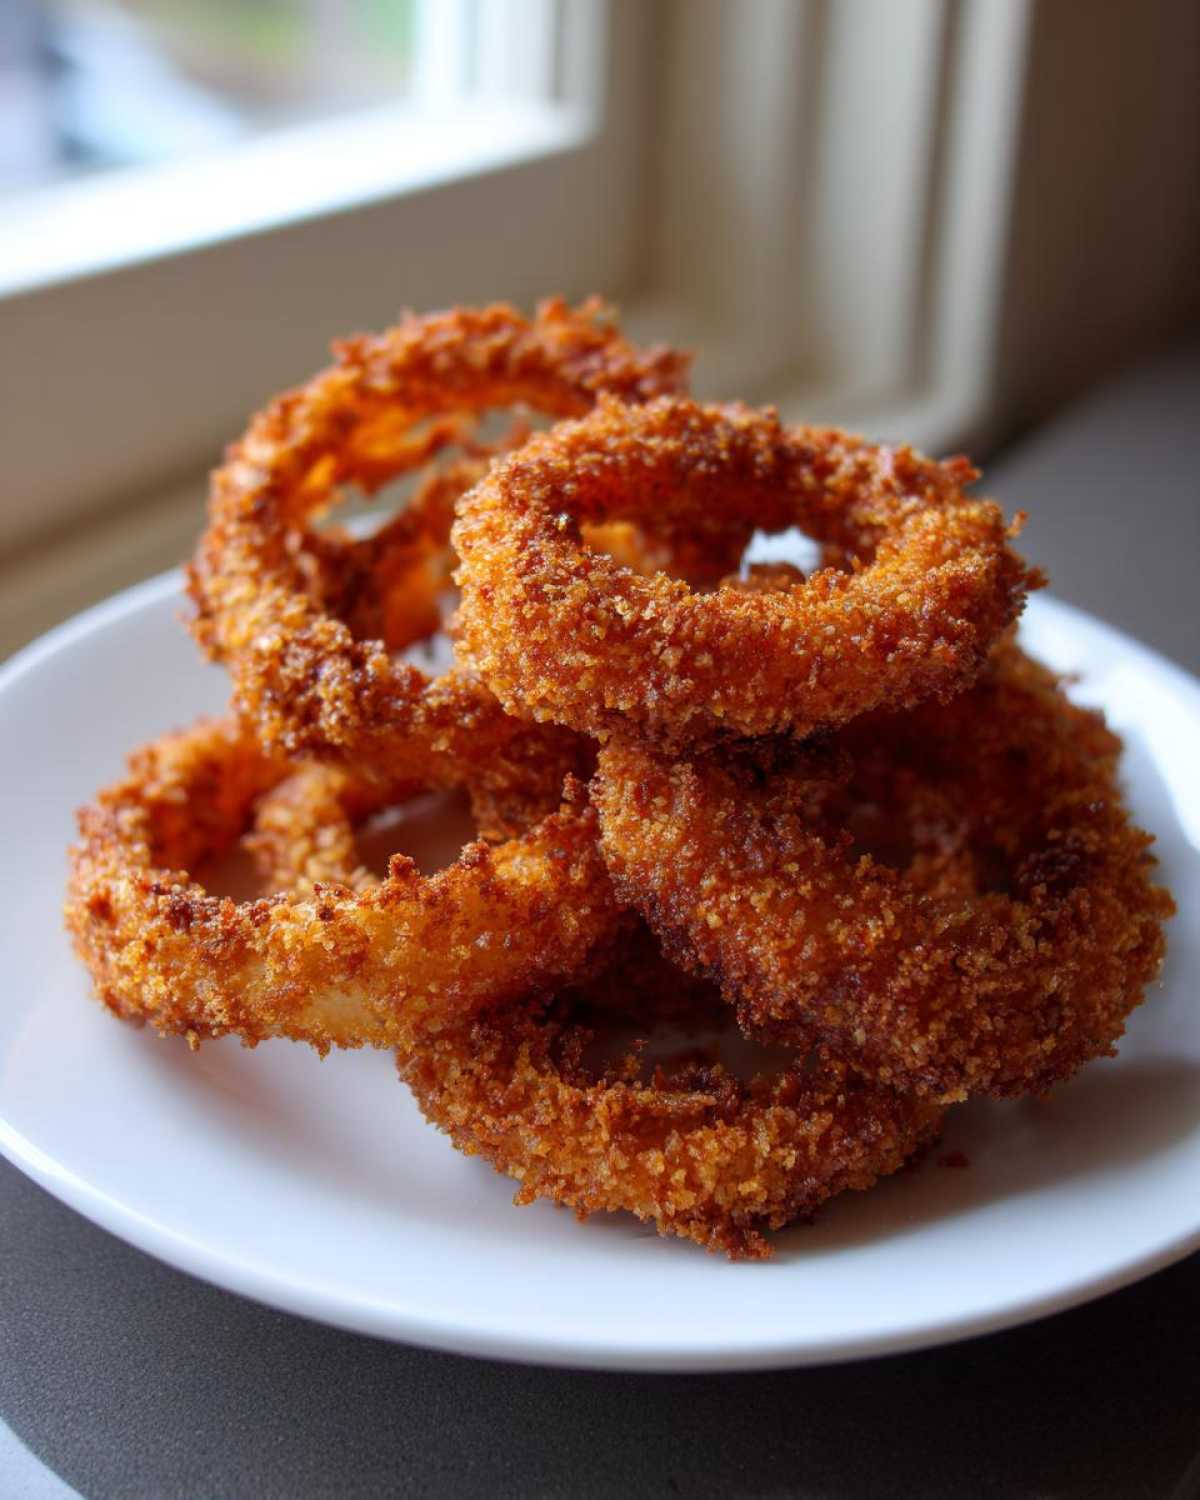
Now for reheating, which is where we save the day! You want to use your air fryer again, but we need a gentler approach this time so we don’t burn the Panko before the center thaws out. Set your air fryer temperature much lower than when you originally cooked them—aim for about 350°F (175°C). Lay the rings in a single layer, just like before, and pop them in for about 4 to 6 minutes. Check them after 4 minutes; you’re just trying to get the air moving around them and heat them through so they crisp right back up. They come out tasting almost brand new that way!
Frequently Asked Questions About Air Fryer Onion Rings
I get so many questions about this recipe because everyone is just as obsessed with crispiness as I am! It’s so great that people are looking for ways to enjoy snacks like this without the heavy grease. Here are the most common things folks ask me when they’re trying to make the best Air Fryer Onion Rings. If you’ve got more burning questions after you try these, don’t hesitate to reach out through my contact page!
Can I make these Air Fryer Onion Rings without oil?
This is tough, I know! You want the No Oil Onion Rings Air Fryer experience, but here’s the honest truth: you absolutely need a light spray of oil for browning. Without that tiny bit of fat helping the Panko react to the heat, they will turn out pale, dry, and frankly, dusty looking. They are still miles healthier than the deep-fried ones, but that tiny spritz is what gives you that beautiful golden crust. It’s worth it, promise!
What is the best substitute for Panko breadcrumbs?
If you are out of Panko and desperate to make these right now, regular fine or Italian breadcrumbs will work, but I have to warn you: the crunch won’t be as dramatic. Panko creates those bigger air pockets for crispiness. If you are trying to make Keto Air Fryer Onion Rings, you could try crushing up pork rinds or using almond flour as a replacement, though you might need to adjust how much you press it on, as those substitutes behave differently.
How do I ensure these are healthier than traditional rings?
That’s the beauty of the air fryer! The main reason these are a much Healthy Onion Rings Air Fryer choice is that we are removing about 80% of the oil used in traditional deep-frying. The onions themselves are wonderfully healthy, and by just using a spray for binding and browning, you drastically cut down on fat and calories while keeping that satisfying texture. It’s a huge win!
Estimated Nutritional Data for Air Fryer Onion Rings
You know I always want you to enjoy your food without stressing, so here is a rough breakdown of what you’re looking at with this recipe. Since we are spraying with oil instead of submerging them, the numbers look completely different from those fast-food versions, which is exactly what we want!
Remember, this is just an estimate for five rings—which is a pretty generous serving, considering how light and airy they get! I always say it’s a great way to enjoy a classic snack knowing you’ve saved a ton of unnecessary calories and fat.
- Serving Size: 5 rings
- Calories: 250
- Sugar: 6 grams
- Sodium: 350 milligrams
- Total Fat: 5 grams
- Saturated Fat: 1 gram
- Carbohydrates: 45 grams
- Protein: 7 grams
Just a little note here, because I always keep things honest! These numbers are calculated based on the measurements listed in the ingredients section using standard items. If you use a specific brand of Panko that’s higher in fat, or if you decide to douse them instead of spritzing lighty, your actual numbers are going to change. For the most accurate data, you’d need to plug the exact brands you use into a nutrition calculator. For full transparency on how I handle numbers and information on my site, you can check out my full disclaimer page. But rest assured, these are definitely on the lighter side!
PrintCrispy Air Fryer Onion Rings
Make perfectly crispy onion rings in your air fryer using a simple three-step breading process. This recipe avoids excess oil while delivering a satisfying crunch.
- Prep Time: 15 min
- Cook Time: 12 min
- Total Time: 27 min
- Yield: 4 servings
- Category: Appetizer
- Method: Air Frying
- Cuisine: American
- Diet: Vegetarian
Ingredients
- 2 large yellow onions
- 1 cup all-purpose flour
- 1 teaspoon salt
- 1/2 teaspoon black pepper
- 1/2 teaspoon paprika
- 2 large eggs, lightly beaten
- 1/4 cup milk
- 1 1/2 cups Panko breadcrumbs
- Cooking spray (oil-based)
Instructions
- Slice the onions into 1/4-inch thick rings. Separate the rings and set aside.
- Prepare the dredging stations: In the first shallow dish, mix the flour, salt, pepper, and paprika. In the second dish, whisk together the eggs and milk. In the third dish, place the Panko breadcrumbs.
- Dredge each onion ring: Coat it first in the flour mixture, shaking off excess. Dip it completely into the egg mixture. Finally, press it firmly into the Panko breadcrumbs, ensuring full coverage. Place the coated rings on a plate.
- Preheat your air fryer to 380°F (195°C) for 5 minutes.
- Lightly spray the bottom of the air fryer basket with cooking spray. Arrange the breaded onion rings in a single layer. Do not overcrowd the basket; work in batches if necessary.
- Spray the tops of the onion rings lightly with cooking spray.
- Air fry for 10 to 12 minutes, flipping the rings halfway through the cooking time. Continue spraying lightly with oil spray during the flip to promote browning.
- Remove when golden brown and crispy. Serve immediately with your favorite dipping sauce.
Notes
- For extra crispiness, chill the breaded rings for 15 minutes before air frying.
- If you want a slightly thinner coating, use regular breadcrumbs instead of Panko, but Panko yields the best crunch.
- To prevent breading from falling off, press the Panko onto the rings firmly after the egg wash.
- Serve with a simple mix of mayonnaise and ketchup for a quick dipping sauce.
Nutrition
- Serving Size: 5 rings
- Calories: 250
- Sugar: 6
- Sodium: 350
- Fat: 5
- Saturated Fat: 1
- Unsaturated Fat: 4
- Trans Fat: 0
- Carbohydrates: 45
- Fiber: 3
- Protein: 7
- Cholesterol: 60