

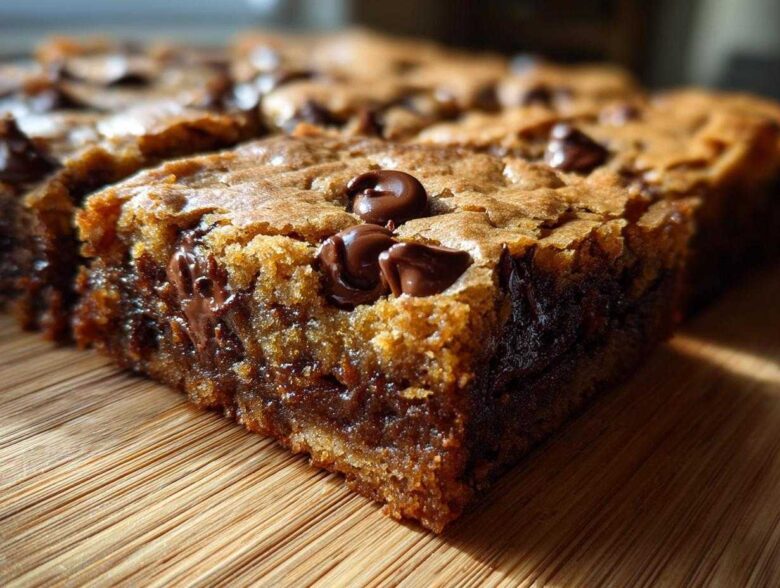
Listen, I know the struggle. You want that incredible, thick, melt-in-your-mouth snap around the edge, but the middle? It should be pure, unadulterated goo. So many recipes out there promise magic and deliver something that tastes more like a dry cake pretending to be a cookie. It took me ages—seriously, flour dust coated my kitchen for a month—to nail the formula for these Chewy Chocolate Chip Cookie Bars.
Forget the cakey stuff; these are the ultimate good-time dessert bars, baked thick right in the pan. I finally cracked the code by realizing it wasn’t just the sugar ratio; it was about respecting the butter. Once I started using melted butter and didn’t second-guess pulling them out when they still looked a little soft, everything changed. You can read more about my baking adventures over at my little corner of the web here: spoonswirl blog. Trust me, these thick and gooey cookie squares are about to become your new favorite one-pan chocolate chip dessert. Pull up a chair, let’s bake something spectacular!
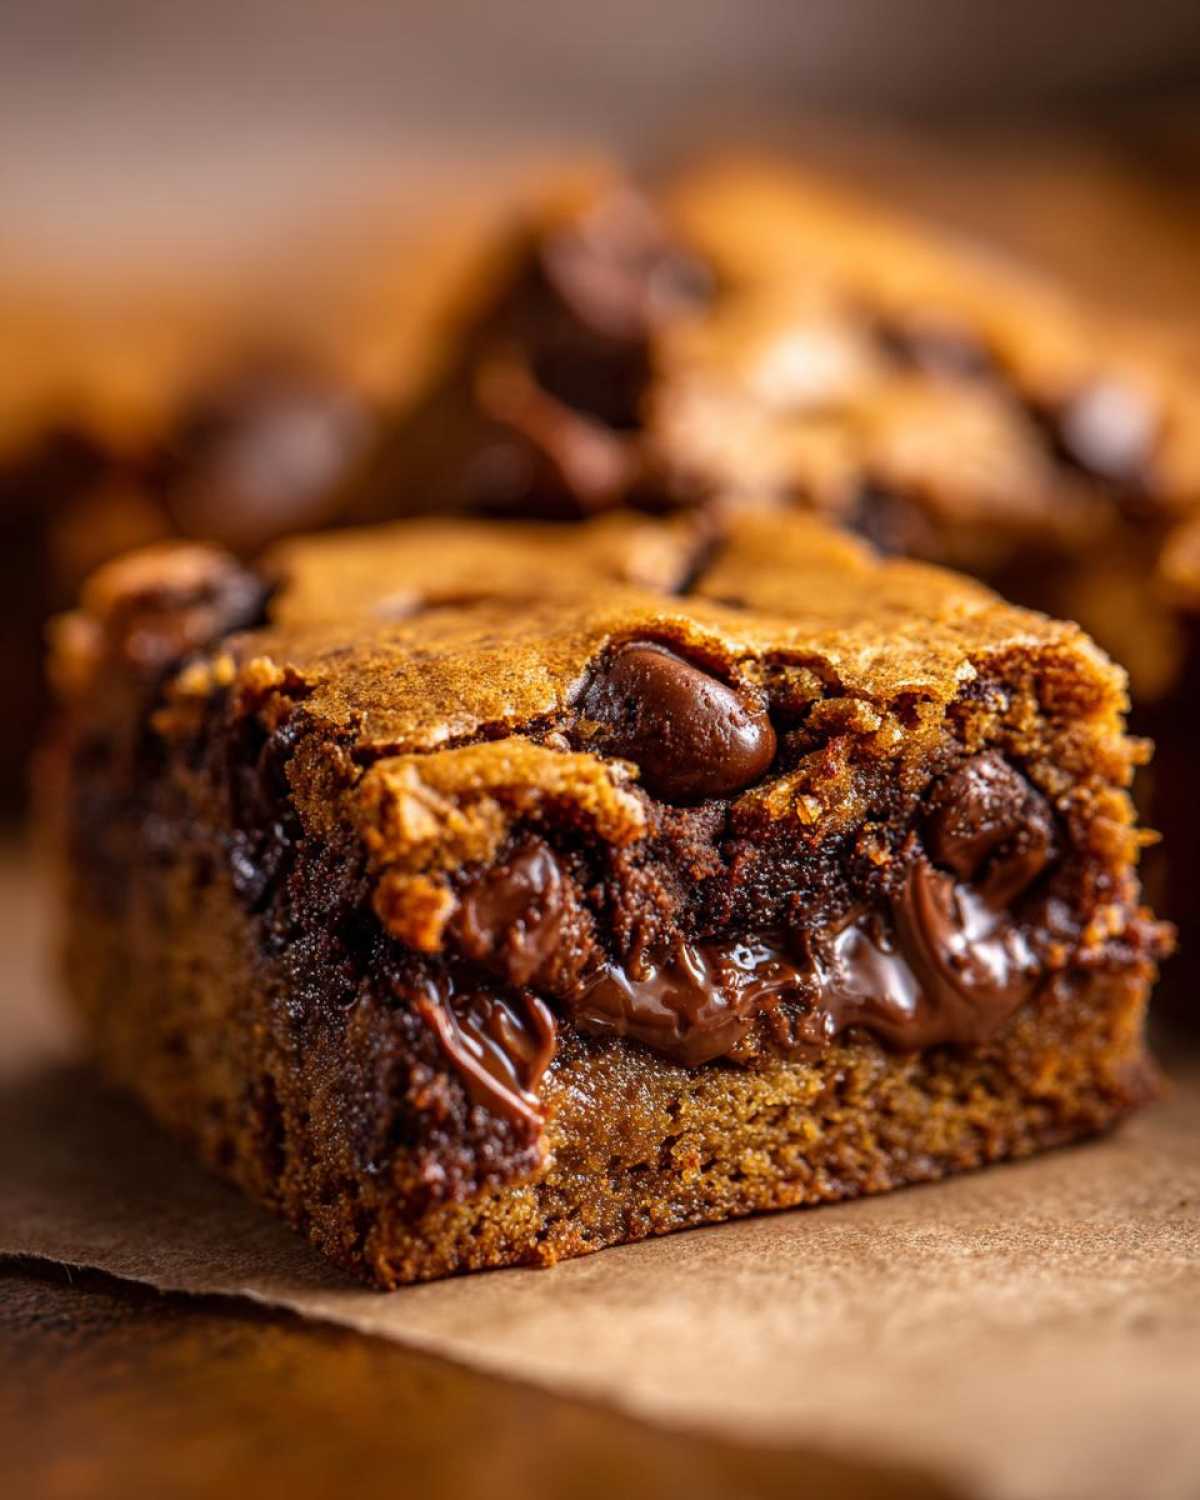
Why You Will Love These Chewy Chocolate Chip Cookie Bars
I wouldn’t waste your time unless this recipe delivered exactly what that search bar was asking for! If you are chasing that bakery-style chew and that incredible gooey center, this is your perfect match.
- Maximum Chew Factor: We use completely melted butter and a heavy dose of brown sugar—the two secrets to beating dryness forever.
- Seriously Thick: These bake up beautifully dense and tall in the pan; no thin, crumbly messes here!
- One-Pan Wonder: Everything goes into one 9×13 inch pan, which means less cleanup, woohoo!
- Perfectly Soft Baked: They hold their shape when you cut them, but feel wonderfully soft and almost fudgy when you bite in.
- Fudgy Interior: Pull them out just right, and the center flows like a warm blondie, contrasting beautifully with the slightly set edge.
- Simple Ingredient Swap: Because we want the chew, we use a straightforward ingredient list; nothing strange or hard to find.
Essential Ingredients for Perfectly Chewy Chocolate Chip Cookie Bars
Okay, this is where the magic starts, people! If you look at the ingredient list, you’ll notice we aren’t creaming any butter here; we’re melting it! That simple switch changes everything for that wonderfully chewy texture. The key is getting the right ratios of sugar to flour, too. We need plenty of brown sugar because that molasses content keeps things super moist. You can check out my full breakdown on why brown sugar is king over here: Brown Sugar Cookie Bars Recipe.
Here is what you need to pull these beauties together:
- 1 cup (2 sticks) unsalted butter, melted
- 1 1/2 cups packed light brown sugar
- 1/2 cup granulated sugar
- 2 large eggs
- 1 tablespoon vanilla extract
- 2 1/4 cups all-purpose flour
- 1 teaspoon baking soda
- 1/2 teaspoon salt
- 2 cups semi-sweet chocolate chips
Ingredient Notes and Substitutions for Chewy Chocolate Chip Cookie Bars
Let’s talk specifics, because texture is everything! Melted butter is crucial here—it coats the flour differently than softened butter, which keeps the gluten from overdeveloping. That means less lift, which keeps these from getting cakey. I also insisted on a mix of brown and white sugar, not just brown. While brown sugar drives the chew, the white sugar gives just enough structure so the bars don’t completely collapse.
For your chocolate chips, semi-sweet is classic, but feel free to toss in some milk chocolate chips or even some chopped-up dark chocolate chunks if you want that extra gooey pull when warm. Either way, make sure you use 2 full cups—don’t skimp!
Equipment Needed for Bakery Style Cookie Bars
The great news about these spectacular Chewy Chocolate Chip Cookie Bars is that we aren’t breaking out a million bowls or fancy attachment mixers. This recipe is designed to be straightforward and fast since it’s a one-pan dessert! Plus, since we use melted butter, you can actually pull off whisking most of this by hand if you’re feeling strong.
But here is the essential toolkit you’ll want ready before you even melt the butter. Having these things out first makes the actual mixing process super quick:
- A sturdy 9×13 inch baking pan. This size keeps the bars thick!
- Parchment paper. This is non-negotiable! You need those handles to lift the entire baked slab out later.
- Two mixing bowls—one large for the wet stuff, and one medium for the dry ingredients.
- A good whisk, especially for beating in the sugar and eggs initially.
- A rubber spatula for folding in those glorious chocolate chips.
- If you have an electric hand mixer, you can use it for creaming the sugar and eggs, which just speeds things up a little, but a strong arm works just fine!
That’s it! No fancy gadgets needed to achieve those perfectly chewy squares. Keep your setup clean, and you’ll be ready to enjoy your soft baked cookie bars in no time.
Step-by-Step Instructions: How to make Chewy Cookie Bars
Alright, let’s get down to the actual baking! Because we are using melted butter, the mixing process here is super fast compared to traditional cookies. Don’t worry if the wet mixture looks a little loose or oily at first; that’s exactly what we want for these fudgy chocolate chip blondies!
First things first: get that oven set to 350 degrees Fahrenheit right away so it has time to warm up properly. While it’s heating, line that 9×13 inch pan with parchment paper and make sure you leave some overhang so you have handles to lift everything out later—this makes cleanup ridiculously easy. You can find my favorite tips for lining pans right here: How to make Chewy Cookie Bars.
In your big bowl, mix that melted butter with both the brown and white sugars until it’s totally combined. Then, beat in those two eggs, one at a time, making sure the batter looks smooth before adding the next one. Don’t forget the vanilla! That tablespoon is key for that classic flavor layer.
Now, switch gears: in a separate bowl, just quickly whisk your flour, baking soda, and salt together. When you add this dry mixture to the wet mixture, use a low speed or fold it gently. Seriously, stop mixing the absolute second you don’t see any more white streaks of flour. Overmixing develops gluten, and gluten is what turns these perfect bars into something like a hockey puck!
Finally, fold in those two cups of chocolate chips. Press the dough evenly into your prepared pan. Now, here’s where we pause for cooling time—you must let the bars cool completely in the pan after baking for the cleanest cuts. Get them ready, because the baking part is where we lock in that chew!
The Secret to Gooey Centers in Your Chewy Chocolate Chip Cookie Bars
When you slide this pan into the oven for 25 to 30 minutes, you have to fight the urge to leave them in until they look perfectly brown and set. That’s how you get dry bars! Remember, we are aiming for Soft Baked Cookie Bars here.
For the chewiest result, you want to look for the edges to look set—maybe lightly golden brown—but the very center of the pan should still look slightly shiny or underdone when you wiggle the pan gently. If you poke a toothpick into the center, it should come out with moist, gooey crumbs clinging to it, not wet batter, but definitely not clean either.
I always pull mine out when I think they look about two minutes too early. When they cool down on the counter, that carryover heat finishes the baking process perfectly, leaving you with that irresistible, thick and gooey cookie square center every single time. Don’t be scared if it wobbles a bit when it comes out!
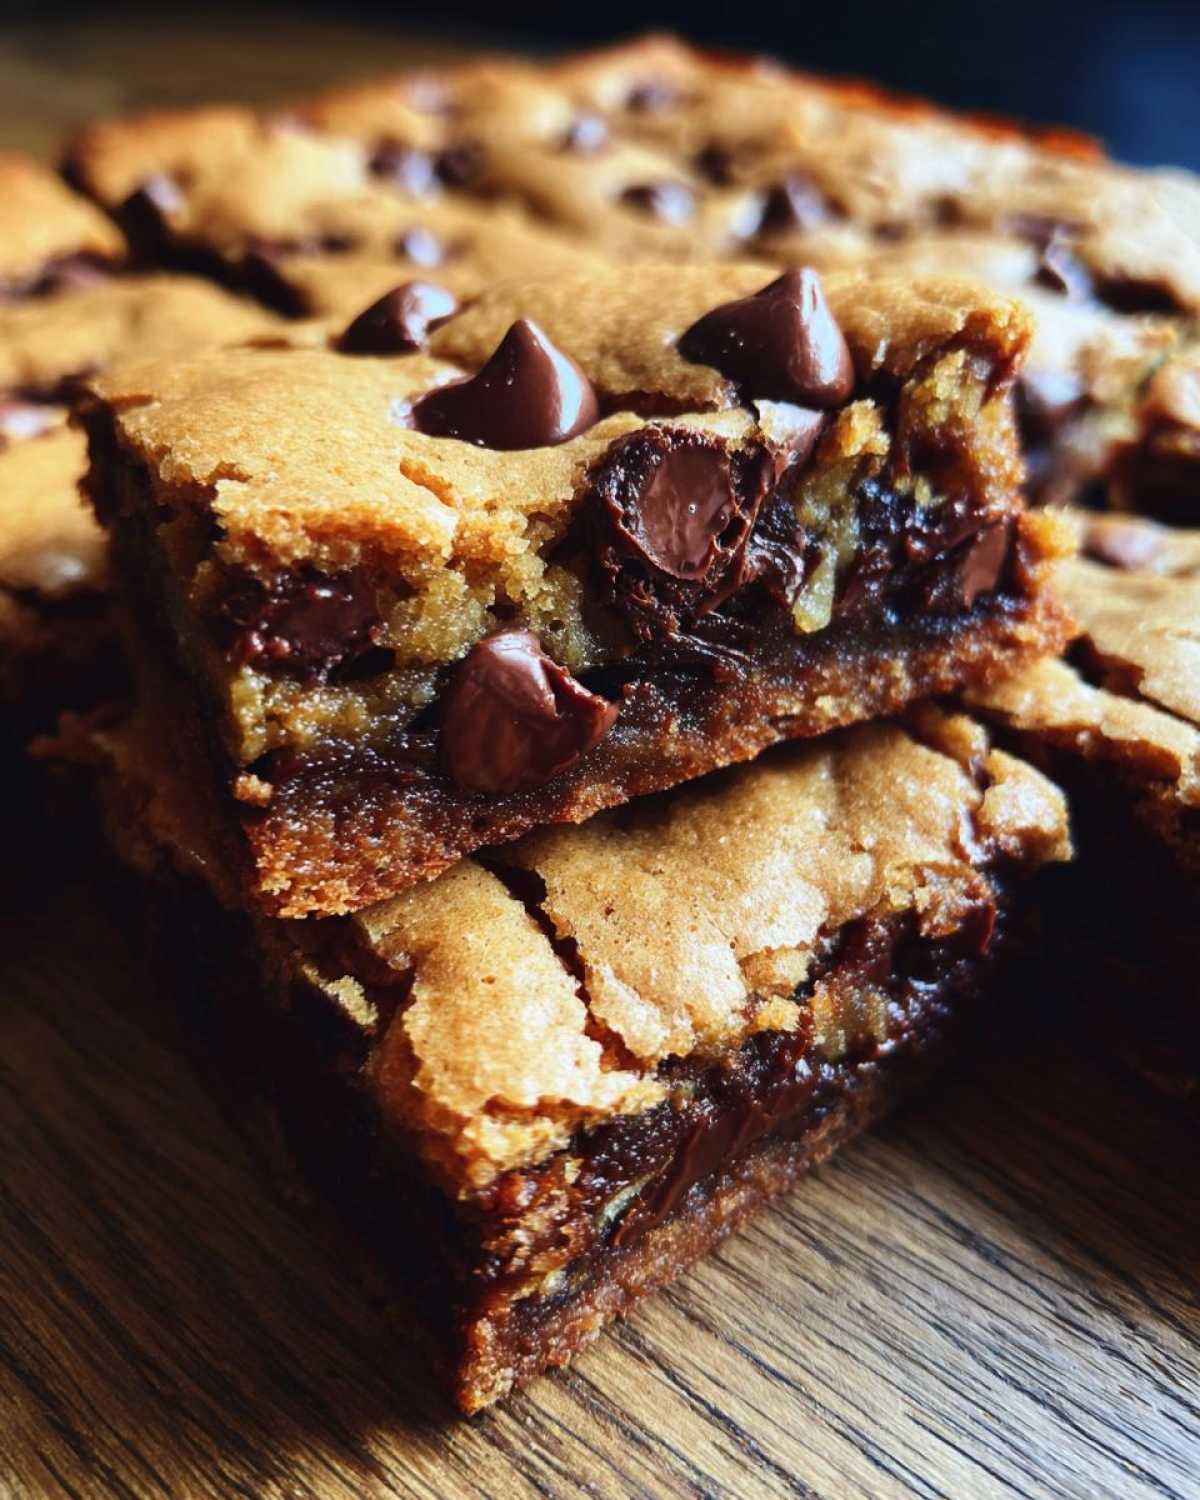
Tips for Success with Your Pan Chocolate Chip Cookie Recipe
Even though this is one of the easiest dessert recipes around, a few little tricks really separate the good Chewy Chocolate Chip Cookie Bars from the truly epic ones. You know I want you to have epic!
These aren’t like individual cookies where you can just sneak one off the cooling rack immediately. Patience is your best friend here if you want those clean, bakery-style squares. Since these bars are so soft and fudgy inside, trying to cut them warm is just asking for a delicious but totally messy disaster.
Here are my must-do rules for guaranteed success with this Pan Chocolate Chip Cookie Recipe:
- Embrace the Cool Down: I cannot stress this enough—let the bars cool completely in the pan on a wire rack. I usually let mine sit for at least two hours, or sometimes even chill them for 30 minutes after they get room temperature. Cooling allows the fats to solidify just enough so the structure holds when you slice them.
- Use the Parchment Sling: Remember we left that parchment paper overhang? Once the bars are cool, gently lift the entire slab out of the pan using those sides like handles. This prevents you from scraping the bottom layer against the metal edges, which always results in crumbs.
- A Hot, Clean Knife is Your Friend: If you want beautiful, sharp edges on your thick and gooey cookie squares, wipe your cutting knife clean and dip the blade in hot water between every one or two cuts. A warm, clean blade glides right through the gooey center without dragging the chocolate up the sides.
- Don’t Skip the Salt: Even though we aren’t using super fancy sea salt, the half-teaspoon of regular salt is vital. It pops the flavor of the chocolate and balances all that rich brown sugar. Don’t try to reduce it, or the bars will taste flat!
Follow those steps focusing on the cooling and cutting, and you’ll have professional-looking, deeply satisfying dessert bars ready to share. You can check out my full guide on perfecting results for this type of recipe here: Pan Chocolate Chip Cookie Recipe.
Storage and Make Ahead Cookie Bars Instructions
One of the greatest things about baking massive batches of these dense chocolate chip treats is that they are even better the next day! Seriously, these Chewy Chocolate Chip Cookie Bars seem to settle and the flavors just marry over time, making them slightly chewier, if that’s even possible.
If you’re planning a party or just want dessert ready for the week, you absolutely can make these ahead of time. Just remember that cooling step we talked about is crucial! You don’t want to wrap these warm or you’ll trap steam, and steam equals sogginess, which is the enemy of chewiness.
Here is the simple plan for storing these amazing bars:
- Room Temperature Storage: Once the bars are completely cool and cut into squares, place them in a single layer in an airtight container. If you have to stack them, make sure you put a small square of wax paper or parchment between the layers. They stay perfectly moist and chewy at room temperature for a solid 4 to 5 days. I keep mine right on the counter!
- Freezing for Later: If you need to hold onto these Make Ahead Cookie Bars for longer, freezing is the way to go. Wrap individual bars tightly in plastic wrap—I usually do two layers just to be safe—and then place them all into a heavy-duty freezer bag. They freeze beautifully for up to three months.
When you are ready to eat a frozen bar, just pull one out and let it thaw on the counter for about 20–30 minutes. If you’re impatient (like me!), you can microwave it for about 10 seconds, but only if you like it extra soft. For that perfect chewy texture when thawed, Room Temp storage is usually my go-to method. You can find my extended tips on preparing treats in advance here: Make Ahead Cookie Bars.
Serving Suggestions for Thick and Gooey Cookie Squares
So, you’ve managed to cool them, sliced them perfectly, and now you have these gorgeous, thick slabs of chocolate heaven. What do you eat them with? Honestly, they are magnificent completely alone, maybe still slightly warm from sitting on the counter after cooling. But if you want to elevate these Thick and Gooey Cookie Squares to a full-blown dessert experience, I have a few favorite ways my family devours them!
The best accompaniment has to be something cold and creamy because that temperature contrast with the chewy structure is just divine. If you want to go all out, grab a scoop of really good vanilla ice cream. We’re talking high-quality vanilla bean if you can find it, because that flavor complements the brown sugar and vanilla extract perfectly.
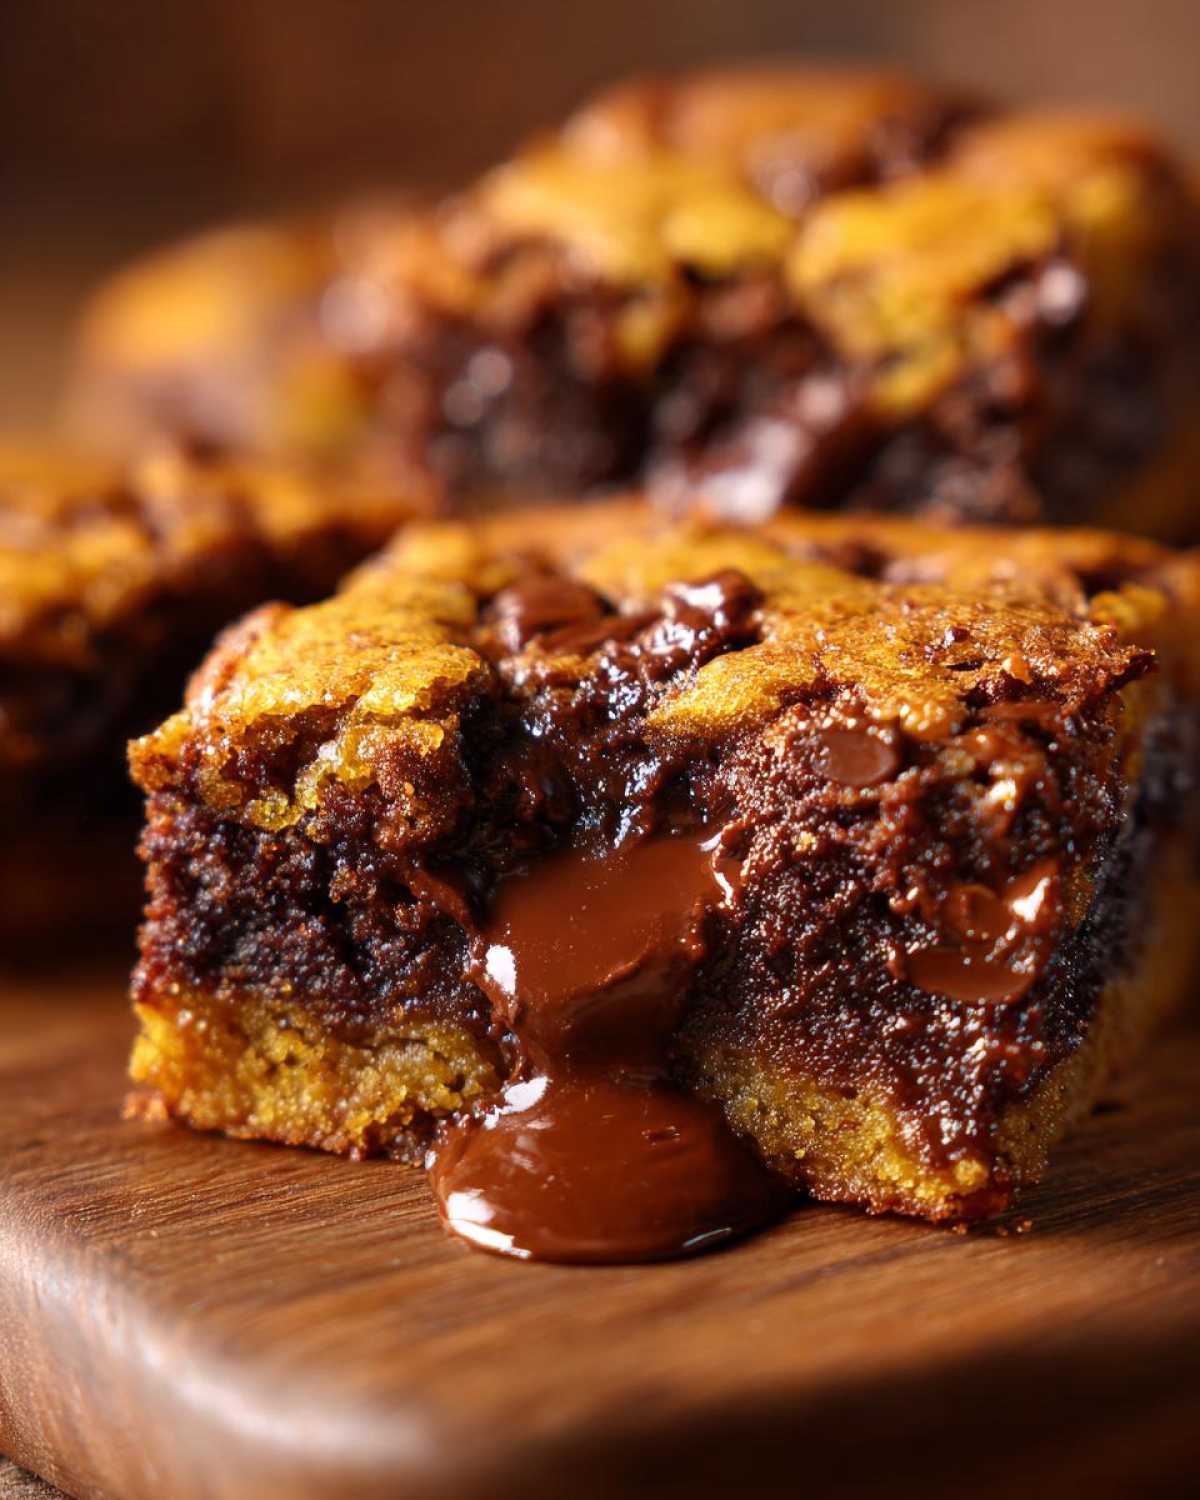
If you’re enjoying these later in the evening with your coffee, you don’t need much added. A tall, cold glass of milk is the absolute classic pairing for a reason—it just washes down that rich chocolate in the best way possible.
Sometimes, especially when I’m serving these at a weekend brunch or a casual get-together, I like to sprinkle just a tiny pinch of flaky sea salt over the top right before serving. It doesn’t change the flavor drastically, but it makes the chocolate pop even more. It’s a little restaurant trick that makes your home-baked bars look instantly professional! You can see me doing this trick in my plating guide here: Thick and Gooey Cookie Squares. Enjoy every glorious, chewy bite!
Frequently Asked Questions About Chewy Chocolate Chip Cookie Bars
It’s totally normal to have a few questions when you’re making a recipe for the first time, especially when the texture is so incredibly important! People always ask me about the difference between these and a regular cookie, or why they ended up with something closer to a brownie, so I wanted to tackle the most common concerns right here.
Why are my cookie bars cakey instead of chewy?
Oh, that’s the saddest outcome! If your bars ended up cakey, it usually boils down to two things we tried so hard to avoid. First, you might have overbaked them. Even five extra minutes can dry out the edges you were hoping to stay chewy! Second, you might have used softened butter instead of the required melted butter, or perhaps you used too much flour or too much white sugar compared to the brown sugar. The high ratio of brown sugar and melted fat is what packs in the moisture and keeps these the **Soft Baked Cookie Bars** we love.
Can I use cold butter instead of melted butter for these Chewy Chocolate Chip Cookie Bars?
You really shouldn’t, honey. If you use cold or even slightly softened butter, you’re essentially making a standard cookie dough base. Cold butter requires creaming, which incorporates a lot of air. That air creates lift, and lift leads to a cakier texture when baking in a pan. Melted butter bypasses that creaming process, leading to a denser, flatter, and ultimately chewier product. Melted butter is non-negotiable for getting that perfect, gooey texture in these **Chewy Chocolate Chip Cookie Bars**!
How do I prevent my cookie bars from spreading too much?
This is a valid concern, especially if you want those nice, thick edges! While the melted butter makes them spread a bit more than traditional cookies, you can control it. The most important tip here is to ensure you measure your flour correctly—too little flour and they spread into a puddle. Make sure you spoon the flour into your measuring cup and level it off, don’t scoop directly from the bag, which packs it down too much.
Also, if you feel your dough is very loose after mixing, wrapping the whole pan in plastic wrap and chilling it for about 30 minutes before baking can set up the fats just enough to give you that beautiful, thick result without turning into cake. This technique helps achieve a manageable **No Spread Cookie Bars Recipe** result while still keeping that center gooey!
Estimated Nutritional Data for Soft Baked Cookie Bars
Since everyone’s version of “a serving” can be a little different, these numbers are an estimate based on cutting the 9×13 pan evenly into 24 solid squares. Keep in mind that the type of chocolate chips you use can definitely bump the sugar or fat content a little bit! But for general planning purposes, here’s what you’re looking at in one perfect, **Soft Baked Cookie Bar**:
- Serving Size: 1 bar
- Calories: 250
- Fat: 14g
- Carbohydrates: 30g
- Sugar: 20g
- Protein: 3g
- Cholesterol: 45mg
These are definitely a treat, but because they are so rich, they satisfy that sweet craving quickly. Remember that the sodium level is relatively average for a dessert bar, and the fat content is mostly from that comforting butter! Enjoy them responsibly!
Estimated Nutritional Data for Soft Baked Cookie Bars
Since everyone’s version of “a serving” can be a little different, these numbers are an estimate based on cutting the 9×13 pan evenly into 24 solid squares. Keep in mind that the type of chocolate chips you use can definitely bump the sugar or fat content a little bit! But for general planning purposes, here’s what you’re looking at in one perfect, Soft Baked Cookie Bar:
- Serving Size: 1 bar
- Calories: 250
- Fat: 14g
- Carbohydrates: 30g
- Sugar: 20g
- Protein: 3g
- Cholesterol: 45mg
These are definitely a treat, but because they are so rich, they satisfy that sweet craving quickly. Remember that the sodium level is relatively average for a dessert bar, and the fat content is mostly from that comforting butter! Enjoy them responsibly! You can find this recipe listed among my other favorites like this one here: Soft Baked Cookie Bars.
PrintChewy Chocolate Chip Cookie Bars
A recipe for thick, gooey chocolate chip cookie bars with a satisfyingly chewy texture.
- Prep Time: 15 min
- Cook Time: 30 min
- Total Time: 45 min
- Yield: 24 bars
- Category: Dessert
- Method: Baking
- Cuisine: American
- Diet: Vegetarian
Ingredients
- 1 cup (2 sticks) unsalted butter, melted
- 1 1/2 cups packed light brown sugar
- 1/2 cup granulated sugar
- 2 large eggs
- 1 tablespoon vanilla extract
- 2 1/4 cups all-purpose flour
- 1 teaspoon baking soda
- 1/2 teaspoon salt
- 2 cups semi-sweet chocolate chips
Instructions
- Preheat your oven to 350 degrees Fahrenheit. Line a 9×13 inch baking pan with parchment paper, leaving an overhang on the sides for easy removal.
- In a large bowl, whisk together the melted butter, brown sugar, and granulated sugar until fully combined.
- Beat in the eggs one at a time, mixing well after each addition. Stir in the vanilla extract.
- In a separate medium bowl, whisk together the flour, baking soda, and salt.
- Gradually add the dry ingredients to the wet ingredients, mixing on low speed until just combined. Do not overmix.
- Fold in the chocolate chips.
- Press the dough evenly into the prepared baking pan.
- Bake for 25 to 30 minutes. For the chewiest bars, aim for the center to still look slightly underdone.
- Remove the pan from the oven and let the bars cool completely in the pan on a wire rack before lifting them out using the parchment paper overhang.
- Cut into squares and serve.
Notes
- Using melted butter and a higher ratio of brown sugar helps create a chewier texture.
- Do not overbake; slightly underbaking ensures a gooey center.
- Cool the bars completely before cutting for clean squares.
Nutrition
- Serving Size: 1 bar
- Calories: 250
- Sugar: 20
- Sodium: 120
- Fat: 14
- Saturated Fat: 8
- Unsaturated Fat: 6
- Trans Fat: 0
- Carbohydrates: 30
- Fiber: 1
- Protein: 3
- Cholesterol: 45