

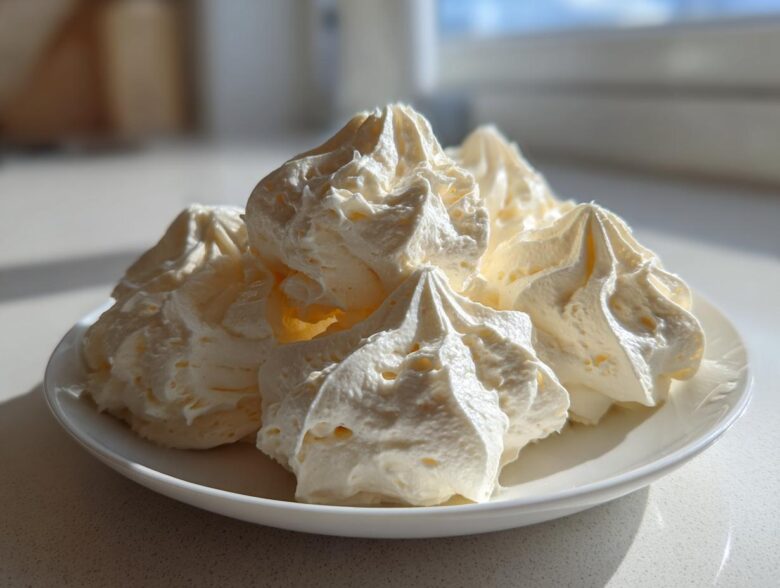
Oh man, let me tell you about frosting. There’s nothing sadder than spending time making a gorgeous cake only to top it with something stiff, grainy, or just plain bland, right? That’s why I spent so many weekends wrestling with my mixer until I perfected this recipe. This is, without a doubt, the definitive guide to making the absolute best vanilla buttercream frosting. We’re talking creamy, fluffy icing that holds sharp edges for piping but still melts beautifully in your mouth. Achieving that perfect texture is all about patience during the whipping stage. When you read more about our journey over at Spoon Swirl, you’ll see why getting this right means so much to us. Hana always says that when the mixer starts humming a happy tune, that’s how I know we’ve created something truly wonderful together in the kitchen.
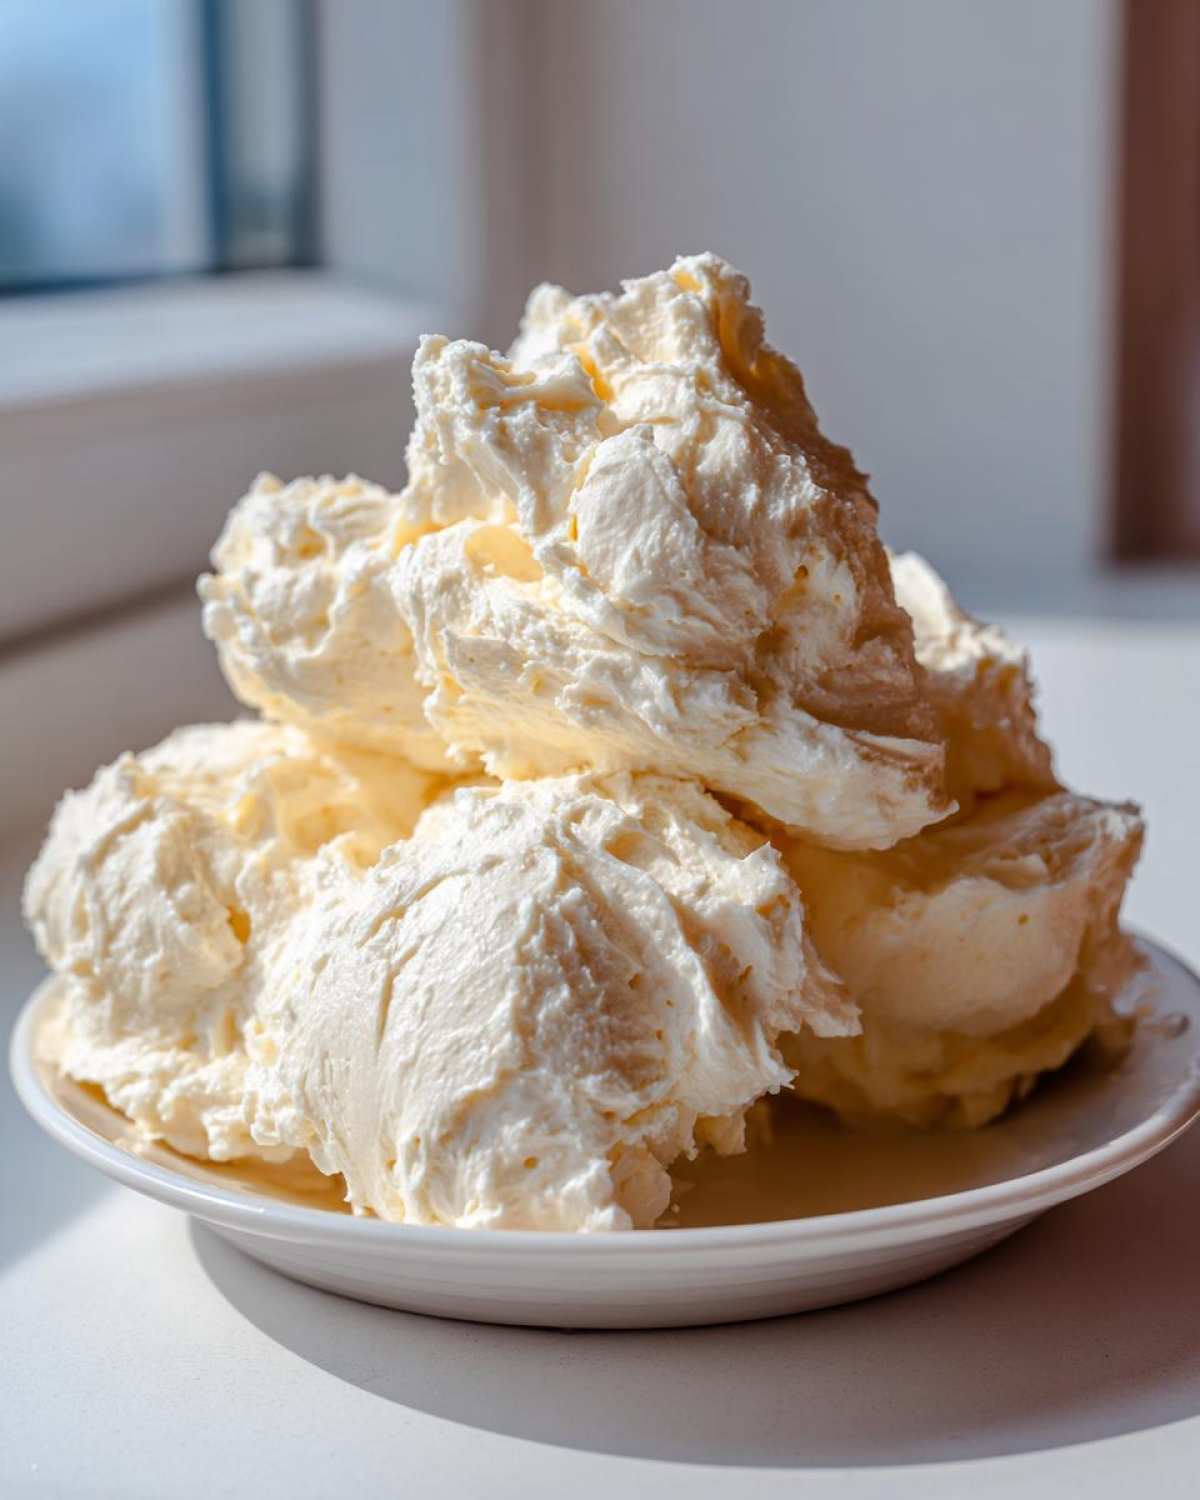
Why This Classic American Vanilla Buttercream Frosting Works Every Time
Listen, I’ve made cakes for birthdays, anniversaries, and just Tuesdays, and the secret that separates a good cake from a great one is always the topping. This classic American buttercream became my go-to because it delivers consistency and flavor every single time. It’s the reliable friend you need in your baking arsenal!
- It’s incredibly quick! We’re talking about a ready-to-use topping in about ten minutes flat.
- The texture is spot-on for decorating—it rarely collapses when you put it in a piping bag.
- It produces that wonderfully smooth, creamy base that tastes exactly like the frosting you remember from childhood celebrations. This is truly the best buttercream for cakes.
Quick Preparation: Ready in 10 Minutes
Seriously, this whole operation takes about 10 minutes. That’s faster than trying to whip up a batch of cookies! If you need an easy homemade frosting fast for a last-minute surprise, this recipe is your lifesaver. We don’t use any cooking, so we save all that heat hassle.
Achieving Perfect Buttercream Frosting Piping Consistency
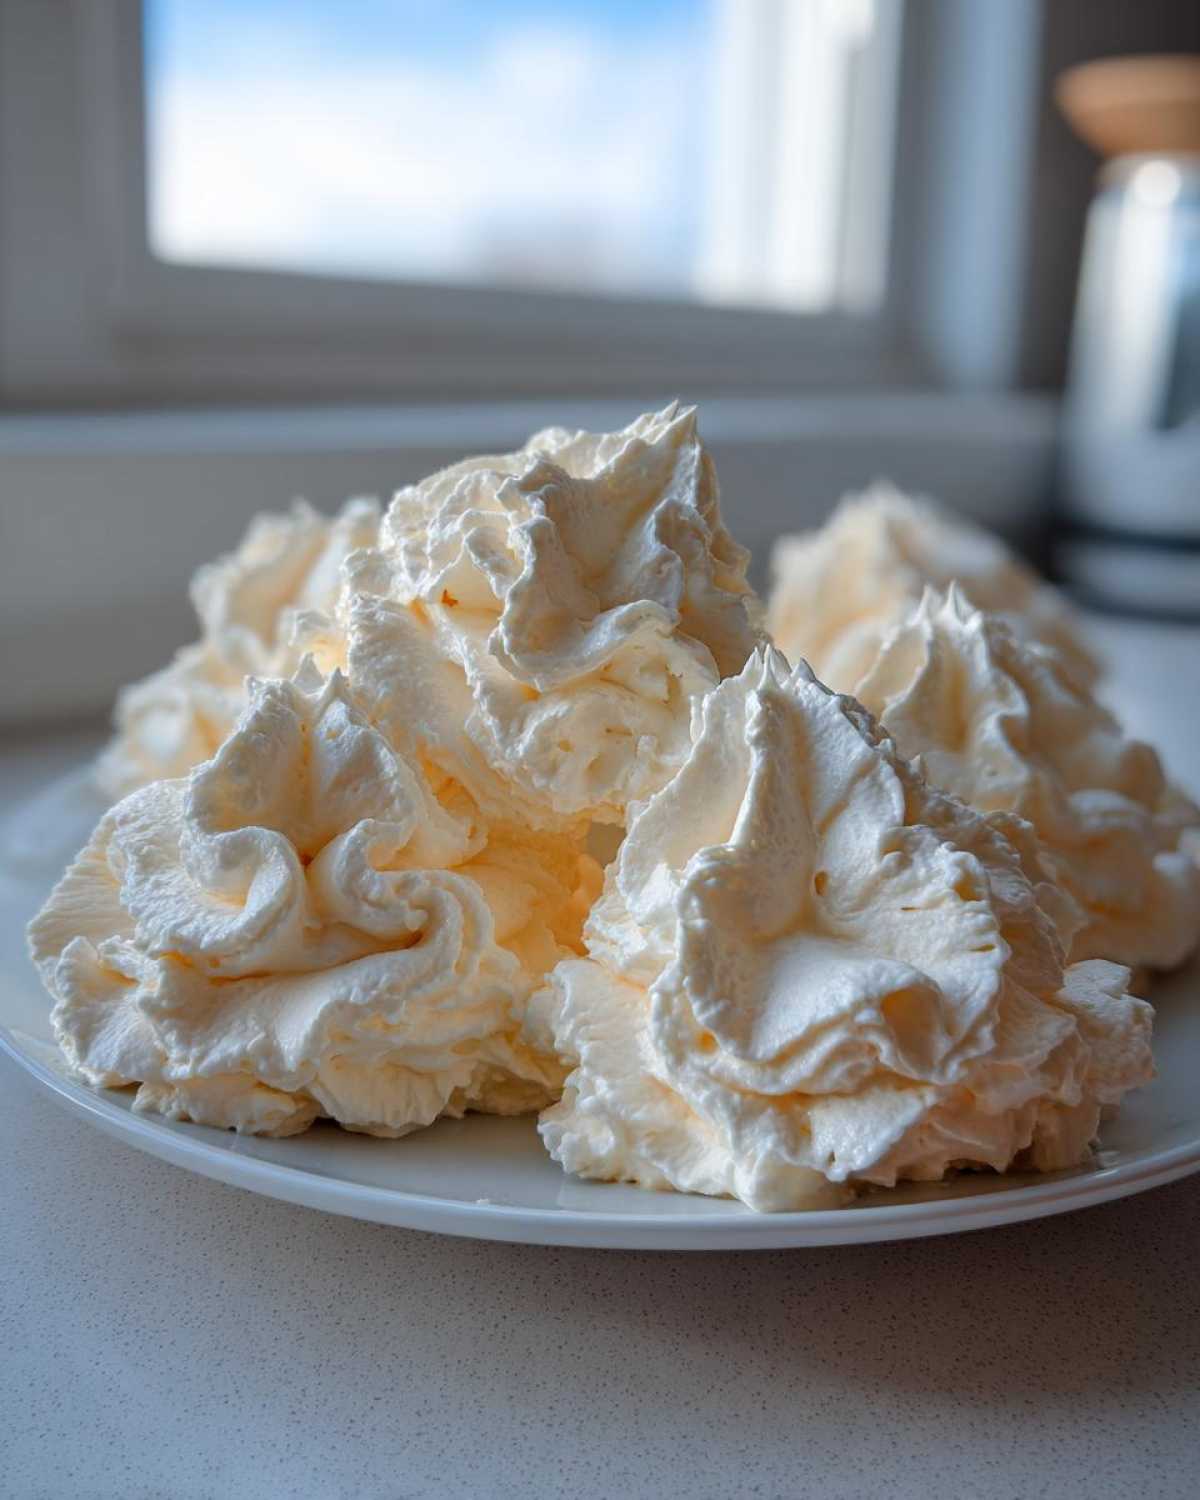
The trick to getting those sharp, beautiful edges when you’re piping decorations is all in the balance between the butter and the sugar, plus that crucial whipping time we talk about later. When done right, this vanilla buttercream frosting sets up perfectly firm enough to hold texture against gravity without melting into a puddle. It’s the stability you need for any of your quick dessert decorations!
Gathering Ingredients for Your Vanilla Buttercream Frosting
Before we even turn on the mixer, we need to talk about the ingredients. My goal here is to give you an amazing, creamy vanilla frosting recipe that tastes rich and homemade, not synthetic. You only need five things, but their readiness matters a whole lot!
The most critical part—and I can’t stress this enough—is the butter. Make sure your one cup (that’s two sticks, or 226g) of unsalted butter is perfectly softened right to “cool room temperature.” If it’s melty, your frosting will be soupy; if it’s too cold, it will stay lumpy. This temperature control is honestly half the battle when making buttercream from scratch, trust me on this one. For the rest, we need sifted powdered sugar, pure vanilla extract, a dash of salt to cut the sweetness, and a few tablespoons of heavy cream or whole milk.
- 1 cup (2 sticks or 226g) unsalted butter, softened to cool room temperature
- 4 cups (480g) powdered sugar, sifted
- 1 tablespoon pure vanilla extract
- 3 to 4 tablespoons heavy cream or whole milk
- Pinch of salt
The Step-by-Step Guide to Fluffy Vanilla Icing Tutorial
Alright, ready to see the magic happen? This whole process moves fast once you get going, so have everything measured out first. We are following the exact measurements listed above to ensure we get that perfect, light texture that defines a great vanilla buttercream frosting. It’s all about taking your time during the mixing phases, even though the whole thing only takes about ten minutes!
Creaming the Butter for the Best Vanilla Buttercream Frosting Base
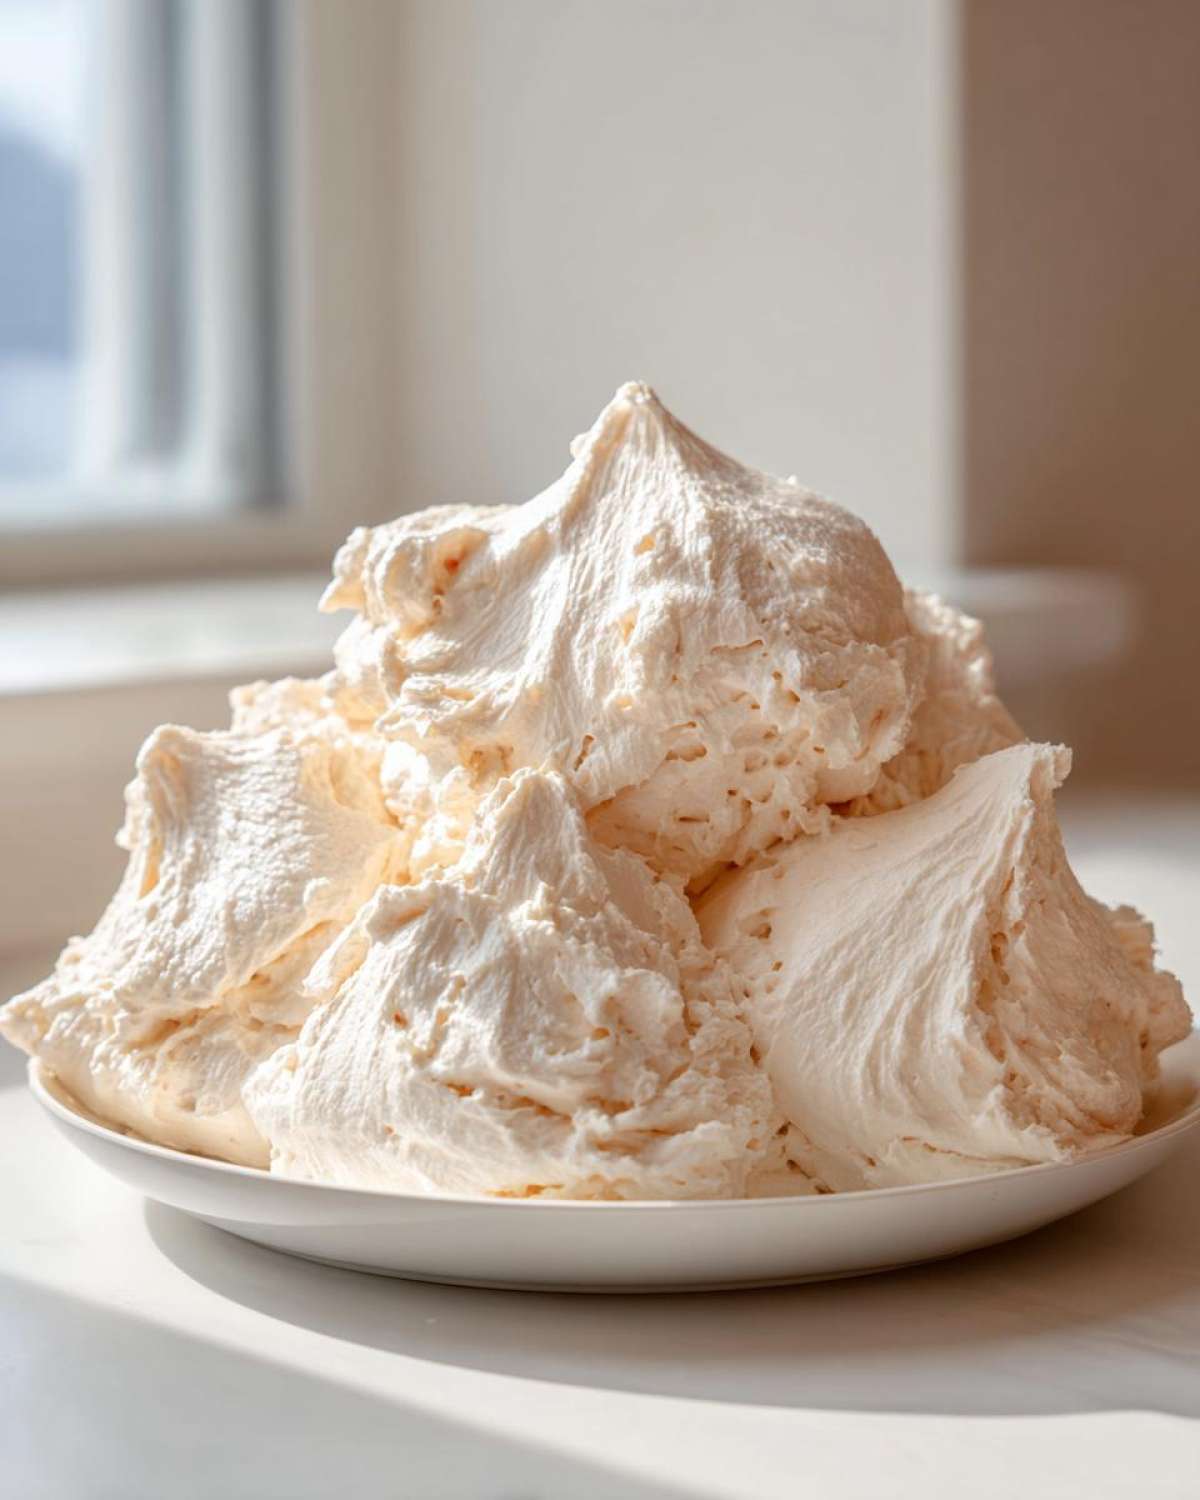
This is where Noah shines because he’s the one who insists on this first step taking up to four minutes! Take your cool, room-temperature butter (no shortcuts here!) and put it in your stand mixer. You need to beat it on medium speed for a full three to four minutes. Don’t rush this! When you look at it, it should be visibly lighter in color—almost white—and look super creamy. This process is crucial because you are forcing air into the fat, which is what gives you that light, open texture in the end. If you skip this, you end up with dense, heavy frosting, and we want that fantastic whipped vanilla frosting instead.
Incorporating Sugar and Liquid for Creamy Vanilla Frosting Recipe
Once the butter looks great, lower the speed drastically. Now, we add our sifted powdered sugar one cup at a time. Make sure you mix after each addition just enough to incorporate it, and scrape down the sides—that’s important so everything gets blended evenly. Toss in your vanilla and that tiny pinch of salt. Finally, pour in 3 tablespoons of your heavy cream or milk. Crank that mixer up to medium-high speed and let it whip for another 3 to 5 minutes. You have to let it go this long! This final whipping develops the airy structure that makes this such a reliable creamy vanilla frosting recipe. If it looks too thick after that whipping time, add the last tablespoon of liquid slowly until it just feels right for spreading or decorating. You can find more helpful mixing tips over at the Spoon Swirl blog!
Tips for Success When Making Homemade Vanilla Cake Frosting
I’ve learned that even with the best recipe on paper, sometimes things go a little sideways when we’re baking at home. Don’t panic if your mixer starts sounding grumpy! Dealing with the temperature of your ingredients is, honestly, the biggest hurdle when making any vanilla buttercream frosting from scratch. Once you nail the butter temperature, everything else is usually smooth sailing.
Here are the things I always double-check when preparing this homemade vanilla cake frosting:
- Butter Temperature is Everything: I can’t repeat this enough—the butter needs to be cool room temperature. Press on it slightly; if your fingerprint leaves a clean dent but your finger doesn’t get greasy, you’re perfect. Too warm, and that beautiful aeration we worked so hard for collapses, turning your frosting into oily soup!
- What If It’s Soupy? (The Chill Trick): If, after all that mixing, your frosting looks a little loose or oily, it usually means the butter warmed up too much. Don’t dump it! Just pop the entire bowl into the fridge for about 10 minutes. Then, scrape it down and re-whip it on medium speed. It will come back together beautifully.
- Adjusting for Stiff Frosting: If you want that super defined look for decorative piping, and your classic American buttercream seems too stiff after the main whip, just add liquid slowly. A teaspoon of heavy cream at a time works wonders to make it spreadable without losing structure. Honestly, this is the adjustment I make most often when aiming for intricate cake designs.
If you want to see how another great baker handles their whipped goodness, check out this resource: Natasha’s recipe is fantastic too, especially if you’re looking for comparison!
Ingredient Notes and Substitutions for Buttercream from Scratch
Every single ingredient in this butter and sugar frosting plays a role, and I want you to feel confident about why we choose what we choose. Like I always say, Noah is the technical one, and he made me promise to always use unsalted butter. That’s because we are adding salt ourselves for control; salted butter can vary wildly, and we need consistent saltiness to balance out this rich vanilla buttercream frosting.
Speaking of texture, skipping the sift step for your powdered sugar is a recipe for disaster—grainy frosting, guaranteed! You need that fine powder to melt smoothly into the butter. If you’re out of heavy cream, don’t sweat it; switching to whole milk works totally fine for a slightly softer finish. Just use 3 tablespoons to start, and you’ll still end up with a wonderful, creamy vanilla frosting recipe.
For an extra flavor punch, you can reference how others handle their ingredients, like checking out this detailed version over at Belle of the Kitchen for comparison on richness.
Storage and Reheating Instructions for Your Vanilla Buttercream Frosting
First off, I hope you made extra because this stuff is addicting! Surviving on leftover vanilla buttercream frosting straight from the bowl is totally normal, just don’t tell Hana I said that. But seriously, storing this buttercream from scratch is super easy, and knowing how to revive it later means you’re never more than a few minutes away from decorating your next batch of cupcakes.
If you have leftovers—which, let’s be honest, rarely happens in our house—you need to store it properly so it stays usable. Always put it into an airtight container. If you try to cover the bowl with plastic wrap directly on top of the frosting, you’ll end up with condensation spots, which makes the surface weird and a little damp. Use plastic wrap pressed directly onto the surface of the frosting inside a sealed container, that’s the trick! You can keep this great simple desserts topping in the fridge for up to a week.
Now, for reheating! Don’t try to microwave a whole bowl of frosting—trust me, that just turns it into liquid glue. When you pull it from the fridge, it will be rock hard, which is normal! Just leave it sitting on the counter for an hour or two until it comes completely back up to room temperature. Once it’s soft enough to poke, you need to re-whip it on medium speed for about two or three minutes. This re-whipping brings all that beautiful air back in, making it light, fluffy, and perfect for spreading again. If you want more insight into how other great bakers manage storage, check out the tips provided by the folks at Belle of the Kitchen!
Serving Suggestions for This Simple Desserts Topping
Now that you have this perfect, creamy vanilla frosting recipe sitting on your counter, the real fun begins! What are you going to smother in it? Honestly, because this is such a beautifully balanced vanilla buttercream frosting, it works on almost anything. You don’t need fussy flavors or complicated additions to make it shine.
If I’m in a hurry, I always reach for my favorite chocolate cake recipe. The slight bitterness of a dark chocolate cake is just heavenly against the clean sweetness of the buttercream—it’s a classic pairing for a reason! For something lighter, you absolutely have to try this on a plain vanilla cupcake; it lets the frosting be the star of the show.
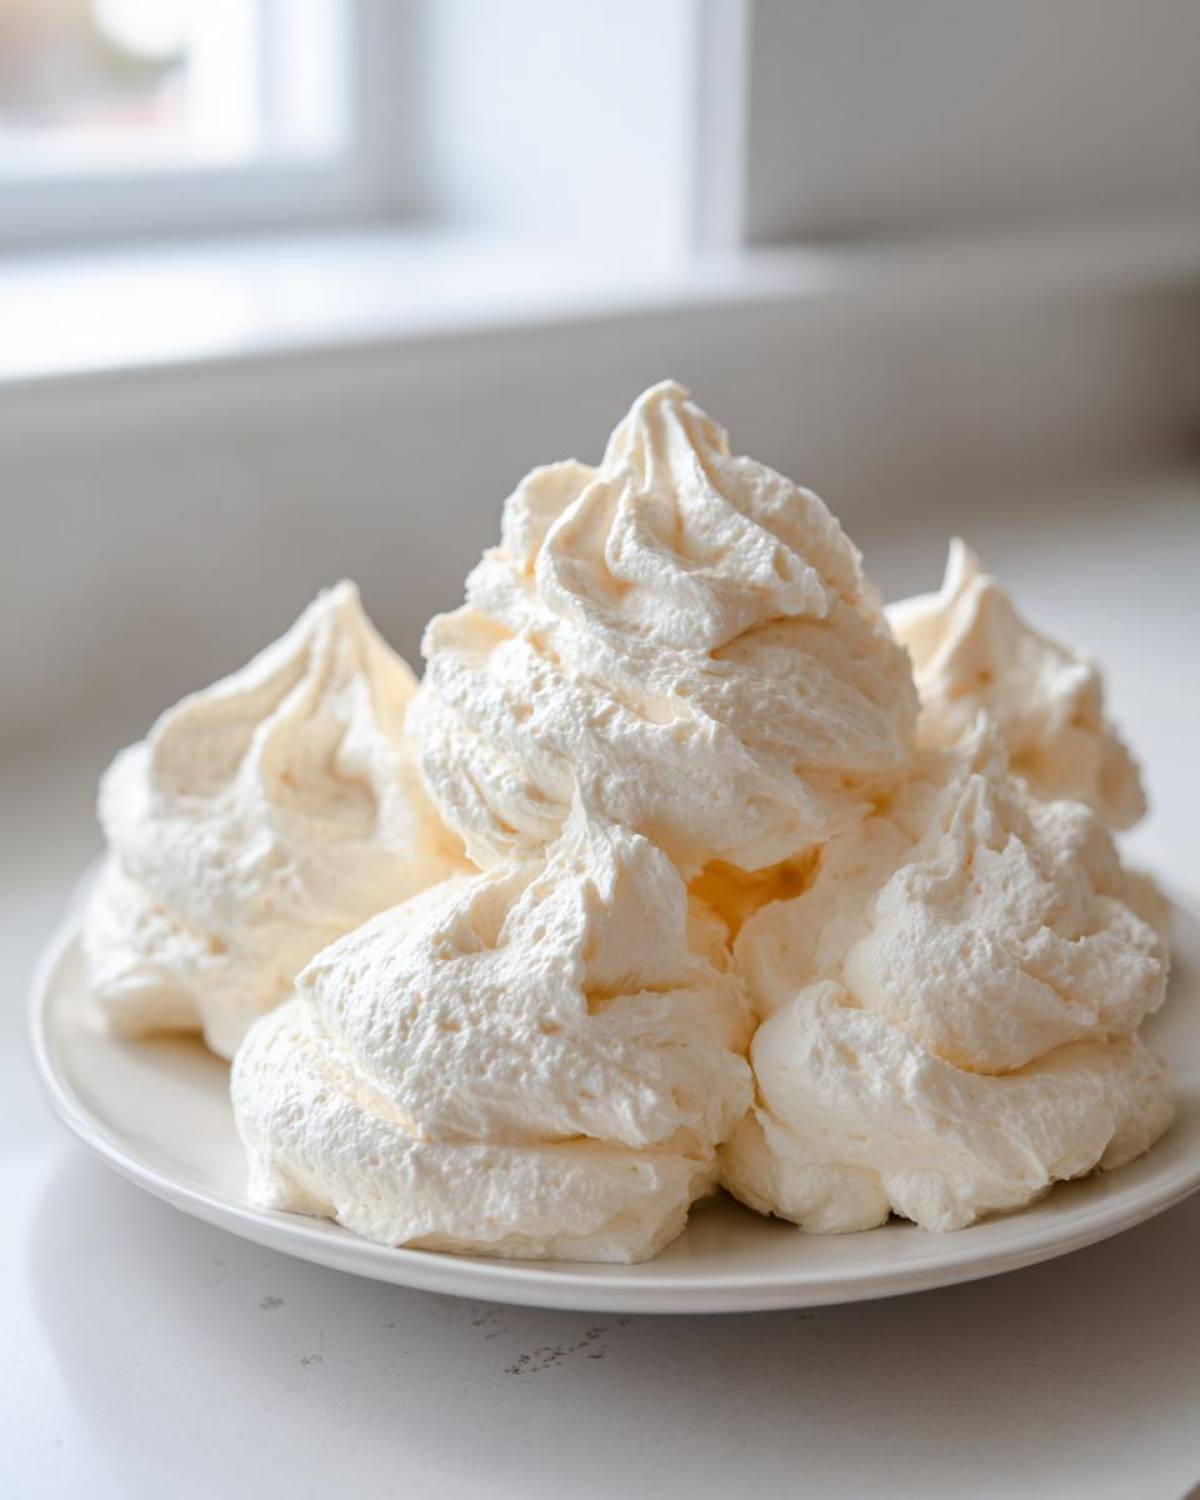
I also love using this topping on my mini fruit tarts where the buttercream helps hold fresh berries in place. It’s fantastic dolloped on gingerbread loaf slices during the winter months too! If you’re looking for inspiration on how to use toppings in creative ways, maybe check out my recipe for the Fudge Brownie Field Cake—it shows how simple toppings can really transform a baked good!
Frequently Asked Questions About Making Smooth Buttercream
It’s totally normal to have a few questions when you’re aiming for dessert perfection! Even after I’ve walked you through how to make this classic American buttercream, sometimes there are little technical snags. Dealing with sugar and butter can be tricky, so here are the biggest things people ask me about when trying to achieve that perfectly smooth buttercream.
Why is my vanilla frosting grainy?
Oh mate, grainy is the enemy! This happens for one of two main reasons, and both tie back to preparation. First, if you skipped sifting that powdered sugar, those clumps of sugar crystals just aren’t mixing in properly, leaving dusty pockets. Second, and this is what Noah always nags me about, you didn’t let the mixer run long enough during the final whip! You need a good five minutes on high speed after adding the liquid. That whipping time is crucial because it allows the sugar granules to actually dissolve into the fat and liquid, giving you that gorgeous, creamy vanilla frosting recipe finish instead of a gritty texture.
Can I use salted butter for this homemade vanilla cake frosting?
You can, but you absolutely must skip the pinch of salt we added to the recipe details! Salted butter varies a lot from brand to brand in how much salt they pack in. If you use it, taste the frosting before you add the extra salt we planned for. If it tastes fine and salty enough already, then skip it! Otherwise, because this is meant to be a versatile topping for so many simple desserts, I always recommend starting with unsalted butter so you control the salinity.
How long does it take to whip this frosting?
If you are measuring whipping time for the main stage—after everything is incorporated—plan on 3 to 5 minutes on medium-high speed. You aren’t just mixing ingredients at that point; you are actively aerating the mixture to get that light, whipped vanilla frosting everyone loves. Total hands-on time is only about 10 minutes, but that final 5 minutes of whipping is non-negotiable for truly fluffy results!
Can I make this frosting ahead of time?
Yes, you definitely can! This no-cook buttercream recipe stores like a champ. Just put it in an airtight container—really seal it up—and it’s good in the fridge for about a week. When you pull it out to use it, it will be hard as a rock, don’t panic! Let it sit on the counter for an hour or two until it’s slightly soft again. Then, pop it back into the mixer bowl and whip it on medium speed for two minutes. That re-whipping step is vital to bring back all the air pockets we created; otherwise, it will be too stiff and dense for easy spreading on your vanilla frosting for cupcakes.
Share Your Spoon Swirl Moment
You’ve got this! Honestly, making the best creamy vanilla frosting is such a satisfying moment when everything comes together perfectly. I really hope you take a moment to enjoy that quiet joy, that little ‘spoon swirl’ moment, when you see the light, fluffy texture come together in your bowl. It’s proof that you created something wonderful just by paying attention to the details.
Once you’ve finished decorating your amazing cake or cupcakes, I really want to see what you made! Please, if you have a second, leave a rating right here on the recipe. Your feedback helps others feel confident trying this vanilla buttercream frosting, and for me, seeing those stars pop up is almost as sweet as the frosting itself.
And if you share a picture on Instagram or Facebook, tag us! Show us your culinary creation, and the peace you found making this simple, delicious topping. We love seeing how our recipes bring a little swirl of happiness into your busy week. If you ever have questions about technique or need to get in touch about anything at all, you can always reach us via our contact page. Happy baking, friend!
PrintThe Best Classic American Vanilla Buttercream Frosting
Make this easy homemade frosting for creamy, fluffy vanilla buttercream frosting perfect for cakes and cupcakes. This no-cook buttercream recipe whips up quickly for smooth results.
- Prep Time: 10 min
- Cook Time: 0 min
- Total Time: 10 min
- Yield: About 3 cups
- Category: Dessert Topping
- Method: Mixing/Whipping
- Cuisine: American
- Diet: Vegetarian
Ingredients
- 1 cup (2 sticks or 226g) unsalted butter, softened to cool room temperature
- 4 cups (480g) powdered sugar, sifted
- 1 tablespoon pure vanilla extract
- 3 to 4 tablespoons heavy cream or whole milk
- Pinch of salt
Instructions
- Place the softened butter into the bowl of a stand mixer fitted with the paddle attachment, or use a large bowl with a hand mixer. Beat the butter on medium speed for 3 to 4 minutes until it is very pale and creamy. This step is key for fluffy vanilla frosting.
- Gradually add the sifted powdered sugar, one cup at a time, mixing on low speed until just combined after each addition. Scrape down the sides and bottom of the bowl frequently.
- Add the vanilla extract and a pinch of salt. Mix on low speed until incorporated.
- Add 3 tablespoons of heavy cream or whole milk. Increase the mixer speed to medium-high and beat for 3 to 5 minutes until the vanilla buttercream frosting is light, smooth, and fluffy. This whipping time develops the texture needed for good piping consistency.
- If the frosting seems too stiff, add the remaining tablespoon of cream, one teaspoon at a time, until you reach your desired consistency for spreading or piping.
- Use immediately to frost your favorite cakes or cupcakes.
Notes
- For the smoothest buttercream, ensure your butter is truly at cool room temperature—soft enough to press a finger into easily, but not greasy or melted.
- If your frosting seems soupy after mixing, chill the entire bowl for 10 minutes, then re-whip.
- If you need a stiffer frosting for detailed piping, reduce the liquid slightly or add a quarter cup more sifted powdered sugar.
- This classic American buttercream is excellent for decorating and holds up well at room temperature for serving.
Nutrition
- Serving Size: 1/4 cup
- Calories: 380
- Sugar: 52
- Sodium: 65
- Fat: 19
- Saturated Fat: 12
- Unsaturated Fat: 7
- Trans Fat: 0
- Carbohydrates: 53
- Fiber: 0
- Protein: 0
- Cholesterol: 60