

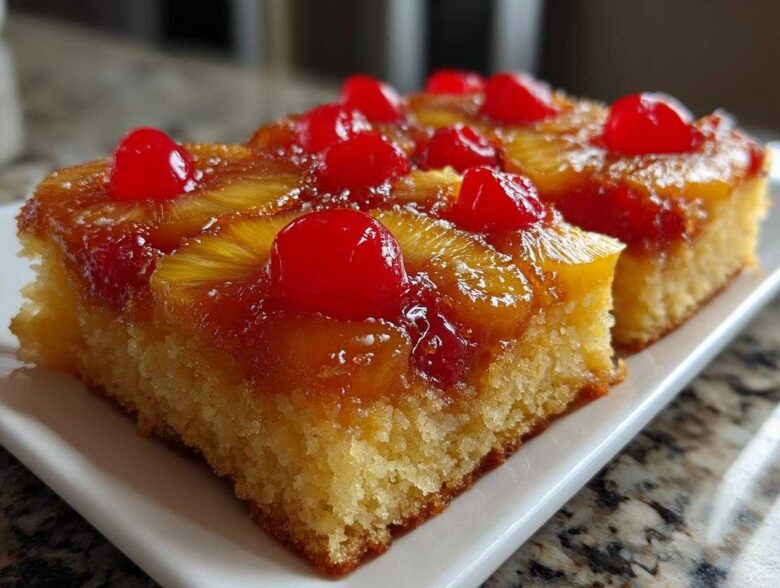
There is just something magical about that first moment you flip the pan, right? You hold your breath, waiting for that cascade of glistening, bubbling brown sugar and bright yellow pineapple rings to tumble onto the plate. If you’ve been disappointed by stiff, dry versions before, trust me, this is the absolute best pineapple upside down cake you’ll ever make. It’s scratch-made perfection! I (Noah) spent nearly a whole month tweaking the ingredient ratios—especially the liquid—to ensure this classic gets that impossibly moist crumb we all crave. This isn’t just some random vintage dessert; this is *our* ultimate, buttery version that proves retro baking is still the best baking. When you want to know more about our journey and why we focus on heart in the kitchen, check out our story right here. Get ready for the sweetest, sunniest cake imaginable.
Why This Classic Pineapple Upside Down Cake Recipe Works
We aren’t just throwing ingredients together here; we are building a foundation for flavor and texture. Trust me, this recipe nails those two things everyone asks about: caramel gooiness and cake softness! When you follow these steps, you end up with a showstopper every single time.
- Perfectly gooey topping that doesn’t burn or taste weak.
- A cake body that stays tender, even the day after baking.
- That unbeatable sweet-and-tangy tropical flavor profile.
Achieving the Perfect Caramelized Pineapple Cake Topping
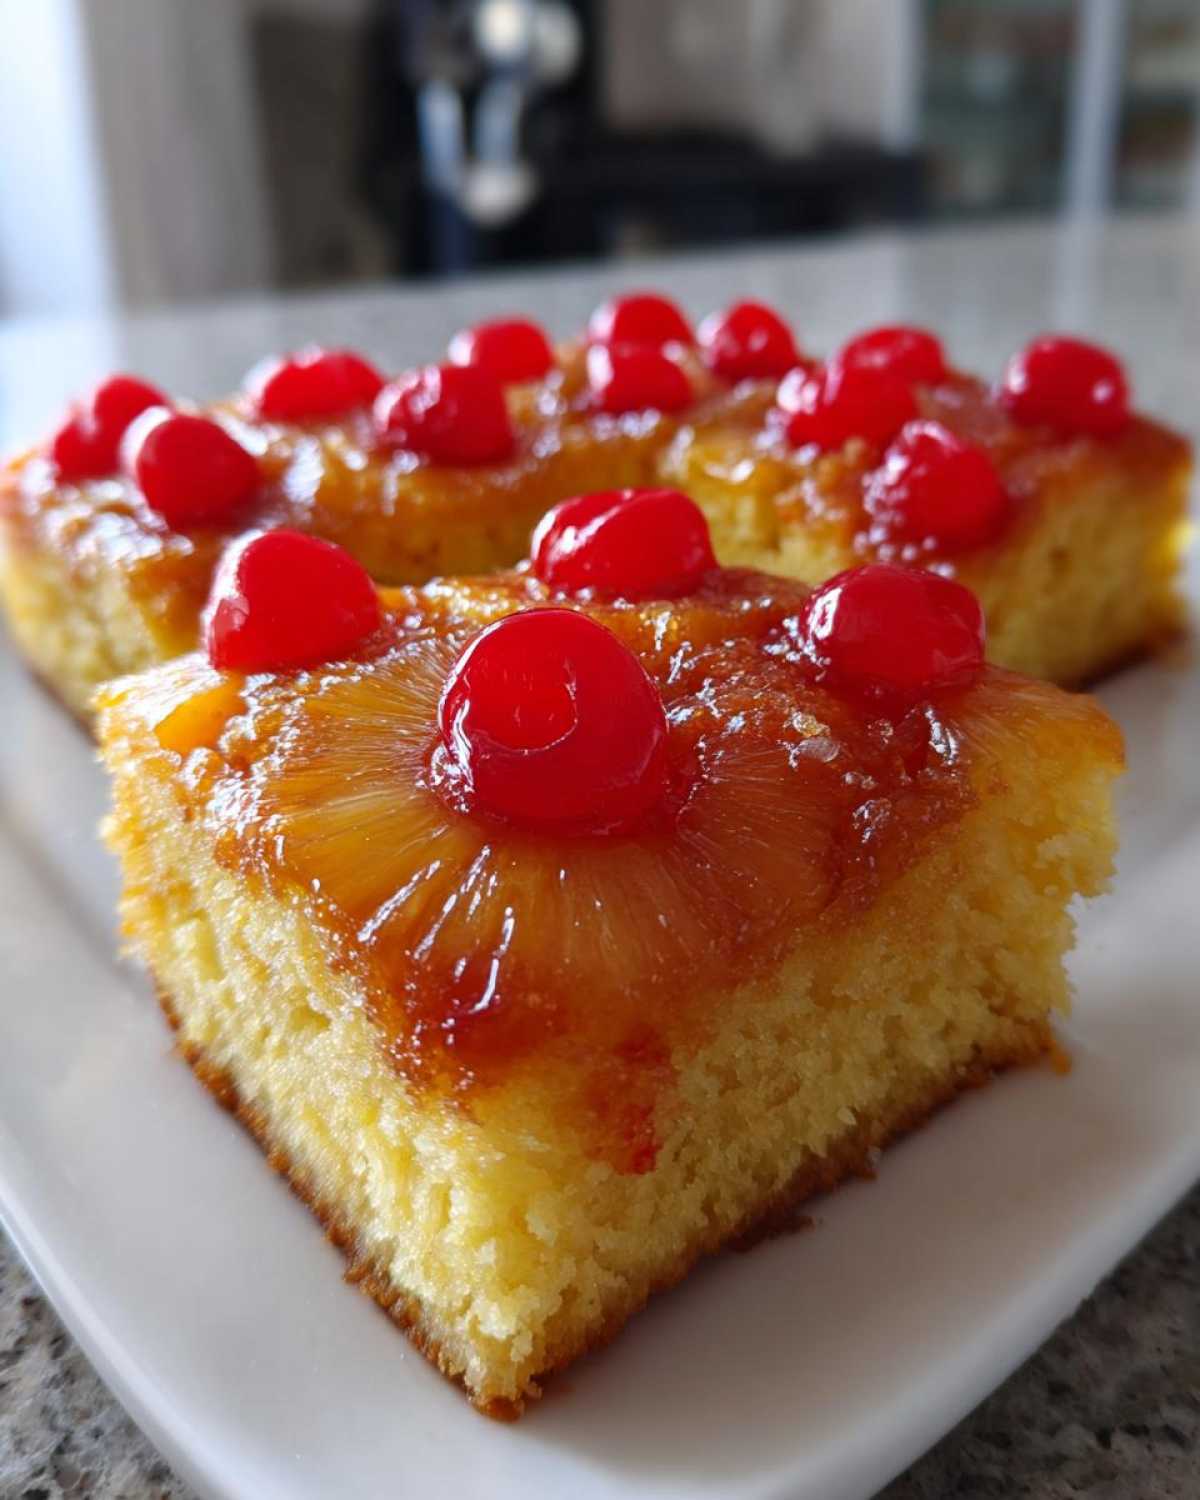
The secret to that beautiful, shiny crust is combining the melted butter and the packed brown sugar before the fruit ever goes in. When you melt that butter—don’t skip melting it!—and then sprinkle the brown sugar right on top, it dissolves just enough to create a super rich syrup base. When you flip it, that buttery, sugary layer clings perfectly to the pineapple, creating that incredible Caramelized Pineapple Cake finish without being overly sweet or sticky.
Tips for a Truly Moist Pineapple Upside Down Cake
For the cake part, pay attention when you’re mixing! The biggest mistake people make is overworking the flour, which makes the cake tough. Mix until you *just* barely see those last streaks of flour disappear. Also, don’t toss that juice you drained from the can! We stir some of that reserved pineapple juice into the milk mixture. It adds so much background flavor and keeps this Moist Pineapple Upside Down Cake tasting bright and fruity.
Ingredients for the Ultimate Homemade Pineapple Cake
Okay, this is where we gather our troops! For the best pineapple upside down cake, sourcing quality ingredients matters, even if the process seems simple. Remember, we are making this cake completely from scratch to maximize that buttery homemade flavor. Don’t substitute the brown sugar for white sugar in the topping—that’s where the magic caramel comes from!
I’ve listed everything out below. Take a look and make sure you have your 9-inch round cake pan ready to go!
- 1/2 cup unsalted butter (for melting in the pan)
- 3/4 cup packed light brown sugar (this is for the topping!)
- 1 (20 ounce) can pineapple slices in juice, drained (Don’t forget to save that juice!)
- 14 maraschino cherries, drained
- 1 1/2 cups all-purpose flour
- 1 1/2 teaspoons baking powder
- 1/2 teaspoon salt
- 1/2 cup (1 stick) unsalted butter, softened (This is for the actual cake batter)
- 3/4 cup granulated sugar
- 2 large eggs
- 1 teaspoon vanilla extract
- 1/2 cup milk
- 1/4 cup reserved pineapple juice (Trust me, this extra splash bumps up the flavor!)
Step-by-Step Instructions for Your Pineapple Upside Down Cake
This is the moment of truth! Even though the ingredients are straightforward, the technique for assembling and flipping this pineapple upside down cake is what makes it spectacular. Don’t rush the cooling bit at the end; that five minutes of patience saves you from sugary heartbreak later! If you want to follow along with other great recipes or see what we are testing this week, pop over to our main blog page.
Preparing the Caramelized Fruit Base
This needs to be done perfectly because this layer becomes the top! First, go ahead and preheat that oven to 350°F (175°C) and grab your 9-inch round cake pan. Now, we’re going straight to the stovetop—or, carefully, the oven—to melt that initial 1/2 cup of butter right in that cake pan over low heat. Once it’s liquid gold, take it off the heat immediately. You need to sprinkle that brown sugar evenly across the melted butter—make sure it’s an even layer, no clumps! Then arrange your drained pineapple slices beautifully over that sweet bottom layer. Pop one drained cherry right in the middle of every ring, and then fill in any empty spots around the edges with the rest of your cherries. Set this pan aside while you tackle the batter!
Mixing the Batter for the Best Pineapple Upside Down Cake
Time to make the cake itself! Grab a medium bowl and whisk together your dry stuff first: the flour, baking powder, and salt. Keep this waiting patiently. Now for the big bowl! We need to cream the softened 1/2 cup of butter with the granulated sugar until it looks light and fluffy—this is where we build air, so don’t skimp on the beating here. Next, beat in your two eggs one at a time, making sure each one is totally mixed in before adding the next. Don’t forget that vanilla extract! In a separate little bowl, quickly whisk your milk with that reserved pineapple juice for extra flavor. Now, for the crucial part (Step 8 in the recipe): add your dry mixture in thirds, alternating with the milk mixture, always starting and finishing with the dry ingredients. Mix only until everything is *just* combined. Seriously, stop when you think you should keep mixing—overmixing ruins the texture of this Moist Pineapple Upside Down Cake.
Baking and Inverting the Caramelized Pineapple Cake
Gently spoon all that wonderful batter right over your fruit base in the pan. I mean gently! We don’t want to disturb those pretty pineapple rings underneath. Don’t press it down; just let it settle naturally. Pop it into the preheated oven and bake for about 35 to 40 minutes. You’ll know it’s done when a wooden pick inserted right into the center comes out clean. Okay, here’s where the suspense builds: let it cool in the pan on a wire rack for just 5 to 10 minutes. That little bit of time lets the caramel firm up just enough so it doesn’t run everywhere. Place your serving plate upside down *over* the cake pan, hold the plate and pan together tight, and quickly—but carefully—flip the whole thing over onto the counter! Lift the pan slowly. If any fruit pieces got stuck (oops!), just use a spatula to gently tuck them back into position on your gorgeous Caramelized Pineapple Cake.
Making Variations of the Classic Pineapple Cake
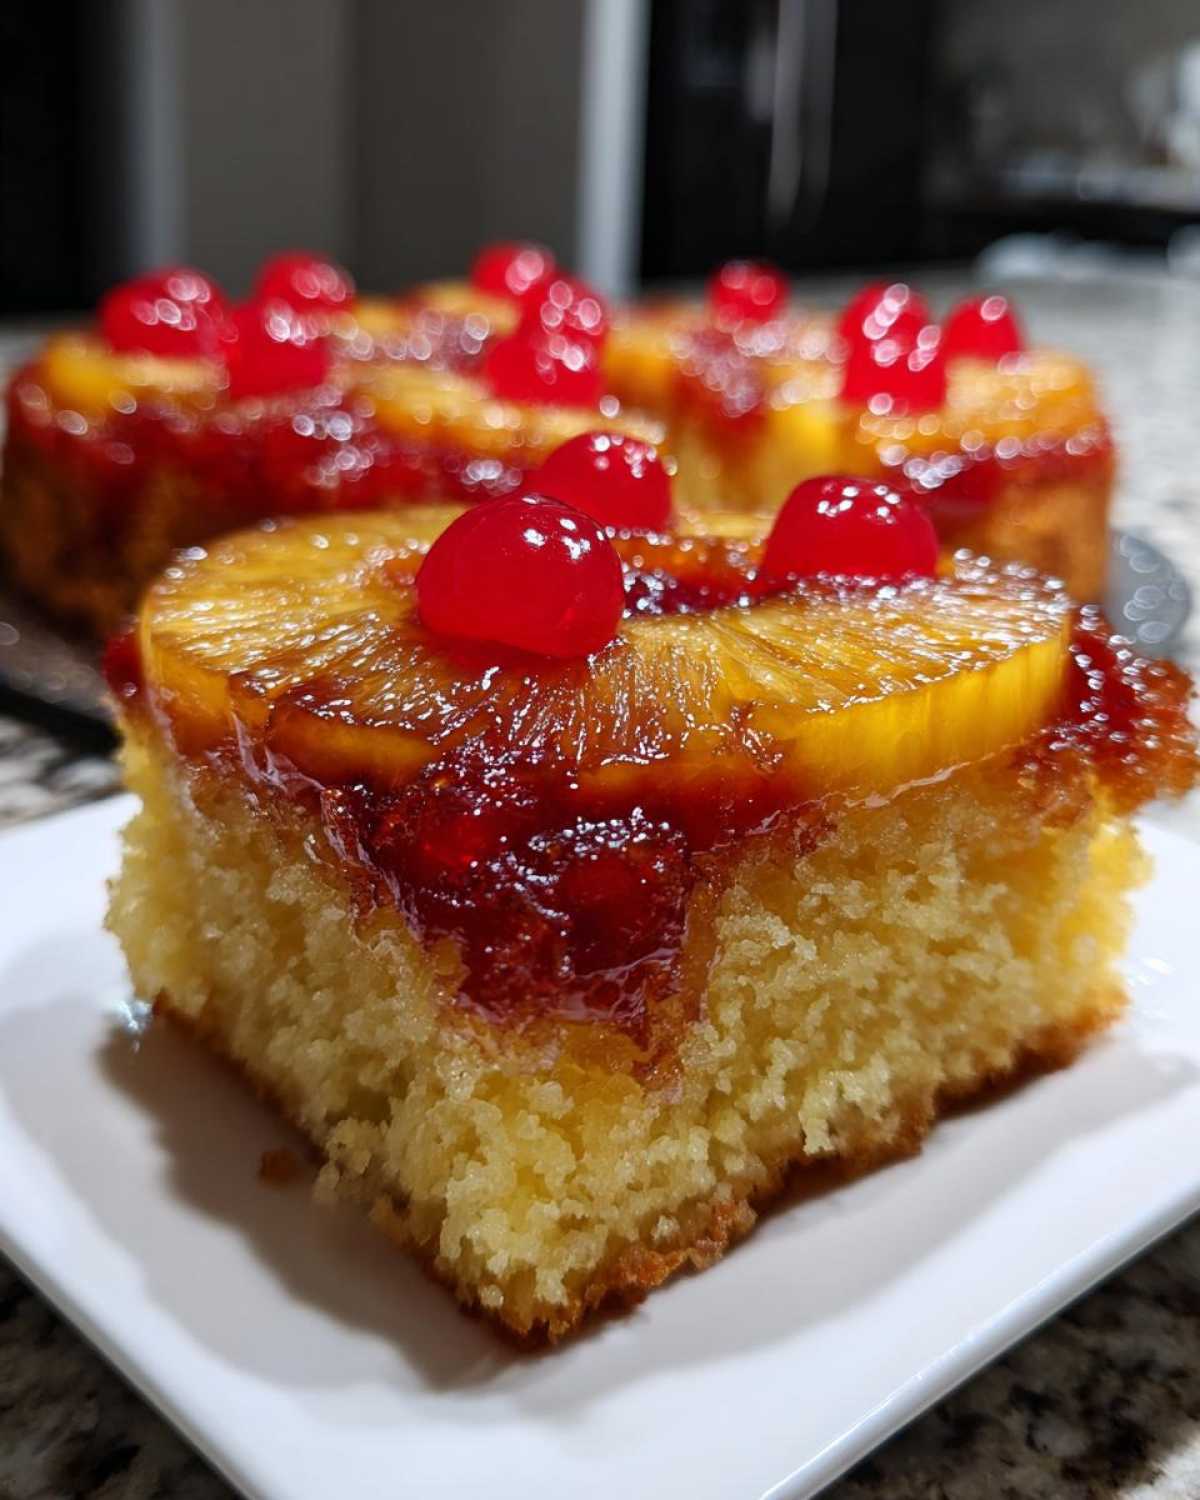
I know sometimes a standard 9-inch round just won’t cut it, especially when you’re baking for a big crowd or just want something extra pretty! Luckily, this Classic Pineapple Cake batter is super robust, which means we can play around with shapes. We’ve only made it in the standard pan so far, but I’ve done the research for you if you want to try a Bundt or those adorable individual minis. Because this recipe is so reliable, changing the container is usually pretty easy, but you do have to adjust your timing a bit. If you’ve ever made my savory cheddar fondue, you know I love adapting traditional things, and this cake is no different!
Tips for a Pineapple Upside Down Bundt Cake
If you’re going for a dramatic presentation with a gorgeous Pineapple Upside Down Bundt Cake, you have to be really religious about greasing the pan. A Bundt pan is tricky because of all those deep nooks and crannies. Forget just spraying it; you need to grease it generously with butter or shortening and then dust every bit of it with flour. Make sure you tap out every single bit of excess flour, too! Because the batter loads up high in a Bundt, it might need an extra 5 to 10 minutes in the oven compared to the round pan, so keep an eye on it. You can check out the fantastic method over at Delish for baking theirs right here if you want to see a master class in pan prep!
Creating Mini Pineapple Upside Down Cakes
Mini versions? Yes, please! These are perfect for parties because everyone gets their own little perfectly topped slice. You can use a standard muffin tin for this. The technique is basically the reverse of the main recipe: you put the butter/brown sugar topping in the bottom of the paper liner first, then top it with the batter. Since the layers are shallow, these bake much, much faster. I would start checking them around the 18-minute mark, definitely no later than 20 minutes. The toothpick test still works, but they turn from perfect to dry in about 60 seconds, so watch carefully!
Pro Tips for Baking Success
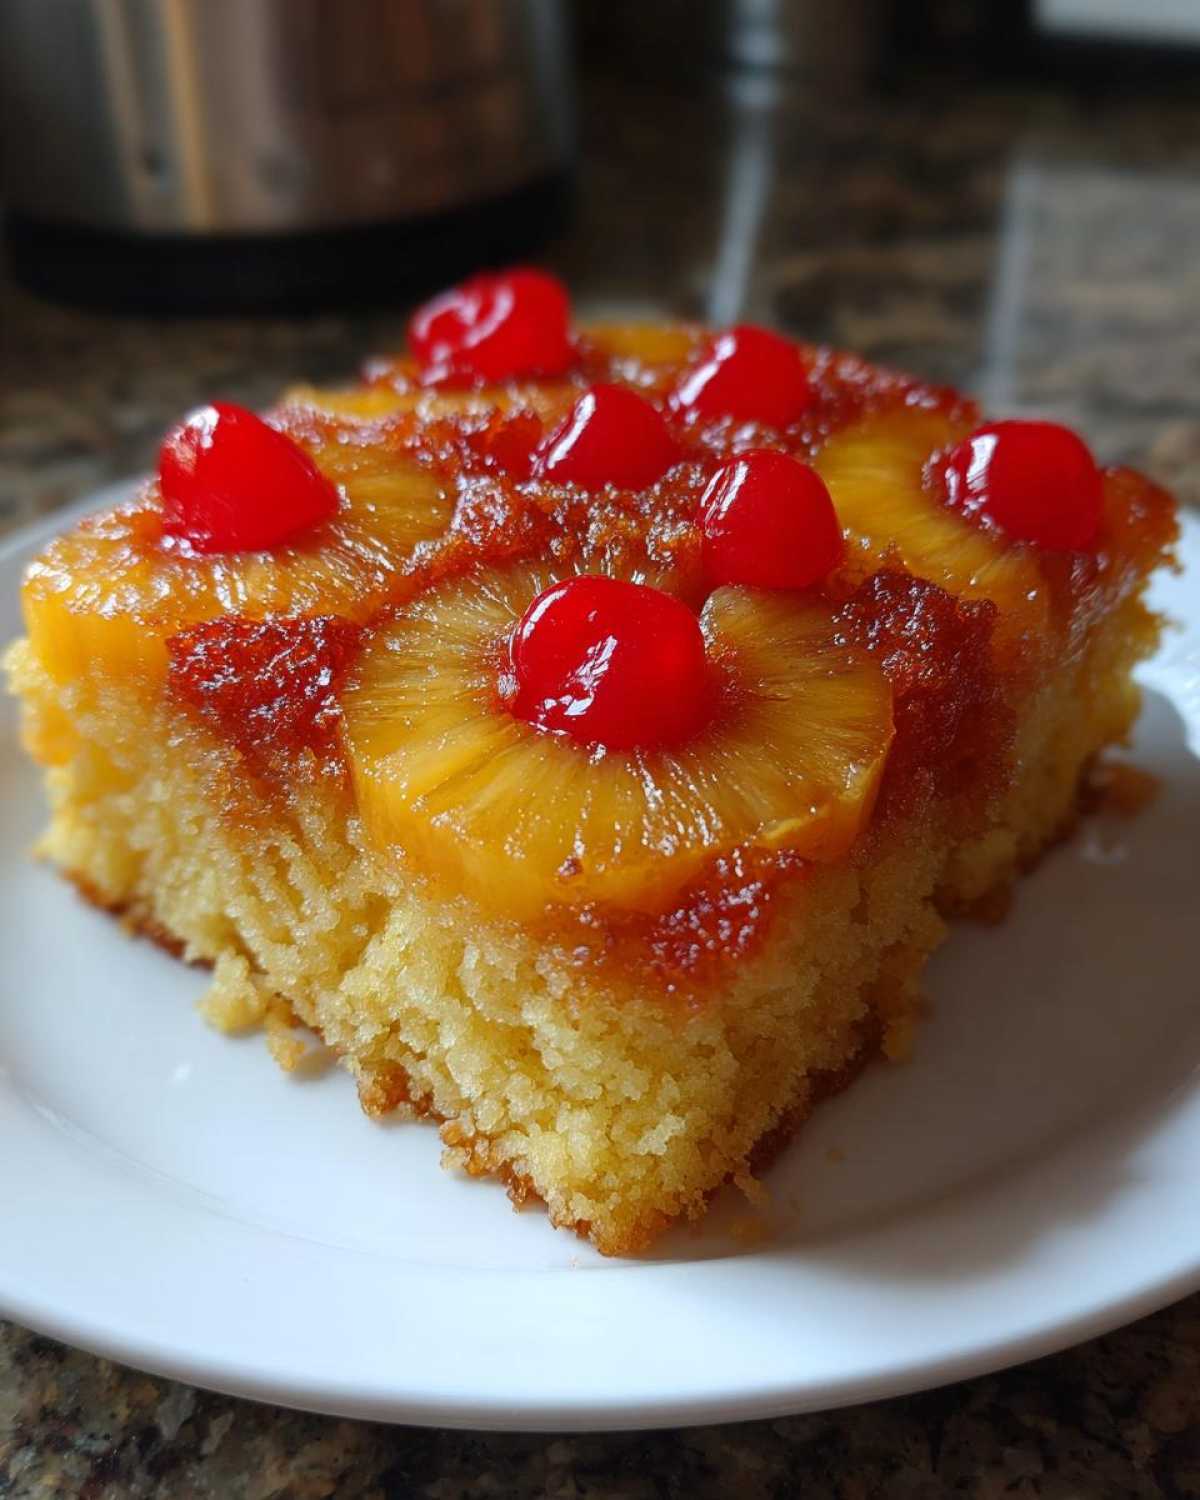
I love when a recipe is as good as this one, but I also think it’s important to know how to tweak things slightly if you’re missing an ingredient or just want to bump up the Southern charm a little bit. Noah here—I’m the one who handles the testing and refining, so I’ve got a few notes on making this fantastic Classic Pineapple Cake sing just a little louder when it comes out of the oven. These little adjustments are what turn a great cake into your own signature bake.
Ingredient Substitutions and Flavor Boosts
The recipe calls for milk, but if you happen to have buttermilk, I highly suggest taking advantage of that! Our notes mention swapping in buttermilk for about 1/4 cup of the regular milk, and I strongly agree with that tweak. Buttermilk reacts with the baking powder to make the crumb even softer and adds a beautiful, barely-there tang that cuts through the richness of that buttery topping we made. It really elevates the whole thing.
Now, if you’re looking for a real dose of nostalgia, especially if you want something leaning towards a Southern Style Pineapple Cake flavor, try this little trick during the topping stage. When you melt that first 1/2 cup of butter and before you sprinkle the brown sugar over it, take the pan off the heat and splash in just a tiny bit of dark rum—maybe a teaspoon or so. It seems small, but that little bit of alcohol deepens the molasses flavor in the brown sugar so much! It evaporates off while baking, leaving behind nothing but deep, complex caramel notes. It’s amazing.
Serving Suggestions for This Tropical Cake Recipe
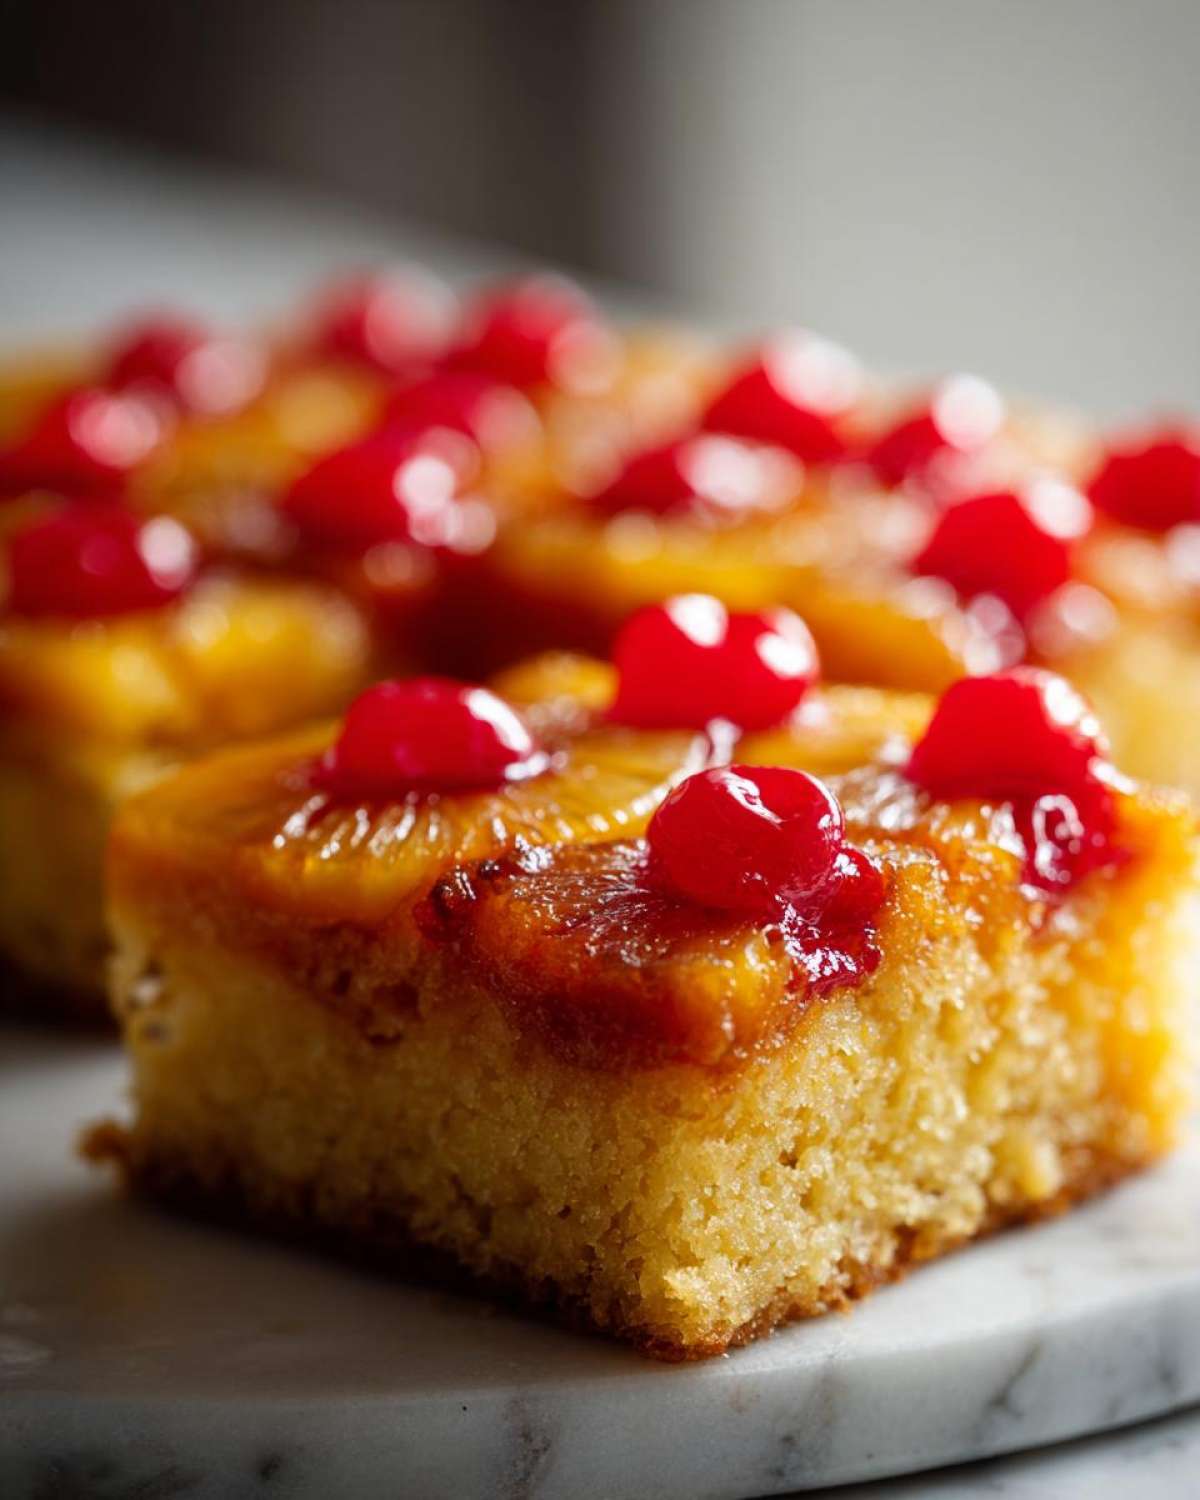
Even though this Classic Pineapple Cake is absolutely stunning just flipped out of the pan onto a plain white platter, it loves a little accompaniment. Because this dessert is so rich, buttery, and sweet thanks to that caramelized fruit layer, I always like serving it with something light, maybe something a little cold or tangy to cut through all that delicious fat. It’s already a complete show, but a little something extra always feels nice.
When we serve it warm—which, let’s be honest, is the only truly correct way to eat it shortly after baking—a dollop of something creamy is just essential. My first recommendation is simple whipped cream, but you’ve got to whip it yourself! Keep the sugar light when you whip it, just enough so it holds its shape. That cool, airy texture against the warm, dense cake and gooey topping? Perfection, I’m telling you.
If you’re serving this as an afternoon treat instead of a heavy evening dessert, I love pairing it with something bright to drink. We recently perfected a recipe for Hibiscus Iced Tea with Honey, and honestly, the tartness of the hibiscus is the exact contrast this sweet tropical cake needs. It’s refreshing and just makes the whole experience feel like a little mini-vacation.
If you want to stick to a fully dairy topping, a scoop of really good vanilla bean ice cream works wonders, but make sure it’s high quality. The strong vanilla notes play so well with the caramelized brown sugar. Just let the ice cream melt slightly over the warm cake right before you eat it. It creates its own little creamy sauce!
Storage and Reheating Instructions
It is incredibly rare that we ever have leftovers of this cake, but when we do, storing it properly is key to keeping that buttery structure intact. Since the topping has all that rich butter and brown sugar, it can get a tiny bit sticky or soft once it cools completely in the fridge, which is totally normal for any homemade pineapple cake. Don’t worry, we can fix that!
For storage, you absolutely must let the cake cool down to room temperature first—and I mean completely cool—before you even think about covering it up. If you cover it while it’s warm, you’ll capture moisture, and that moisture turns into soggy topping, which nobody wants!
Once it’s fully cool, cover the entire cake tightly with plastic wrap, or transfer individual slices into airtight containers. You can keep this cake at cool room temperature for about 2 days, but if your kitchen is warm, pop it in the fridge. If it’s refrigerated, it’s best eaten within 4 days.
The Trick to Reheating Slices
This is my favorite part, because eating a slightly warmed slice feels like you just flipped it out of the oven moments ago! You never want to microwave a whole slice of cake because it just turns rubbery, but for this easy pineapple dessert, we can cheat a little bit!
If you’re reheating just one slice, I recommend a very quick zap in the microwave—maybe 10 to 15 seconds on about 50% power—just enough to warm the butter back up so it gets gooey again without fully cooking the cake structure. Take it out before you think it’s done; it will keep warming up for a second after the microwave stops.
If you’re reheating a larger wedge, or if you want that topping to feel slightly crisped up again, use the oven or toaster oven. Set your oven to about 300°F (150°C) and place the slice directly on a baking sheet lined with foil. Heat it for about 8 minutes. This low, slow warmth brings the moisture back into the cake body while letting the caramel topping settle back into its beautifully sticky state. It truly tastes amazing warmed up this way!
Frequently Asked Questions About This Retro Dessert
It is so common for people to have questions when tackling a truly classic pineapple cake, especially when you want that perfect flip! Baking anything upside down relies on a couple of key moments going just right. I’m happy to share what I learned during all those testing phases so you avoid any kitchen disasters. If you ever need to reach out with a specific question about this recipe or another one, don’t hesitate to find our details on our Contact Page!
Can I use fresh pineapple instead of canned?
That’s a great question, because fresh fruit always smells amazing! You absolutely *can* use fresh pineapple rings, but you can’t just toss them straight in like the canned ones. Canned pineapple is pre-cooked and packed in heavy syrup, so it already has a predictable moisture level and sweetness. Fresh pineapple has way more natural water content, and if you put it in raw, it might steam your cake and stop it from setting correctly, resulting in a soupy mess. If you want to use fresh, trim and core your rings, then sauté them for about 5 minutes in a little butter and sugar until they soften up just slightly and release some of that extra moisture. Then, use them right away in the pan as directed!
My topping stuck to the pan! What went wrong?
Ugh, the dreaded sticking! It is the bane of every baker making this easy summer baking centerpiece. Usually, this happens for one of two reasons. First, the cooling time wasn’t quite right. If you flip it too soon, the melted butter/sugar mixture is too thin, and it runs right out instead of sticking to the cake. If you wait too long—say, over 15 minutes—the sugar mixture cools down too much and crystallizes, bonding itself permanently to the pan. You need that tight 5 to 10-minute window!
The second reason is insufficient base coverage. Did you make sure that initial layer of melted butter and brown sugar was evenly spread across the *entire* bottom of the pan? Any dry spot where the batter touches metal instead of caramelized sugar will stick like glue. Next time, try using a little more butter under that sugar layer, especially if you are using an older pan that might have some scratches.
Sharing Your Spoon Swirl Baking Experience
Well, we made it! We mixed it, we baked it, and hopefully, you’ve flipped it with great success. Now that you have this incredible, drippingly moist, retro dessert staring back at you, the best part starts: sharing the joy! Remember what Hana and I talked about? Baking is our love language, and sharing our results is how we feel connected to everyone who tries our recipes.
I really, truly want to know how your Pineapple Upside Down Cake turned out. Did the caramel bubble up just right? Did your family ask for seconds immediately? Please, take a picture—I cherish seeing the beautiful things you all make in your kitchens!
If you loved this recipe and want to stay up to date on all the comfort food and baking adventures we share (we’re currently testing a three-cheese sourdough!), make sure you come back often. And hey, if you ever want to read about how we protect all our precious recipes online, you can check out our Privacy Policy. But mostly, just let us know you baked something wonderful today. Happy swirling, everyone!
PrintClassic Pineapple Upside Down Cake: A Moist, Buttery Retro Dessert

Bake this classic Pineapple Upside Down Cake from scratch for a moist, buttery dessert with perfectly caramelized pineapple rings. This recipe delivers that nostalgic flavor everyone loves.
- Prep Time: 15 min
- Cook Time: 40 min
- Total Time: 55 min
- Yield: 8 servings
- Category: Dessert
- Method: Baking
- Cuisine: American
- Diet: Vegetarian
Ingredients
- 1/2 cup unsalted butter
- 3/4 cup packed light brown sugar
- 1 (20 ounce) can pineapple slices in juice, drained (reserve juice)
- 14 maraschino cherries, drained
- 1 1/2 cups all-purpose flour
- 1 1/2 teaspoons baking powder
- 1/2 teaspoon salt
- 1/2 cup (1 stick) unsalted butter, softened
- 3/4 cup granulated sugar
- 2 large eggs
- 1 teaspoon vanilla extract
- 1/2 cup milk
- 1/4 cup reserved pineapple juice
Instructions
- Preheat your oven to 350°F (175°C). You will need a 9-inch round cake pan.
- Melt 1/2 cup of butter in the cake pan over low heat on the stovetop, or carefully in the oven.
- Remove the pan from the heat. Sprinkle the brown sugar evenly over the melted butter.
- Arrange the drained pineapple slices over the sugar and butter mixture. Place one maraschino cherry in the center of each pineapple ring, and place any remaining cherries around the edges. Set the pan aside.
- In a medium bowl, whisk together the flour, baking powder, and salt. Set this dry mixture aside.
- In a large bowl, cream together the softened 1/2 cup of butter and the granulated sugar until the mixture is light and fluffy. This step helps create a moist pineapple cake.
- Beat in the eggs one at a time, mixing well after each addition. Stir in the vanilla extract.
- In a small bowl, whisk together the milk and the reserved pineapple juice.
- Gradually add the dry ingredients to the wet ingredients, alternating with the milk mixture. Begin and end with the dry ingredients. Mix only until just combined; do not overmix the batter.
- Gently spoon the cake batter evenly over the pineapple and cherry layer in the prepared pan. Do not press the batter down.
- Bake for 35 to 40 minutes, or until a wooden pick inserted into the center comes out clean.
- Let the cake cool in the pan on a wire rack for 5 to 10 minutes. This cooling time is important for the caramel to set slightly.
- Place a serving plate upside down over the cake pan. Carefully and quickly invert the cake onto the plate. Lift the pan off the cake. If any topping sticks, gently place the fruit back onto the cake.
- Serve warm or at room temperature.
Notes
- For an extra rich flavor, substitute 1/4 cup of the milk with 1/4 cup of buttermilk.
- If you want a Southern Style Pineapple Cake, you can add a small splash of dark rum to the melted butter and brown sugar mixture before adding the fruit.
- To ensure a moist pineapple upside down cake, do not overbake. Check for doneness right at the 35-minute mark.
Nutrition
- Serving Size: 1 slice
- Calories: 380
- Sugar: 35
- Sodium: 250
- Fat: 19
- Saturated Fat: 11
- Unsaturated Fat: 8
- Trans Fat: 0.5
- Carbohydrates: 50
- Fiber: 1
- Protein: 5
- Cholesterol: 95