

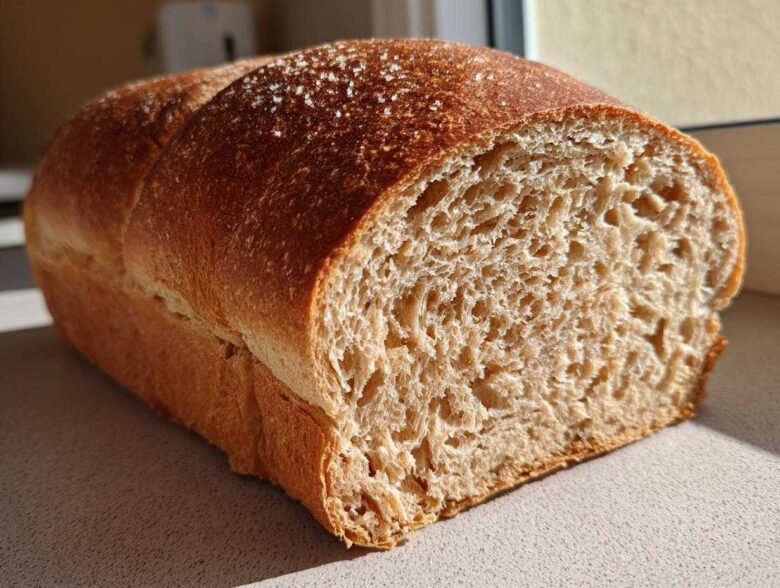
Are you tired of buying sad, squished loaves of whole wheat bread that feel more like cardboard than actual food? Trust me, I’ve been there. So many store-bought loaves promise nutrition but deliver disappointment. That’s why I poured my heart into perfecting this recipe for **whole wheat bread** that is genuinely soft, incredibly fluffy, and tastes exactly like it came fresh from a high-end bakery. Baking this is one of my favorite ways to find peace—it’s pure Spoon Swirl magic, just like the very first loaf Noah ever made for me. This recipe is my way of sharing that comforting warmth with you, ensuring your sandwiches and morning toast are never boring again! You can read more about how it all started on our About Us page.
Why This Recipe Makes the Best Soft Whole Wheat Bread
I know what you’re thinking: whole wheat bread is always dense, right? Wrong! That’s the charm of this recipe. We specifically engineered this method so you’d never have to settle for dry, crumbly loaves again. This is the kind of **whole wheat bread** that practically begs to be slathered with butter while it’s still slightly warm. It’s foolproof, even if you’re trying bread for the first time. It’s surprisingly fast, too, considering how much flavor we pack in there!
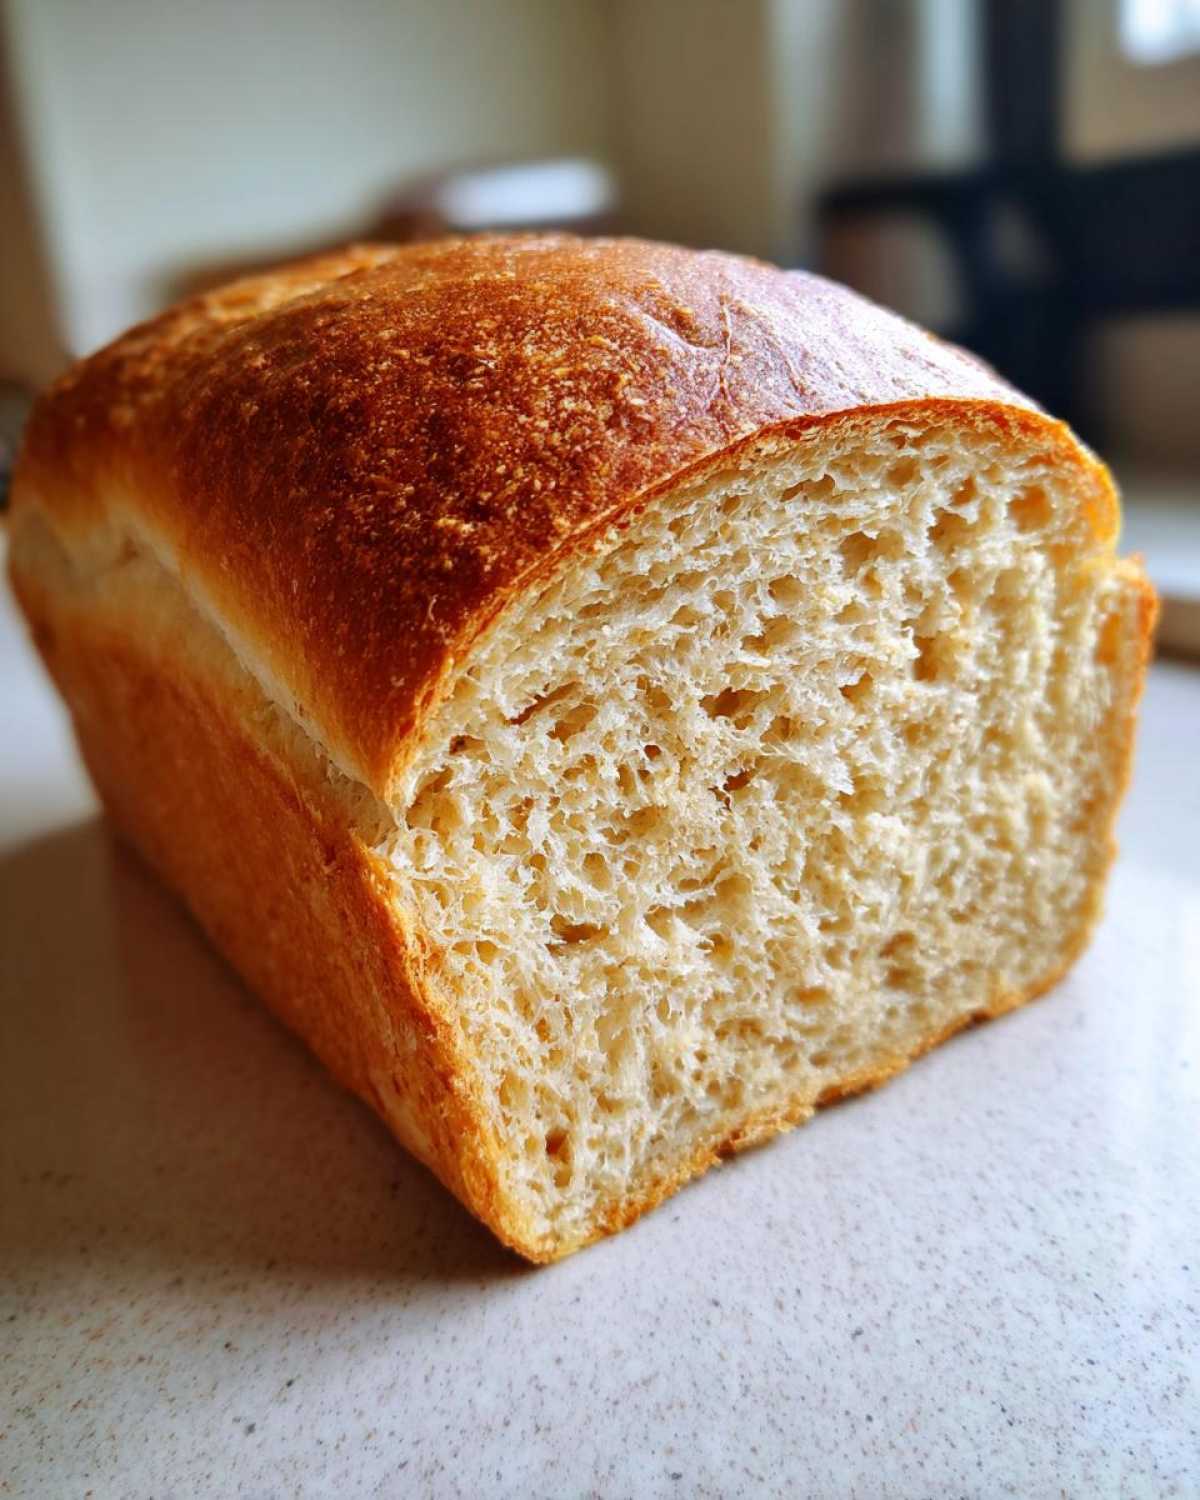
Key Benefits of Our Whole Wheat Bread
- The honey we use doesn’t just sweeten things up; it holds onto moisture, keeping that lovely, soft texture longer than if we just used plain sugar.
- We mix whole wheat flour with some all-purpose flour. This balance is our secret weapon for getting that satisfying heft without feeling like you’re chewing on a brick.
- The kneading process is straightforward, not overly complicated. I guide you to a smooth dough in about ten minutes, which is perfect for beginners trying to master that elastic quality.
- That long first rise? It’s essential! It’s where your *flavor* develops. Don’t rush it; trust the process like Noah taught me.
Gathering Ingredients for Your Whole Wheat Bread
Okay, time to get everything ready! Baking is a science, and with bread, precision really matters, especially when you’re aiming for that bakery-quality softness. Make sure your water is exactly in that warm pocket—too cold and your yeast sleeps, too hot and you kill it!
A little tip from me: double-check that yeast! If it’s been sitting open in the back of the cupboard for six months, maybe grab a fresh packet. Active yeast is non-negotiable for a good rise. Once you have your honey, oil, salt, and both flours ready to go, we can move on to the magic steps!
Ingredient Clarification and Substitutions
The biggest question I always get is about the flours. Why *both* whole wheat and all-purpose? Well, the all-purpose flour is our insurance policy for softness! Whole wheat flour is fantastic for nutrition, but it has those little bits that can weigh the loaf down. Mixing them gives the dough great structure while keeping it light enough for sandwiches.
Also, regarding the oil—I use vegetable oil because it’s neutral, but feel free to swap it for canola oil or even melted, cooled coconut oil if that’s what you keep on hand. The temperature for the water must be between 105 and 115°F. This is so important for waking those yeast bugs up!
Step-by-Step Instructions for Perfect Whole Wheat Bread
This is where the real fun begins! Don’t let the yeast scare you off—this is the easiest baking process you will ever try. I always make sure Noah is nearby for moral support the first time someone tries these steps. Remember, this process is exactly what takes our **whole wheat bread** from good to absolutely phenomenal. Follow these steps closely, and you’ll have a golden, delicious loaf on your counter!
Activating the Yeast and Mixing the Dough
First things first, we need happy yeast! Take your warm water—it should feel warm on your wrist, not hot—and stir in the honey and yeast. Now, you just wait. This is my crucial moment of truth, the part I watch like a hawk. If you see a nice, bubbly foam appear on top after about five or ten minutes, that means your yeast is awake and ready to work its magic. If nothing happens, you’ll need to restart with new yeast. Once it’s foamy, smoothly stir in the oil and salt.
Next up is the flour. Add that whole wheat flour gradually, just one cup at a time, making sure you are stirring well after each addition. You’ll notice it starts getting tough to stir with the spoon. That’s when we bring in the lighter all-purpose flour to finish creating that shaggy dough. Don’t over-mix it yet; we aren’t developing the gluten completely!
Kneading Time and First Rise of the Whole Wheat Bread
Time to get your hands messy! Turn that shaggy dough out onto a lightly floured counter. You need to dedicate about 8 to 10 minutes here for proper kneading. This builds the structure that keeps your delicious **whole wheat bread** from collapsing. You’re looking for the dough to feel smooth and wonderfully elastic under your palms. If you poke it gently, it should slowly spring back.
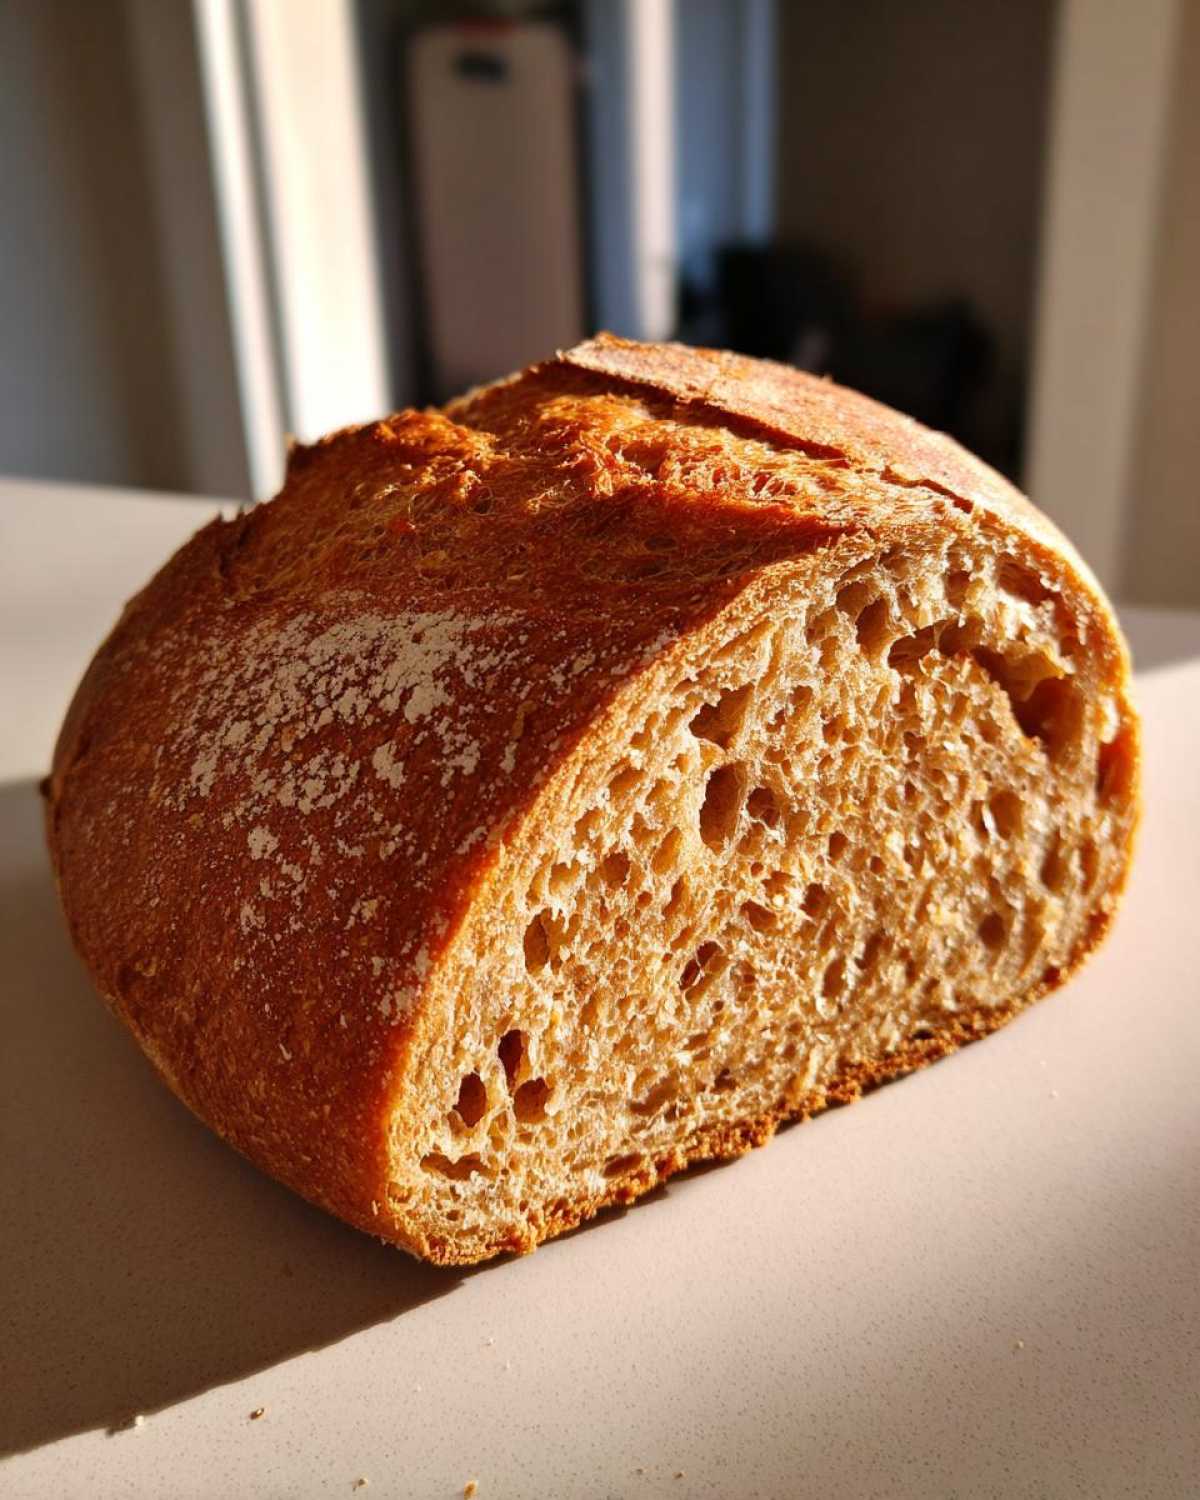
Once you’ve reached that perfect texture, lightly grease a large bowl—I like using olive oil for this—and tuck the dough inside, turning it over once so it gets a nice little coating all around. Cover it up tight, and then we wait. This first rise needs a warm, cozy spot for about an hour to an hour and a half. Trust me on the timing here; that slow rise is what develops all the amazing, complex flavor we want in the final loaf.
Shaping and Final Proofing Before Baking
When the dough has doubled in size—seriously, double!—gently punch it down. This step releases the big air pockets so we can shape it properly without losing all that hard work. Shape your dough into a neat loaf and settle it right into your well-greased 9×5 inch pan. Cover the pan loosely with a towel or plastic wrap again.
This second rise is shorter, usually 30 to 45 minutes. The visual cue here is key: we want the dough to crown about one inch above the rim of the pan. If it doesn’t look like it’s ready to overflow with happiness, give it five more minutes. This final puff ensures your loaf will be light and airy when it hits the oven. Head over to the Spoon Swirl Blog for more baking inspiration!
Baking and Cooling Your Homemade Bread
Alright friend, the dough looked perfect, and now it’s time for the payoff! Before you even think about putting that pan in, we need to get the oven hot. Preheat it all the way up to 375°F (190°C). You want it roaring when the dough goes in!
Slide that loaf carefully into the hot oven and set your timer for 30 minutes. Now, I need you to resist the urge to open the door right away—let the heat do its work! After 30 minutes, you can peek. We’re looking for that gorgeous, deep golden brown color. The recipe says 30 to 35 minutes total, but here’s my little expert tip for true doneness: just like Gram used to do, carefully tap the top of the loaf. If it sounds nice and hollow, like tapping on a sturdy wooden table, it’s done! If it sounds muffled or soft, give it five more minutes.
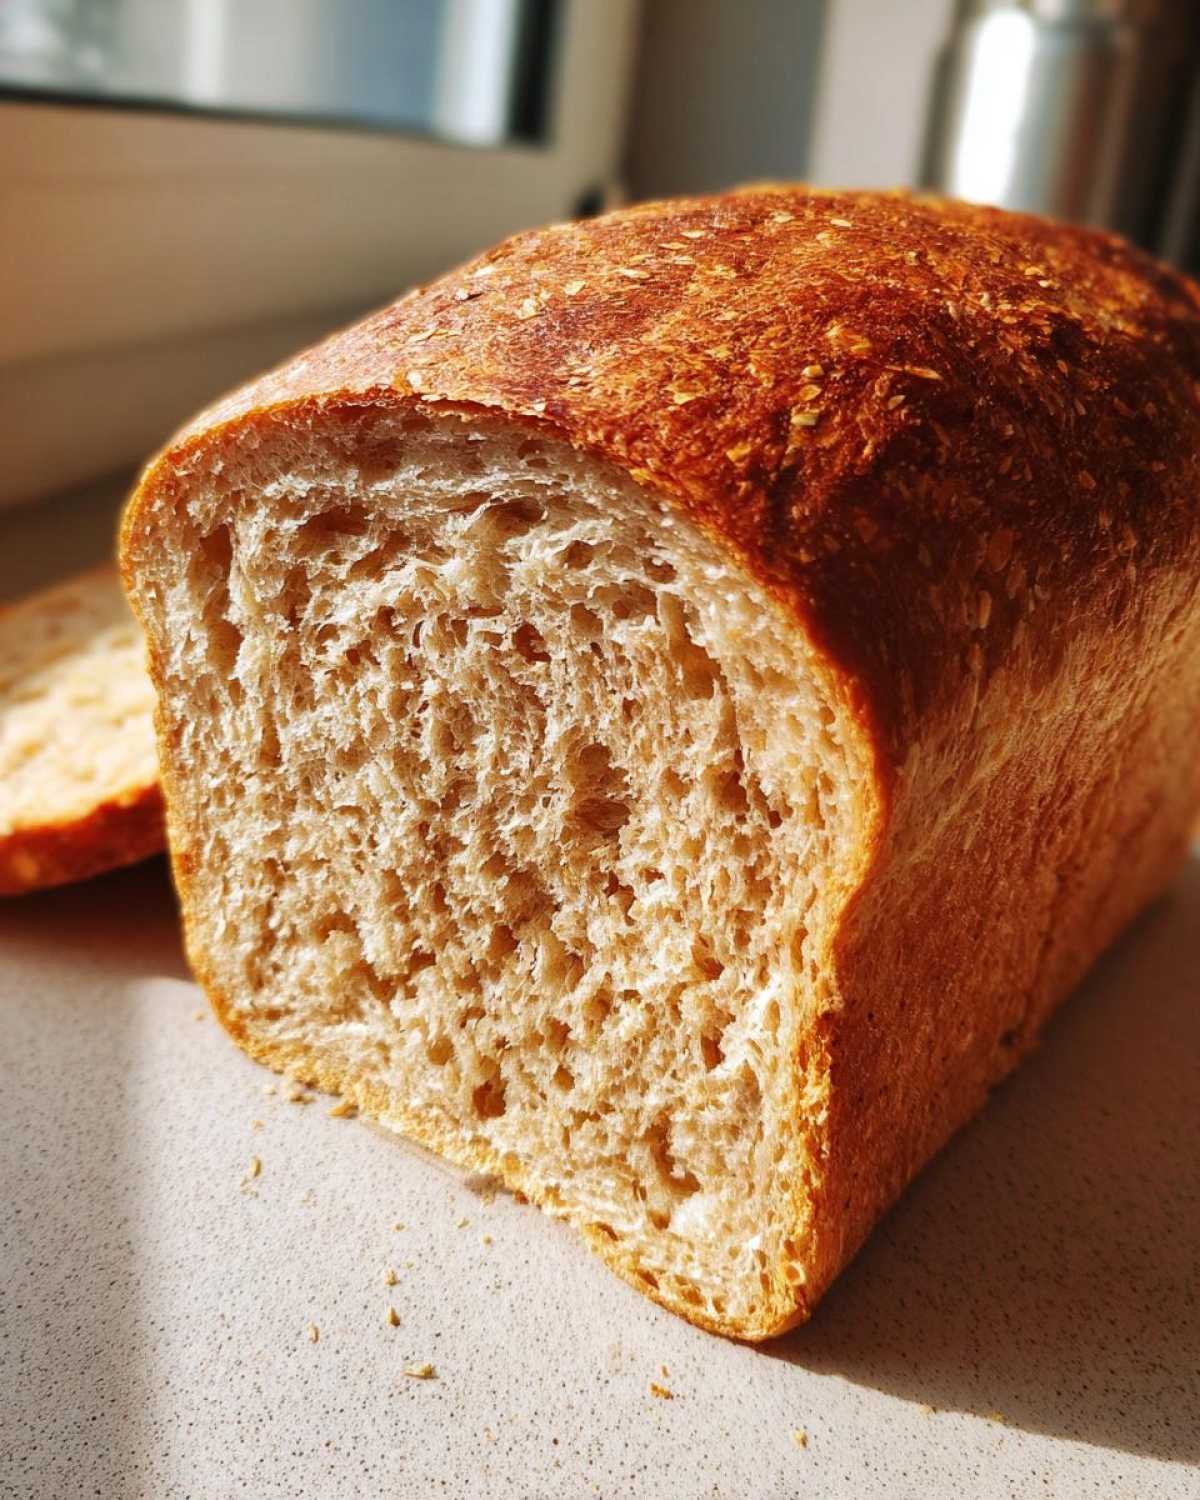
This next part is critical, so listen closely! As soon as that bread is done, it has to come OUT of the pan immediately. I mean *right now*. If you leave your beautiful loaf sitting in that hot metal pan, the trapped steam turns the bottom and sides gummy and soft, and we worked too hard for gummy bread!
Quickly turn the loaf out onto a wire cooling rack. It’s going to be soft and tempting, but you have to let it cool completely—and I mean *completely*—before you even think about slicing into it. If you cut it early, all those beautiful steam pockets collapse, and your fluffy interior turns dense again. Just breathe, look at it, smell it! The anticipation is half the fun.
Tips for Achieving the Softest Texture
Now that you’ve pulled that golden loaf out, let’s talk about future bakes! If you want every single loaf of this whole wheat bread to be unbelievably soft, there are just a couple of little tricks I rely on. See, baking happy bread is all about controlling its environment, especially when the weather isn’t cooperating with us. Don’t worry if your first attempt got a little heavy; we are going to fix that!
We mentioned adding a little honey because it attracts moisture—that’s step one for longevity. But if you find your crumb is still a bit tighter than you’d like, it usually comes down to the rising stage. A slow, steady rise in a warm place is what makes the yeast create those beautiful, tiny air bubbles that translate into fluffiness when baked. If your kitchen feels chilly, don’t panic; I have a trick that saves every batch, and it’s one of my favorite little secrets because it works like magic!
Handling Dough in a Cold Kitchen
If you look outside and see snow, or if your kitchen just runs cold (mine does in the winter!), your dough will take forever to rise. Or worse, it will stall out and never reach that perfect double size. When that happens, I turn to the oven light trick. It requires zero investment, just some smart thinking!
Turn your oven *off*, obviously, but then switch the internal light on. It gives off just the perfect amount of gentle, steady warmth needed to coax those yeast cells along. Place your greased bowl of dough right on the rack inside the oven, carefully close the door, and leave it alone. It creates this cozy little incubator for your dough to bloom in perfectly. It feels like cheating, I know, but hey, we gotta bake smart, especially when we want that softest texture for our whole wheat bread. For more wholesome inspiration, you might enjoy checking out some tips here: Healthy Whole Wheat Bread You Can Bake at Home.
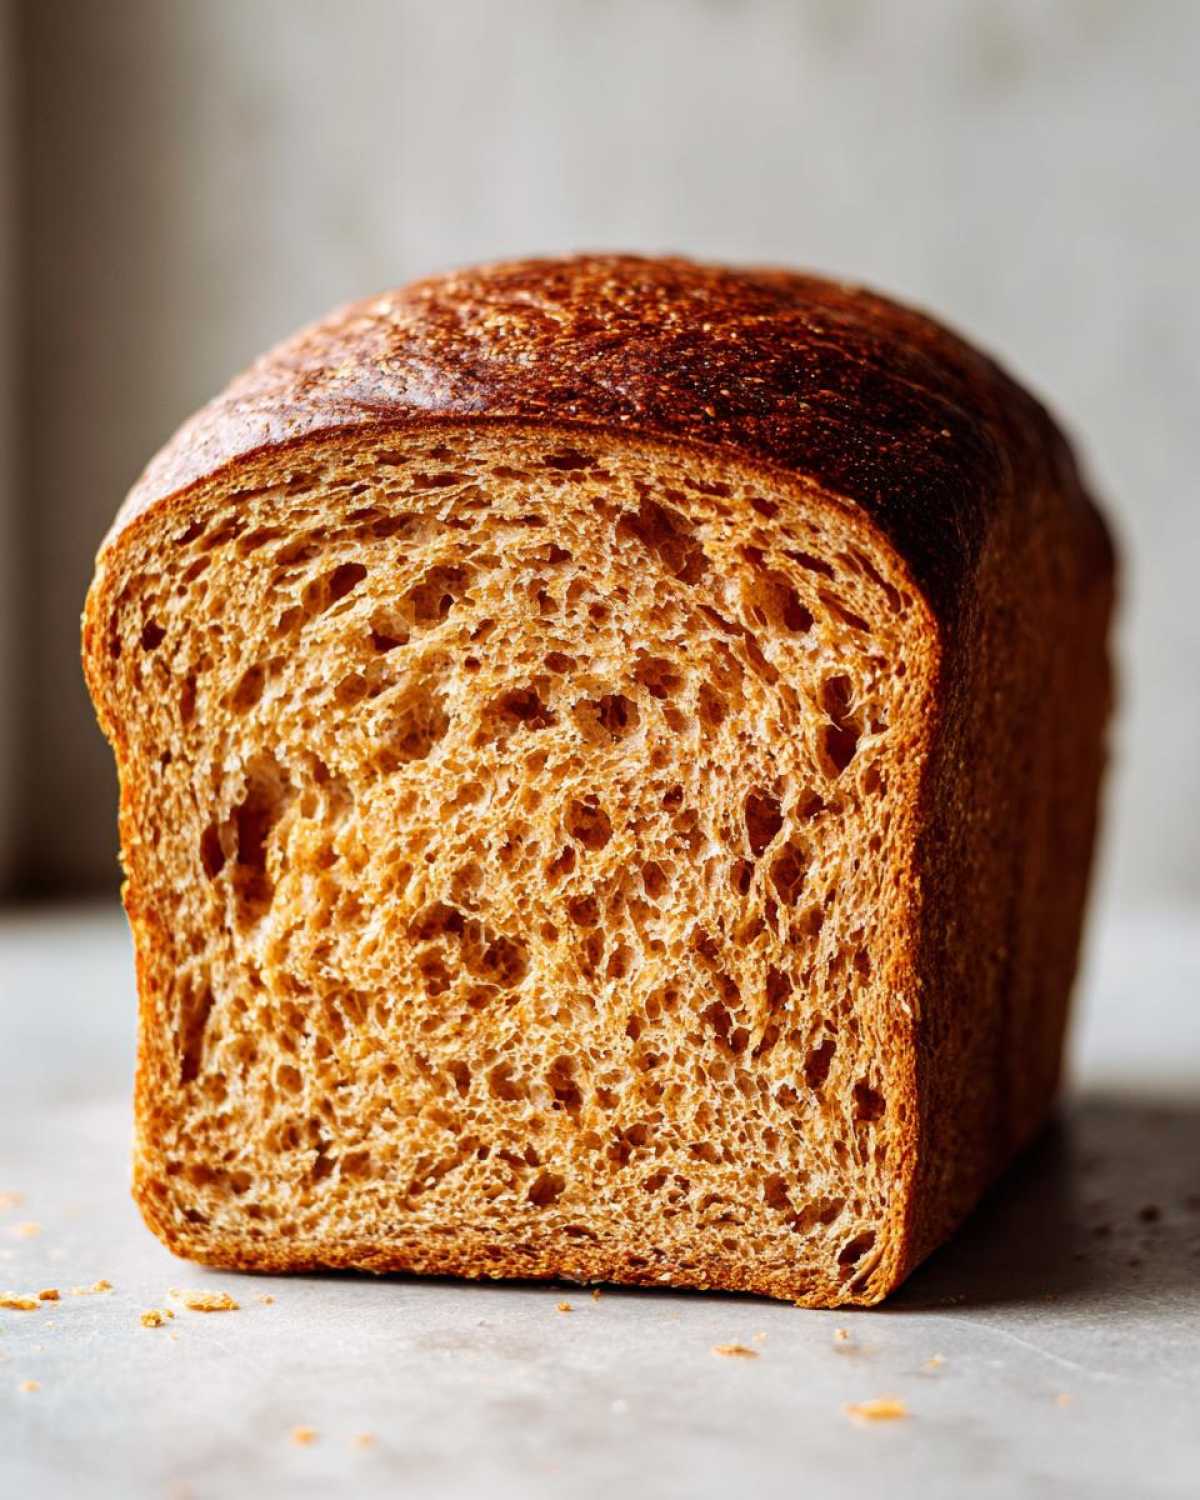
Storing Your Freshly Baked Whole Wheat Sandwich Bread
So, you survived the cooling rack wait—bravo! That golden loaf of **whole wheat sandwich bread** is staring at you, probably smelling heavenly. Now comes the most painful part: you have to wait until it’s completely cool to slice it. I know! It’s torture, especially when it’s warm and begging to be eaten immediately. But seriously, if you slice it when it’s even slightly warm, you’re releasing all that trapped steam, and yes, you’ll end up with a slightly gooey, compacted texture right in the middle. Patience is the final ingredient, I promise!
Once it’s totally cooled—and I mean room temperature, no warmth left—this bread is wonderfully sturdy for storage. I usually keep ours right on the counter in a designated bread box or wrapped tightly in plastic wrap. Because we used honey and oil, this **whole wheat sandwich bread** stays surprisingly fresh and soft for a good three or four days. Seriously, it holds up better than those airy white loaves!
What happens on day five when it decides it wants to be chewy instead of soft? No problem! Don’t toss it out by any means. If your bread stiffens up just a tiny bit, grab a slice, spritz it with just a *tiny* bit of water on one side (literally just a fine mist, don’t soak it!), wrap it loosely in foil, and pop it into a 350°F oven for about five to seven minutes. That little steam bath reactivates the starches, and bam! You’ve got bread that tastes almost freshly baked again. It’s the best way to enjoy every last slice of your homemade goodness.
Frequently Asked Questions About Baking Bread
Whenever Noah and I teach a class, people always have the same few worries when it comes to yeast bread, especially when they are using heartier flours like whole wheat. I totally get it! You don’t want to put in all that kneading time only to end up with a brick. So, let’s tackle some of those questions right now so you can dive into this **whole wheat bread** recipe with confidence.
Can I substitute all the flour with whole wheat flour?
This is the number one question! The short answer is: you *can*, but I really advise against it for this specific recipe, especially if you are new to baking. Remember how I mentioned that all-purpose flour is our softness insurance? If you switch all three cups of whole wheat flour for the whole wheat flour, your final bread will be much denser. Whole wheat flour absorbs liquid differently than white flour, and removing the all-purpose flour messes with the elasticity we worked so hard to build during kneading.
If you absolutely must use 100% whole wheat, you might need to add an extra tablespoon or two of water until the dough feels soft, not stiff. But for the softest, fluffiest loaf that tastes amazing, stick to the three cups whole wheat and a half cup all-purpose blend for now. It really is the best ratio!
How long should the dough rise if my kitchen is cool?
If your kitchen is running cold—say, below 70°F—your yeast is going to get lazy! That 1 to 1.5 hour rise time we specified is based on a fairly warm room. Yeast is happiest around 75 to 80°F. In a cold room, you might need to double that time, or even more, for the first rise. Don’t use time as your guide; use visual cues!
You are waiting for it to **double in size**. If it takes two hours instead of one, so be it! Just put it somewhere safe, preferably using my oven light trick if it’s really chilly. The goal is always that visual confirmation of doubling, not hitting the clock exactly on the minute. A slow rise builds flavor, so a cold kitchen doesn’t completely ruin things, it just takes longer. You’ve got this!
Estimated Nutritional Data for This Recipe
Okay, so we’ve made magic in the kitchen, and now we’re talking about what’s in the loaf! When you bake from scratch, you have so much more control over what goes into your food, which is one of the best parts about ditching the store-bought stuff. Having this easy **whole wheat bread** recipe means you know exactly what your family is eating—no weird preservatives or excess sugars, just wholesome goodness.
The numbers below are estimates based on the ingredients we used in the recipe itself. It’s important to remember that every brand of honey, type of oil, or even the exact amount of flour you use can change these numbers slightly. Think of this as a really helpful guideline, not a strict dietary law! Whenever Noah and I look at these numbers, we just smile because 5 grams of protein and 4 grams of fiber per slice from something this delicious is a win in my book!
If you are looking for more amazing recipes that focus on wholesome ingredients, you might enjoy this spot: Classic 100% Whole Wheat Loaf.
- Serving Size: 1 slice
- Calories: 130
- Fat: 3g
- Saturated Fat: 0.5g
- Carbohydrates: 23g
- Fiber: 4g
- Protein: 5g
- Sugar: 3g
- Sodium: 180mg
See? Nothing scary there! Just great fuel for a busy day. I love knowing that every slice of this soft bread contributes positively to our lunchboxes and dinner tables.
Share Your Spoon Swirl Moments
I seriously cannot wait for you to try this! After all that kneading and waiting, you’ve earned the best, softest loaf of whole wheat bread you’ve ever made. Once you pull it out, if you loved how fluffy and tender it turned out, please come back here and give the recipe five stars! That little rating means the world to Noah and me; it helps other busy folks like us find reliable comfort food recipes.
And please, please share photos! Whether you made a stunning golden sandwich loaf or you accidentally flattened your second rise but it still tasted amazing (we’ve all been there!), I want to see your baking journey. Snap a picture of your beautiful bread, tag us on social media, and use our special hashtag—it truly makes us feel like we’re right there in the kitchen with you, sharing the joy. If you have specific questions that I didn’t cover in the FAQs, feel free to reach out directly through our Contact page. Happy baking, friend!
PrintSoft & Fluffy Whole Wheat Sandwich Bread You Will Bake Every Week

Bake your own Whole Wheat Sandwich Bread that is soft, fluffy, and full of wholesome flavor. This easy recipe uses simple ingredients and gives you bakery-quality bread right from your oven, perfect for toast or sandwiches.
- Prep Time: 20 min
- Cook Time: 35 min
- Total Time: 2 hours 5 minutes
- Yield: 1 loaf
- Category: Baking
- Method: Kneading and Baking
- Cuisine: American
- Diet: Vegetarian
Ingredients
- 1 cup warm water (105-115°F)
- 2 teaspoons active dry yeast
- 3 tablespoons honey
- 1/4 cup vegetable oil
- 1 1/2 teaspoons salt
- 3 cups whole wheat flour, plus more for dusting
- 1/2 cup all-purpose flour, plus more for dusting
Instructions
- In a large bowl, mix the warm water, yeast, and honey. Let this stand for 5 to 10 minutes until the mixture is foamy. This shows your yeast is active.
- Stir in the oil and salt into the yeast mixture.
- Gradually add the whole wheat flour, one cup at a time, mixing well after each addition.
- Once the dough starts to come together, add the all-purpose flour. Mix until a shaggy dough forms.
- Turn the dough out onto a lightly floured surface. Knead for 8 to 10 minutes until the dough is smooth and elastic. You want a soft dough.
- Lightly grease a large bowl. Place the dough in the bowl, turning it once to coat. Cover the bowl with plastic wrap or a clean kitchen towel.
- Let the dough rise in a warm place for 1 to 1.5 hours, or until it has doubled in size. This long rise time develops amazing flavor.
- Gently punch down the risen dough. Shape it into a loaf and place it in a greased 9×5 inch loaf pan.
- Cover the pan loosely and let the dough rise again in a warm spot for 30 to 45 minutes, or until the dough has crowned about 1 inch above the rim of the pan.
- Preheat your oven to 375°F (190°C).
- Bake for 30 to 35 minutes, or until the top is golden brown and the loaf sounds hollow when tapped.
- Remove the bread from the pan immediately and let it cool completely on a wire rack before slicing. Enjoy your homemade bread!
Notes
- If you want a slightly sweeter loaf, increase the honey to 1/4 cup.
- For a softer crust, brush the top of the loaf with melted butter right after it comes out of the oven.
- This recipe is perfect for beginners; do not worry if your first loaf is not perfect.
- If your kitchen is cold, place the dough in the oven with just the light on to create a warm spot for rising.
Nutrition
- Serving Size: 1 slice
- Calories: 130
- Sugar: 3g
- Sodium: 180mg
- Fat: 3g
- Saturated Fat: 0.5g
- Unsaturated Fat: 2.5g
- Trans Fat: 0g
- Carbohydrates: 23g
- Fiber: 4g
- Protein: 5g
- Cholesterol: 0mg