

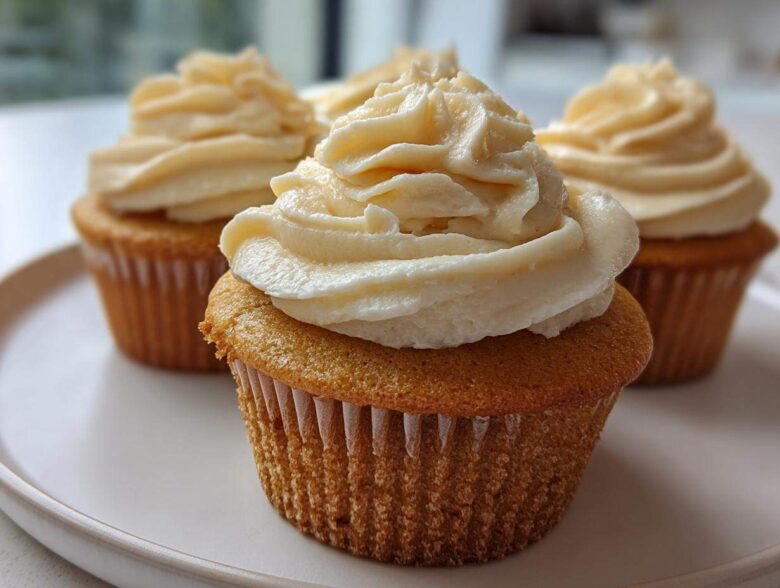
I remember the first time I tasted a truly bakery-quality cupcake. It wasn’t just sweet; it was impossibly soft, like biting into a cloud, and so moist it almost melted right there. For years, my homemade treats felt a little dense, you know? Like they needed that extra bit of magic. Well, after many flour-dusted evenings right here in our kitchen—many of those quiet, stressful-week-melting moments Noah always fixes—I finally cracked the code for the ultimate moist and fluffy vanilla cupcakes. This recipe isn’t just a list of steps; it’s the heart of our Spoon Swirl philosophy. If you want to know more about how we started sharing these quiet moments, check out our story on the About Us page. I’m so excited for you to try this!
Why You’ll Love These Moist Vanilla Cupcakes
Seriously, this recipe just hits different. These aren’t those dry, crumbly things you sometimes pull out of a box mix carton. Here’s why I know you’ll bookmark this one:
- You get Moist Vanilla Cupcakes every single time. It’s almost foolproof!
- The texture isn’t just soft; it’s genuinely Fluffy Cupcake Recipe light and airy.
- They are truly Easy Homemade Cupcakes—no weird equipment needed, just your mixer and your hands.
- You get that beautiful, high dome that looks just like the ones from the best little bakeries.
Essential Ingredients for Perfect Vanilla Cupcakes
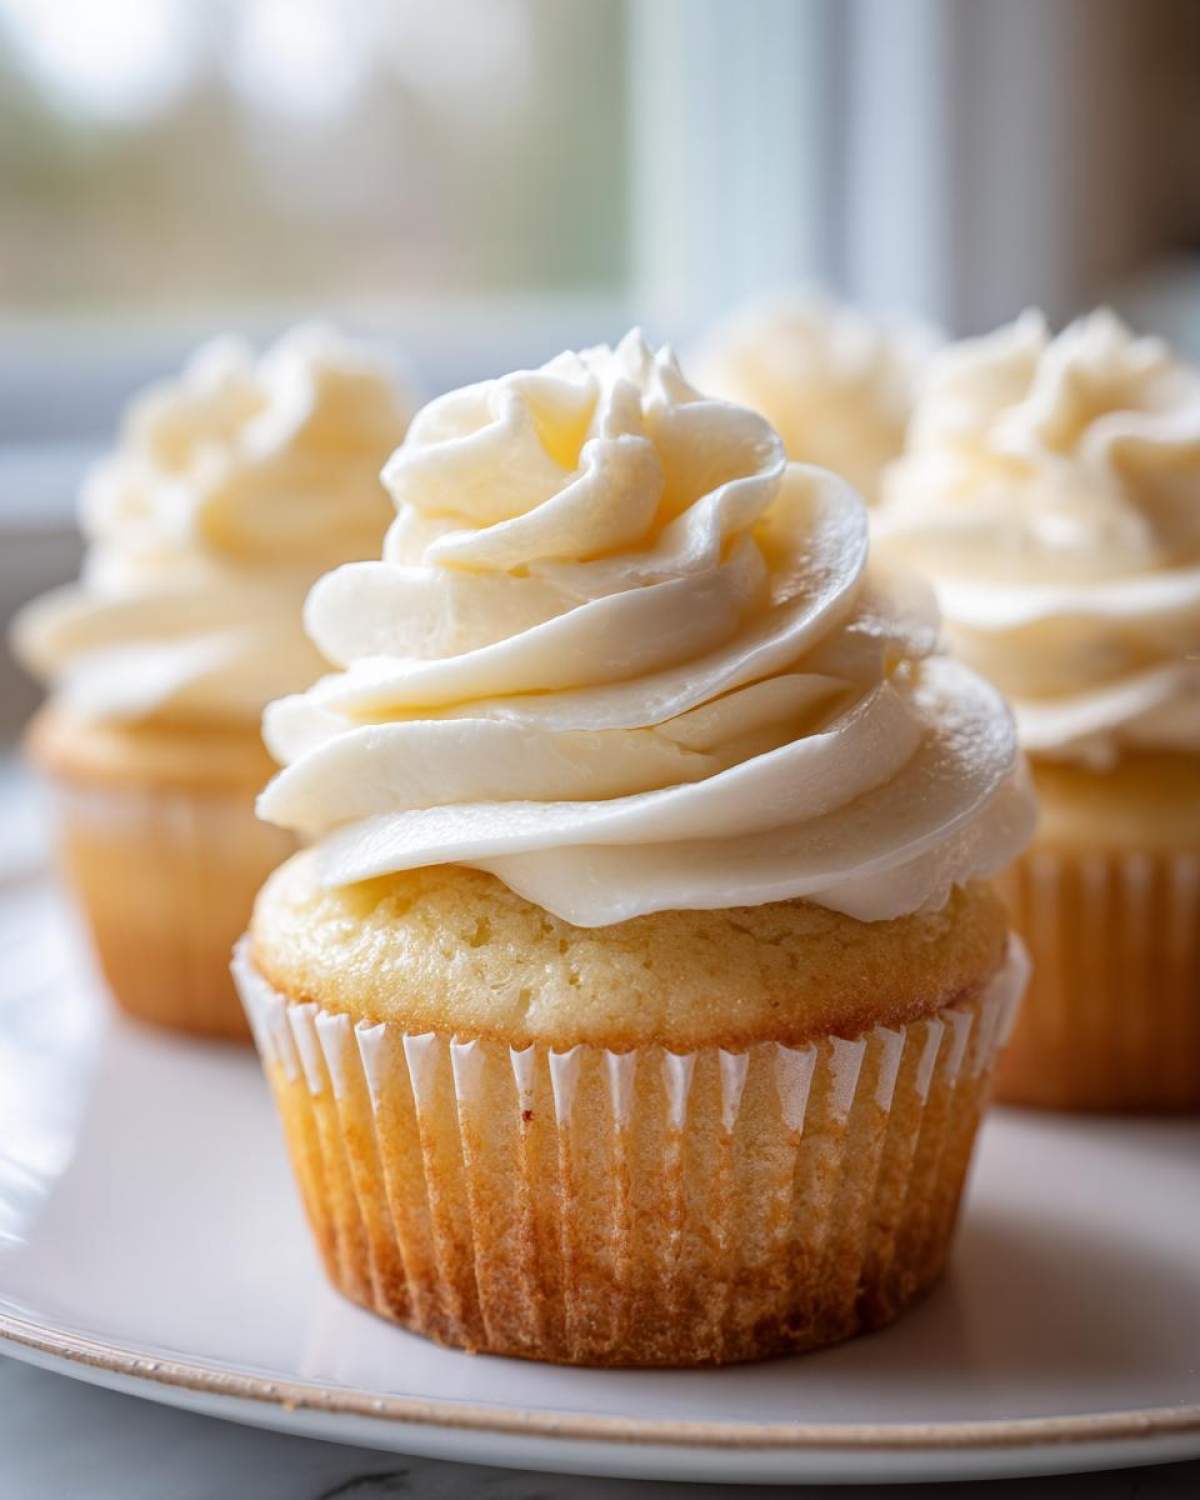
Listen, when it comes to vanilla cupcakes, the quality of your ingredients really shines through, especially since there aren’t too many strong flavors hiding things. If you want that amazing Perfect Vanilla Cupcake Texture we talked about, temperature is everything! Make sure your butter, eggs, and milk are truly at room temperature. I learned the hard way when I baked these too cold one winter morning—the batter looked curdled! Don’t let that happen to you.
Here is exactly what you need to gather before you even think about preheating the oven.
For the Light and Fluffy Vanilla Cupcakes
- 1 1/2 cups all-purpose flour
- 1 1/2 teaspoons baking powder
- 1/2 teaspoon salt
- 1/2 cup (1 stick) unsalted butter, softened (like soft play-dough!)
- 1 cup granulated sugar
- 2 large eggs, at true room temperature
- 1 teaspoon pure vanilla extract
- 1/2 cup whole milk, room temperature
For the Simple Vanilla Buttercream Frosting
The frosting is honestly half the fun, and keeping it simple lets that pure vanilla flavor stand out. Remember, we need to sift that powdered sugar!
- 1 cup unsalted butter, softened
- 3 cups powdered sugar, sifted well
- 1 teaspoon pure vanilla extract
- 2-3 tablespoons heavy cream or milk
Step-by-Step Instructions for Bakery Style Vanilla Cupcakes
Okay, time to actually bake these beauties! This is where Noah gets super focused, making sure we follow every little instruction to get that incredible Fluffy Cupcake Recipe result. Trust me, it’s about timing and patience here, not speed. We want these cupcakes to be light, not lead weights for your guests!
Mixing the Vanilla Cupcake Batter
First thing’s first: get that oven roaring hot at 350°F (175°C). Line your muffin tin—don’t skip the paper liners! Now, in a medium bowl, whisk together your flour, baking powder, and salt. This just keeps everything nicely mixed before it goes into the wet stuff.
In your big bowl, this is where the magic starts for that soft texture: beat the softened butter and sugar until it gets pale yellow and fluffy. This takes three solid minutes with a mixer, but it creates the air pockets we need. Then, add your room-temperature eggs one at a time, mixing well after each one, followed by that gorgeous vanilla.
Here is my biggest warning for you: the alternating step is vital for that Soft Cupcake Recipe feel. You’re going to add the dry ingredients in thirds, alternating with splitting the milk in half. You must start AND end with the dry stuff. Just mix until you see no more streaks of flour popping up. Stop! Seriously, stop stirring right then, or you’ll develop gluten and end up with tough cakes. Oops!
Baking and Cooling Your Vanilla Cupcakes
Once that batter is mixed lightly, divide it up—about two-thirds full in each liner is perfect. Don’t crowd them! Pop them into the oven for about 18 to 20 minutes. You’ll know they’re done because a toothpick stuck right in the middle will come out clean. Now, this is important: let them sit in the tin for exactly 5 minutes so they firm up just a bit, then move them onto a wire rack. They need to be completely, totally cool before we even look at the frosting, or it’ll be a sad, melty mess!
Whipping Up the Best Vanilla Cupcake Frosting
While those are cooling, we make the crown for our cupcakes. For The Best Vanilla Cupcake Frosting, start by beating that second cup of softened butter until it’s smooth—no lumps allowed. Now, slowly, slowly add the sifted powdered sugar, just one cup at a time. This keeps that air we want!
Once the sugar is incorporated, add your vanilla and 2 tablespoons of heavy cream. You need to beat this pretty hard, for a full 3 to 4 minutes, until it looks ridiculously fluffy and creamy. If it seems too thick to pipe? Just add that last tablespoon of cream until it’s perfect. This frosting recipe is so good you might just want to eat it with a spoon while you wait for those liners to cool off. Here’s a link to some of my favorite baking posts if you’re looking for more fun ideas while you wait!
Tips for Success: Mastering Soft Cupcake Recipe Texture
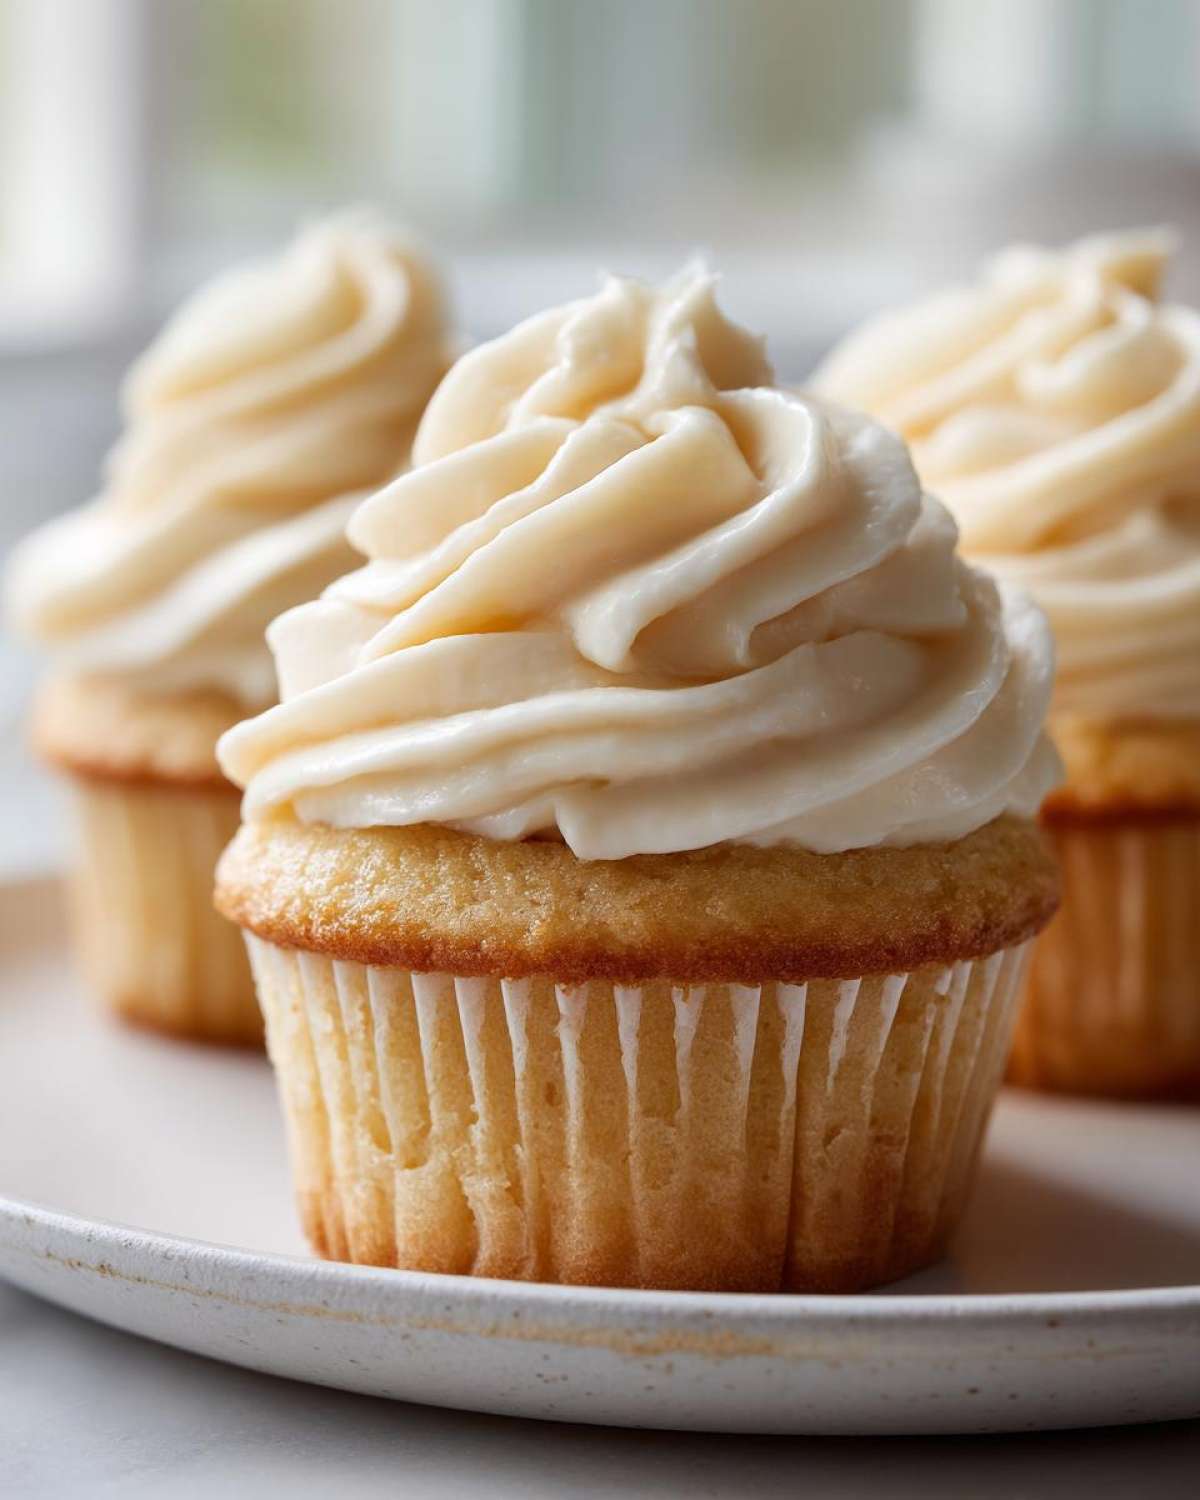
If you’re chasing that melt-in-your-mouth tenderness, I have to tell you what we learned early on. The biggest key to these vanilla cupcakes is keeping everything—I mean *everything*—at room temperature. When Noah tried making these during a cold snap last year using cold eggs straight from the fridge, the butter mix seized up looking grainy. Total disaster!
My main advice for that ultimate crumb is to respect the gluten development. As soon as that flour hits the wet ingredients, mixing too much turns soft batter into chewy cake. We stop mixing the second the last flour streak disappears. Trust me on this one; a little visible lumpiness now means a perfectly soft bite later.
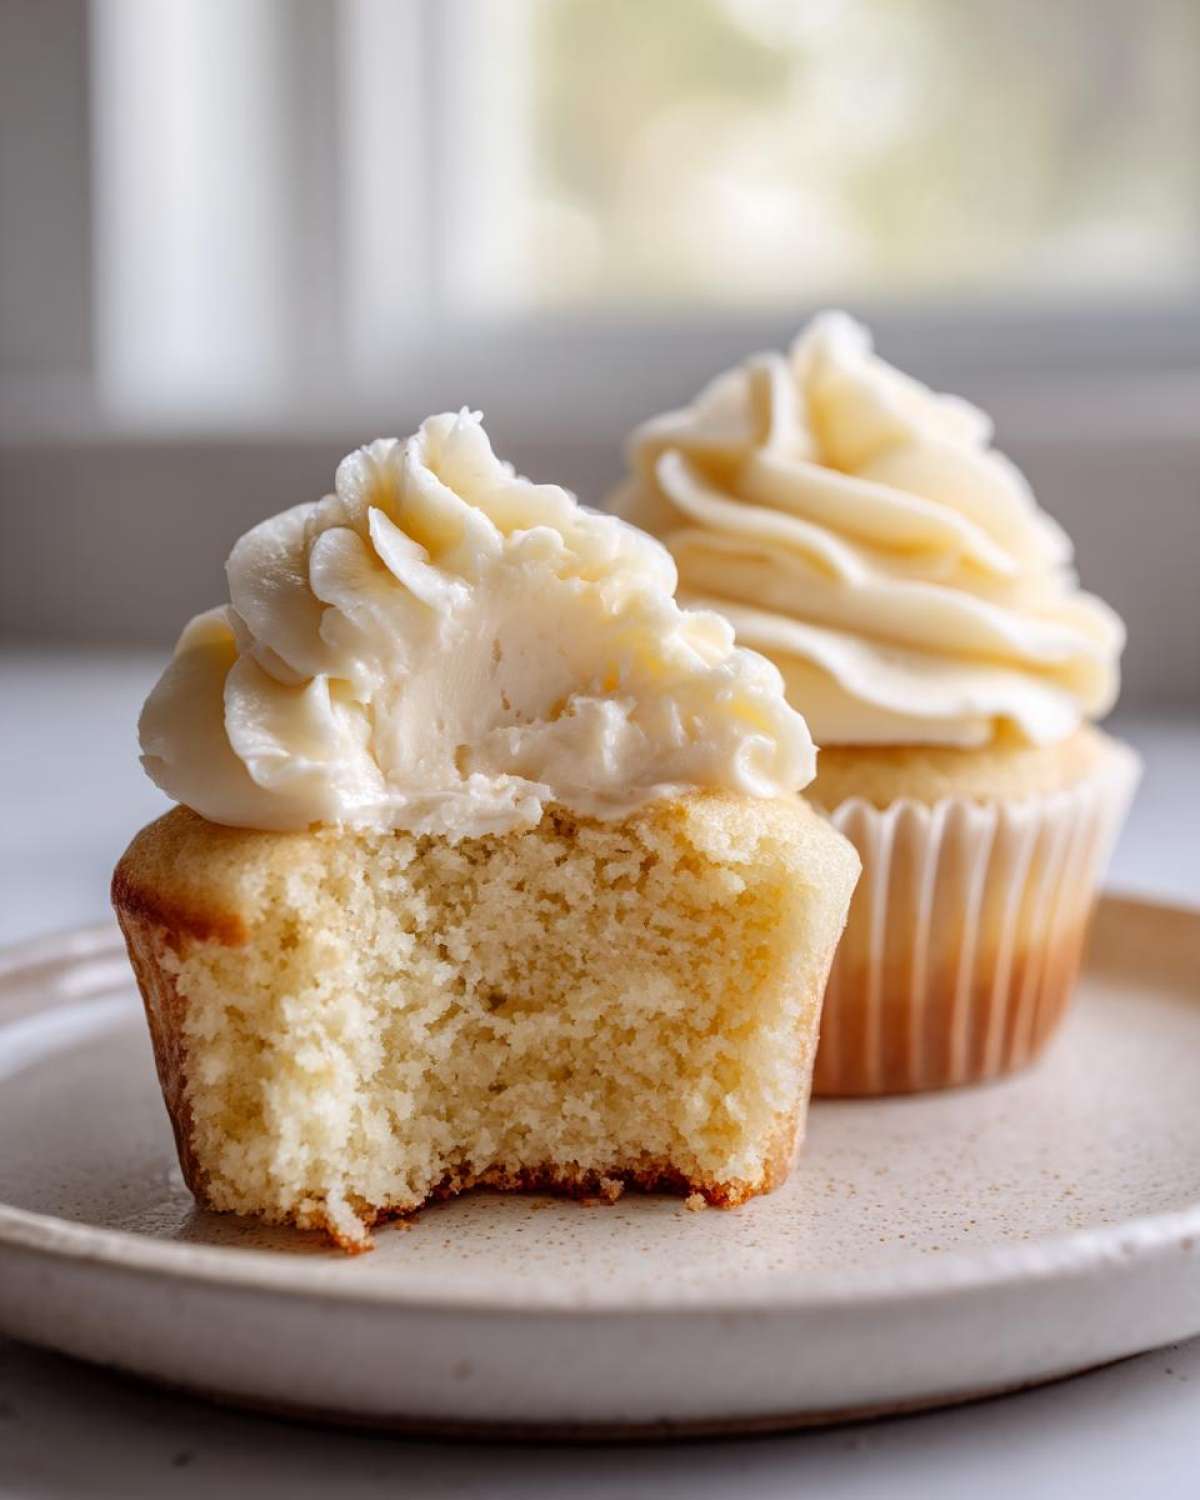
Also, don’t be tempted by shortcuts! My secret weapon, mentioned in the Notes, is using vanilla bean paste instead of extract sometimes if I really want that flavor punch. If you want to read about how another famous recipe handles similar textures, I found this great article on Magnolia Bakery style cupcakes recently that dives deep into their creaming methods!
Variations for Your Classic Vanilla Dessert
While these vanilla cupcakes are perfect as my go-to recipe, sometimes you just need a little twist, right? Baking should be fun and adaptable! If you’re making these for a special event or just want to swap things up next weekend, I have a few super easy ways to change the flavor profile without messing up that beautiful fluffy texture.
You don’t need to redesign the entire recipe; just add a little extra something during that final mixing stage. These quick ideas make fantastic Birthday Cupcake Ideas!
A Bright Citrus Zest Kick
If you want to lighten things up, especially when serving them in the spring or summer, fresh citrus zest is your best friend! Right after you add your vanilla extract in Step 4, just toss in the zest of one whole lemon or one small orange. It gives the cake a lovely, subtle brightness that cuts right through the richness of the buttercream. Just make sure the zest is grated finely—we don’t want big chunks of peel!
Swapping Vanilla for Almond
If you’re looking for a slightly more sophisticated flavor, try swapping out about half of the pure vanilla extract for pure almond extract. Remember, almond extract is strong, so if the recipe calls for 1 teaspoon of vanilla, use only 1/2 teaspoon of vanilla and 1/2 teaspoon of almond extract. It gives the cake a wonderful, almost marzipan-like background note that pairs magically with the creamy frosting. Noah loves this version when we make them for dinner parties!
Make It a Party with Colorful Sprinkles
Who doesn’t love a colorful cupcake? For maximum fun, use rainbow jimmies or fun edible confetti sprinkles! The crucial time to add these is right at the very, very end of mixing, after you’ve incorporated all the wet and dry ingredients. Gently fold them in using a rubber spatula, just enough to distribute them evenly. If you add them too early, the colors can bleed into your white batter, giving you a muddy look instead of festive flecks!
Storing Your Homemade Vanilla Cupcakes
Baking these perfect little clouds of goodness is one thing, but keeping them perfect until it’s time to serve them? That takes just a little know-how. You definitely want to keep these vanilla cupcakes moist, because that’s the whole point of all our butter and milk choices!
If you are planning to serve them within a couple of days—which, let’s be honest, you probably should—keeping them at room temperature is actually best for the cake itself. Storing them in an airtight container on the counter keeps the crumb soft and fluffy. I try not to let them sit out for more than three days tops, just because they are so moist.
Now, here’s my rule for the frosting: the vanilla buttercream is pretty stable because of all that fat and sugar, so you can leave frosted cupcakes on the counter in a sealed container for a whole day if your kitchen isn’t too hot. If you need them to last 4 or 5 days, or if your kitchen is super humid, pop them into the fridge. But hear me out:
If they go into the fridge, you absolutely MUST let them sit out on the counter for at least an hour before serving them. Cold ruins that Soft Cupcake Recipe texture we worked so hard for! If they get chilled, they get stiff. Room temperature is the key to softness, even when refrigerating.
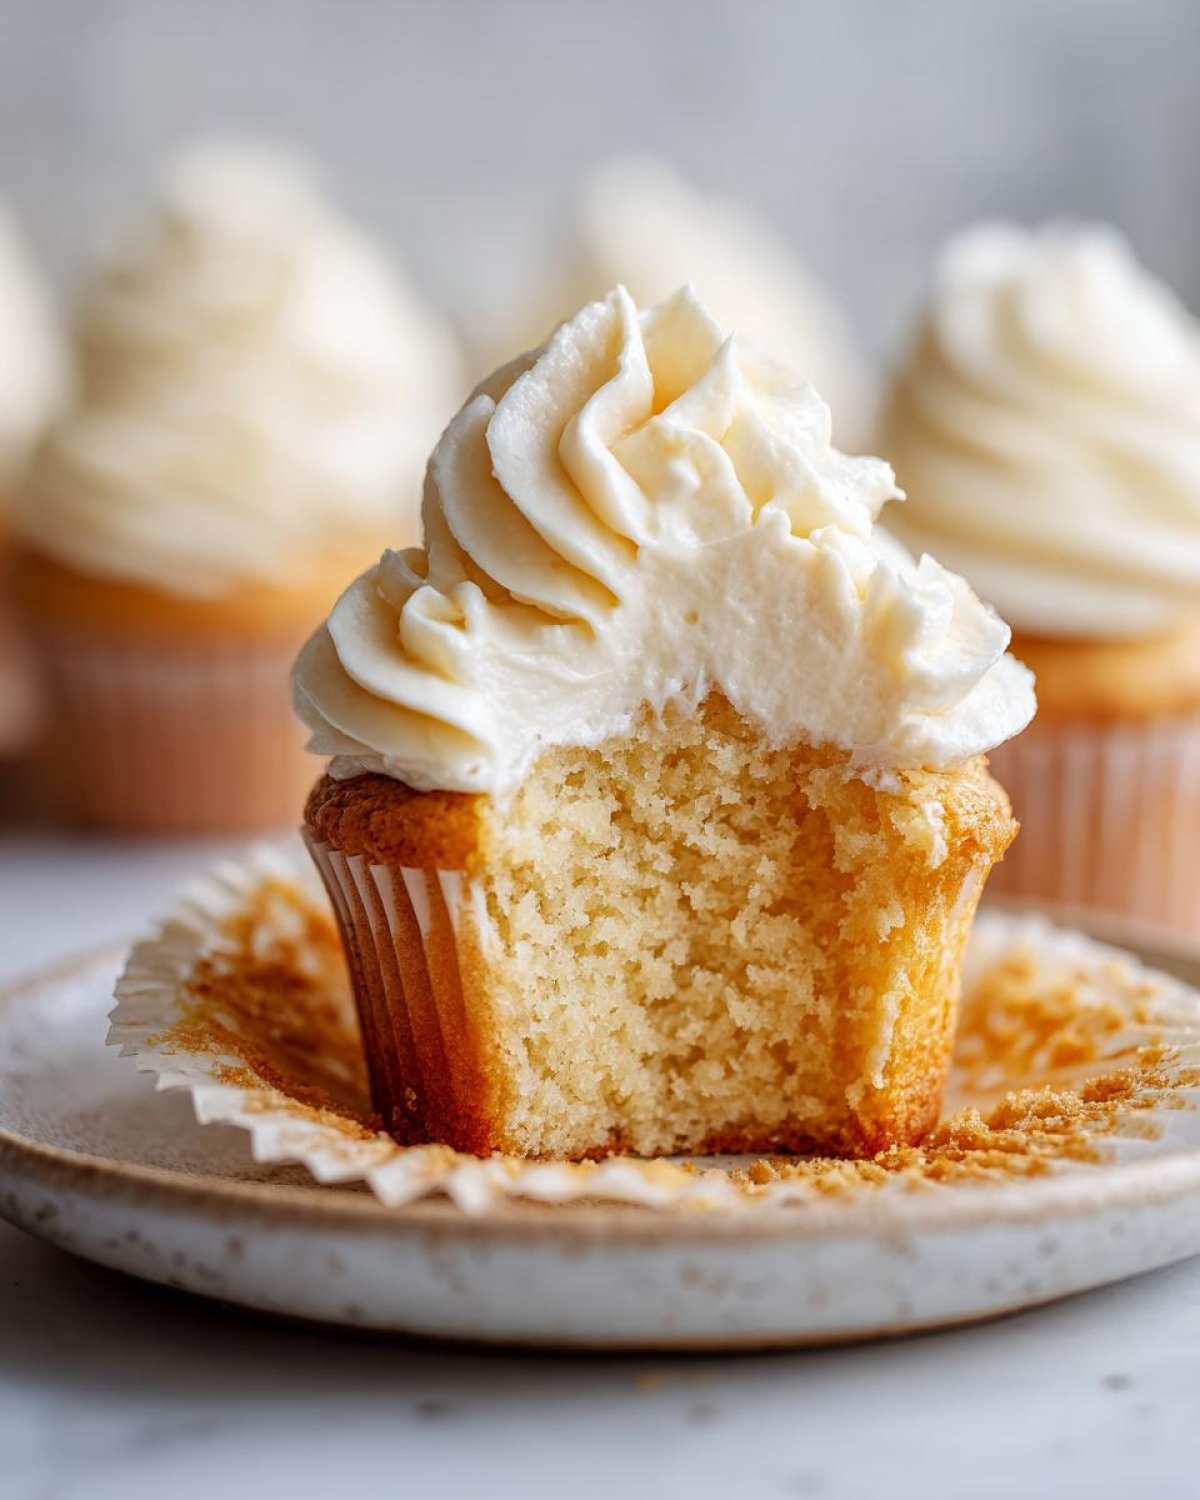
If you baked the cakes but haven’t frosted them yet, that’s even easier! Store the plain, cooled cupcakes in that airtight container—no fridge needed—for up to four days. If you want to go longer, wrap the unfrosted cakes tightly in plastic wrap and freeze them for up to three months. When you’re ready to use them, just let them thaw overnight on the counter, then frost them up fresh!
Frequently Asked Questions About Vanilla Cupcakes
I know baking sometimes feels like science, and you deserve certainty before you even turn on the mixer! We get so many questions about keeping these vanilla cupcakes exactly how we intended—moist, fluffy, and perfect for any celebration. Here are the things I hear most often, so you can bake stress-free. If you still have questions after this, feel free to reach out on our contact page!
Can I make these *From Scratch Vanilla Cupcakes* ahead of time?
Yes, you absolutely can! If you bake the plain cakes and let them cool completely, store them in an airtight container at room temperature for up to four days. Honestly, they taste even better on day two! For the frosting, you can whip up the Simple Vanilla Buttercream three days ahead, cover it tightly, and keep it in the fridge. Just remember you need to let it soften up on the counter for about an hour and give it a quick re-whip before piping it high onto your cakes.
How do I get that *Bakery Style Vanilla Cupcakes* look?
It’s all in the top. A good, high dome comes from filling your liners about two-thirds full and making sure your batter isn’t too thick. For the “look,” you simply have to pipe! Spreading frosting with a knife gives you that rustic vibe, which is lovely, but for true bakery appeal, grab a piping bag and a large star tip. Pipe from the outside edge inward, overlapping slightly, to build up those beautiful swirls. That height really sells the “bakery” vibe.
What is the secret to achieving *Perfect Vanilla Cupcake Texture*?
This is the most important question, honestly! The absolute biggest secret is twofold: first, ensure all your cold things—butter, eggs, milk—are fully at room temperature. Second, and this is critical, do not overmix once the flour goes in. When you alternate dry and wet ingredients, stop your mixer the instant those flour streaks vanish. A few tiny lumps are fine; they disappear when they bake. Overmixing is the fastest way to trade soft, Light and Airy Cupcakes for something tough!
Estimated Nutritional Information for These Vanilla Cupcakes
Okay, I know some of you are curious about the whole picture, even if my heart only beats for the taste! Since we use real butter and a good amount of sugar for that perfect, rich flavor, these aren’t exactly light bites. Remember, this is my kitchen, and we’re keeping things real here, not scientifically perfect!
The following breakdown for these vanilla cupcakes is an estimate based on using the specific ingredients listed above and dividing the entire recipe yield by 12 servings. Brands of butter or milk can change things slightly, so take this as a good guideline for your delicious creation.
Here is what you can expect for one of these gorgeous treats:
- Serving Size: 1 cupcake
- Calories: 350
- Sugar: 40g (Worth every single gram, trust me!)
- Sodium: 180mg
- Fat: 18g
- Saturated Fat: 11g
- Unsaturated Fat: 7g
- Trans Fat: 0.5g
- Carbohydrates: 45g
- Fiber: 0g
- Protein: 4g
- Cholesterol: 65mg
These are decadent, homemade delights, perfect for birthdays and celebrations. We’re focusing on flavor and that incredible texture, not counting calories!
Share Your Spoon Swirl Moments
Now that you’ve gathered your flour, creamed your butter, and finally conquered the alternating step, I am just bursting with anticipation to see what you’ve created! Baking for me is always about connecting—whether it’s Noah guiding my hands here in our kitchen or sharing our recipes with wonderful people like you online.
If these Easy Homemade Cupcakes brought a little bit of peace and a whole lot of sweetness into your day, please, please leave us a star rating right below. Five stars means the world to us and tells other bakers that this recipe is the real deal!
And more than that, capture a picture of your beautiful swirls! We absolutely love seeing your gorgeous creations in the Spoon Swirl family. Tag us on social media so we can double-tap your perfect vanilla treats and share them on our feed. Showing off your baking is half the fun!
PrintThe Ultimate Moist and Fluffy Classic Vanilla Cupcakes with Creamy Vanilla Buttercream
You can bake bakery style vanilla cupcakes right in your own kitchen! This easy homemade recipe delivers incredibly moist and fluffy vanilla cupcakes, perfect for birthdays or any celebration. We show you how to achieve that perfect texture every time.
- Prep Time: 20 min
- Cook Time: 20 min
- Total Time: 40 min
- Yield: 12 servings
- Category: Dessert
- Method: Baking
- Cuisine: American
- Diet: Vegetarian
Ingredients
- 1 1/2 cups all-purpose flour
- 1 1/2 teaspoons baking powder
- 1/2 teaspoon salt
- 1/2 cup (1 stick) unsalted butter, softened
- 1 cup granulated sugar
- 2 large eggs, room temperature
- 1 teaspoon pure vanilla extract
- 1/2 cup whole milk, room temperature
- 1 cup unsalted butter, softened (for frosting)
- 3 cups powdered sugar, sifted (for frosting)
- 1 teaspoon pure vanilla extract (for frosting)
- 2-3 tablespoons heavy cream or milk (for frosting)
Instructions
- Preheat your oven to 350°F (175°C). Line a 12-cup muffin tin with paper liners.
- In a medium bowl, whisk together the flour, baking powder, and salt. Set this dry mixture aside.
- In a large bowl, use an electric mixer to beat the softened butter and granulated sugar together until the mixture is light and fluffy, about 3 minutes. This step helps create that light and airy cupcake texture.
- Add the eggs one at a time, beating well after each addition. Mix in the 1 teaspoon of vanilla extract.
- Gradually add the dry ingredients to the wet ingredients, alternating with the milk. Begin and end with the dry ingredients (add 1/3 of the flour mixture, then 1/2 of the milk, repeat, ending with the last 1/3 of the flour mixture). Mix only until just combined; do not overmix.
- Divide the batter evenly among the 12 prepared cupcake liners, filling each about two-thirds full.
- Bake for 18 to 20 minutes, or until a toothpick inserted into the center comes out clean.
- Let the cupcakes cool in the pan for 5 minutes before transferring them to a wire rack to cool completely.
- While the cupcakes cool, prepare the frosting: In a large bowl, beat the 1 cup of softened butter until smooth.
- Gradually add the sifted powdered sugar, one cup at a time, beating well after each addition.
- Add the 1 teaspoon of vanilla extract and 2 tablespoons of heavy cream. Beat on medium-high speed for 3-4 minutes until the frosting is light and creamy. Add the remaining tablespoon of cream if the frosting seems too stiff.
- Once the cupcakes are completely cool, pipe or spread the creamy vanilla buttercream onto each cupcake.
Notes
- For the best results and the softest crumb, make sure your butter, eggs, and milk are truly at room temperature.
- Do not overmix the batter once you add the flour. Overmixing develops gluten, which results in tough cupcakes instead of light and fluffy ones.
- If you want a stronger vanilla flavor, substitute the 1 teaspoon of vanilla extract with 1/2 teaspoon of vanilla bean paste.
Nutrition
- Serving Size: 1 cupcake
- Calories: 350
- Sugar: 40g
- Sodium: 180mg
- Fat: 18g
- Saturated Fat: 11g
- Unsaturated Fat: 7g
- Trans Fat: 0.5g
- Carbohydrates: 45g
- Fiber: 0g
- Protein: 4g
- Cholesterol: 65mg