

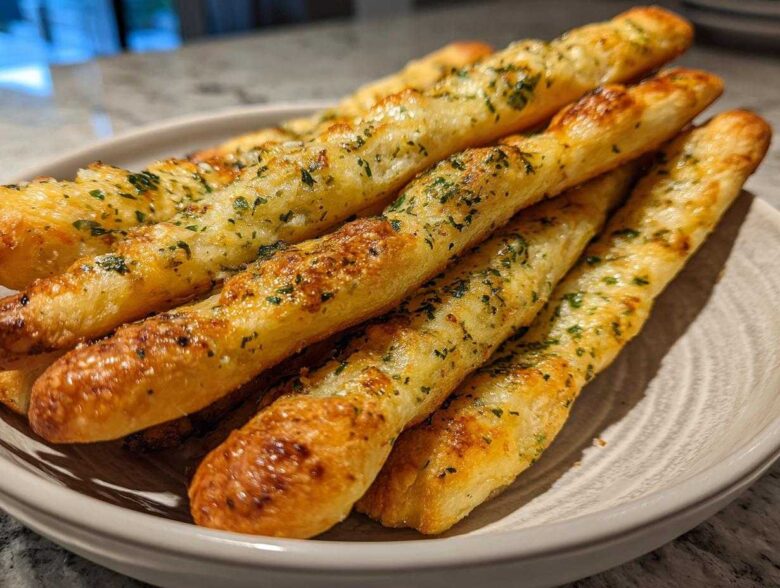
There is nothing quite like those soft, impossibly fluffy breadsticks that appear right as you sit down at your favorite Italian spot. You know the ones I mean—drenched in garlic butter and begging to be dipped in sauce. For ages, I was absolutely fixated on recreating that specific texture at home. It took a few tries, trust me, because Noah was convinced they should be crusty, but I insisted on that unbelievably soft and chewy result. Well, friends, after much testing, I finally nailed it! This is my absolute best Olive Garden Copycat Breadsticks recipe, complete with the signature Garlic Parmesan Breadsticks topping that makes them unforgettable. If you want to know more about why we focus so much on the *feeling* behind the process, you can read all about our story right here on our About Us page!
Why You Will Love These Soft & Chewy Breadsticks
I know, I know, everyone claims their version is the best copycat, but these homemade breadsticks really stand out. Noah and I couldn’t wait to share these with you because they actually deliver on that promise of restaurant perfection without taking all day. Here’s just a quick peek at what makes this recipe my go-to:
- They are incredibly soft and chewy—that perfect texture that makes you want to keep reaching for another one.
- The flavor is spot on! That savory, buttery coat of garlic and Parmesan is just addictive.
- It’s a quick bread recipe, meaning you can be dipping these into marinara sauce in under two hours total. We call that a win!
- The dough itself is so versatile; it’s almost like a tender soft dinner roll dough, which is the secret to that bite.
- Perfectly portioned for dipping. No giant, bulky slices here, just easy-to-grab appetizer bread sticks.
- You control the garlic level! If you love garlic like I do, you can crank it up easily.
The Ultimate Homemade Breadsticks Recipe Ingredients
When you’re making something that needs to taste exactly like a classic, you simply cannot skimp or swap ingredients willy-nilly. Noah keeps my measurements locked down perfectly, because even a tiny shift can change that wonderful, soft breadsticks texture we are hunting for. Trust me, sticking to these details ensures you get that restaurant-style magic right here at home.
Here is everything you need to gather up before we start mixing that dough:
- 1 1/2 cups warm water (It needs to be about 110°F—not too hot or it kills our yeast, and not too cold or it refuses to wake up!)
- 2 1/4 teaspoons active dry yeast
- 2 tablespoons granulated sugar (This is just yeast food, don’t worry, it doesn’t make the breadsticks taste sweet!)
- 4 cups all-purpose flour, plus more for dusting (We’ll use most of this in the dough, maybe a little extra for kneading later.)
- 1 teaspoon salt (For the dough itself.)
- 1/4 cup olive oil, plus more for brushing (Oil is important for a soft dough structure.)
- 1/2 cup (1 stick) unsalted butter, melted (This goes into that glorious topping!)
- 4 cloves garlic, minced (Please, please use fresh minced garlic. It makes all the difference in the topping flavor.)
- 1 teaspoon dried Italian seasoning
- 1/2 teaspoon salt (This is for the topping mixture.)
- 1/4 cup grated Parmesan cheese (Use the real stuff if you can; it melts much better.)
Keep these ingredients handy! Once the yeast wakes up, speed is your friend, so having everything measured out keeps us on track to making these delicious appetizer bread sticks quickly.
Step-by-Step Guide to Perfect Olive Garden Breadsticks Copycat
Okay, let’s get our hands messy. This is where the magic happens, and where we start building that famously soft texture. This whole process starts with our excellent Homemade Dough Recipe. Noah always reminds me that treating yeast right is the first big step to getting chewy breadsticks instead of something tough—it’s all about patience upfront.
Activating Yeast and Mixing the Breadsticks Dough
First things first: wake up that yeast! Grab your large bowl and pour in the warm water. Remember, it has to be right around 110°F. If it feels too hot for your hand, it’s definitely too hot for the yeast. Whisk in the sugar and sprinkle the yeast right on top. We just watch this part patiently for about 5 to 10 minutes until it looks really foamy and happy. That foam is what guarantees a good rise later on!
Once it’s bubbly, we move fast. Dump in 3 cups of the flour, the salt, and the olive oil. Mix it on low speed—if Noah isn’t watching, I definitely use my mixer, ha! Slowly, we add that last cup of flour until the dough just starts to come together and clean the sides of the bowl. It should feel soft, but not sticky.
Kneading and Allowing the Breadsticks Dough to Rise
Now for the kneading. Turn the dough out onto a floured surface. You want to work it for about 5 to 7 minutes until it feels really smooth and elastic. If you pull it, it should stretch without tearing right away. That stretchiness is what gives us that desirable Soft Dinner Rolls-like consistency!
Next, we let it rest. Find the warmest, coziest spot in your kitchen and lightly oil a clean bowl. Tuck the dough ball in, turn it over once so it gets a nice coating of oil, and cover it up. Waiting is the hardest part, but you let it sit for 1 to 1.5 hours until it’s noticeably doubled in size. Don’t rush this part; the rise develops all that wonderful flavor.
Shaping and Baking Your Buttery Breadsticks
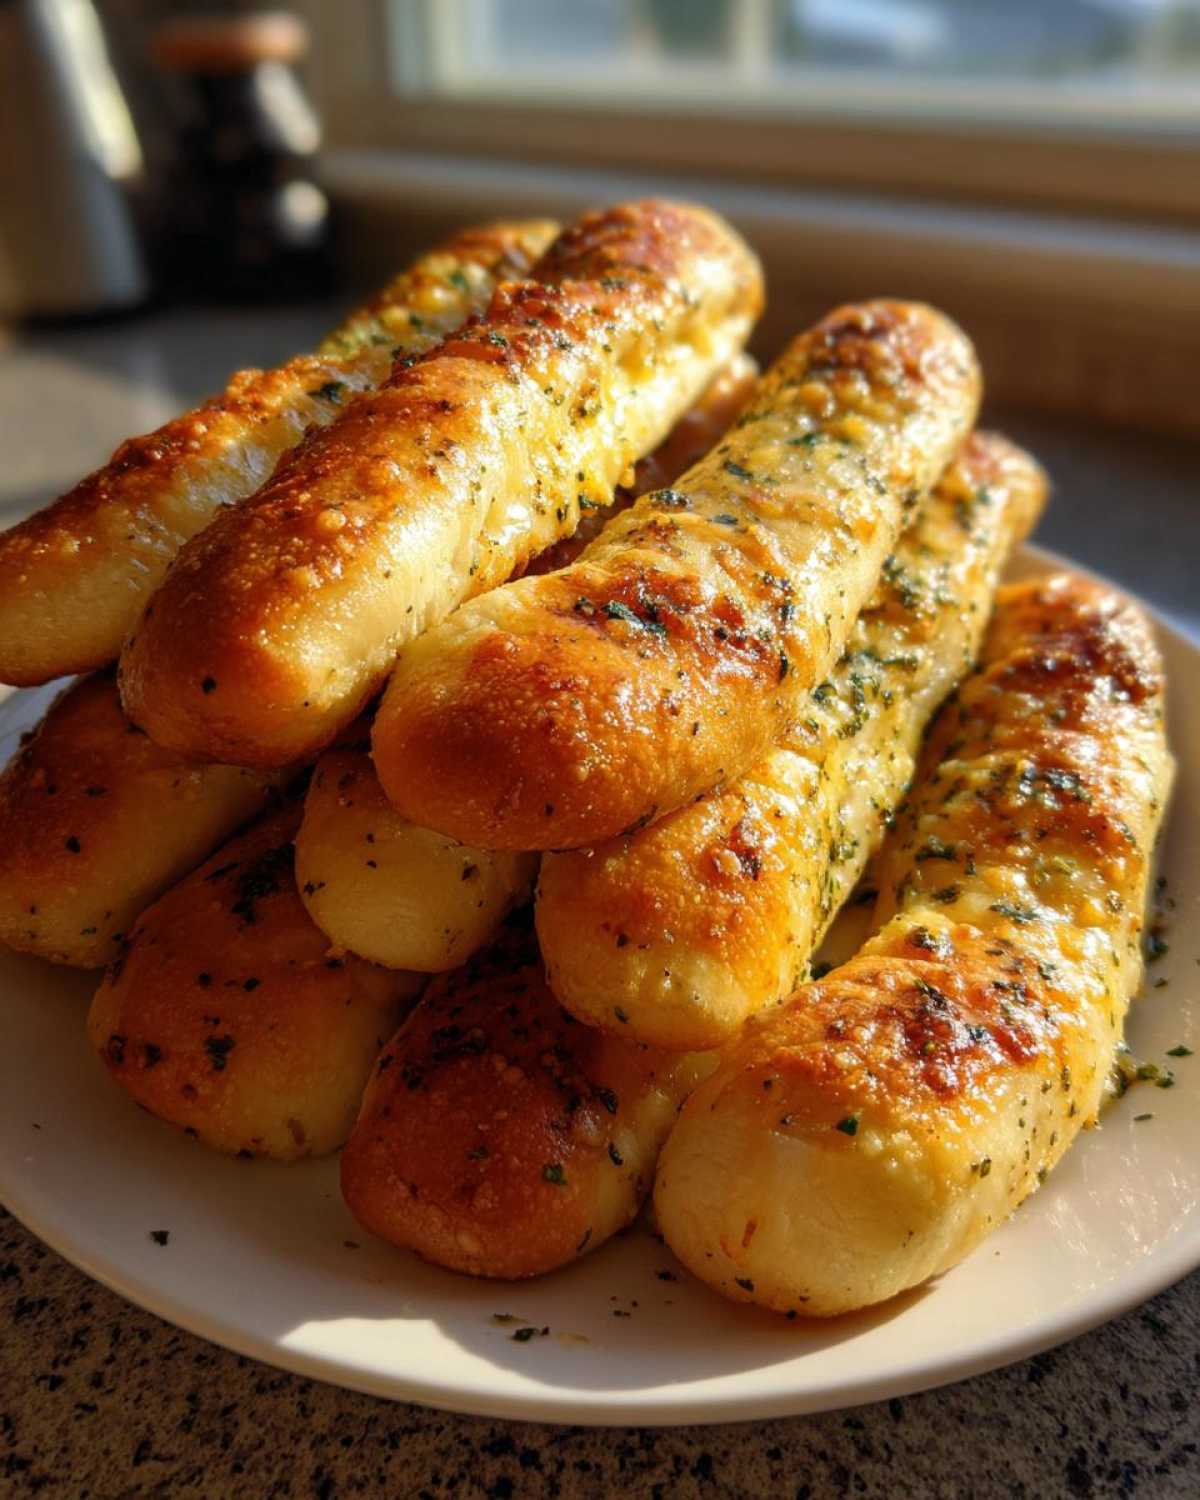
Once it’s puffy, gently punch the air out—that’s satisfying! Divide the dough in half. Roll each section out onto your lightly floured counter surface until it’s about 1/4 inch thick. We are aiming for a flat sheet. Use a pizza cutter or a knife to slice those into strips about 1 inch wide. If you have time, let these strips rest uncovered for another 20 minutes while the oven preheats to 400°F (200°C). This short second rest helps keep those breadsticks super soft.
Lay them on parchment-lined baking sheets. Bake them for 10 to 12 minutes. Keep an eye on them; you want them lightly golden, not dark brown!
If you want to see some of my favorite kitchen tips for making dough handling easier, check out my main baking blog posts!
Creating the Signature Garlic Parmesan Breadsticks Topping
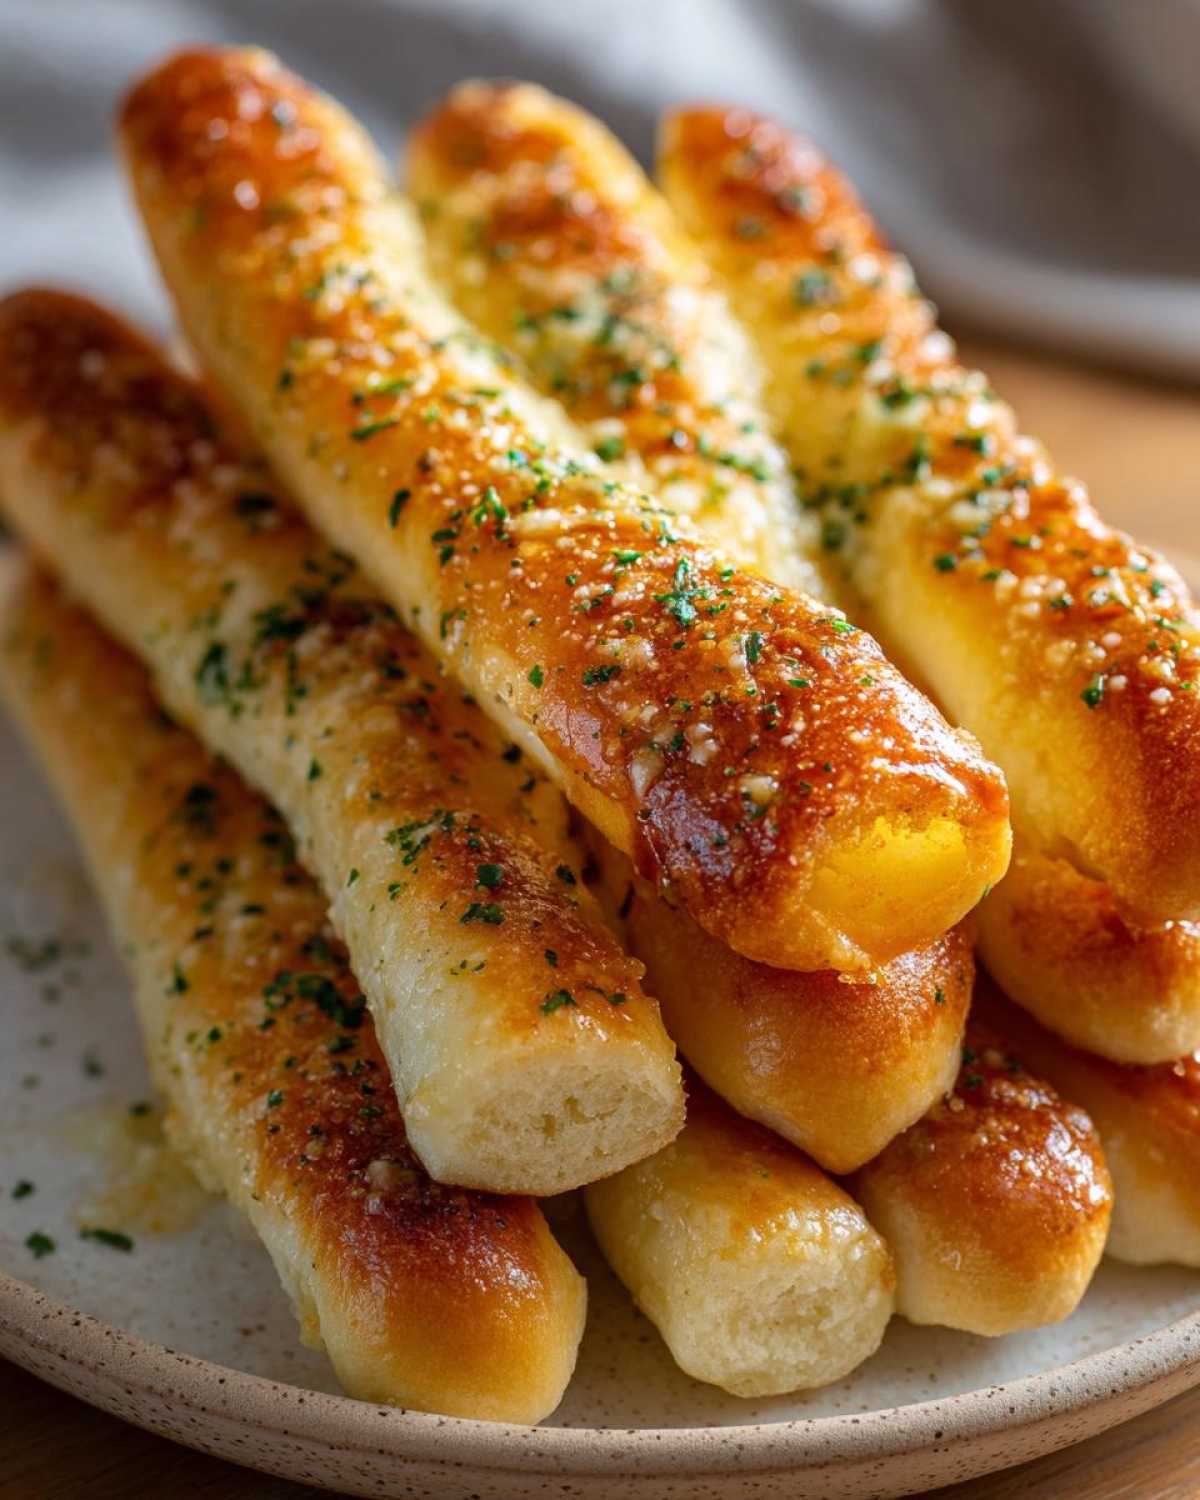
While the breadsticks are doing their final bake, prepare the star of the show! In a small bowl, combine your melted butter, that glorious minced garlic, the Italian seasoning, and the topping salt. Mix it up well. The moment those hot breadsticks slide out of the oven—and I mean *immediately*—you brush that fragrant garlic butter all over them generously. Before the butter even settles, sprinkle that grated Parmesan cheese right over the top. The heat melts it just enough so it adheres perfectly. Serve them right away while they’re warm!
Tips for Achieving Chewy Breadsticks Texture
Getting that signature chewiness—that lovely resistance when you bite in—is really about respecting the dough. It’s not just luck! Noah always jokes that this dough acts exactly like the foundation for our best Soft Dinner Rolls, and he’s right; if you treat it gently, it rewards you richly. Here are a few things I learned over months of testing how to make sure these are chewy, never tough:
First, watch your hydration, even though the recipe seems simple. When you mix the dough, if it feels way too dry and is crumbly instead of soft, don’t be afraid to add water just a teaspoon at a time until it starts to feel supple. A slightly wetter dough usually results in a chewier final product because there’s more moisture trapped inside during the bake. We want soft, not low-hydration hardtack!
Second, don’t over-knead once the dough looks smooth. We knead it just until it passes the windowpane test—meaning it’s elastic and you can pull a small piece thin enough to see light through it without it ripping immediately. Overdeveloped gluten at this stage makes the bread tough, not delightfully chewy. When it feels smooth and springs back slowly when poked during the first rise, put the tools down and let it rest!
My third big tip is about the post-bake topping. Applying that hot, melted butter immediately after they leave the oven traps steam inside those breadsticks while they are cooling down a bit. That steam helps keep the crumb moist and pliable longer, which translates directly into that incredible chewiness the next day (if they last that long!). If you want to read more about how other great bakers handle their Homemade Breadsticks, I always look at trusted blogs like Kristine’s Kitchen for inspiration—you can see her take on things right here.
Finally, watch that second rest! That short 20 minutes before baking lets the gluten relax one last time after shaping. If you skip it, the breadsticks might be tight and chewy in a bad way. It’s a small pause, but it makes a big difference in achieving the perfect soft bite.
Variations: Making Cheesy Breadsticks or Italian Breadsticks
Part of the fun of making soft breadsticks at home is that you get to customize them! While Noah and I are purists for the classic Garlic Parmesan style, I know so many of you were searching for ways to make these even more decadent, especially the Cheesy Breadsticks that everyone seems to crave. It’s super easy to modify the recipe, and I’ve got notes on how to switch up the herbs too, turning them into wonderful Italian Breadsticks for a different kind of dinner side dish.
The base dough recipe we used is fantastic for absorbing extra flavor, so any additions we make are just going right on top!
Adding Mozzarella for Cheesy Breadsticks
If you want that delightful, stringy, gooey cheese pull, you need mozzarella! The key here is timing. You don’t want to put the fresh cheese on when the dough first comes out of the oven, or it just melts into an oily slick. We need the breadsticks to bake a little first so the dough is mostly cooked.
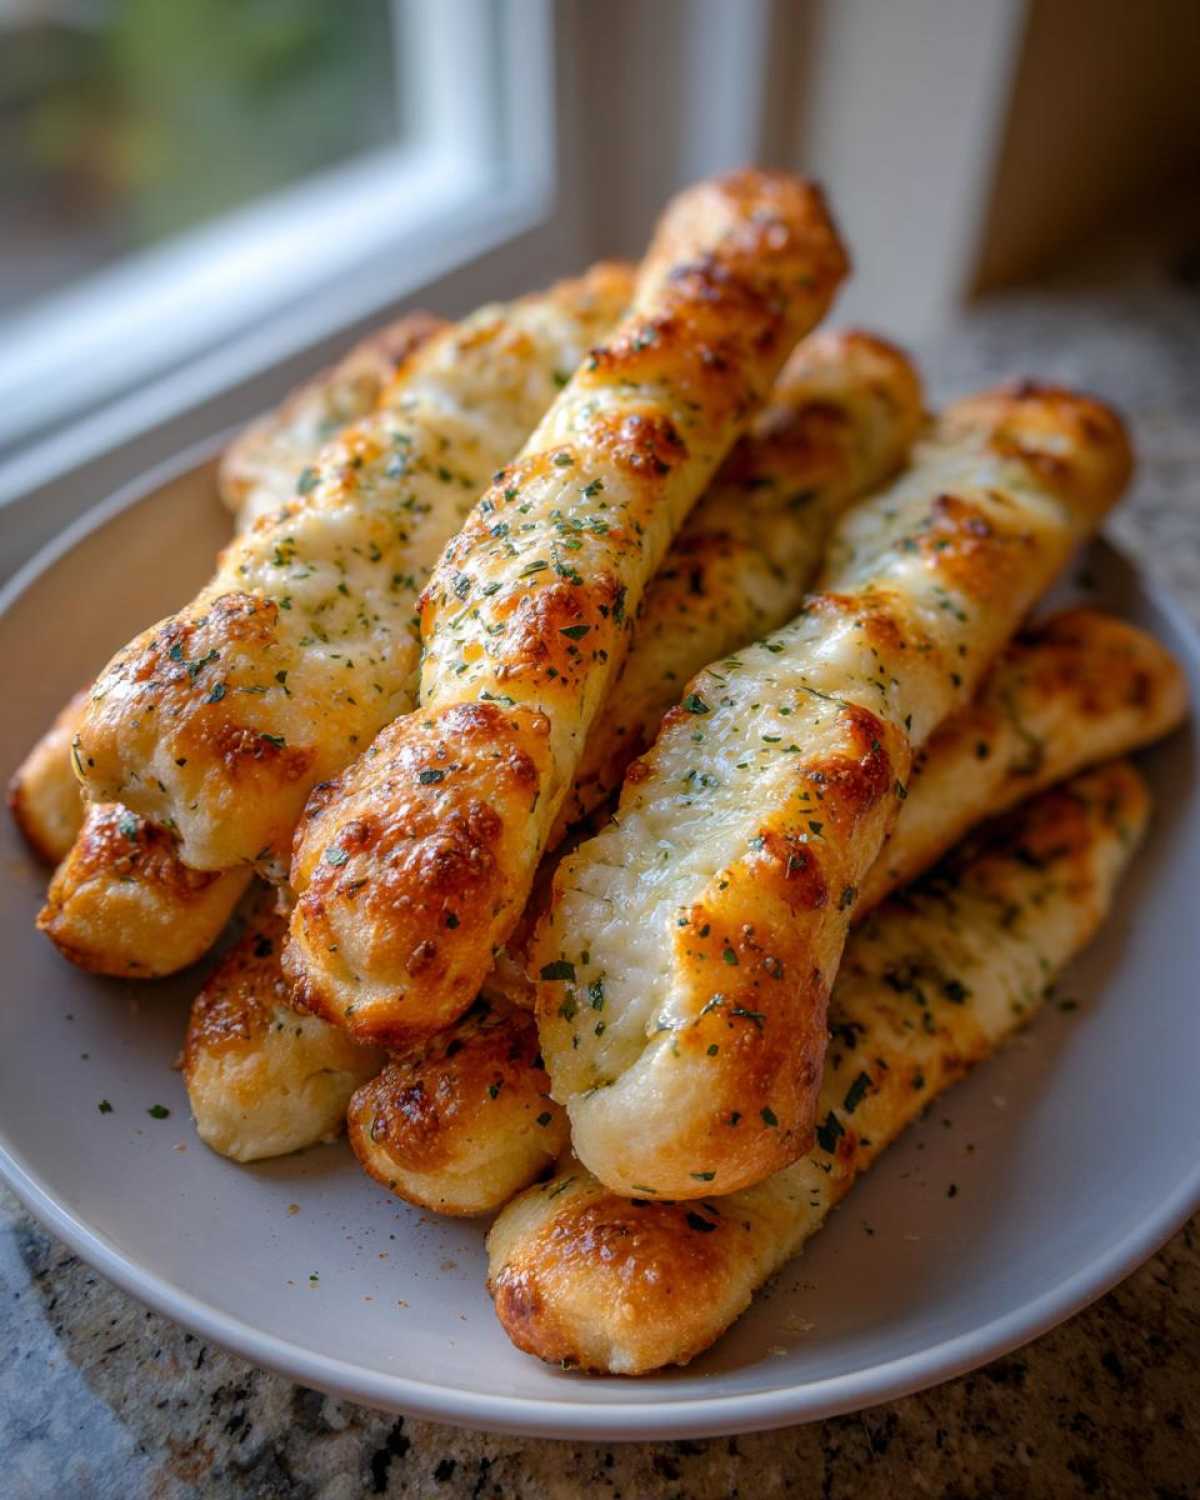
Here’s the trick I use: Once your breadsticks have baked for about 7 minutes and are starting to show a bit of golden color, carefully pull the pan out of the oven. Sprinkle a generous amount of shredded mozzarella cheese—I like a mix of low-moisture whole milk mozzarella and maybe a little pepper jack for a kick—right over the tops. Pop them back into the 400°F oven for the remaining 3 to 5 minutes, just until the cheese is fully melted and bubbly. THEN, pull them out and immediately brush on the garlic butter topping and the Parmesan. That way, you get melted cheese *and* that wonderful, flavorful garlic butter coating! It’s pure comfort food.
Switching Herbs for Italian Breadsticks
If you want something that feels a little more rustic or overtly Italian, it’s as simple as swapping out the dried Italian seasoning in the topping for something else entirely. When we serve these alongside a really heavy red sauce, I sometimes skip the blend and go straight for oregano and a pinch of dried basil.
Try this combination for a different flavor profile when brushing on the hot butter:
- 1 teaspoon dried oregano
- 1/2 teaspoon dried basil
- A tiny pinch of red pepper flakes. (Okay, that one’s my addition, but it gives a nice little warmth that pairs beautifully with simple pasta!)
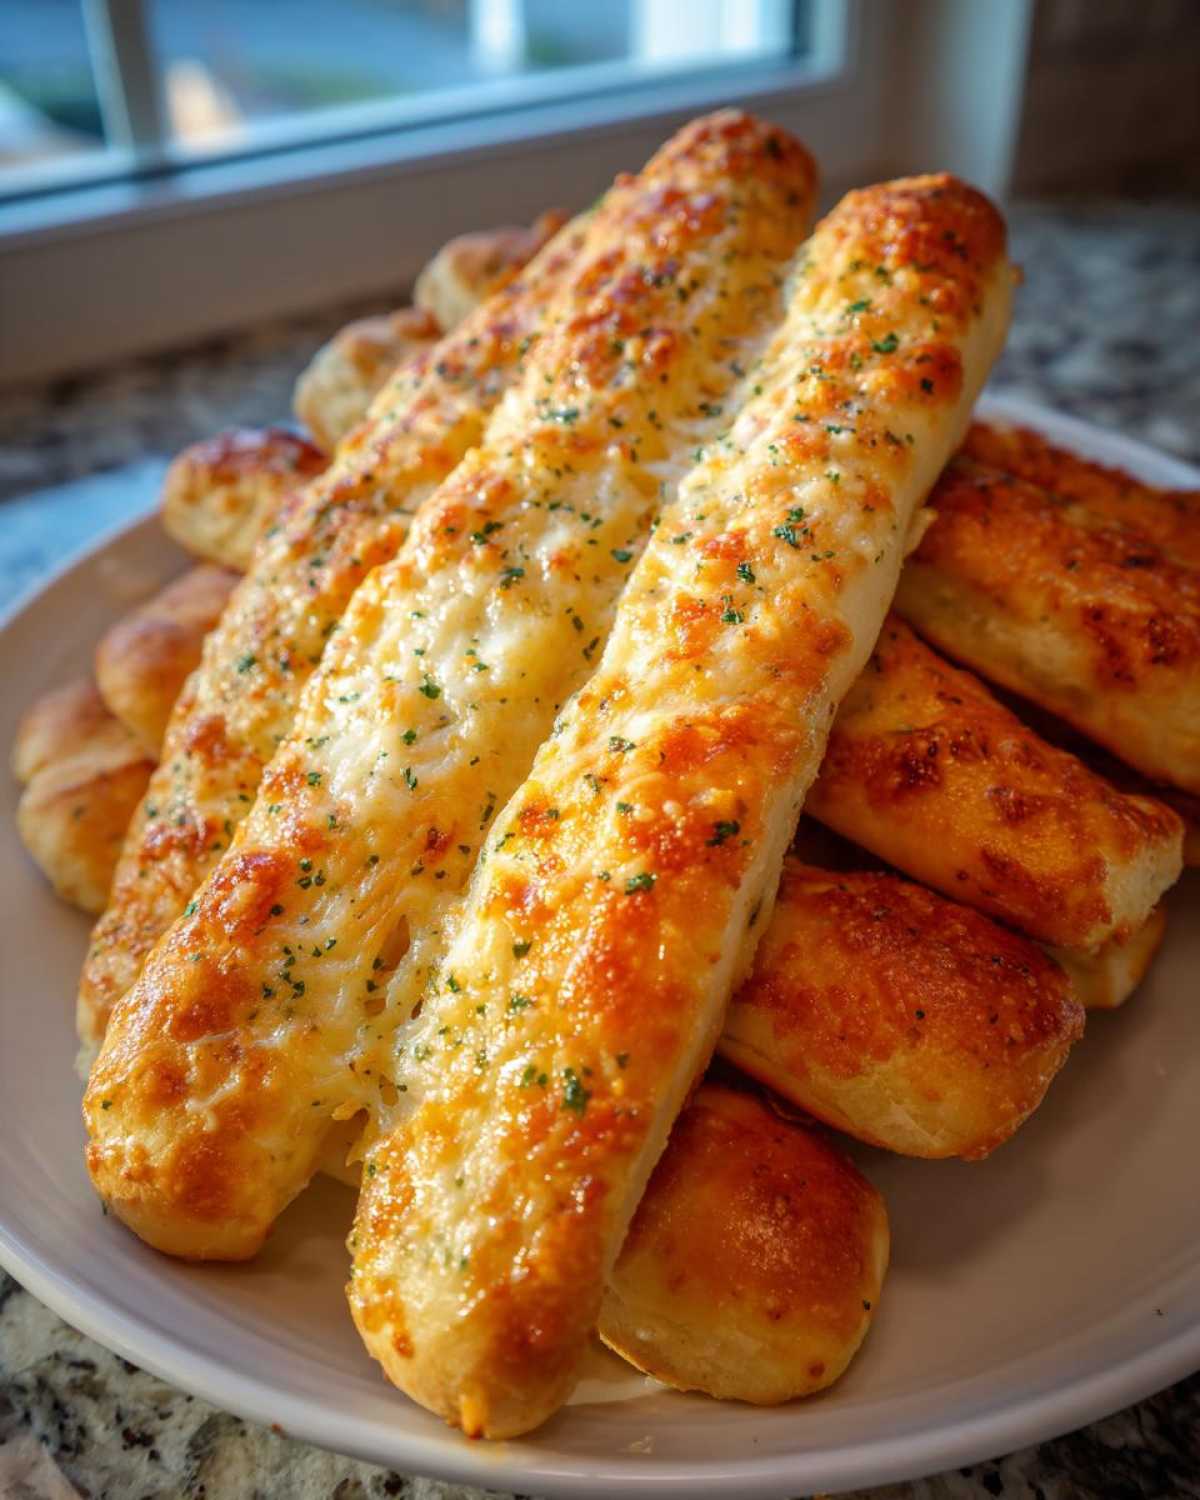
Remember, you still use the garlic and the salt in the butter mixture; we are just changing the aromatic herbs. These variations make great Appetizer Bread Sticks for parties because everyone can find a flavor they love on the same batch of dough!
Storage and Reheating Instructions for Your Breadsticks
Okay, let’s be real: these amazing, soft breadsticks are almost impossible to save because they are so good fresh out of the oven. But if you manage to keep any leftovers—and I sincerely hope you do, because they are still delicious the next day—you need to know how to bring back that amazing pliable, chewy texture. You absolutely cannot just leave them sitting on the counter in a paper bag; they’ll turn into little crunchy sticks before morning, and we don’t want that!
If you stored them correctly, they should last about 2 to 3 days at room temperature. Noah insists on keeping them in a true airtight container. Don’t try to use tinfoil or plastic wrap alone—that traps moisture in the wrong way and makes them slightly greasy instead of fluffy. A sturdy, sealed container is your best bet for keeping the breadsticks soft.
Restoring Softness After Storage
The key to reheating these is humidity and quick heat. Baking evaporates moisture, and we need to gently put that moisture back. If you toss them directly in the oven, they just dry out more. We need steam!
Here are the two ways I bring them back to life:
- The Quick Oven Trick: Preheat your oven to a lower temperature, maybe 300°F (150°C). Wrap your breadsticks loosely in aluminum foil. You can even squeeze a tiny bit of water onto the foil before wrapping—just a few drops! Heat them for about 5 to 7 minutes. The foil traps the minimal steam created by the dough, making them wonderfully soft again.
- The Microwave Shortcut (Use Caution!): If you only need one or two sticks, the microwave works fast, but it’s a high-risk game! To prevent them from turning rubbery, wrap the breadstick in a slightly damp paper towel before microwaving for 10 to 15 seconds on medium power. This forces moisture back into the dough almost instantly. It’s perfect desperation mode!
Make Ahead Breadsticks Tip
If you’re planning ahead for a big dinner party, you can actually freeze the dough! Once you’ve finished kneading (Step 3), oil your bowl, cover it tightly with plastic wrap, and pop the whole thing in the freezer. You can let it freeze for up to three months.
When you want to bake them, just pull the dough out the night before and let it thaw slowly in the refrigerator. Then, let it come to room temperature and complete the first rise as normal. It works beautifully and means you have the foundation ready for glorious, warm breadsticks whenever you need them!
Serving Suggestions for These Appetizer Bread Sticks
What good are the best buttery breadsticks in the world if you don’t have the perfect thing to dip them into? Since these are our version of restaurant style breadsticks, half the fun is matching them up with your favorite Italian comfort food! Honestly, Noah and I usually end up eating half the batch before dinner even hits the table. They are just that good as a standalone snack!
But, if you manage to save ours for the main event, here are the pairings that truly bring out the best in these appetizer bread sticks:
- Classic Red Sauce: You simply can’t go wrong here. Any good, hearty marinara sauce is the perfect vehicle for this buttery dough. We love ours with a homemade sauce, but if you’re short on time, a good jarred brand saved us more than once!
- Creamy Alfredo or Garlic Sauce: Because we already have garlic in the topping, dipping into something cream-based doubles down wonderfully on flavor. They are fantastic for scooping up every last bit of sauce left in your bowl.
- Salad Dressings: If you are serving these alongside a big, fresh Caesar salad, try dipping the breadsticks straight into the leftover dressing. The salty, tangy flavor of a good Caesar dressing against the soft garlic bread is surprisingly amazing.
- Dip Central: If you are making these for a party or game day, they are seriously fantastic with thicker dips. They hold up so well! I highly recommend pairing them with a rich, savory dip. If you need a recipe that really showcases how sturdy they are, try making my seven-layer dip—the breadsticks are perfect for scooping that cheesy goodness.
The point is, these tend to disappear fast! They aren’t just a side dish; they become the main attraction. Make sure you bake an extra batch if you plan on serving them with a big family meal!
Frequently Asked Questions About Homemade Breadsticks Recipe
I know that jumping into yeast baking can feel a little intimidating, even when you’re aiming for something as simple and comforting as homemade breadsticks. Noah and I always try to preemptively answer the questions we get most often after we share this recipe. We want you to feel totally confident tackling that dough! If you have a specific question not answered here, please check out our site disclaimer page for ingredient notes, or just drop us a line!
Can I use pre-made dough for these breadsticks?
Oh, that’s the classic shortcut question! Listen, you absolutely *can* use pre-made or refrigerated dough if you are in a real bind and need a quick bread recipe right now. It certainly saves on time! However, I have to be honest with you: you are trading quality for speed. The dough we make from scratch—which is very similar to a Homemade Pizza Dough Breadsticks recipe base—is what creates that signature soft, airy crumb. Store-bought dough often has preservatives or stabilizers that make the final product a little denser or chewier in a less pleasant way. If you use pre-made, you might get a decent stick, but it won’t have that specific, pillowy texture we worked so hard to perfect here.
How do I make sure my breadsticks are soft and not hard?
This is probably the number one concern people have! Nobody wants hard, cracker-like sticks when they are aiming for the soft, fluffy clones of restaurant favorites. There are two major moments where we seal in the softness. The first is during the hands-on process: after the first rise, you need to be gentle. Don’t punch the air out too aggressively, and don’t over-knead once the dough looks smooth. We want to keep those air pockets intact!
The second, and maybe most crucial moment, is right when they come out of the oven. That immediate, heavy coating of that buttery, garlic butter topping is non-negotiable! It seals in the moisture instantly. If you let them sit naked on the cooling rack for even two minutes, that moisture escapes, and they start firming up too quickly. Brush them while they are sizzling hot—that’s the key to keeping them soft for days!
Nutritional Estimates for These Garlic Breadsticks
Okay, here comes the less glamorous, but still important, side of baking! When you’re making something this rich and covered in glorious butter and Parmesan, we know the nutrition facts aren’t going to look like a bowl of steamed vegetables. But you deserve to know what you’re getting into when you enjoy these amazing Garlic Breadsticks!
Noah actually crunched all the numbers for us based on dividing the recipe by 16 servings (which is about two standard breadsticks per serving—fair warning, most people eat three or four!). Remember, these are just estimates based on the ingredients we listed above. If you add mozzarella for Cheesy Breadsticks, those numbers are definitely going up!
Here is what we calculated for one serving size (2 breadsticks):
- Calories: 180
- Fat: 9g (4g saturated fat)
- Cholesterol: 15mg
- Sodium: 350mg (Yes, that Parmesan and topping salt adds up!
- Carbohydrates: 22g
- Fiber: 1g
- Sugar: 2g
- Protein: 4g
It’s definitely a treat! When I look at that calorie count, I just think about how much better they are than anything you could buy frozen, and how much love went into that dough. My best advice? Enjoy them when they are warm, share them with friends, and maybe balance out the week with some extra veggies the next day. Everything in moderation, right? That’s the Spoon Swirl philosophy!
Share Your Spoon Swirl Breadsticks Experience
Now that your kitchen is probably smelling exactly like a wonderful Italian restaurant, the journey with these breadsticks is really just beginning! Noah and I pour so much of our hearts into perfecting these recipes, and seeing them come to life in your own homes is the absolute best feeling. It helps build our little Spoon Swirl community, and we love hearing about how they spice up your dinner routine.
If you followed along and ended up with those perfectly soft, buttery sticks, please, please let us know! We want to know what you served them with—was it lasagna, a big salad, or did you just eat them standing over the sink, like I am sometimes tempted to do?
If these breadsticks made your week a little warmer and quieter, please take a moment to rate the recipe at the top of the page. Five stars means the world to us and helps other bakers find this recipe and experience that same quiet joy we found with that very first loaf.
And if you snapped a picture of your beautiful, glistening Garlic Breadsticks, we would be thrilled if you shared it with us! You can always send us a note or a photo through our contact page. We are always looking for new ways to connect and share the warmth of good food made with love! Happy baking, everyone!
PrintThe Ultimate Soft & Chewy Olive Garden Copycat Breadsticks with Garlic Parmesan Butter
Recreate the famous soft, chewy breadsticks you love right in your own kitchen. This easy recipe delivers restaurant-style flavor with a rich garlic parmesan butter topping, perfect for any dinner side dish.
- Prep Time: 25 min
- Cook Time: 15 min
- Total Time: 1 hour 40 min
- Yield: 16 servings
- Category: Appetizer
- Method: Baking
- Cuisine: American
- Diet: Vegetarian
Ingredients
- 1 1/2 cups warm water (about 110°F)
- 2 1/4 teaspoons active dry yeast
- 2 tablespoons granulated sugar
- 4 cups all-purpose flour, plus more for dusting
- 1 teaspoon salt
- 1/4 cup olive oil, plus more for brushing
- 1/2 cup (1 stick) unsalted butter, melted
- 4 cloves garlic, minced
- 1 teaspoon dried Italian seasoning
- 1/2 teaspoon salt
- 1/4 cup grated Parmesan cheese
Instructions
- Activate the yeast: In a large bowl, combine the warm water, yeast, and sugar. Let this mixture sit for 5 to 10 minutes until it becomes foamy. This shows the yeast is active.
- Mix the dough: Add 3 cups of the flour, 1 teaspoon of salt, and 1/4 cup of olive oil to the yeast mixture. Mix on low speed with a dough hook or by hand until combined. Gradually add the remaining flour until a soft dough forms that pulls away from the sides of the bowl.
- Knead the dough: Knead the dough on a lightly floured surface for about 5 to 7 minutes until it is smooth and elastic.
- First rise: Lightly grease a large bowl with olive oil. Place the dough in the bowl, turning to coat. Cover the bowl with plastic wrap or a clean kitchen towel. Let the dough rise in a warm spot for 1 to 1.5 hours, or until it has doubled in size.
- Shape the breadsticks: Gently punch down the risen dough. Divide the dough into two equal pieces. On a lightly floured surface, roll each piece into a rectangle about 1/4 inch thick. Cut the rectangles into strips about 1 inch wide.
- Second rise (optional but recommended for softness): Place the cut breadsticks on baking sheets lined with parchment paper. Cover loosely and let them rest for 20 minutes while you preheat the oven.
- Bake: Preheat your oven to 400°F (200°C). Bake the breadsticks for 10 to 12 minutes, or until they are lightly golden brown.
- Prepare the garlic butter topping: While the breadsticks bake, combine the melted butter, minced garlic, Italian seasoning, and 1/2 teaspoon of salt in a small bowl.
- Brush and finish: As soon as the breadsticks come out of the oven, brush them generously with the garlic butter mixture. Immediately sprinkle the grated Parmesan cheese over the warm butter.
- Serve: Let them cool slightly before serving warm. These are best enjoyed right away with your favorite pasta sauce for dipping.
Notes
- For an extra soft texture, you can brush the dough lightly with olive oil before the second rise.
- If you want cheesy breadsticks, sprinkle mozzarella cheese over the tops of the breadsticks during the last 3 minutes of baking, then apply the garlic butter topping after they come out of the oven.
- This dough recipe is similar to a soft dinner roll dough, which contributes to the chewy texture.
Nutrition
- Serving Size: 2 breadsticks
- Calories: 180
- Sugar: 2
- Sodium: 350
- Fat: 9
- Saturated Fat: 4
- Unsaturated Fat: 5
- Trans Fat: 0
- Carbohydrates: 22
- Fiber: 1
- Protein: 4
- Cholesterol: 15