

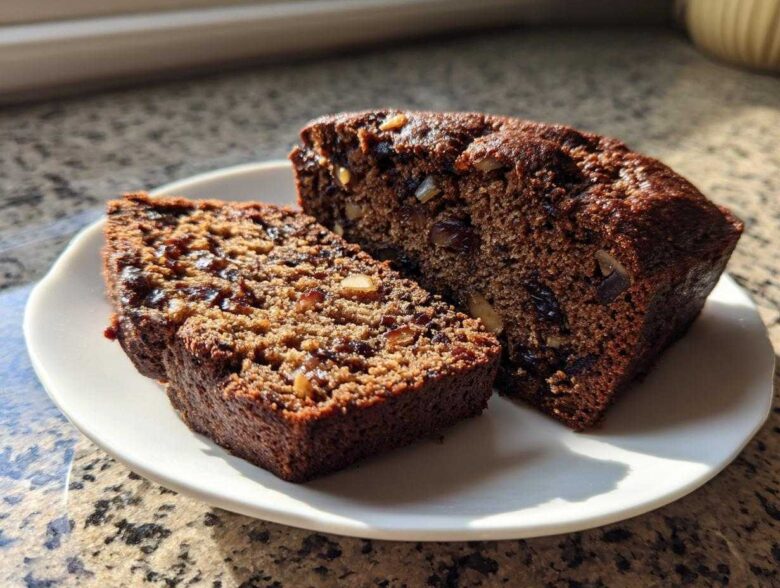
Sometimes you just need that hug in a loaf pan, right? When the world feels a little too loud, pulling out flour and sugar to create something simple and deeply comforting is my favorite kind of therapy. This Easy, Moist, Old-Fashioned Date Nut Bread recipe is everything I look for in a classic quick bread: rich, perfectly spiced, and incredibly forgiving. It reminds me of those slow, quiet weekends Noah and I first started baking together—our little Spoon Swirl moments where the noise just melted away. If you want to know more about our journey into baking for comfort, check out our story here. Trust me, this recipe brings that same feeling of genuine, warm joy right to your counter. It’s truly simple comfort.
Why This Easy Date Loaf Recipe is Your New Favorite Date Nut Bread
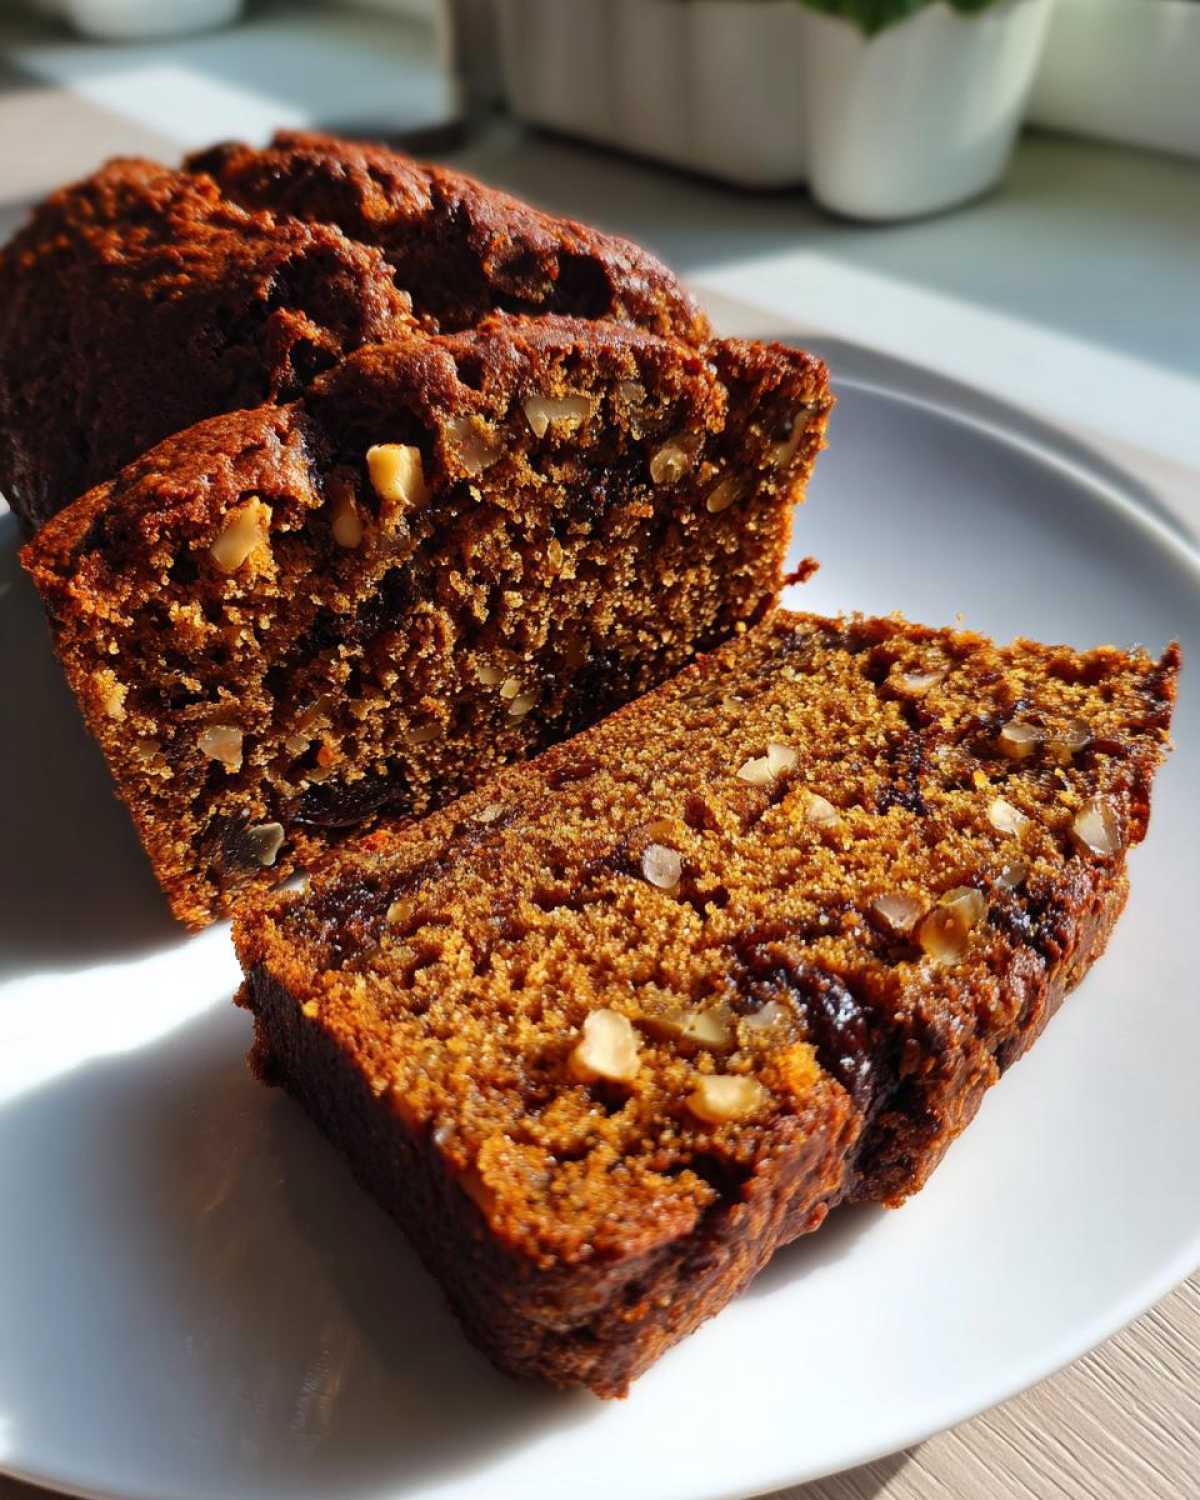
I’ve tried so many quick bread recipes over the years, but this one always wins. It hits that perfect sweet spot: rich, old-fashioned flavor without being fussy or time-consuming. When I pulled the first loaf of this Moist Date Nut Bread out of the oven, I almost cried because the texture was just unbelievably tender. It doesn’t crumble when you slice it, which tells you everything you need to know about the moisture! This Easy Date Loaf Recipe is my go-to when I need something comforting fast.
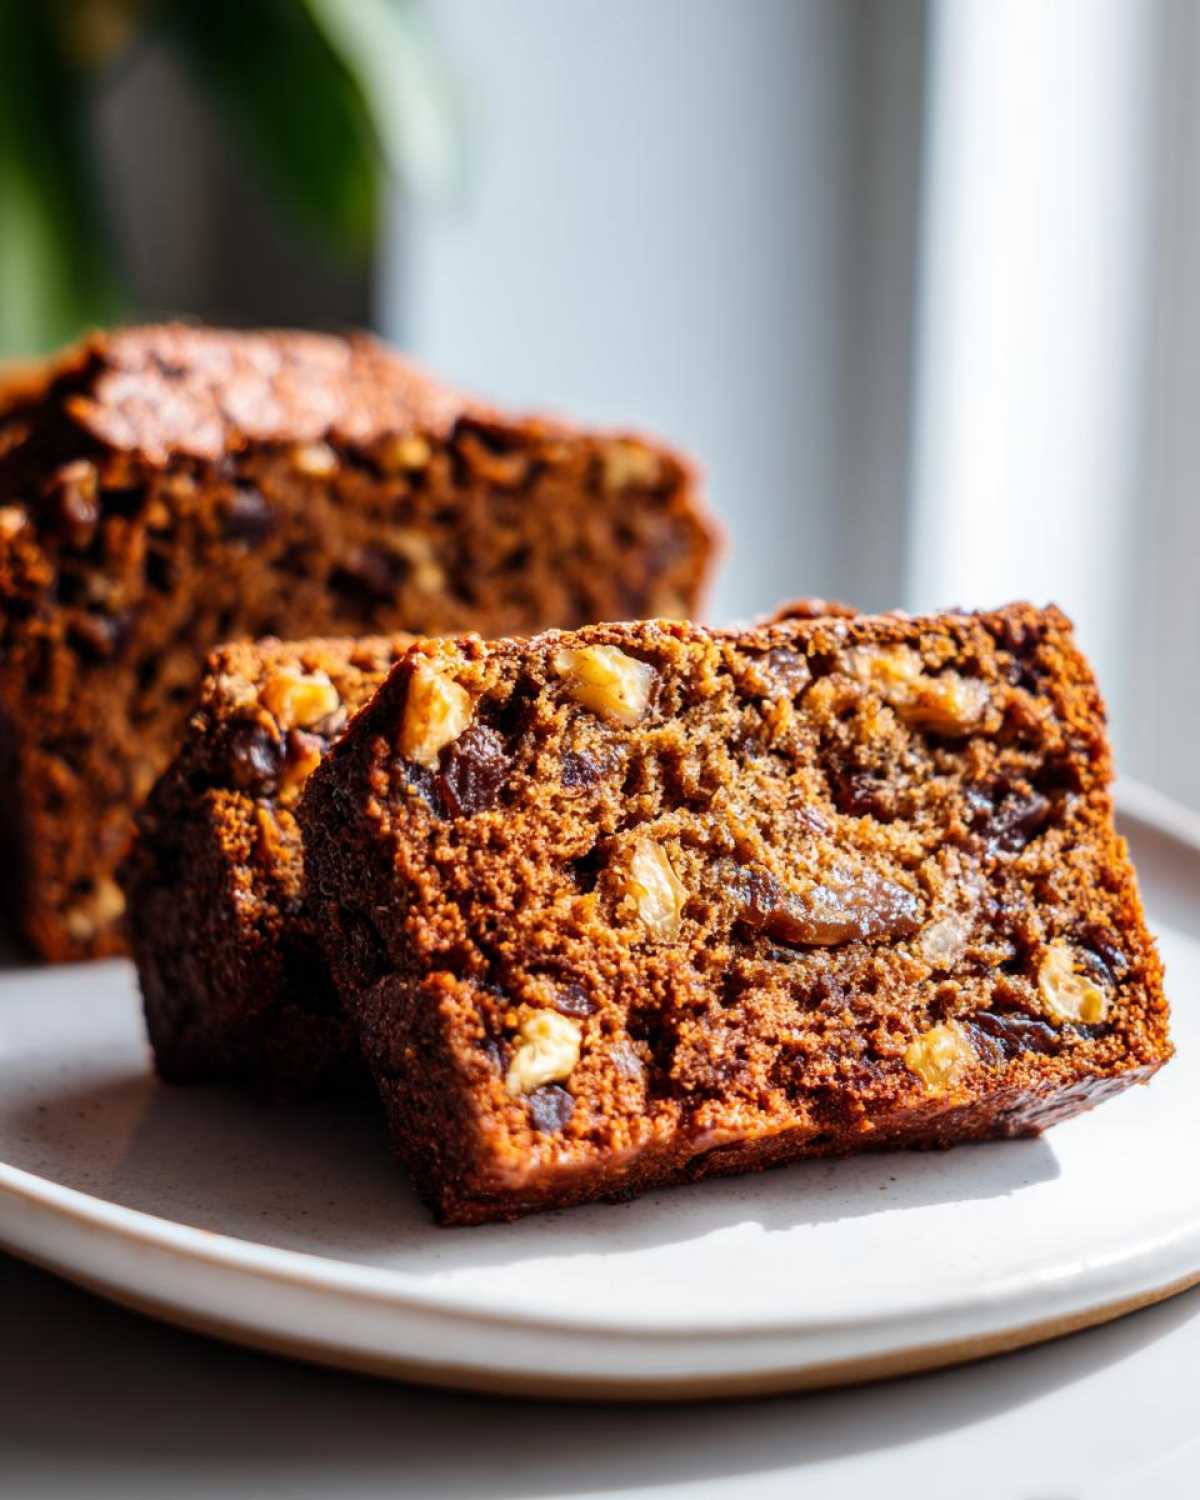
Quick Bread Baking Made Simple
If yeast scares you, don’t worry! This is where quick bread baking shines. There’s no kneading, waiting for things to rise, or worrying about the temperature of your kitchen. We use baking soda here, which means you mix it, pour it, and bake it. Honestly, if you can stir ingredients together, you can nail this recipe for the most wholesome snack bread.
The Secret to the Best Date Nut Bread Recipe
The real magic that locks in that amazing moisture—the absolute key to the Best Date Nut Bread Recipe—is right there in step two: soaking the dates. When you pour boiling water and baking soda over those little chopped dates, they plump up beautifully. This technique prevents them from drying out during their time in the oven. It’s this easy step that guarantees you an incredibly moist result every single time you make this classic date nut bread.
Gathering Ingredients for Classic Date Nut Bread
Baking this classic recipe feels a bit nostalgic, doesn’t it? That’s because it’s a true Old Fashioned Nut Bread. When we gather these ingredients, we’re aiming for deep, comforting flavor, not just speed. For a truly spectacular loaf, we need to pay close attention to the dates—they are the star here! Good quality items make a huge difference in achieving that perfect texture we talked about earlier. Let’s make sure we have everything before we even think about turning on the oven.
Ingredient List for Date and Walnut Bread
Here’s what you’ll need for one gorgeous loaf. Grab your biggest mixing bowls! Remember, the butter absolutely has to be softened—take it out early!
- 1 cup boiling water
- 1 cup packed pitted dates, chopped
- 1 teaspoon baking soda
- 1/2 cup (1 stick) unsalted butter, softened
- 1 cup granulated sugar
- 2 large eggs
- 1 teaspoon vanilla extract
- 1 3/4 cups all-purpose flour
- 1 teaspoon ground cinnamon
- 1/2 teaspoon ground nutmeg
- 1/4 teaspoon salt
- 1 cup chopped walnuts, plus extra for topping
Ingredient Notes and Substitutions for Wholesome Snack Bread
A couple of quick thoughts on these items. First, the dates! Make sure they are pitted—nobody wants a surprise pit wedge in their slice! If you happen to be out of butter, you can use shortening, but honestly, the flavor won’t be as rich, so try to stick to butter for this Wholesome Snack Bread. Also, if you want to make this slightly heartier, you can swap out about half of that all-purpose flour for whole wheat flour. It gives a lovely nutty depth!
Step-by-Step Instructions for Moist Date Nut Bread
Alright, this is where the magic happens! Don’t be intimidated by the steps; they are all designed specifically to bring you the most deliciously Moist Date Nut Bread imaginable. Remember, organization here makes the process flow smoothly, just like Noah likes it. Make sure your oven is humming along at 350°F (175°C) and your 9×5 loaf pan is greased and floured before you even start mixing. We’re making memories here, folks, not a mess! If you’re looking for other great breakfast loaf recipes to try later, save this post!
Preparing the Dates: The Moisture Foundation
This is non-negotiable for moisture! First, take those chopped dates and put them in a sturdy bowl. You need to pour one full cup of boiling hot water right over the top, and then immediately stir in that teaspoon of baking soda. That soda reacts with the heat to start breaking the dates down. Let this little mixture sit undisturbed for a solid fifteen minutes. It not only softens them perfectly, but it creates a liquid base that pours right into the batter, ensuring that wonderful, moist texture we crave.
Mixing Wet and Dry Components for Your Easy Date Loaf Recipe
While the dates are chilling out, tackle the main batter. You need to cream that softened butter and sugar until it looks pale and fluffy—I mean really fluffy, like it’s ready for a cloud nap. Then, one by one, beat in those eggs. In a separate place, whisk your flour, cinnamon, nutmeg, and salt together. Now, here’s the vital part for your Easy Date Loaf Recipe: alternate adding the dry mix and any remaining liquid into the wet mix. But listen to me: mix only until *just* combined. If you see a little flour streak, that’s okay! Overmixing develops gluten, and we want tender bread, not tough bread.
Baking and Cooling Your Date Nut Bread
Once you fold in those lovely date/walnut clumps, pour the batter into your pan and don’t forget to sprinkle a few extra walnuts on top for crunch! Bake it for about 55 to 65 minutes. If you notice the top is getting deeply brown around the 40-minute mark, just loosely drape a piece of foil over it—this stops the nuts from burning while the middle finishes baking. When a skewer comes out clean, that’s your signal! Let the date nut bread rest in the pan for only ten minutes. Then, flip it out onto a wire rack to cool completely. Don’t slice it right away; patience is key to a perfect texture!
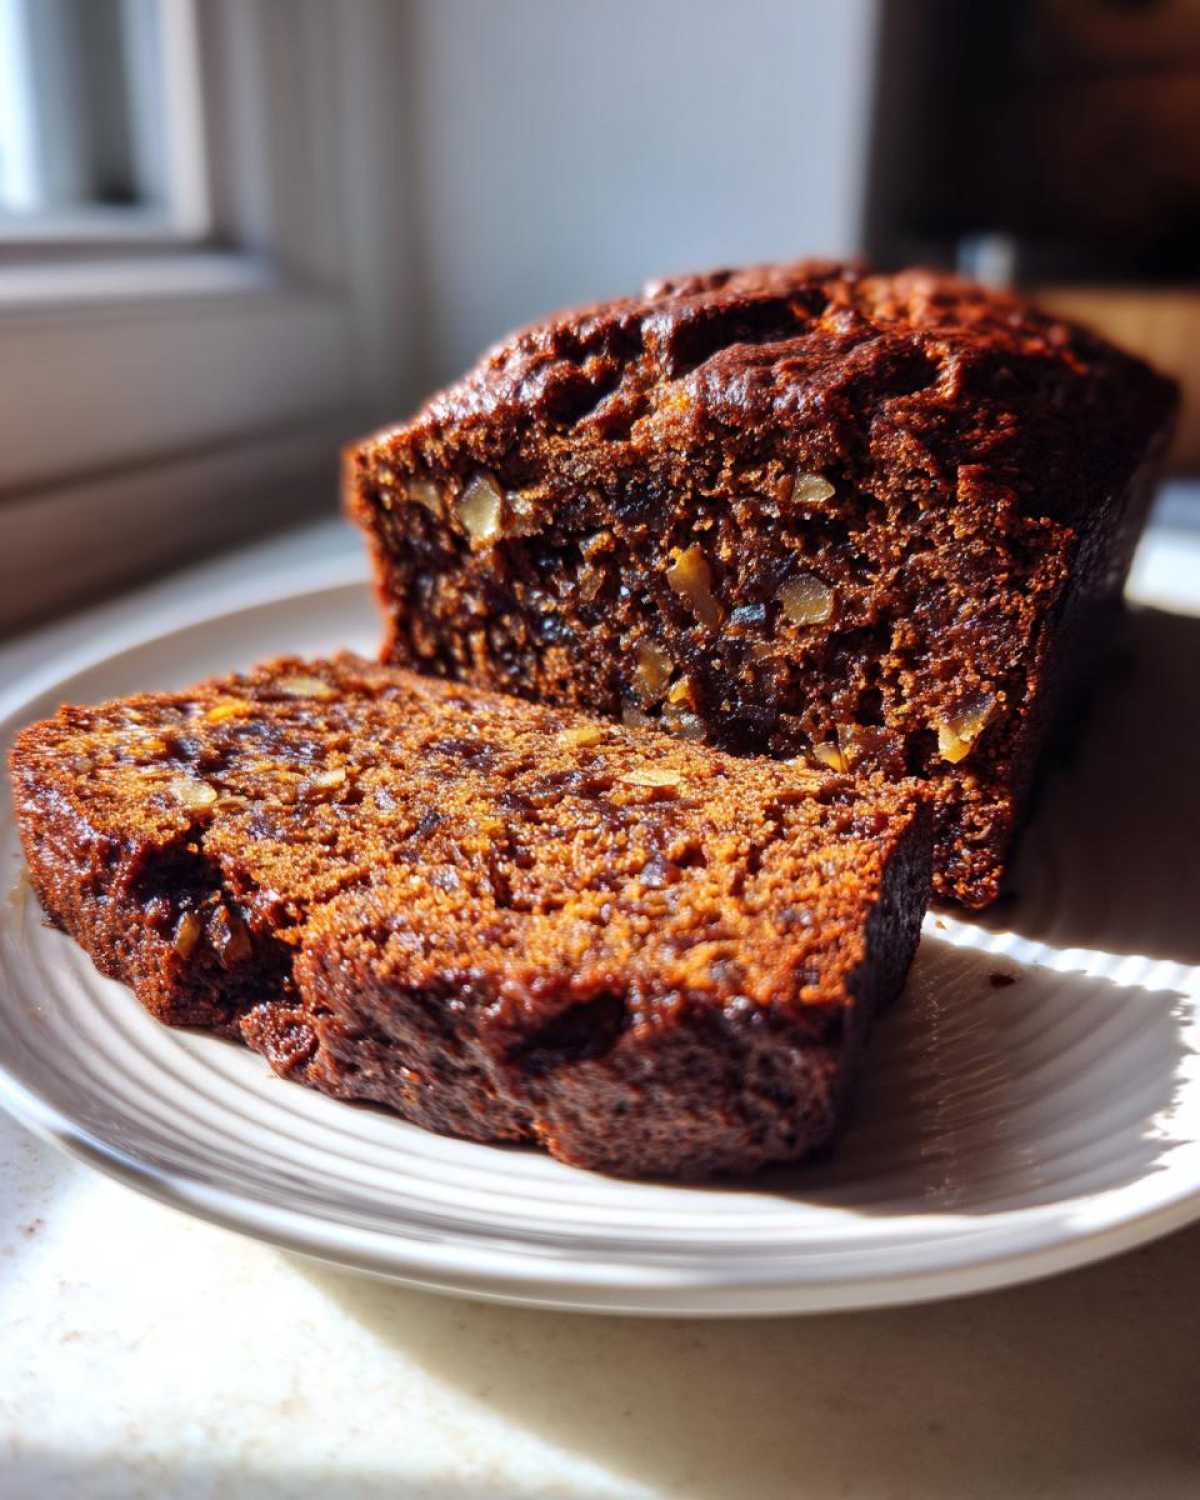
Tips for Perfect Old Fashioned Nut Bread Every Time
Even though this is a quick bread, getting that perfectly level top and centered bake takes a little know-how. We want that gorgeous, slightly domed look you expect from an Old Fashioned Nut Bread. Since this recipe relies on chemical leaveners instead of yeast, we have to be smarter about how we bake it to avoid any sinking dramas. Getting the spices right also contributes to the overall comfort factor of this Simple Spiced Bread.
Ensuring Even Baking in Quick Bread Baking
The biggest fear in Quick Bread Baking is that the edges cook way faster than the middle—especially with dense loaves like this. If you suspect yours is browning too fast, the foil tent trick works wonders, as I mentioned earlier. But here’s my secret trick from watching Noah test recipes: use an instant-read thermometer. You’re looking for about 200°F to 205°F right in the center. If you don’t want to mess with gadgets, just trust the visual check, but give the loaf a gentle wiggle when you think it’s done. If it doesn’t shift or shimmy excessively, you’re golden!
Serving Suggestions for Date Nut Bread
Honestly, this Comfort Food Baking masterpiece is delicious anytime, but how you serve it can elevate it even more! The best way, in my humble opinion, is when the loaf is still a little warm and you slather it with a thick layer of salted butter that melts right into the spices. It’s also fantastic toasted the next morning!
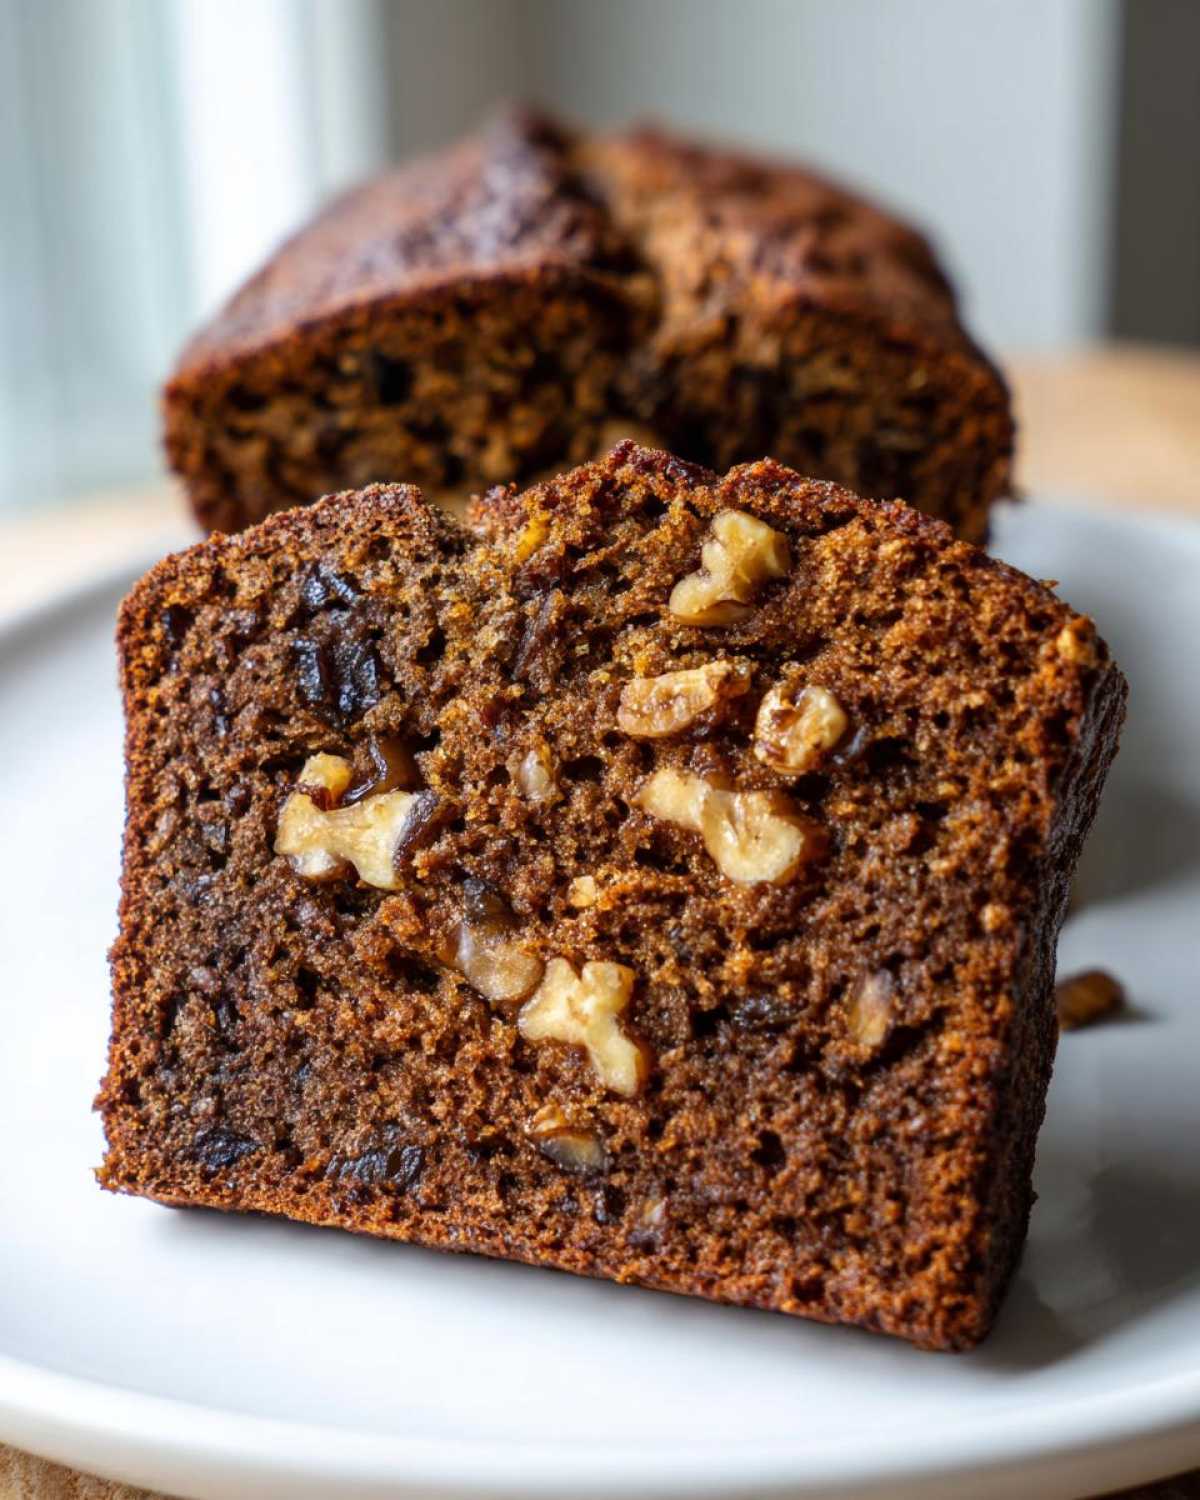
Because this loaf is so hearty and flavorful, it works perfectly as a satisfying Breakfast Loaf Recipe alongside a strong cup of coffee. If you want to dress it up for guests, a schmear of soft cream cheese or even a light drizzle of honey takes it right over the top. It’s versatile, just how I love my best recipes!
Storage and Freezing Instructions for Homemade Quick Breads
One of the best things about making a beautiful loaf of date nut bread is that it tastes just as good—if not better—the next day. Since it keeps so well, it’s the perfect recipe to make ahead, especially if you’re busy during the holidays or just want a grab-and-go breakfast for the week.
If you can manage not to eat the whole loaf right away, you’re already a champion! Keeping these homemade quick breads fresh is super simple, but it requires avoiding the fridge if possible. Cold air dries out quick breads faster than you can say ‘cinnamon.’ Room temperature is usually perfect for up to three days.
Make sure the loaf is completely cooled—I mean, totally, utterly cool—before you wrap it. Warm bread traps steam, and steam turns into condensation, which means sogginess, and we worked too hard for sogginess!
For two or three days on the counter, wrap it tightly, snug as a bug, in plastic wrap first. Then, I like to add a layer of aluminum foil over that. Think of it as a double shield against air exposure.
Now, if you want to save some of this goodness for later, freezing is your friend. You can definitely freeze this loaf! Once it’s cooled entirely and wrapped tightly in plastic wrap, wrap it again in foil or slide it into a freezer-safe zip-top bag. Make sure you press out as much air as possible before sealing it up tight. It lasts wonderfully for about three months this way.
When you’re ready to enjoy it again, just pull it out of the freezer and let it thaw slowly on the counter, still wrapped. Once it’s thawed, slice it up, pop it in the toaster, and it’s basically bakery fresh again. Nothing beats that spicy, nutty aroma wafting through the house on a random Tuesday!
Variations: Banana Date Nut Bread Variation and More
Just because this is our beloved old-fashioned version doesn’t mean we can’t play a little! If you’re looking to mix things up, I have a couple of favorite tweaks that keep the comfort factor high. The one everyone asks about is the Banana Date Nut Bread Variation.
If you have a couple of spotty bananas staring at you from the counter, mash up about half a cup and add that right in with your wet ingredients. It makes the bread even softer—almost cake-like! You might need to add five extra minutes to the baking time, so keep an eye on that center. Also, if you want to lean into that holiday vibe, try swapping out a bit of the cinnamon for pumpkin pie spice. A little grating of orange zest in there brightens up the whole sweet profile, too. Trust me, these small additions make great new traditions!
Frequently Asked Questions About Date Nut Bread
I love hearing what you all wonder about when starting a new recipe! Noah is usually the one who has all the technical answers, but I’ve gathered the ones I hear the most about making the Best Date Nut Bread. These questions are super common when you’re trying to master any Comfort Food Baking staple!
What is the best way to store leftover date nut bread?
Oh, if you can resist eating the whole thing the day it comes out of the oven, you’re stronger than I am! For keeping your Homemade Quick Breads fresh, remember what I said: avoid the fridge! At room temperature, just wrap it up tight in plastic wrap and then foil—that double wrap keeps the air out beautifully. If you need it to last longer than three days, pop it in the freezer. It tastes amazing straight from the freezer, too, in my book!
Can I use Medjool dates instead of chopped dates?
Yes, absolutely! This is a great question about Baking with Dates. Medjool dates are fantastic because they are softer to begin with, and they have that lovely rich, caramel flavor. The main thing you have to remember is to chop them up small first, just like we do with the standard dried dates. You won’t need them to soak quite as long, but they will definitely give you an even richer, sweeter crumb. It’s a wonderful choice!
Can I use pecans instead of walnuts in this easy date loaf recipe?
Please do! I highly recommend it if pecans are your favorite. This recipe is so flexible! While my grandmother always used walnuts, there’s absolutely nothing wrong with swapping them out for pecans if you prefer that flavor profile. It works perfectly in this Easy Date Loaf Recipe. You get the crunch and the richness either way. Just chop them up roughly and fold them in with the dates!
Is this date nut bread recipe suitable for serving at holidays?
It’s ideal for holidays! Because it’s a year-round Classic Quick Bread, it feels perfectly festive when spiced right. It makes your kitchen smell amazing, and it’s fantastic for setting out on a brunch buffet. Slice it thick, toast it lightly, and serve it with softened butter. In fact, if you’re looking for more ideas to make your home feel cozy during the colder months, you can always check out our main blog for more inspiration!
Sharing Your Comfort Food Baking Experience
Now that you have made this wonderfully rich and comforting date nut bread, I am just bursting to hear all about it! Seriously, the best part of my day is reading about your successes in the kitchen. Did you serve it warm with butter? Did your house smell amazing while it baked? Tell me everything!
Please take a minute to leave a rating for this recipe right down in the comments section. Your feedback really helps other bakers feel confident trying this recipe, especially those who might be new to Comfort Food Baking. And if you snap a photo of your glorious, crackly-topped loaf, please tag us on social media! We absolutely love seeing your creations—it truly feels like you’re right here in the kitchen with me.
If you’re looking for more recipes that bring that quiet, happy feeling into your home, check out the whole collection over on the main part of the Spoon Swirl blog. Happy baking, friends; I hope this loaf brings as much peace to your day as it always brings to mine!
PrintEasy, Moist, Old-Fashioned Date Nut Bread
Bake this classic, moist date nut bread. This easy quick bread recipe delivers comforting, rich flavor perfect for breakfast, snacking, or holiday gifting.
- Prep Time: 20 min
- Cook Time: 60 min
- Total Time: 1 hour 20 min
- Yield: 1 loaf (about 10 servings)
- Category: Breakfast
- Method: Baking
- Cuisine: American
- Diet: Vegetarian
Ingredients
- 1 cup boiling water
- 1 cup packed pitted dates, chopped
- 1 teaspoon baking soda
- 1/2 cup (1 stick) unsalted butter, softened
- 1 cup granulated sugar
- 2 large eggs
- 1 teaspoon vanilla extract
- 1 3/4 cups all-purpose flour
- 1 teaspoon ground cinnamon
- 1/2 teaspoon ground nutmeg
- 1/4 teaspoon salt
- 1 cup chopped walnuts, plus extra for topping
Instructions
- Preheat your oven to 350°F (175°C). Grease and flour a 9×5 inch loaf pan.
- Place the chopped dates in a heatproof bowl. Pour 1 cup of boiling water over the dates and stir in the baking soda. Let this mixture sit for 15 minutes to soften the dates.
- In a large bowl, cream together the softened butter and sugar until light and fluffy. Beat in the eggs one at a time, then stir in the vanilla extract.
- In a separate medium bowl, whisk together the flour, cinnamon, nutmeg, and salt.
- Add the dry ingredients to the wet ingredients in three additions, mixing just until combined after each addition. Do not overmix.
- Gently fold in the softened date mixture (including any remaining liquid) and the chopped walnuts.
- Pour the batter into the prepared loaf pan. Sprinkle a few extra chopped walnuts over the top, if desired.
- Bake for 55 to 65 minutes, or until a wooden skewer inserted into the center comes out clean. If the top browns too quickly, loosely tent it with aluminum foil after about 40 minutes.
- Let the loaf cool in the pan for 10 minutes before turning it out onto a wire rack to cool completely. Slice and serve warm with butter for the best flavor.
Notes
- For an extra moist loaf, soak the dates in hot tea instead of plain water.
- This bread freezes well once completely cooled. Wrap tightly in plastic wrap and then foil.
- If you prefer a sweeter bread, substitute half the all-purpose flour with whole wheat flour for a slightly healthier, wholesome snack bread.
Nutrition
- Serving Size: 1 slice
- Calories: 285
- Sugar: 25g
- Sodium: 150mg
- Fat: 12g
- Saturated Fat: 6g
- Unsaturated Fat: 6g
- Trans Fat: 0g
- Carbohydrates: 43g
- Fiber: 3g
- Protein: 5g
- Cholesterol: 65mg