

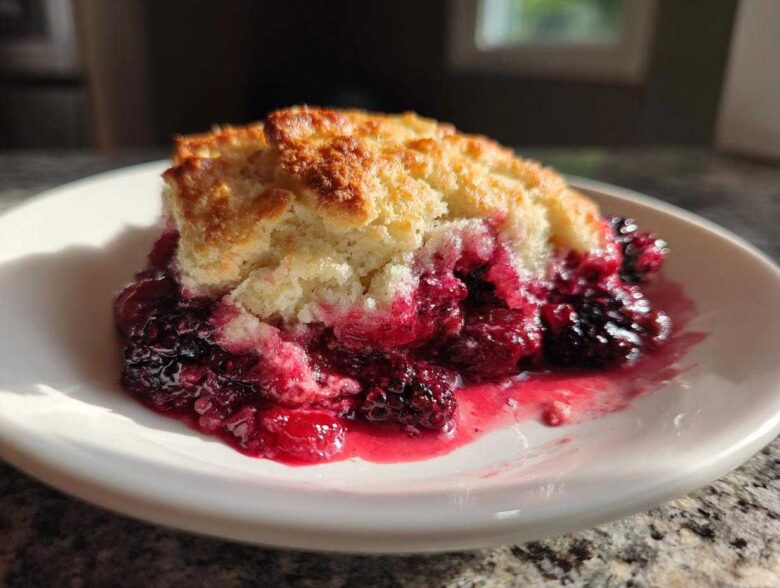
Sometimes, there’s just nothing that can fix a tough day like something warm, bubbly, and sweet served straight from the oven. That’s exactly what this **berry cobbler** brings to the table! Honestly, when Noah first made me something comforting after a hard week, it wasn’t gourmet; it was just pure, warm love. And this recipe captures that feeling perfectly. We call this the Easiest Mixed Berry Cobbler with Biscuit Topping because, trust me, it’s idiot-proof! You can use whatever berries you have on hand—fresh ones bursting from the farmer’s market or stubborn ones hiding in the freezer. It’s designed to be the ultimate comfort food desserts we believe in here at Spoon Swirl. If you want to connect with the heart of simple baking, this is where you start. You can read a little more about how we started baking together over at the About Us page!
Why This Easy Berry Cobbler Recipe Is Your New Favorite Comfort Food Desserts
Life gets busy, right? That’s why I developed simple baking recipes that deliver maximum cozy factor with minimum actual effort. This dessert is pure joy—a **Quick Fruit Dessert** that tastes like you spent hours fussing over it, but I promise you didn’t! It’s my go-to when I need genuine **Comfort Food Desserts** right away.
The best part about this whole setup is how unbelievably fast the prep time is. Seriously, 15 minutes and it’s heading into the oven. That’s less time than it takes to decide what sad takeout you might order!
Key Benefits of This Berry Cobbler with Biscuit Topping
- You get that perfect contrast: a bright, jammy, bubbly fruit layer underneath.
- The topping is tender and biscuit-like, not crunchy like a crisp, which I just find much more comforting.
- It doesn’t fuss about fresh versus frozen berries; just use what you have!
Gathering Ingredients for Your Homemade Cobbler Recipe
I always say half the magic of a great **Homemade Cobbler Recipe** happens right here—making sure you have everything ready before you even turn on the oven. Trust me on this one; prepping your ingredients first keeps the baking process relaxed. The filling uses simple thickening agents to get perfectly jammy without being runny. When you look at this list, remember that the key to amazing flavor is just the fruit and some sugar!
For the Jammy Berry Filling
- 6 cups mixed berries (and yes, you absolutely can use frozen ones—don’t even thaw them first!)
- 1/2 cup granulated sugar
- 2 tablespoons cornstarch (this is what makes the juices thick and wonderful!)
- 1 tablespoon lemon juice (just a little brightness)
- 1/4 teaspoon salt
For the Tender Cobbler with Biscuit Topping
This topping is what makes this a true **berry cobbler with biscuit topping**. We need our butter super cold for that beautiful, non-greasy texture. Don’t substitute the mixing method here; it makes all the difference!
- 1 1/2 cups all-purpose flour
- 2 teaspoons baking powder
- 1/2 teaspoon salt
- 1/4 cup granulated sugar
- 6 tablespoons cold unsalted butter, cut into small pieces
- 1/2 cup milk
- 1 large egg, beaten (this is just for brushing the tops, not mixing in!)
- 1 tablespoon coarse sugar (for sprinkling on top so it glistens!)
Step-by-Step Instructions for the Perfect berry cobbler
Okay, time to get messy! This is where the magic happens. Follow these steps, and you’ll have the most gorgeous, bubbly **berry cobbler** that makes your kitchen smell like pure summer heaven. Don’t rush the mixing; we’re building layers of flavor and texture here. I hope you have your favorite quiet music on, because this is our “spoon swirl” moment!
Preparing the Fruit Base and Baking Dish
First things first, crank up that oven to 375°F (190°C) and get your 8×8 inch baking dish lightly greased. In a big bowl—and I mean big—gently toss your mixed berries with the sugar, cornstarch, lemon juice, and that tiny pinch of salt. You want to coat everything nicely, but please, be gentle! We want whole berries, not berry jam right now. Give it a careful stir until that cornstarch disappears, and then pour that gorgeous fruit evenly into your prepared dish.
Making and Placing the Cobbler with Biscuit Topping
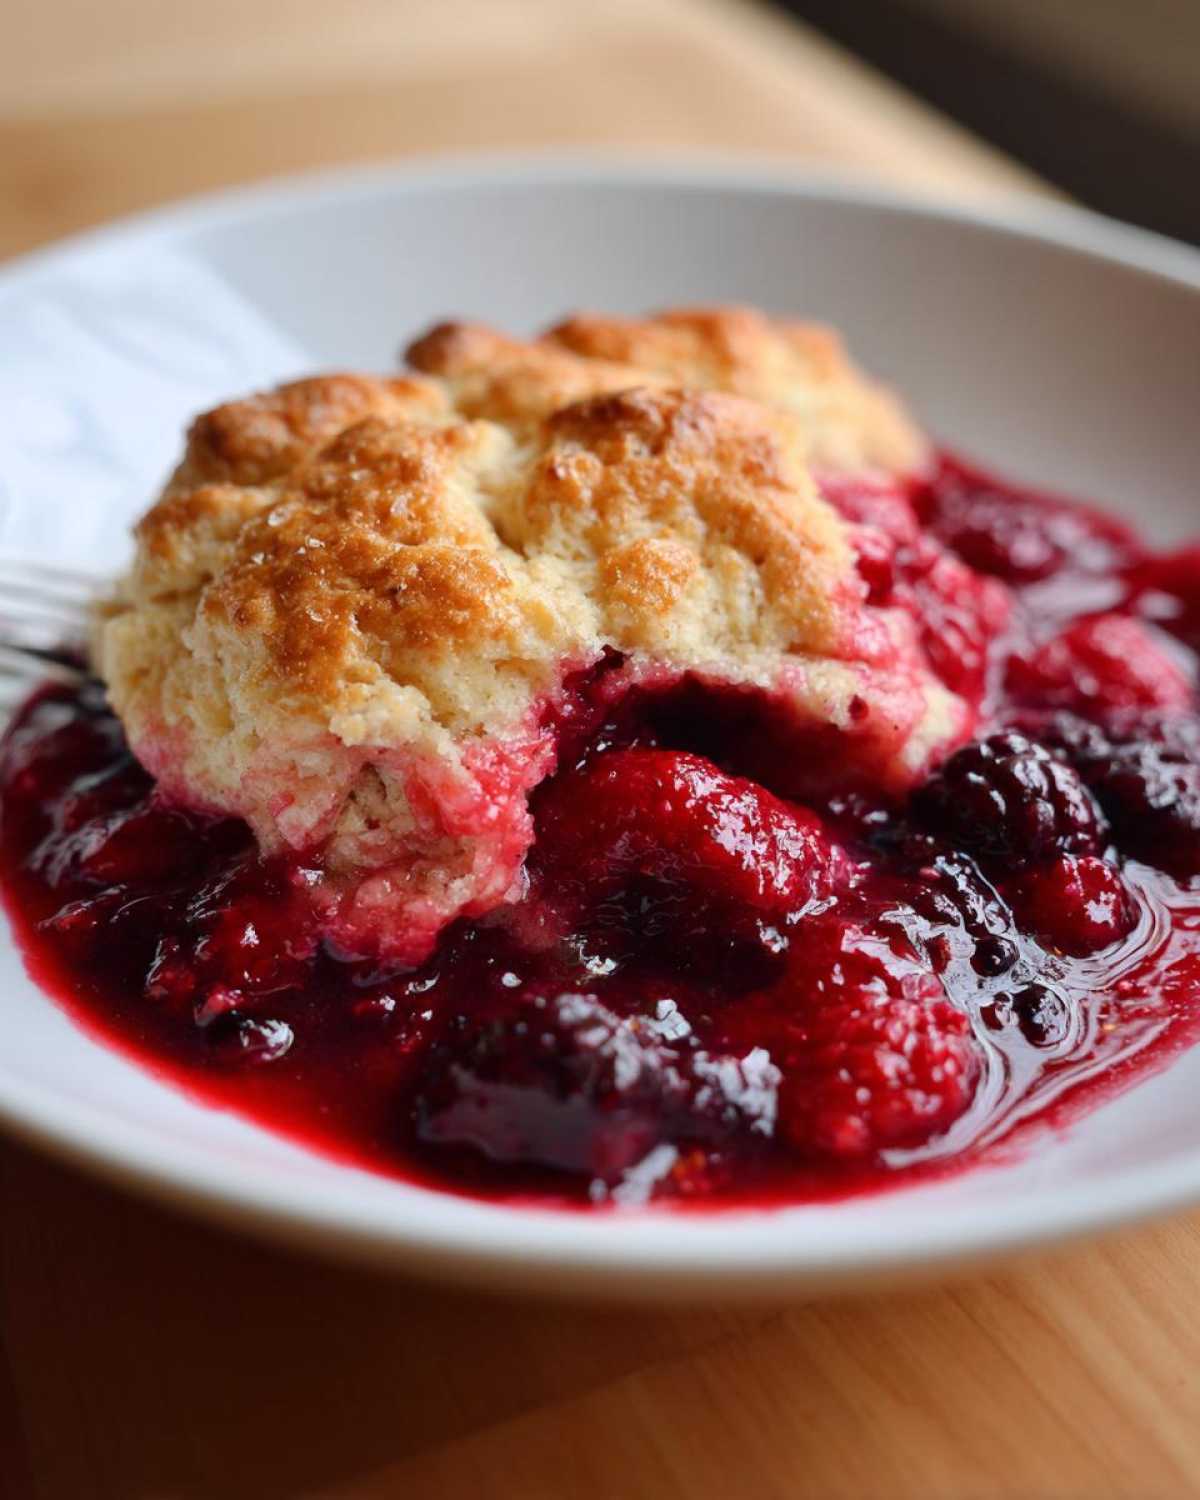
Now for the biscuit topping! In a separate bowl, whisk your flour, baking powder, the topping’s sugar, and salt. This is key: you need that cold butter cut into small pieces. Use your fingers or a pastry blender—I prefer my very clean hands—to work the butter in until it looks like coarse crumbs mixed with little pebbles of butter. Stir in the milk just until it barely comes together; we want it shaggy. Drop big spoonfuls of that dough right over the berries. Don’t worry if you have gaps! That lets the fruit peek through.
Baking and Resting the berry cobbler
Brush those tops quickly with the beaten egg and sprinkle them with that coarse sugar for sparkle! Pop it into the oven for about 35 to 45 minutes. You’re looking for two things: the filling bubbling fiercely around the edges, and the biscuits looking beautifully golden brown. Once it’s out, it needs a moment to settle. Let it rest on a wire rack for at least 15 minutes before you even think about scooping. This short rest helps the filling set up when you head straight to the blog for more inspiration!
Tips for Success with Your berry cobbler
You know how some recipes feel fussy? Not this one! I want you to feel confident making this dessert any day of the week, so let me share a few things I learned testing this **berry cobbler** until it was absolutely perfect. These little tricks make sure you get that deep, sweet fruit flavor and that fantastic biscuit texture every single time. If you trust the process, this recipe will never let you down!
Handling Frozen Berries in Your berry cobbler
This is the easiest tip of all: Don’t thaw your frozen berries! Seriously, don’t even think about it. If you thaw them, they release all their juice right then and there, and you end up with watery soup instead of a jammy filling. Just dump those frosty beauties straight into the bowl when you mix the filling. The only thing you might need to do is tack on an extra five to ten minutes to the baking time until you see those glorious bubbles!
Achieving the Best Cobbler with Biscuit Topping Texture
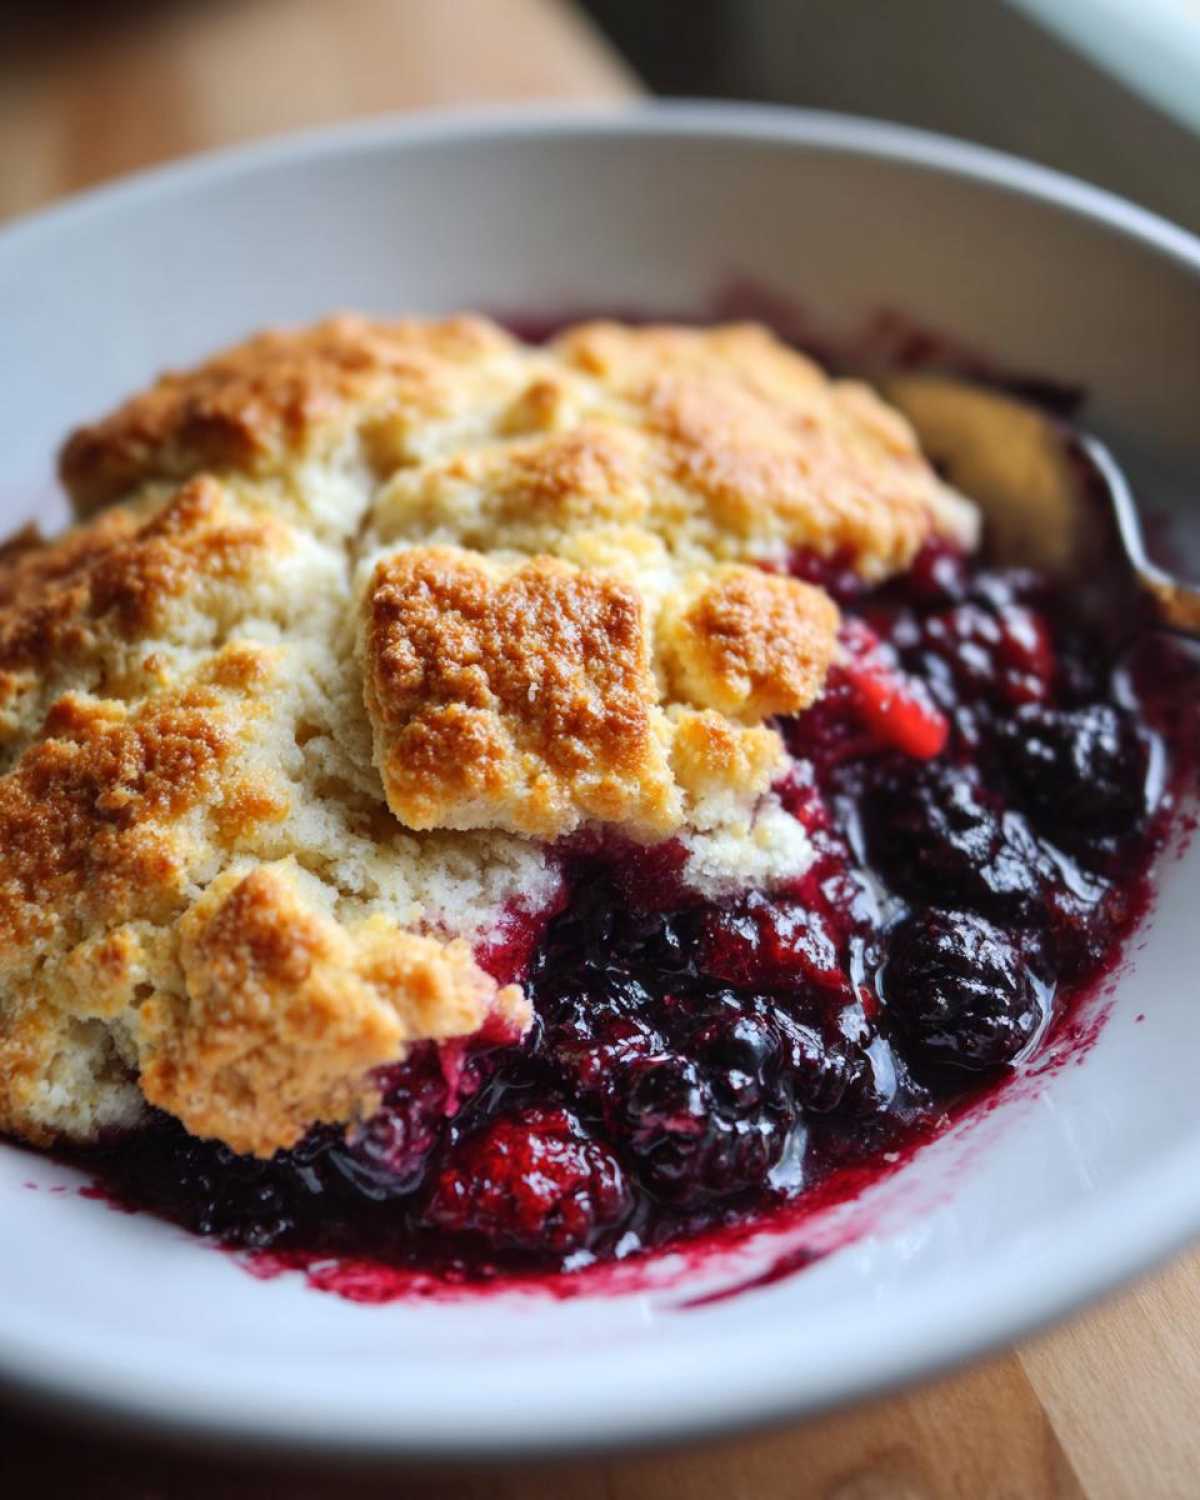
The texture of the topping is everything! If your butter isn’t cold, you’ll end up with something dense, which we don’t want. Keep that butter cubed and chilled until the absolute last second before you mix it into the dry ingredients. And when you stir in the milk? Mix only until it *just* combines. If you see dry streaks, that’s fine! Overmixing develops the gluten and kills the tender, biscuit-like texture we are aiming for. For more great takes on mixed berry desserts, definitely check out this post here!
Serving Suggestions for Your Warm Berry Dessert
Now that you have this gorgeous, bubbly **berry cobbler** fresh out of the oven, the hardest part begins: waiting ten minutes! But seriously, this dessert is 90% of the way there, but those final touches elevate it from great to absolutely unforgettable. Because this is such a lovely, warm fruit dessert, it practically begs for something cold and creamy to balance out that heat and the tartness of the fruit. You deserve this moment of pure indulgence!
The Classic Vanilla Topping Cobbler Pairing
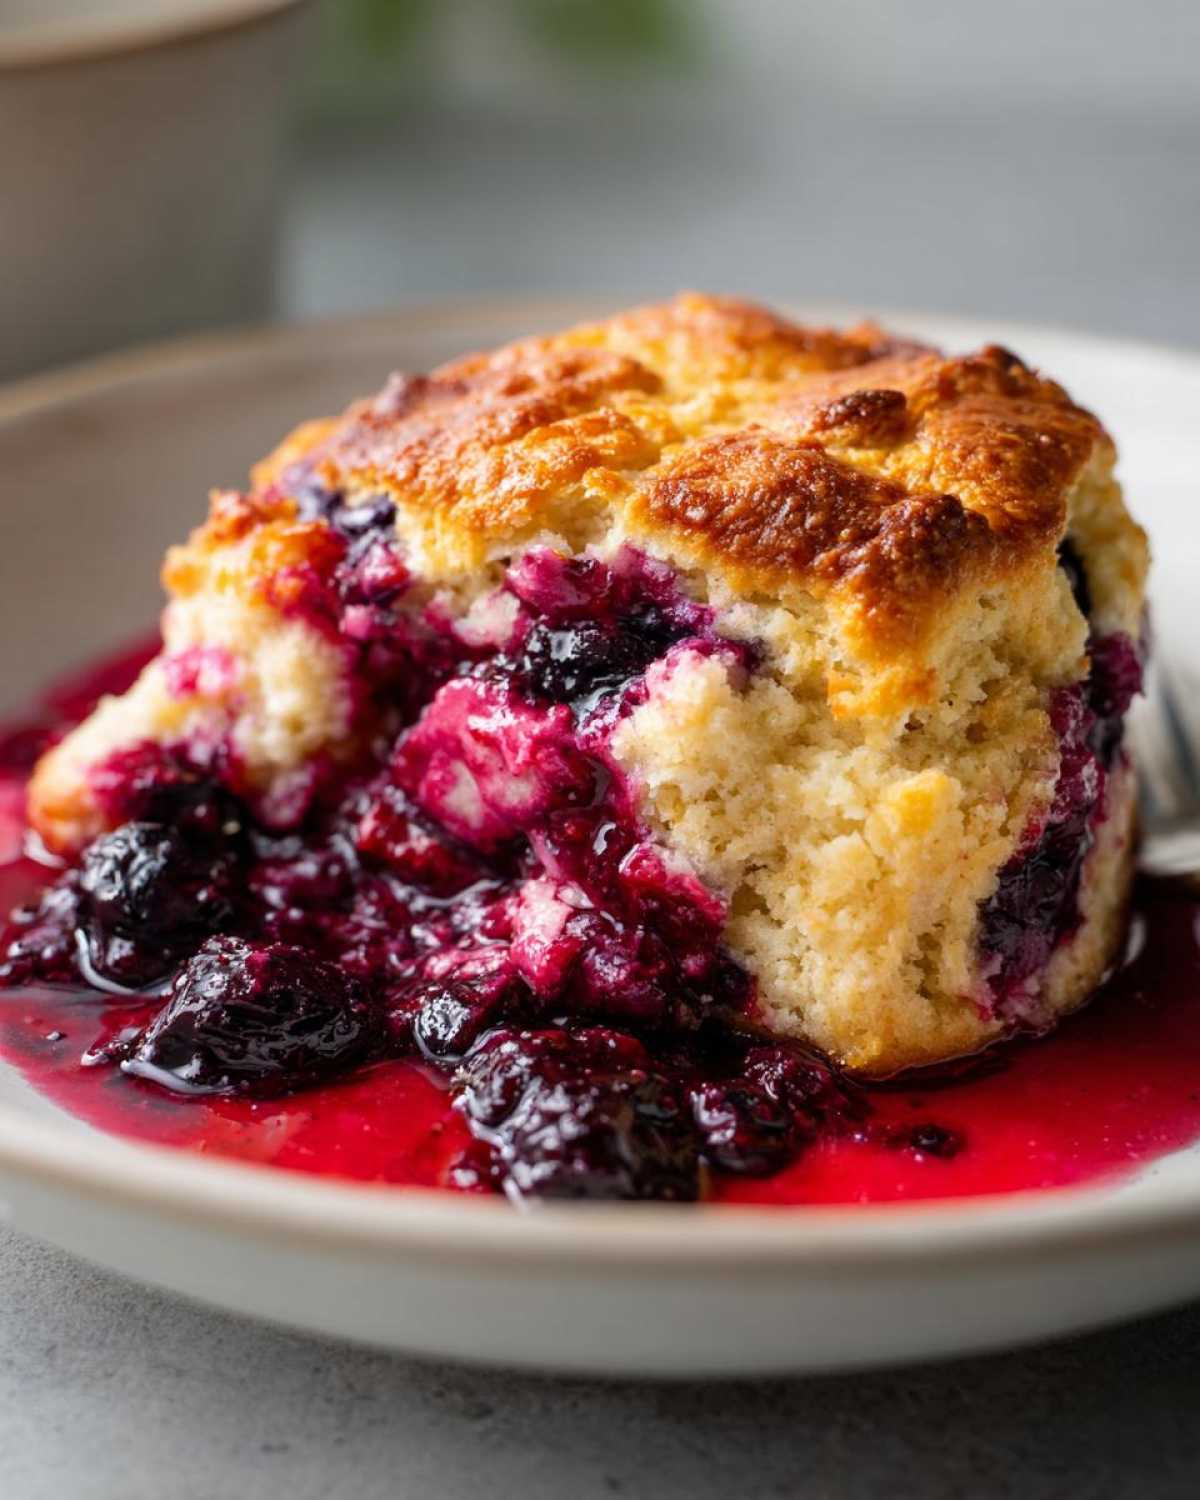
You simply cannot go wrong with the classic pairing. I mean, it’s famous for a reason! Serve up a generous scoop of your favorite vanilla ice cream right on top of a warm wedge. As the ice cream melts slowly down the side of that tender biscuit topping, mixing with the hot, sweet berry juices? Wow. That textural contrast is everything. This is the ultimate **Dessert Topped With Ice Cream**, and it’s what I always do for our weekend treats.
Alternative Toppings for berry cobbler
If you’re feeling a little inspired, you can certainly swap things up! Whipped cream is always a softer, airier option if you don’t want the full intensity of melting ice cream. Maybe you want a little extra decadence? Try a thin drizzle of salted caramel sauce right over the top of the biscuit layer before you add the ice cream—it’s divine against the raspberries and blackberries. Honestly, once you master this **berry cobbler**, play around with toppings; that’s how new traditions start!
Storage and Reheating Instructions for Leftover berry cobbler
If you somehow manage to have any **berry cobbler** left over—which is a feat in our house!—storage is surprisingly easy. Once it’s completely cooled, just cover the baking dish tightly with plastic wrap or transfer slices into an airtight container. It keeps perfectly well on the counter or in the fridge for about three days, though the topping texture might soften a bit as it sits.
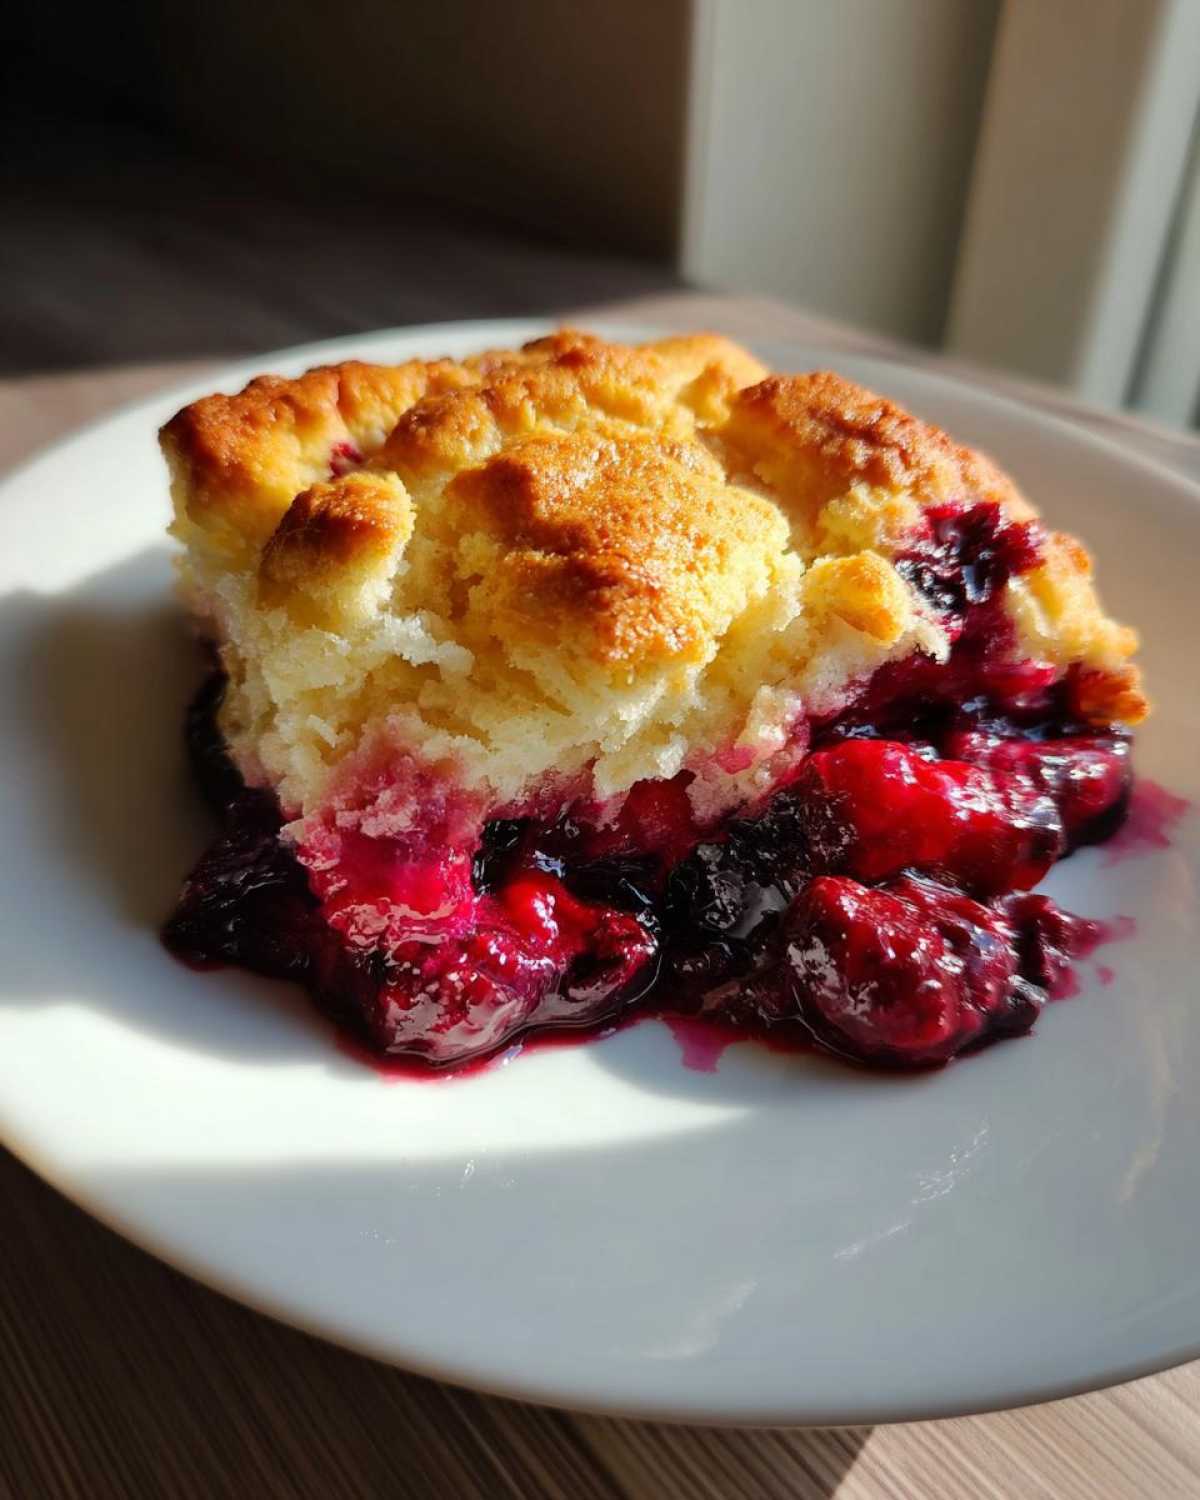
When you want to enjoy it again, and you absolutely should, skip the microwave if you can! The microwave makes that lovely biscuit topping go a little chewy. Instead, I reheat individual slices in a toaster oven or a regular oven set to about 350°F (175°C) for about ten minutes. That little bit of dry heat brings the biscuit back to life beautifully. Then, of course, dollop on some fresh vanilla ice cream and pretend it was just baked!
Frequently Asked Questions About Mixed Berry Cobbler
I always get so many questions when people try this **mixed berry cobbler** for the first time! It’s natural; when you find a recipe that tastes this cozy, you want to make sure you’re doing everything perfectly. Don’t sweat it! Here are a few of the most common things folks ask me about this simple baking recipe. Also, if you need some ideas for sweet things to make in the morning, you can check out our breakfast category for inspiration!
What is the main difference between a berry cobbler and a berry crumble?
That’s a fun one! It all comes down to what you put on top. Our recipe gives you a lovely **cobbler with biscuit topping**—it’s dropped on in dollops, and when it bakes, it’s soft, fluffy, and slightly scone-like underneath. A crumble, on the other hand, has a streusel topping made from butter, sugar, and flour cut together until it’s crumbly, which bakes up crispier and more like a streusel topping.
Can I use only one type of berry in this berry cobbler recipe?
Absolutely! While I love the complexity of using a mix, this recipe is super flexible. If you only have fresh blackberries, or maybe a big bag of frozen blueberries, go for it! You can even make a straightforward **Triple Berry Cobbler Recipe** if you just stick to the main three. Just make sure you still use the cornstarch, because the juices all behave a little differently depending on the fruit you choose.
Is this a good Last Minute Dessert Idea?
Yes, yes, and a thousand times yes! It is one of my favorite **Last Minute Dessert Ideas**. Remember, the prep time is only about 15 minutes. You likely have the ingredients for the filling (berries, sugar, starch) in your pantry or freezer right now. Because it’s so fast to assemble, it’s perfect when you get unexpected company or just get hit with a craving for a **Warm Berry Dessert**!
Nutritional Snapshot of This berry cobbler
I always try to remind folks that when you’re baking something this rich and comforting—and let’s be real, topped with ice cream—it’s not about counting every little thing! But since we believe in sharing everything, here are the estimates for one serving of this delicious **berry cobbler**. Keep in mind these numbers can change depending on the exact berries and sugar you use. For full transparency, you can always read our full disclaimer on nutrition estimates!
- Calories: 380
- Sugar: 35g
- Fat: 15g
- Protein: 6g
Share Your Spoon Swirl Moment
Now that you have this warm, heavenly **berry cobbler** ready to scoop, the best part is getting to share it! Noah and I started Spoon Swirl because baking is better when it’s shared—it’s that simple gesture of care that truly matters. I would absolutely love to hear how this recipe turned out for you. Did you use tart blackberries, or maybe just sweet blueberries?
If you followed these steps and found a little moment of peace while mixing up that tender biscuit topping, that’s exactly what we hoped for! Please, leave a comment below this post with a little rating so I know how much love you baked into your dessert. If you snap a picture of your warm **Simple Baking Recipes** creation, tag us on social media. Seeing your joy—that’s our favorite thing about this whole kitchen adventure!
PrintThe Easiest Mixed Berry Cobbler with Biscuit Topping (Uses Fresh or Frozen Berries)

Make this easy berry cobbler using your favorite fresh or frozen berries. It features a sweet, jammy fruit filling and a tender, biscuit-like topping. This is the ultimate comfort food dessert, perfect served warm with vanilla ice cream.
- Prep Time: 15 min
- Cook Time: 45 min
- Total Time: 60 min
- Yield: 6 servings
- Category: Dessert
- Method: Baking
- Cuisine: American
- Diet: Vegetarian
Ingredients
- 6 cups mixed berries (fresh or frozen, such as blackberries, blueberries, and raspberries)
- 1/2 cup granulated sugar
- 2 tablespoons cornstarch
- 1 tablespoon lemon juice
- 1/4 teaspoon salt
- 1 1/2 cups all-purpose flour
- 2 teaspoons baking powder
- 1/2 teaspoon salt
- 1/4 cup granulated sugar
- 6 tablespoons cold unsalted butter, cut into small pieces
- 1/2 cup milk
- 1 large egg, beaten (for brushing)
- 1 tablespoon coarse sugar (for sprinkling)
Instructions
- Preheat your oven to 375°F (190°C). Lightly grease an 8×8 inch baking dish.
- Prepare the berry filling: In a large bowl, gently combine the mixed berries, 1/2 cup sugar, cornstarch, lemon juice, and 1/4 teaspoon salt. Stir until the cornstarch is dissolved and the berries are coated. Pour this mixture into your prepared baking dish.
- Prepare the biscuit topping: In a separate medium bowl, whisk together the flour, baking powder, 1/4 cup sugar, and 1/2 teaspoon salt.
- Cut in the cold butter using a pastry blender or your fingertips until the mixture resembles coarse crumbs. Stir in the milk until just combined; do not overmix the dough.
- Drop spoonfuls of the biscuit dough evenly over the berry filling. You do not need to cover the entire surface; gaps are fine.
- Brush the tops of the biscuits lightly with the beaten egg and sprinkle with coarse sugar.
- Bake for 35 to 45 minutes, or until the topping is golden brown and the berry filling is bubbly around the edges.
- Let the cobbler cool slightly on a wire rack for at least 15 minutes before serving. Serve warm with vanilla ice cream for the best experience.
Notes
- If you use frozen berries, do not thaw them first. You may need to add 5 to 10 minutes to the baking time.
- For a different flavor, substitute half the milk with heavy cream for a richer biscuit topping.
- This recipe works well as a last minute dessert idea when you need something quick.
Nutrition
- Serving Size: 1 serving
- Calories: 380
- Sugar: 35g
- Sodium: 250mg
- Fat: 15g
- Saturated Fat: 9g
- Unsaturated Fat: 6g
- Trans Fat: 0g
- Carbohydrates: 58g
- Fiber: 4g
- Protein: 6g
- Cholesterol: 45mg