

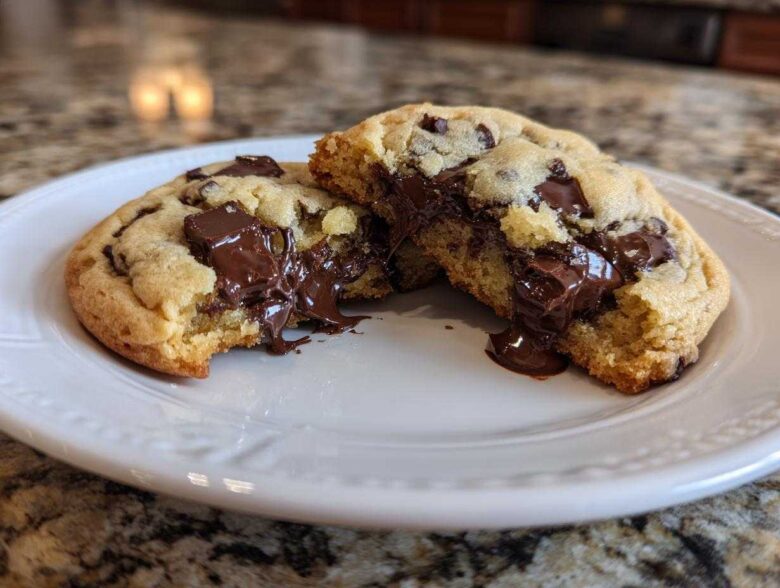
If you’ve been scrolling endlessly looking for that one perfect recipe, stop right here. I’m Hana, and trust me when I say my entire kitchen mission is finding that ideal texture—you know, the one where the edges snap just right, but the middle is impossibly soft and gooey? Well, I finally cracked the code for the ultimate soft, chewy, bakery-style chocolate chip cookie.
This isn’t just a list of ingredients; this is a love letter to the perfect cookie experience. Noah and I obsessed over the ratios so you don’t have to wrestle with flat, crispy disappointments anymore. We put so much heart into ensuring this foolproof recipe delivers that signature melt-in-your-mouth bite every single time you pull a tray out of the oven. You deserve this cookie! If you want to read more about our journey and why we bake the way we do, you can always check out our story over at the Spoon Swirl kitchen.
Why This is The Best Chocolate Chip Cookie Recipe (The Spoon Swirl Secret)
Okay, listen up, because nailing this texture—crispy edges giving way to a soft, chewy middle—is the whole point! That’s the Spoon Swirl philosophy in action: finding that quiet, perfect moment, this time in a warm cookie. Forget fussy techniques; this is truly a foolproof cookie recipe that gives you bakery style cookies right out of your standard oven. I promise, these are the Best Chocolate Chip Cookies you’ll ever make from scratch. It takes patience in the steps, not necessarily time in the kitchen. If you’re looking for a dip recipe to serve while these bake, you have to check out Noah’s amazing jalapeño cheddar million dollar dip!
Achieving Gooey Chocolate Chip Centers
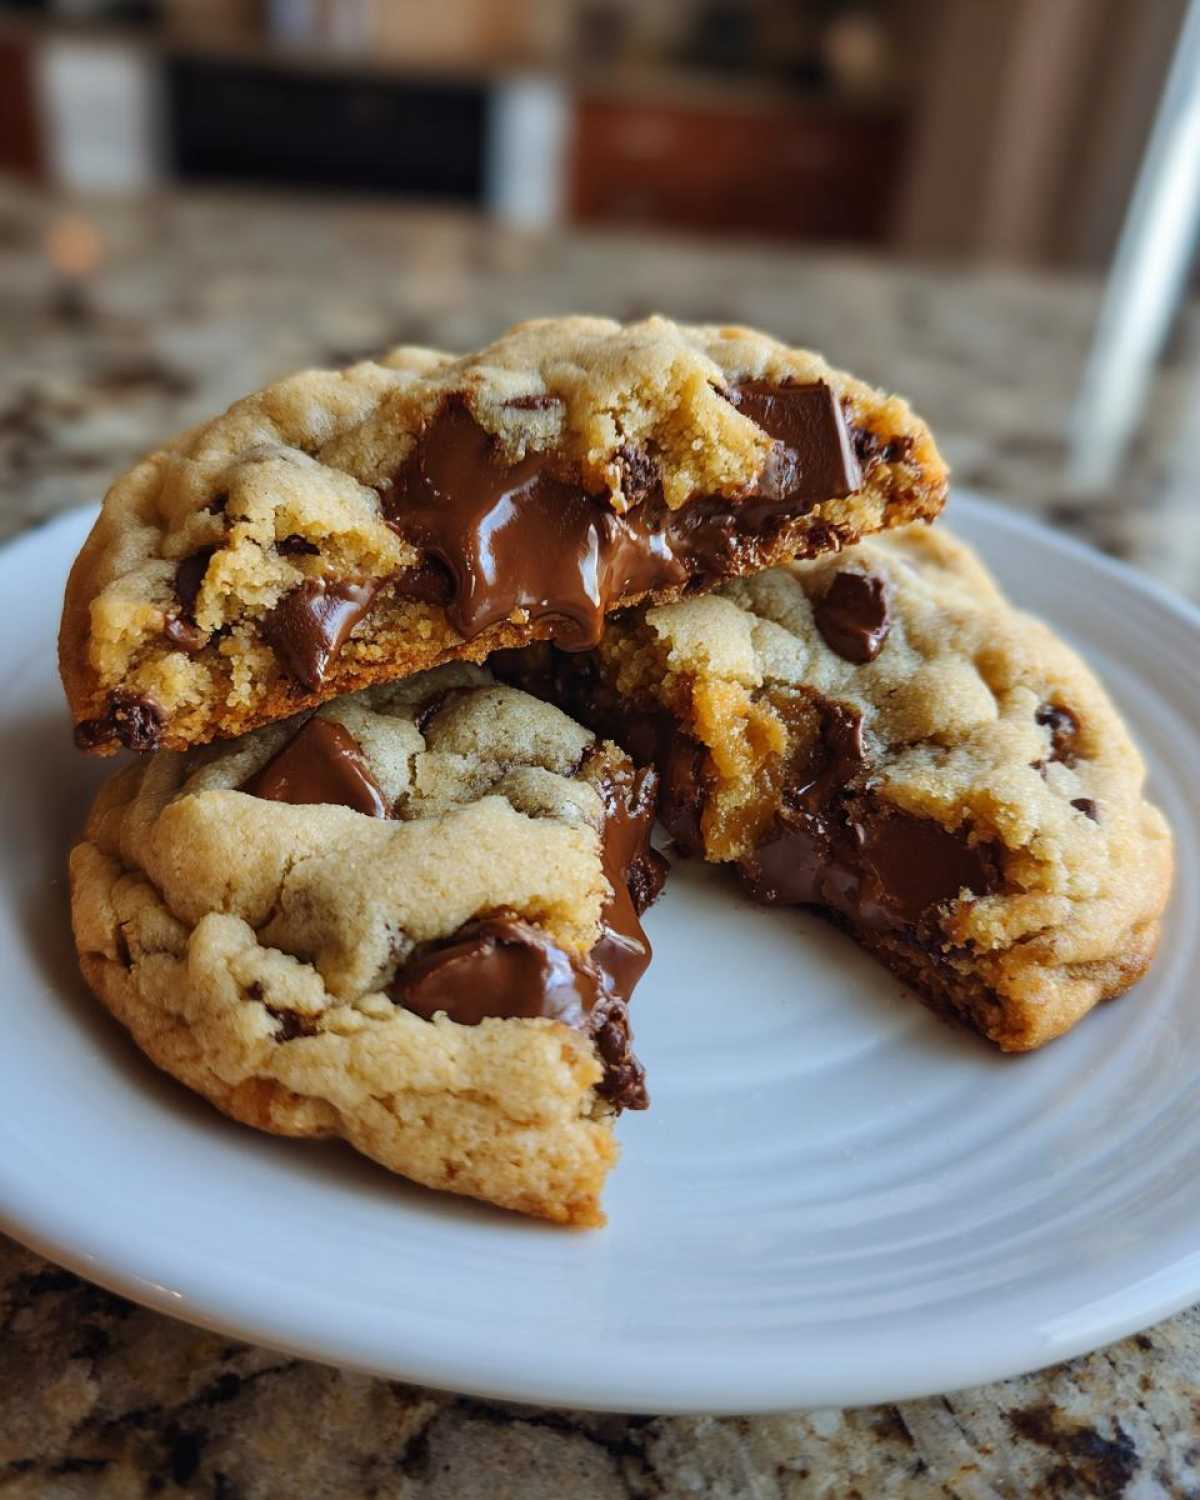
The secret to that lava-flow center that makes you weak in the knees? It’s two things working together: melted butter and chill time. Using melted butter creates a denser, chewier texture than creamed softened butter, and when you let that dough rest, the moisture redistributes perfectly.
For me, the best part is pulling them out when they look *just* slightly soft in the middle. When you break one open later, those pockets of rich, melted chocolate just spill out. Honestly, I could eat spoonfuls of just the dough if I didn’t worry about Noah catching me!
Gathering Ingredients for Your Ultimate Chocolate Chip Cookies
Okay, gathering your supplies is where we start building the foundation for these incredible lemon pepper Dungeness crab legs—wait, wrong recipe! Getting your ingredients ready is half the fun. Since we are aiming for the absolute best, the quality of your main players really shines through here, especially with the chocolate chip payoff.
You’ll need:
- 1 cup (2 sticks) unsalted butter, melted and slightly cooled
- 1 cup packed light brown sugar
- 1/2 cup granulated sugar
- 2 large eggs, room temperature
- 1 tablespoon vanilla extract
- 2 1/4 cups all-purpose flour
- 1 teaspoon baking soda
- 1/2 teaspoon salt
- 1 1/2 cups semi-sweet chocolate chips (use high-quality chips for the best flavor!)
- 1/2 cup milk chocolate chunks (optional, for extra gooeyness)
- Flaky sea salt, for topping (optional)
Ingredient Notes and Substitutions for Chocolate Chip Perfection
I know measuring can feel fussy, but these details make the difference, trust me. Those two large eggs absolutely need to be at room temperature. Cold eggs shock the melted butter mixture when you add them, which can lead to a greasy batter that doesn’t mix right. Just set them out 30 minutes before you start!
Now, let’s talk chocolate. I used semi-sweet because they hold their shape nicely, but that optional half-cup of milk chocolate chunks is my little trick for that molten center. If you only have one kind of chip, go for it! But combining them gives you layers of flavor.
And please, if you can, grab some flaky sea salt. Sprinkling just a tiny pinch on top right out of the oven cuts the sweetness perfectly and gives you that professional, gourmet look. It’s a small step, but gosh, it elevates these chocolate chip cookies immediately.
Step-by-Step Instructions for Soft Baked Chocolate Chip Cookies
Alright, buckle up! This is where the magic happens and we turn those ingredients into actual, edible happiness. I’ve taken the instructions and kept them super clean so you don’t get lost navigating the mixing. Remember, we are aiming for that perfect bake where the cookie holds its shape but still looks a little bit sleepy in the center.
Here’s how we get there:
- First, whisk together that melted butter, brown sugar, and granulated sugar until they look happy and combined. This step is key for chewiness, so give it a good mix!
- Beat in your room-temperature eggs one by one, making sure you mix well after each addition. Then stir in all that vanilla.
- In a separate bowl, whisk your flour, baking soda, and salt together so everything is evenly distributed.
- Now, gently add the dry ingredients to the wet ingredients. Mix on low speed—or by hand if you want a better workout—until everything is *just* mixed. Seriously, stop as soon as you don’t see white streaks.
- Fold in your semi-sweet chocolate chip treasures and any extra chunks you want for maximum goo factor.
- Listen closely: Cover this bowl and chill the dough! We need at least 30 minutes, but if you can leave it for 24 hours (yes, really!), you get even better flavor and structure. Chilling is non-negotiable for that bakery look!
- Preheat your oven to 375 degrees Fahrenheit (190 Celsius). Line your baking sheets—I always use parchment paper underneath, it saves my life every time.
- Scoop balls of dough (about two tablespoons worth) and give them space on the sheet—two inches apart is a good rule of thumb.
- Bake for 9 to 12 minutes. You’ll need to rotate the sheets about halfway through baking for even results. The edges should look golden brown, but the centers must still look a little underdone. That’s how we guarantee those soft baked chocolate chip cookies!
- If you decided to use it, sprinkle that flaky sea salt right on top immediately when they come out.
- Don’t touch them yet! Let them hang out on the hot baking sheet for about 5 minutes before you risk moving them to a cooling rack.
If you want some amazing seafood ideas to serve alongside your baking project, you should look at Noah’s recipe for lemon pepper Dungeness crab legs.
Baking Tips for Crispy Edge Soft Center Cookies
Judging when a cookie is done feels like guesswork, doesn’t it? But for that famous crispy edge and soft center, we need to look for visual cues. Don’t wait until they look fully baked! If the whole dome looks set, they are already overdone.
When you rotate the trays mid-bake, you’re helping them cook evenly, which prevents hot spots from turning one side crispy while the other stays raw. When you pull them out at 9 to 12 minutes, the centers should look puffy and almost slightly sunken or wrinkly in the middle. That slight under-baking is what solidifies that wonderfully gooey chocolate chip center once they cool on that hot sheet for those crucial five minutes.
Chocolate Chip Cookie Secrets: Browning Butter for Richer Flavor
Okay, so you followed the recipe perfectly, but you want to take these amazing chocolate chip cookies from “best ever” to “I think I need to patent this recipe”? I have one more trick up my sleeve, and it involves making your butter do a little extra work first: browning it!
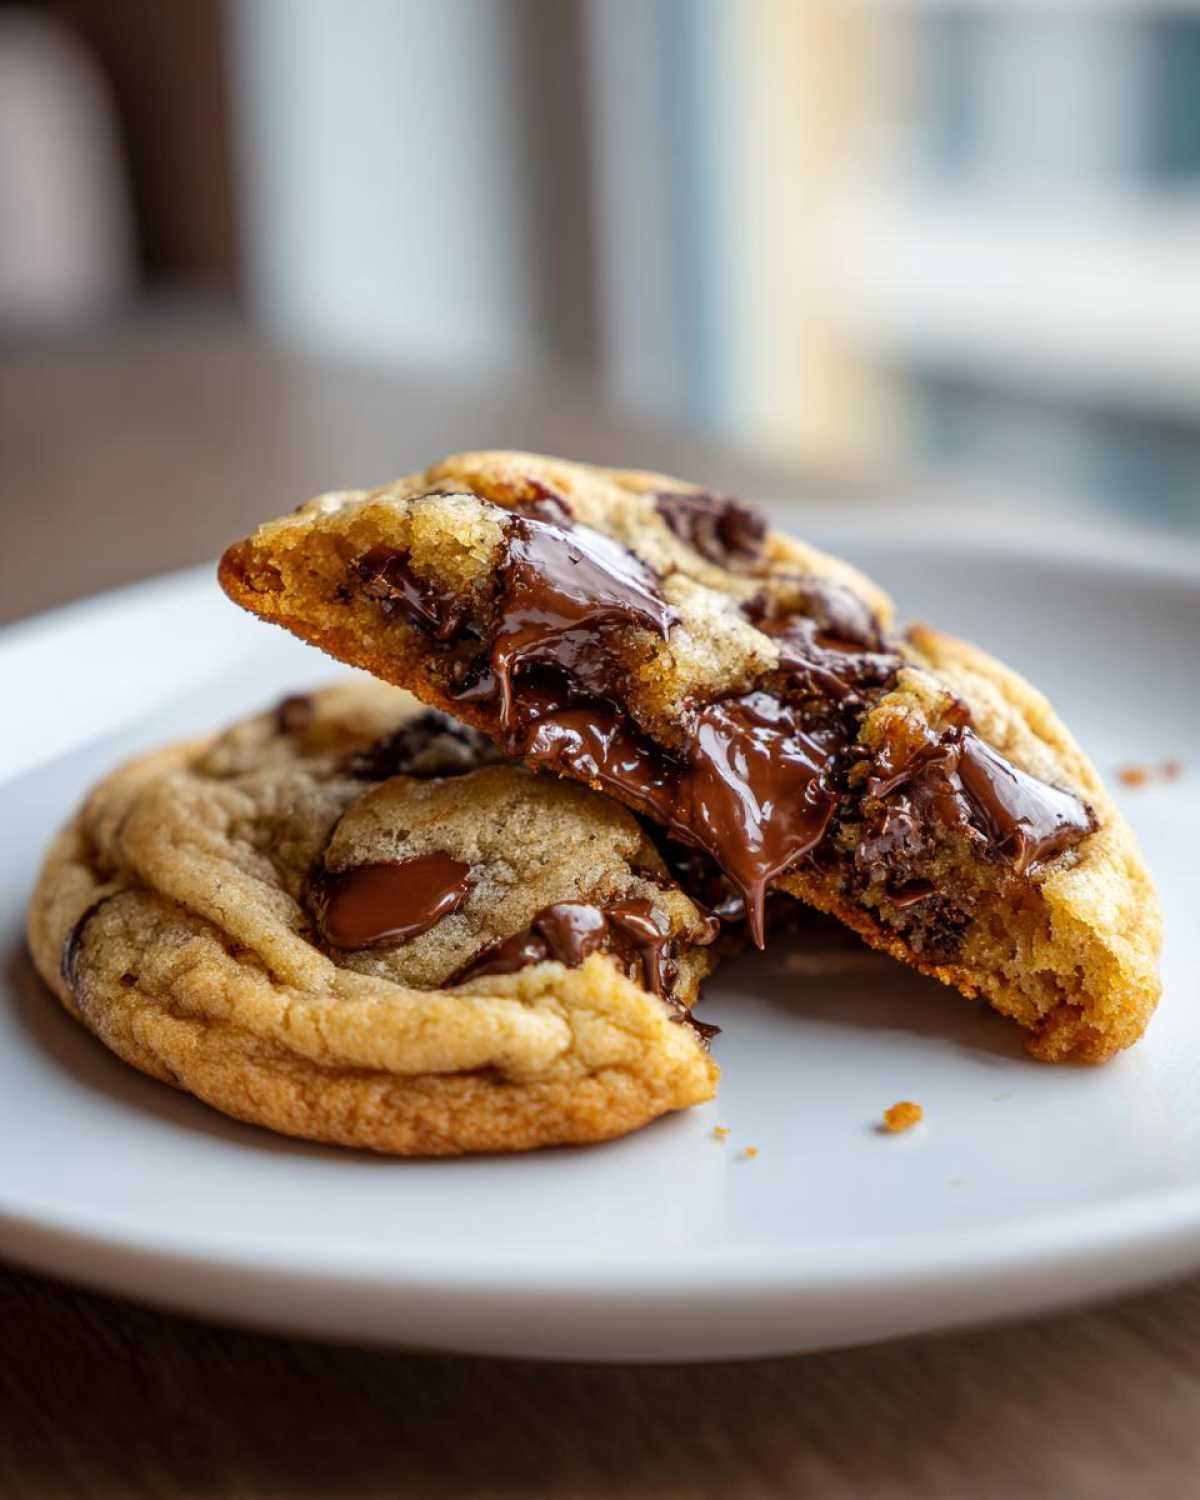
Browning butter sounds fancy, but honestly, it’s just melting butter until the milk solids toast up a little bit and turn nutty brown at the bottom of your pan. It takes maybe five extra minutes, but wow, does it change the game for flavor. It gives the cookie a deep, caramelly, almost toffee-like base note that standard melted butter just can’t touch.
Here is how Noah taught me to do it, nice and slow:
- Melt your two sticks of butter in a light-colored saucepan over medium heat. We need a light pan so we can see the color change easily.
- Let it melt, then it will start foaming up. Keep swirling the pan gently. You’ll hear it quiet down as the water evaporates.
- Watch the milk solids at the bottom. They will start turning golden, then quickly to a rich amber brown. You’ll smell this amazing nutty scent—that’s your cue to pull it off the heat immediately! If you smell burning, oops! You went too far, so start over.
- Pour that gorgeous brown butter, including all those dark little bits at the bottom, into your mixing bowl. Let it cool slightly—just warm to the touch, not hot—before you add your sugars. Adding hot butter will scramble your eggs later!
Using this browned butter fundamentally changes the depth of everything in the batter. It pairs so beautifully with the dark brown sugar we used to build our base. If you want to see another amazing, cozy butter recipe, check out my post on spicy butter poached snow crab legs—though I recommend saving the spicy butter for the crab and using this nutty version just for the cookies!
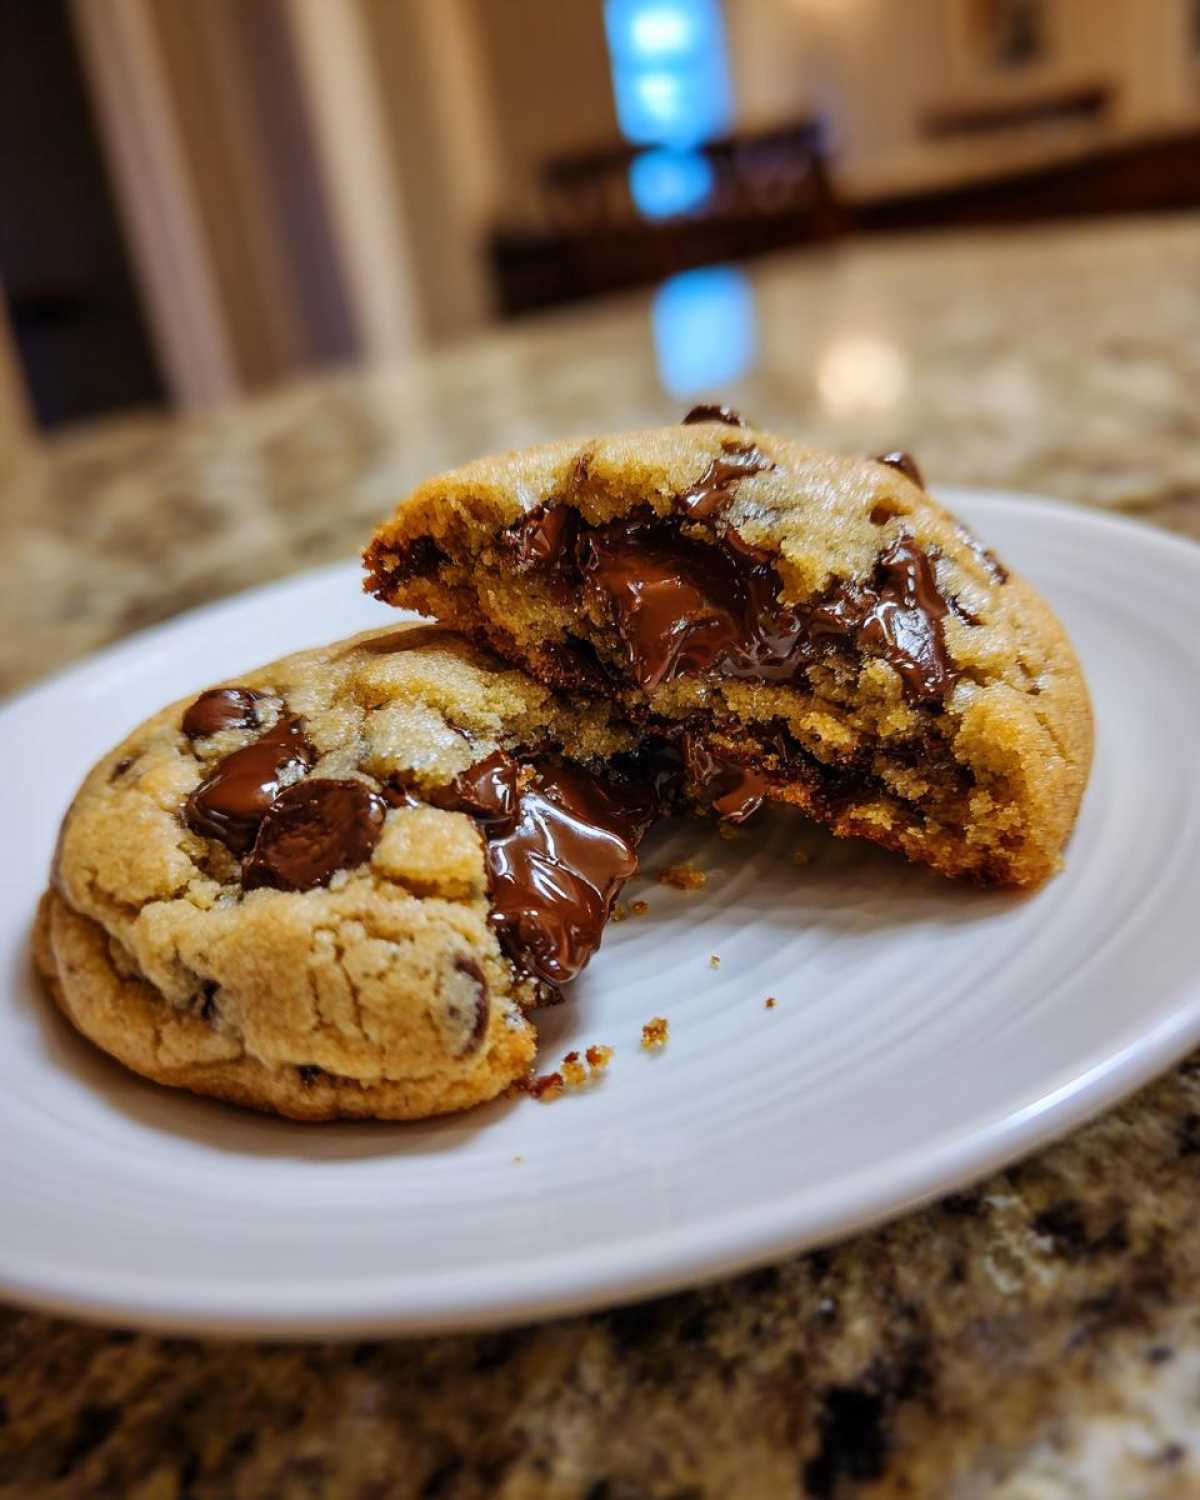
Once your browned butter cools just a touch, you proceed exactly from Step 1 in the main instructions: whisking in the sugars. You will notice the color of the sugar mixture is already much deeper, and it’s going to make these the most flavorful chocolate chip cookies you bake all year. It’s totally worth the small extra effort!
Storage and Keeping Your Homemade Cookies Fresh
Oh, the dreaded day-two cookie dilemma! We baked these to be soft, so we have to treat them right to keep that texture going. The key here is airtight containers. If you just leave them on a plate, they dry out way too fast, and we can’t have that!
Store them in a good quality, airtight container at room temperature. They usually stay unbelievably soft and gooey for 3 to 4 days. If you want to truly make them feel fresh-baked later, just pop one in the microwave for about 7 to 10 seconds. It brings back that beautiful, just-out-of-the-oven melt. It’s such a perfect little treat!
If you’re making a huge batch (and with this recipe, you totally should!), you can freeze the unbaked dough balls. Just freeze them solid on a sheet first, then toss them into a freezer bag. Then, whenever you need a fresh cookie day, bake them straight from frozen—just add 2 or 3 extra minutes to the baking time. If you need a savory item for your snack spread, Noah’s 7-layer pizza dip is fantastic for game days!
Serving Suggestions for Your Classic Chocolate Chip Recipe
Now that you have successfully created what I firmly believe is the best batch of chocolate chip cookies ever made, the real fun begins: eating them! Seriously though, how you serve these makes them feel even more special. They are perfect just warm on their own, but let’s get creative with the pairings!
My favorite, hands-down, is a giant warm cookie plopped right next to a scoop of good vanilla bean ice cream. The temperature contrast is just heaven. The ice cream melts just slightly into those warm edges, and it’s pure comfort food bliss. I’m always making this way too often!
If you need a mid-afternoon pick-me-up, these are fantastic dunked in coffee—and I don’t mean a splash! I mean a proper, hot cup of black coffee or a strong latte. The bitterness of the coffee really lets the sweetness of the brown sugar and the chocolate shine through. If you’re looking for something fun to serve with cookies during a party, you absolutely must try Noah’s sharp cheddar apple cider fondue for a savory contrast!
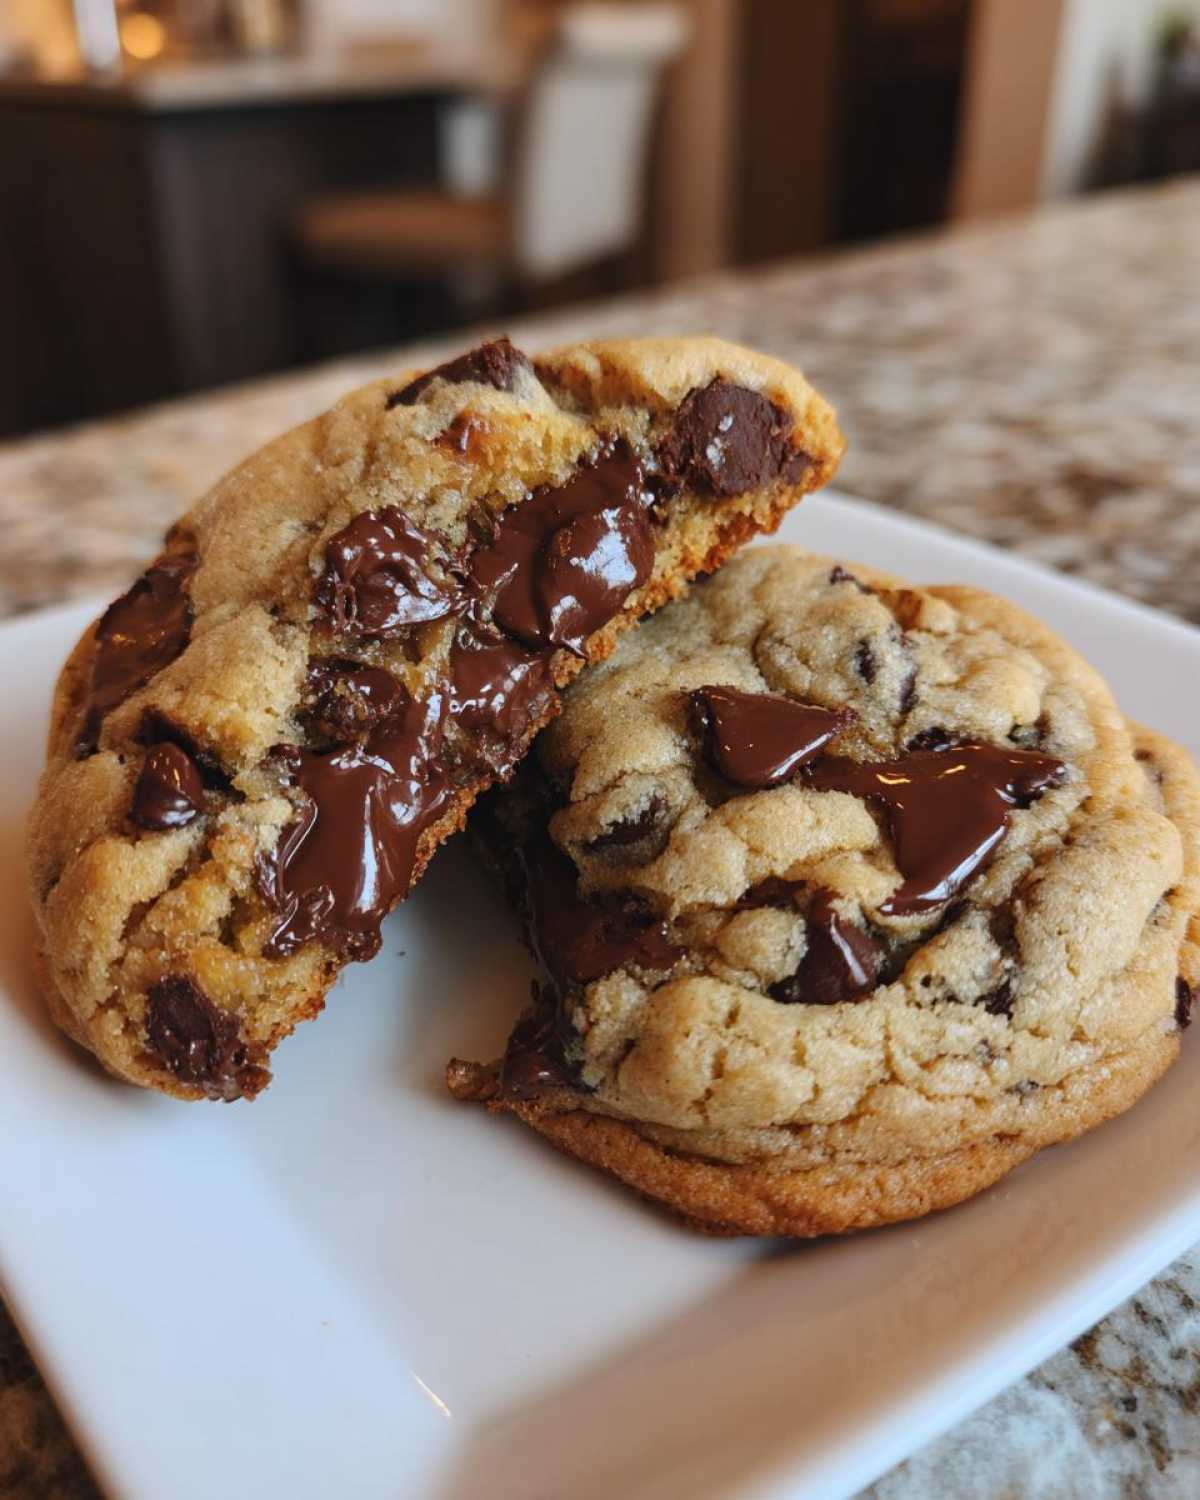
And for the purists? A tall, ice-cold glass of whole milk. It sounds so basic, but there’s a reason this pairing is a classic. It washes down the richness beautifully. I have a feeling you’re going to need a lot of milk for this batch!
Frequently Asked Questions About Chewy Chocolate Chip Cookies
I know you’ve got questions brewing, because when you’re chasing that perfect texture, the details matter! Based on what I hear most often in the kitchen, here are the answers to the burning questions about making these bourbon dark chocolate fondue cookies.
Can I actually skip chilling the dough? I want cookies NOW!
Oh, I totally get the impatience! I really do. But if you want truly chewy chocolate chip cookies with that great structure, you really shouldn’t skip the chill time entirely. If you are in a massive rush, chill them for at least 30 minutes, but if you can manage 12 hours, you’ll find the flavor deepens and the cookies won’t spread quite as flat.
My cookies always spread way too thin and become flat. What did I do wrong?
This is usually caused by two things: the butter being too warm when you mixed the sugar, or not enough flour. In our recipe, we use melted butter, so letting it cool down slightly before you start creaming is crucial. If the butter is hot, it melts the sugars immediately, leading to a puddle instead of a perfect, thick cookie. You are aiming for soft baked chocolate chip cookies, not pancakes!
Which brand of chocolate chip do you truly recommend?
Honestly, the better quality you use, the better these turn out. I usually grab a bag of Ghirardelli semi-sweet chips because they melt beautifully, but for the best results, try to find chopped bars of high-quality chocolate. Having those larger chunks creates those amazing pools of chocolate in the final chocolate chip cookie. If you love dipping things, you should check out our recipe for bourbon dark chocolate fondue!
Can I use baking powder instead of baking soda?
For these, stick to baking soda. Baking soda reacts immediately with the acidic brown sugar, giving you that chewiness and helping the cookie set quickly with those slightly crispy edges we love. Baking powder gives cookies more lift, which results in a cake-like texture, and that’s the opposite of the gooey chocolate chip cookies we are making here!
Estimated Nutritional Data for This Recipe
So, you’ve baked the most incredible batch of chocolate chip cookies—congratulations! Now, let’s talk numbers. You know how much I love focusing on flavor and texture over everything, but I also appreciate knowing what we’re enjoying. Keep in mind that because we’re using different quality chocolate chips, or maybe you added extra chunks, these figures are just estimates based on the standard ingredients list provided.
Noah always reminds me we should just focus on the joy, but here is the breakdown per cookie, based on a yield of about 2 dozen:
- Serving Size: 1 cookie
- Calories: 210
- Sugar: 18g
- Fat: 12g (That’s the melted butter working its magic!)
- Carbohydrates: 25g
- Protein: 2g
- Sodium: 110mg
These numbers are just a guide, friends. If you decide to splurge on extra-rich dark chocolate or swap in some oat flour, that will definitely change things up! But for this recipe, you get a fantastic, richly flavored treat clocking in at just over 200 calories. If you are looking for a sweet dip to serve alongside these cookies, make sure you try my recipe for salted caramel chocolate fondue—it’s decadent!
Share Your Ultimate Chocolate Chip Cookie Results
Whew! You made it! Now that you have pulled a tray of the most glorious, soft, and perfectly textured chocolate chip cookies out of the oven, I desperately want to hear about it. This is our favorite part—seeing your success stories!
Did you achieve that ultimate chewiness? Are the centers super gooey like you dreamed? Don’t be shy! Please drop a comment below and let us know how they turned out. Rating the recipe is a huge help to us, too, because it tells us the Spoon Swirl method is working its magic for everyone.
We absolutely light up when we see photos of what you’ve been baking. Tag us on social media so Hana and Noah can see your beautiful creations! Knowing that we helped you create a perfect batch of cookies for your family warms my heart more than any oven ever could.
If you want to see what others are baking or just browse some more comforting recipes, you can always check out our main blog page, or maybe you’re curious how our recipe stacks up against a famous copycat? You can check out the Levain Bakery copycat recipe next time you feel ambitious!
Thank you for baking with us. Happy swirling!
PrintThe Ultimate Soft and Chewy Chocolate Chip Cookies
Follow this foolproof recipe to make bakery-style chocolate chip cookies with soft, gooey centers and perfectly crisp edges. This is the best homemade chocolate chip cookie recipe you will ever need.
- Prep Time: 15 min
- Cook Time: 12 min
- Total Time: 27 min
- Yield: About 2 dozen cookies
- Category: Dessert
- Method: Baking
- Cuisine: American
- Diet: Vegetarian
Ingredients
- 1 cup (2 sticks) unsalted butter, melted and slightly cooled
- 1 cup packed light brown sugar
- 1/2 cup granulated sugar
- 2 large eggs, room temperature
- 1 tablespoon vanilla extract
- 2 1/4 cups all-purpose flour
- 1 teaspoon baking soda
- 1/2 teaspoon salt
- 1 1/2 cups semi-sweet chocolate chips (use high-quality chips for the best flavor)
- 1/2 cup milk chocolate chunks (optional, for extra gooeyness)
- Flaky sea salt, for topping (optional)
Instructions
- In a large bowl, whisk together the melted and slightly cooled butter, brown sugar, and granulated sugar until well combined. This step helps create chewiness.
- Beat in the eggs one at a time, mixing well after each addition. Stir in the vanilla extract.
- In a separate medium bowl, whisk together the flour and baking soda. Add the salt.
- Gradually add the dry ingredients to the wet ingredients, mixing on low speed or by hand until just combined. Do not overmix.
- Fold in the semi-sweet chocolate chips and milk chocolate chunks.
- Cover the bowl and chill the dough for at least 30 minutes, or up to 24 hours. Chilling is a secret to bakery style cookies.
- Preheat your oven to 375 degrees Fahrenheit (190 degrees Celsius). Line baking sheets with parchment paper.
- Scoop the dough into balls, about 2 tablespoons each, and place them 2 inches apart on the prepared sheets.
- Bake for 9 to 12 minutes, rotating the sheets halfway through. The edges should be golden brown, but the centers should still look slightly underdone for a gooey texture.
- Immediately sprinkle the tops with flaky sea salt, if using.
- Let the cookies cool on the baking sheet for 5 minutes before transferring them to a wire rack to cool completely. Enjoy your best chocolate chip cookies!
Notes
- For extra rich flavor, brown your butter before melting it. Let it cool before adding the sugars.
- If you want thicker cookies, use chilled dough and press the dough balls down slightly before baking.
- Store cooled cookies in an airtight container to keep them soft for days.
Nutrition
- Serving Size: 1 cookie
- Calories: 210
- Sugar: 18
- Sodium: 110
- Fat: 12
- Saturated Fat: 7
- Unsaturated Fat: 5
- Trans Fat: 0
- Carbohydrates: 25
- Fiber: 1
- Protein: 2
- Cholesterol: 35