

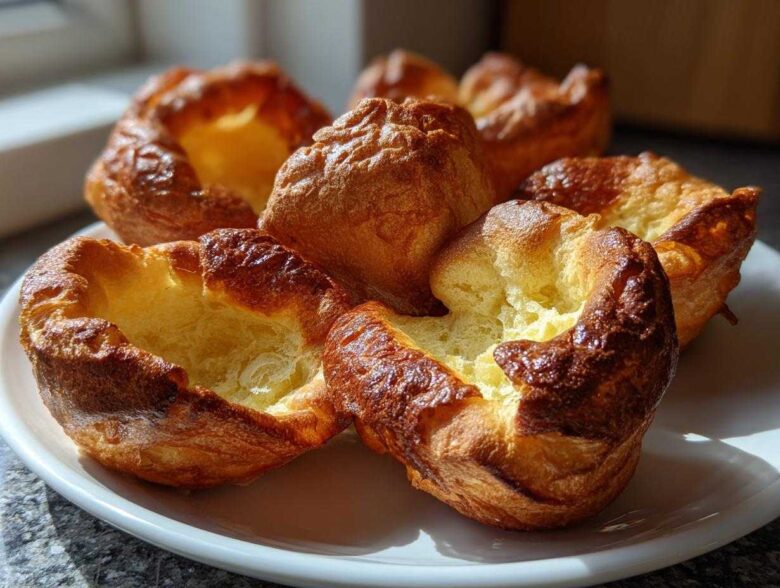
Tell me honestly, have you ever stared into your oven, willing your **Yorkshire pudding** to rise, only to watch them deflate into sad, greasy pancakes? Oh, I’ve been there! That feeling, that disappointment when you’re trying to make the perfect centerpiece for a Sunday roast—it’s crushing. But after far too many flat attempts, Noah (my patient baker!) and I finally cracked the code.
Forget the fancy chef secrets for a second. This recipe boils down to pure science married with a little bit of resting magic. We aren’t aiming for *puddings*; we’re aiming for towers! Towers that are shatteringly crispy on the outside, yet unbelievably light and airy inside. This is our foolproof method for that absolute golden, fluffy delight that makes any dinner feel like a celebration, and trust me, once you nail this, it will be a keeper in your cozy recipe rotation. You can read a bit more about our kitchen philosophy over at our main story if you’re curious about the messy beginnings!
Why This is the Best Yorkshire Pudding Recipe You Will Ever Make
I know you’re tired of recipes that promise the moon and deliver flat discs. We’ve all been there, staring mournfully at the sunken remnants in the tin. But this, my friend, is where we turn things around! This is genuinely the **Best Yorkshire Pudding** recipe because it addresses the two main enemies of a good puff: lukewarm fat and overworked batter.
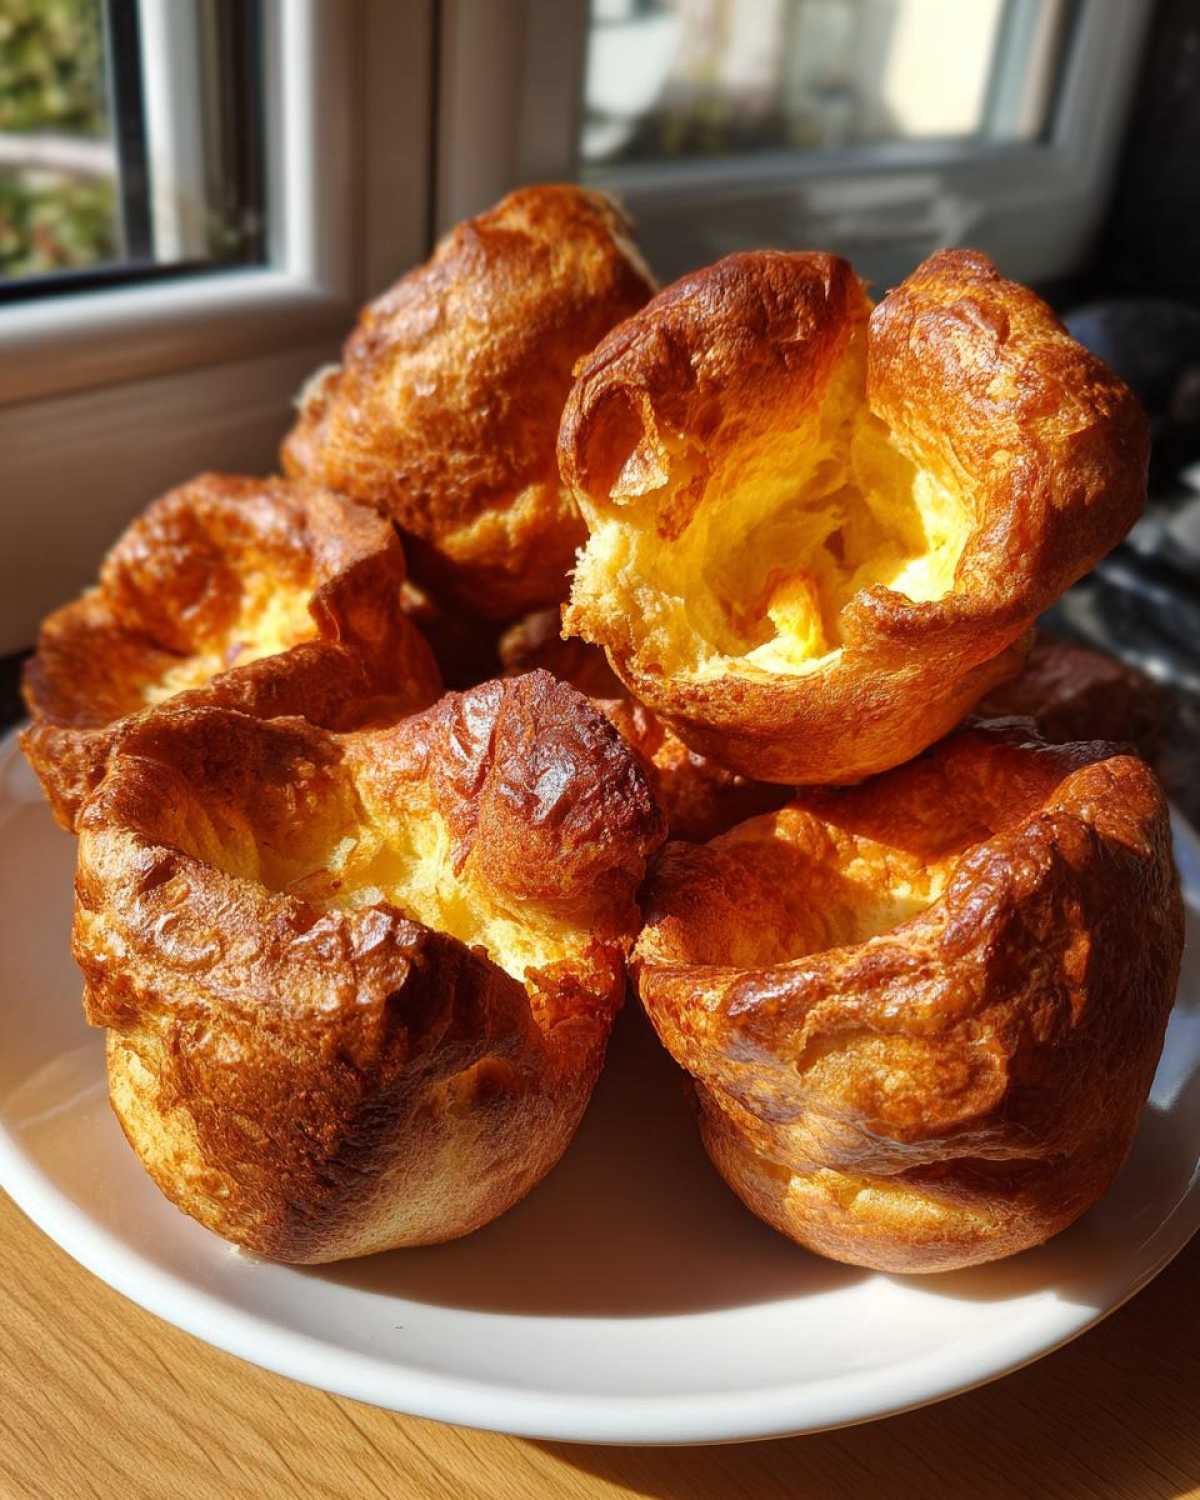
We aren’t messing around with delicate techniques; these are **Foolproof Yorkshire Puddings** designed to climb high and stay that way. The goal is that glorious contrast: a brittle, deeply browned shell protecting the cloud-like interior. When you pull these out, they won’t just look good; they’ll sound good when you tap them!
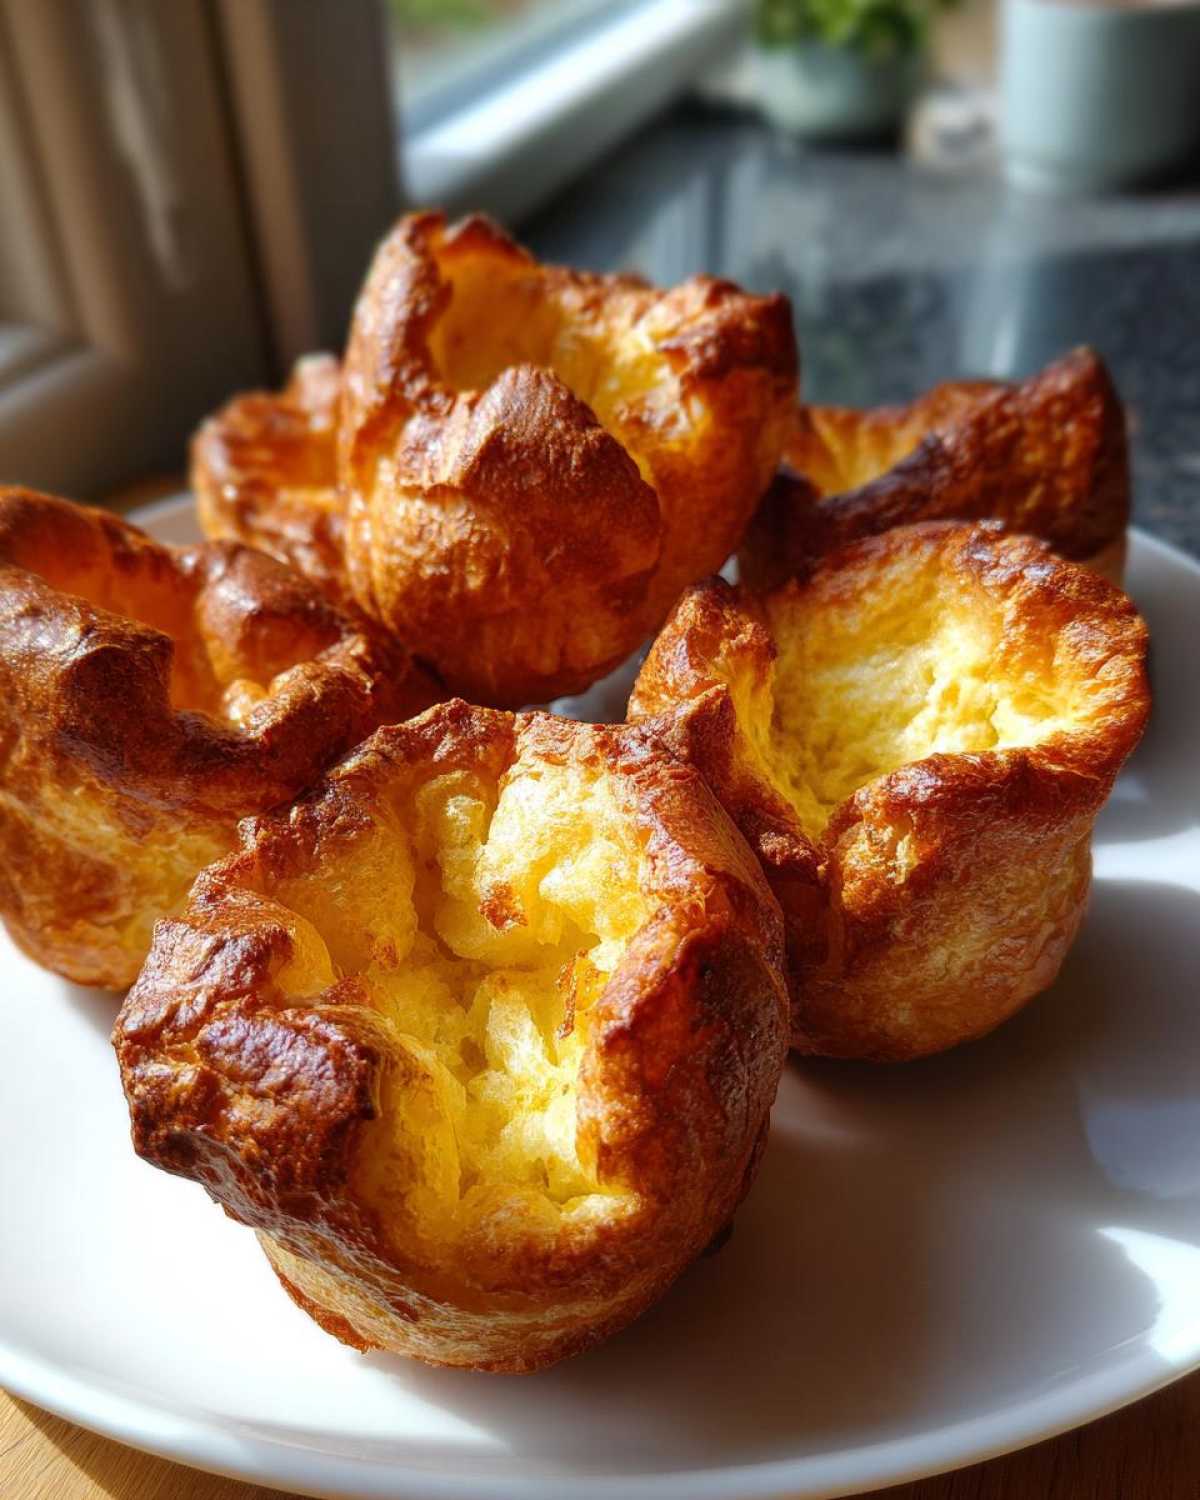
Achieving Tall, Golden Brown Puddings
The secret to getting those magnificent towers isn’t luck; it’s physics! We rely on two non-negotiable steps to guarantee that lift. First, the batter has to relax in the fridge—giving the flour time to fully hydrate is essential for stretch. Second, the fat you pour into the tin must be screaming hot before the batter even touches it. This immediate intense heat flash is what sets the structure instantly, leading to those incredible **Golden Brown Puddings** you dream about.
Essential Ingredients for Perfect Yorkshire Pudding
You only need four core things for this recipe, which I love because it means it’s truly economical comfort food! We use 4 large eggs, 1 cup of all-purpose flour, 1 cup of whole milk, and just a half teaspoon of salt. See? Nothing fancy here, which is why this is such a reliable **Yorkshire Pudding Recipe**!
Now, the absolute most important thing here is the fat. You have to use enough of it, and it has to be hot. We use vegetable oil because it handles high heat really well, but if you’re making these for a proper roast beef dinner, I highly recommend using beef dripping—it adds that deep, traditional savoriness you just can’t beat.
Ingredient Notes and Substitutions for your Yorkshire Pudding Batter
There’s always a massive argument about whether to use milk or water in your batter, right? We stick to all milk here because it gives a richer flavor that helps the outside crisp up beautifully, but honestly, I’ve tried half-and-half too, and it works just fine. Don’t stress too much about the milk versus water debate when you’re making this **Easy Yorkshire Pudding Batter**.
And just so you know, if you skip the beef dripping for oil, you have a fantastic vegetarian side dish ready to go. The core ingredients—flour, milk, eggs—are humble, but when treated right, they create pure magic. No scary additions needed for this classic!
How to Make Yorkshire Puddings: Step-by-Step Instructions
Alright, here’s where the magic happens, the part that separates the soaring clouds from the sad puddles. We need smooth mixing, good resting, and absolute commitment to heat! First, in a bowl, whisk together your flour and salt. Make a little dip in the middle, crack in your eggs, and slowly start incorporating the flour until you have a thick paste. This initial step is important so you don’t end up with tough puddings.
Next, this is where the **Yorkshire pudding** batter comes together: slowly pour in that cold milk while you whisk like mad until it’s smooth and thin, like heavy cream. Don’t worry if you see a few tiny lumps; seriously, don’t panic and over-whisk! Cover that bowl up and stick it in the fridge. Now, head over to our blog for some other easy dinner ideas while you wait!
The Crucial Batter Resting Time for Fluffy Yorkshire Puddings
This step is non-negotiable for **Fluffy Yorkshire Puddings**. You must let that batter rest! Letting it chill for at least 30 minutes—or even better, overnight—does two wonderful things. First, it lets the gluten in the flour relax, which means the pudding won’t be chewy. Second, the starch fully hydrates, allowing the batter to hold onto steam better. When the steam hits that hot fat, *that’s* what creates the lift. Never skip the rest!
Getting the Fat Smoking Hot for Crispy Yorkshire Puddings
This is the payoff moment! You need to preheat your oven screaming hot—230°C (450°F) is the target. While it heats, put your muffin tin (or roasting tin) in so the metal gets scorching. Add your oil or dripping into each cup—just about a teaspoon. When you pull that tray out, that fat needs to be shimmering and smoking slightly. If it’s not smoking, it’s not hot enough for those truly **Crispy Yorkshire Puddings**! Be careful pulling that hot tin out; it’s dangerous, but essential!
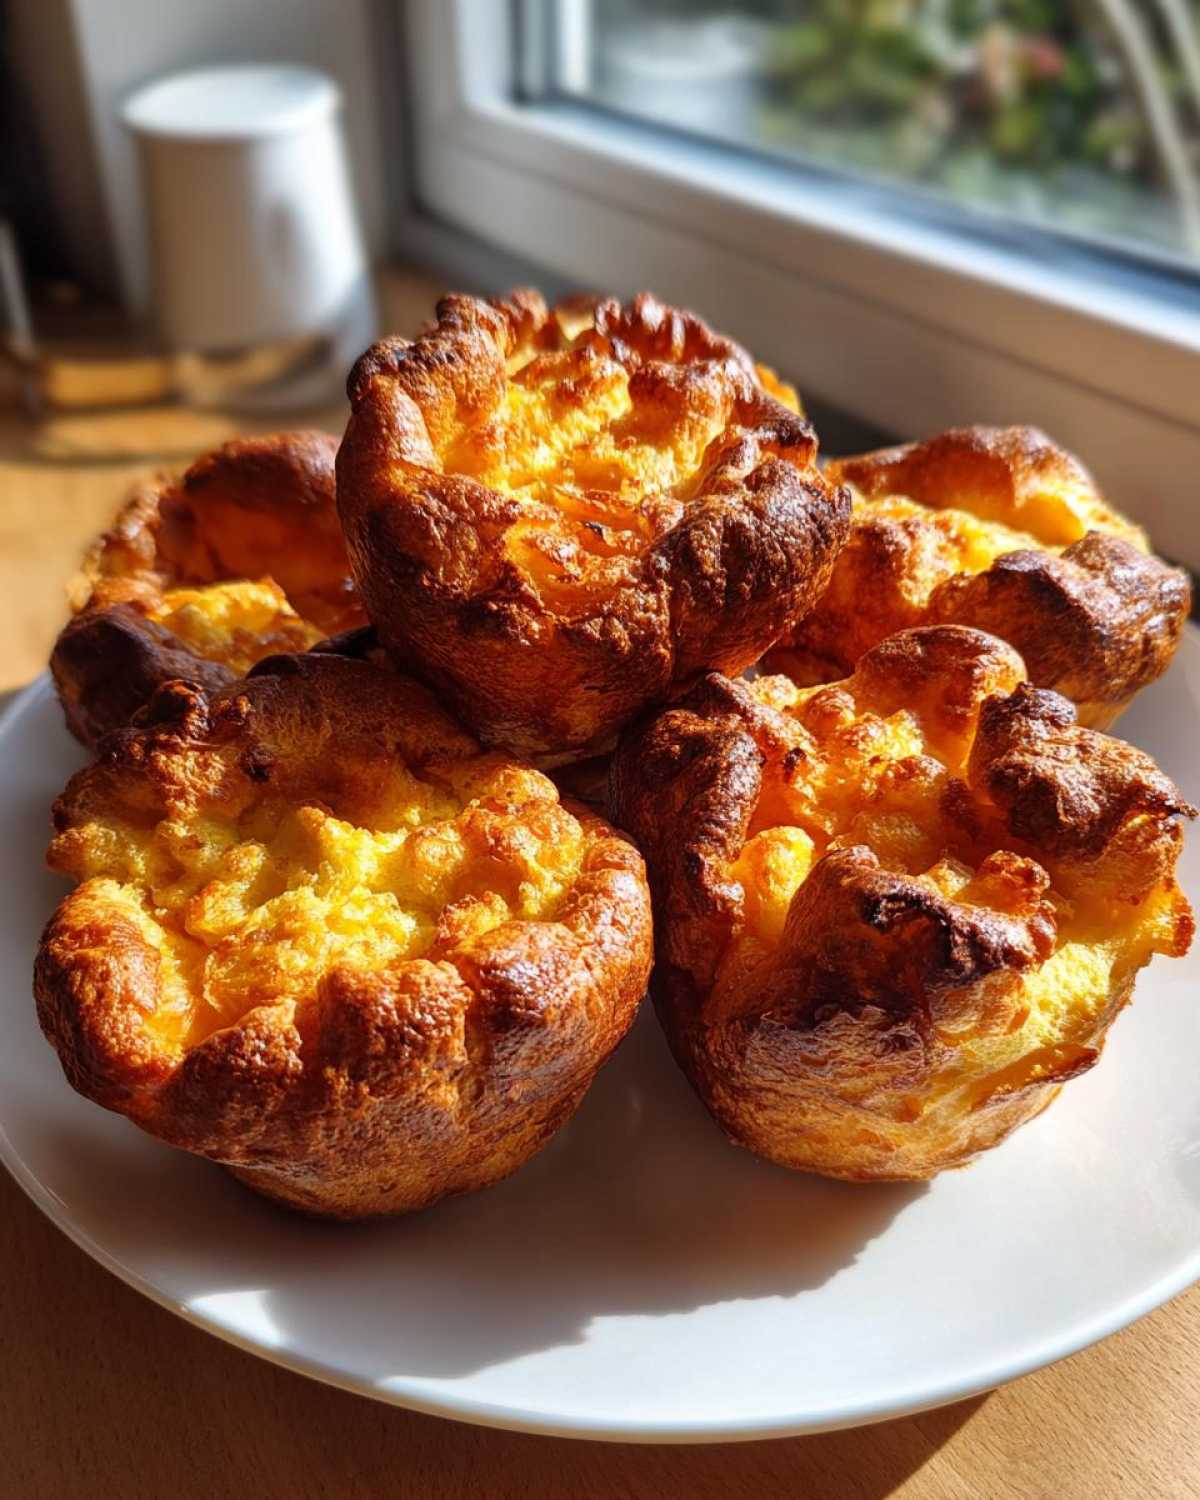
Yorkshire Pudding Tips and Tricks for Maximum Puffy Popovers
We’ve got the batter resting, we’ve got the fat blazing hot—now we just need to behave ourselves! The single most important piece of advice I can give you for achieving those sky-high **Puffy Popovers** is this: Do. Not. Open. The. Oven. Door. Seriously, I mean it. For the first 20 minutes, that oven stays shut. If you peek, you let the escaping steam compromise the structure, and watch them collapse instantly.
It’s tempting, I know! When I pour the batter in, I listen intently. When that cold batter hits that smoking fat, you should hear a loud, satisfying sizzle—almost a gentle hiss. If you don’t hear that immediate sizzle, you need to heat your fat up more next time! These **Yorkshire Pudding Tips and Tricks** are what turn a good attempt into a truly perfect batch every single time.
Another thing: divide the batter evenly. If one pudding gets too much mix, it weighs down its neighbors and can prevent those neighbors from rising properly. You want all 12 of your **Yorkshire Puddings** looking like proud, golden soldiers ready for gravy duty.
Serving Suggestions for Your Traditional British Side Dish
Okay, you’ve got these magnificent, airy towers fresh out of the oven. What now? You can’t just stare at them! These are the heart of any proper **Traditional British Side Dish**, especially if you’re making a roast.
They were virtually invented to go with roast beef—that’s their destiny! The slight crispness catches the juices beautifully. You absolutely must have a proper, thick gravy ready to go. Pour it straight into the middle crater of the pudding; it’s mandatory, trust me.
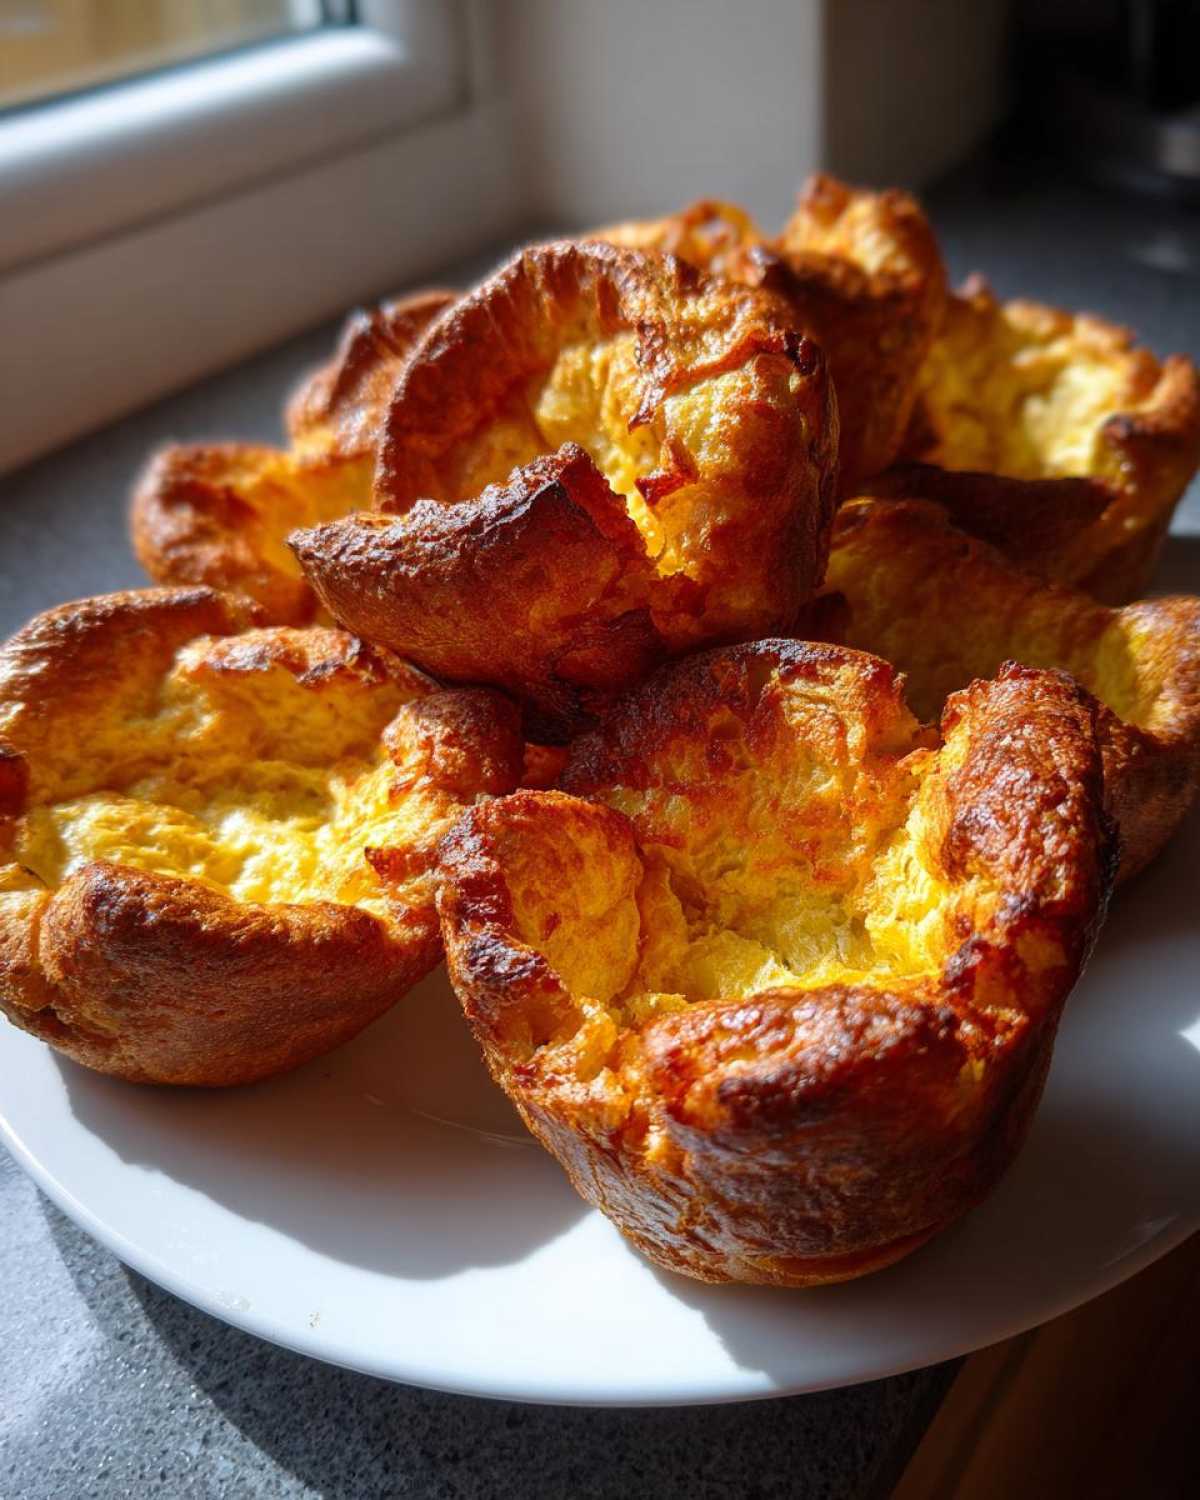
If you’re not doing a roast, they’re still brilliant. They’re lovely alongside sticky sausages (bangers and mash is better with Yorkshire puddings, fight me!) or even served with the savory mushroom gravy we make over here on the blog. They are the ultimate accompaniment!
Variations: Making Individual Yorkshire Puddings or Gluten Free Yorkshire Pudding
Our main recipe is designed for a standard muffin tin, which gives you those lovely **Individual Yorkshire Puddings**, perfect for portion control—or for making sure everyone gets at least one enormous one!
If you want to make one giant **Yorkshire pudding** in a roasting dish instead of the 12 individual ones, you absolutely can! Just make sure your dish is deep enough and be prepared to add about 5 to 10 minutes onto the baking time. The heat has to work harder to get to the center of that big guy.
Now, I know some of you need alternatives, which is totally fine. If you’re looking into a **Gluten Free Yorkshire Pudding**, the good news is that because the structure relies so heavily on steam and egg, it’s fairly adaptable. You just need a good quality 1:1 gluten-free flour blend to swap out the regular flour cup-for-cup. I’ve seen fantastic results using specific GF mixes. You can check out a great resource for that specific swap right here if you need a dedicated guide.
It still needs that super hot fat and the resting time for the gluten substitute to hydrate, but honestly, the process stays the same, which is the beauty of this technique!
Storage and Reheating Instructions for Leftover Yorkshire Pudding
Okay, so maybe you had too much gravy or just made too many—we never judge! If you have leftover **Yorkshire pudding**, storing them is easy, but reheating them takes a little finesse. Once they’ve cooled completely, pop them into an airtight container. They’ll be fine on the counter for a few hours, but if you need to keep them longer, definitely chill them in the fridge.
Here’s my big warning: do not try to revive them in the microwave! They will go soft and soggy in seconds, and that’s a tragedy. To get that wonderful crispy exterior back, you have to use dry heat. Just spread them on a baking sheet and pop them back into a medium oven, say 375°F (190°C), for about 5 to 8 minutes. That little blast of heat brings them right back to life. You won’t even know they weren’t freshly made!
Frequently Asked Questions About Yorkshire Pudding Recipe Success
I always get questions about the hiccups that happen when folks first try making these, and that’s totally normal! Baking is a conversation, and sometimes you have to troubleshoot. Here are the things I hear most often when people are trying to nail their **Yorkshire Pudding Recipe**.
Why did my Yorkshire puddings sink after rising?
This is the saddest moment, isn’t it? Almost always, if your **Fluffy Yorkshire Puddings** rise beautifully and then sink, it means one of two things: either the oven temperature dropped suddenly when you opened the door, or they weren’t actually finished baking. They need that structure to be set before you let the cold air in. If you pull them out too early, the steam holding them up collapses. Give them a full 20 minutes minimum without peeking!
Can I use cold batter for the best results?
Yes, you absolutely can, and I highly recommend it! While some recipes say the batter needs to be room temperature, I find that using cold batter straight from the fridge works better with my method. Remember, we need that stark temperature contrast: piping hot fat meeting ice-cold batter. This shock guarantees that initial, massive puff right when they enter the oven. So yes, don’t worry if you forgot to take it out early; cold batter is great for **Crispy Yorkshire Puddings**!
Is using vegetable oil absolutely fine, or do I need beef dripping?
For the absolute most traditional flavor, nothing beats beef dripping, that rich, solidified fat left over from roasting beef. It imparts an incredible savoriness that just screams Sunday roast! However, if you’re aiming for a vegetarian option or just don’t have dripping on hand, a high-smoke-point oil like vegetable, canola, or even sunflower oil works perfectly well. They handle the high heat needed without burning, ensuring you still get beautiful, **Golden Brown Puddings**.
Addressing the Gordon Ramsay Yorkshire Pudding Technique
People often ask me if they need to follow the complex methods sometimes shared by famous chefs like Gordon Ramsay. Look, his results are incredible—no argument there! But when you are aiming for reliable, repeatable results at home, you need to focus on the science over the specific technique. My approach focuses intensely on the cold batter meeting smoking hot fat; that foundation is universal. If you master the heat and rest, you’ll get stunning results without needing to mimic a TV chef’s wrist action for your **Yorkshire Pudding**!
How do I ensure my puddings are crisp all the way through?
Crispness comes down to two things: the fat and the bake time. Make sure your fat is smoking hot before the batter goes in, and do not rush the baking time! Even if they look perfectly brown after 18 minutes, keep them in until 22 or 25 minutes. A slightly longer bake in that intense heat dries out the inside just enough to maintain that crisp shell, turning them into magnificent **Puffy Popovers**.
Understanding the Cost Effectiveness of Homemade British Comfort Food
One of the things I truly love about the **Yorkshire Pudding Recipe** is how incredibly kind it is to the budget. Seriously, you cannot beat the cost of flour, milk, and eggs stacked up against a tray of sad, flavorless lumps you buy frozen from the supermarket. When you make these yourself, you are making phenomenal **Homemade British Comfort Food** for pennies!
When you consider a whole tray of 12 massive, fluffy puddings costs barely anything—we’re talking just a few dollars for all the ingredients—it feels like cheating. We found a fantastic resource from a chef who specializes in budget cooking over here, and they confirm that these are one of the most economical sides you can whip up.
When you use good quality fat like dripping, yes, it costs a bit more upfront, but you use so little, and the payoff in flavor is huge. It just proves you don’t need expensive cuts of meat or fancy imports to create amazing comfort food. It’s pure, humble magic!
PrintThe Perfect Foolproof Yorkshire Pudding: Crispy Outside, Fluffy Inside

Learn how to make classic, tall Yorkshire puddings that are golden brown, crispy on the outside, and wonderfully airy inside. This easy recipe is perfect for your Sunday roast.
- Prep Time: 10 min
- Cook Time: 25 min
- Total Time: 35 min
- Yield: 12 individual puddings
- Category: Side Dish
- Method: Baking
- Cuisine: British
- Diet: Vegetarian
Ingredients
- 4 large eggs
- 1 cup all-purpose flour
- 1 cup whole milk
- 1/2 teaspoon salt
- Vegetable oil or beef dripping, for the tin
Instructions
- Combine the flour and salt in a large bowl. Make a well in the center.
- Crack the eggs into the well. Begin whisking the eggs, gradually incorporating the flour from the sides until you have a thick paste.
- Slowly pour in the milk while continuously whisking until you have a smooth, thin batter, similar to heavy cream. Do not overmix; a few small lumps are acceptable.
- Cover the bowl and let the batter rest in the refrigerator for at least 30 minutes, or up to 12 hours. Resting is key for a good rise.
- Preheat your oven to 450°F (230°C). Place a 12-hole standard muffin tin (or a large roasting tin for one large pudding) into the oven while it heats.
- Add about 1 teaspoon of vegetable oil or beef dripping into each cup of the hot tin. The fat must be smoking hot.
- Carefully remove the hot tin from the oven. Quickly and evenly pour the batter into the hot fat, filling each cup about halfway to two-thirds full.
- Immediately return the tin to the hot oven. Do not open the oven door for the first 20 minutes of baking.
- Bake for 20 to 25 minutes, or until the puddings are dramatically puffed, deep golden brown, and firm to the touch.
- Serve your crispy Yorkshire puddings immediately with your roast dinner and gravy.
Notes
- For the best rise, the batter must be cold and the fat must be smoking hot when you pour the batter in.
- If you are making one large pudding, use a deep roasting tin and increase the baking time slightly.
- You can substitute beef dripping with a high smoke point oil like vegetable or canola oil if you prefer.
Nutrition
- Serving Size: 1 pudding
- Calories: 120
- Sugar: 1
- Sodium: 150
- Fat: 6
- Saturated Fat: 2
- Unsaturated Fat: 4
- Trans Fat: 0
- Carbohydrates: 14
- Fiber: 0
- Protein: 4
- Cholesterol: 65