

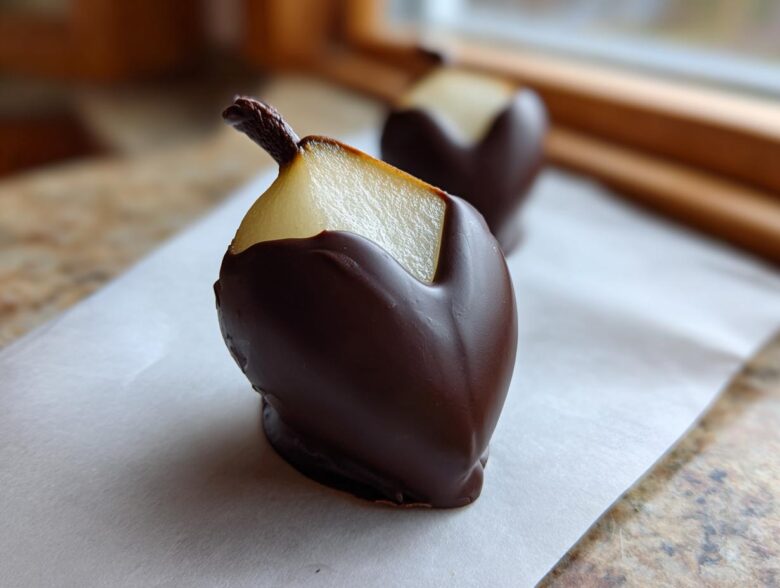
Forget boring fruit bowls and predictable dipped strawberries! If you want to truly wow someone, you need something memorable, something elegant that says, “I made this just for you.” That’s exactly what we’re doing today. We are diving headfirst into making the most stunning, romantic dessert: Chocolate Dipped Pear Hearts. I first made these for my anniversary last year, and honestly, they made the evening feel instantly gourmet, even though they really aren’t complicated!
These aren’t just fruit; they are little edible sculptures. The key is using firm pears so they hold that gorgeous shape once you’ve carved them out. Trust me, slicing and dipping these beauties is way faster than you think, and the payoff? Pure magic on a platter.
Why You Will Love This Chocolate Dipped Pear Hearts Recipe
Honestly, the compliments you get on this dessert are huge, and nobody needs to know how easy it was! Making these Chocolate Dipped Pear Hearts is my secret weapon for instant elegance. They look impressive, but they are surprisingly simple to pull off. It’s the perfect easy romantic dessert.
- They look incredibly fancy, perfect for Valentine’s Day or any special treat.
- The combination of crisp pear and rich dark chocolate is divine.
- Prep and chilling time are fast—you’re basically done in under an hour total!
Quick Preparation for an Easy Romantic Dessert
We don’t mess around with long cooking times here. I mean, who has the patience when romance is the goal? The total time clocks in at about 55 minutes, and all that time is hands-off chilling or quick prep. There’s virtually no actual cooking involved, unless you count melting chocolate! This really is the best part about using fresh pears for this project.
Essential Ingredients for Perfect Chocolate Dipped Pear Hearts
Okay, the ingredients list for these Chocolate Dipped Pear Hearts is pretty short, which I adore! When you keep the list small, quality matters so much more, right? You absolutely must start with two firm, ripe pears. I swear by Bosc or Anjou for this job. If the pear is too soft, it will wobble when you try to carve it and might turn to mush once you dip it. We need structure!
Then there’s the chocolate—you’ll need about 8 ounces, chopped up. And don’t forget optional things like a touch of coconut oil to make the dipping slicker, and maybe some toasted nuts for sprinkling. That’s really it! Simple elements making one fancy dessert.
Ingredient Notes and Substitutions for Your Chocolate Covered Pear Hearts Recipe
Let’s talk specifics here, because this is where we make sure the chocolate adheres perfectly. That firmness in the pear, like I mentioned, is non-negotiable. It gives you something solid to hold onto and shape. If you can’t find Bosc, grab the green Anjou pears; just press gently—they should yield just a tiny bit, but not much.
For the chocolate, I usually go dark because I love that bittersweet snap against the sweet pear, but milk chocolate works beautifully if you have a sweet tooth. If you’re feeling totally wild, use white chocolate, but you might want to skip the coconut oil because white chocolate can sometimes get a little muddy looking if you add extra fat.
Step-by-Step Guide: How to Cut Pears into Heart Shapes
This is the part where we turn a regular pear half into something special enough for your masterpiece, the Chocolate Dipped Pear Hearts! First thing, grab your vegetable peeler and get rid of all the skin. Don’t leave any on; we want smooth chocolate coverage. Next, slice each pear right down the middle, lengthwise, and use a small spoon or melon baller to scoop out those seeds and core bits. Make sure it’s totally clean!
Now for the fun shaping part. I find it’s easiest to place the flat cut side down on the cutting board. Take a small, really sharp paring knife—this needs to be precise!—and carefully start shaving away the sides, rounding them off into that classic heart curve. You are essentially carving a rounded triangle into a heart. If you have a tiny heart-shaped cookie cutter, you can press that into the thickest part of the pear half after you’ve sliced it, which guarantees a perfect shape right away. It takes a little practice, but it’s worth the effort!
Preventing Browning Before Dipping
Listen up, because this step might feel silly, but it is critical for the final look of your Chocolate Dipped Pear Hearts. Pears turn brown the second they meet air, and nobody wants a bruised-looking chocolate shell! As soon as you have your shapes carved, drop them immediately into a bowl of cold water that has about a tablespoon of lemon juice mixed in. This acidic bath pauses the browning process instantly, keeping your fruit looking fresh and pristine until dipping time.
Just five minutes in the lemon water is plenty. Then, you must, and I mean *must*, pat every single piece completely dry with paper towels before they see chocolate. Any drop of water will make your melted chocolate seize up, and trust me, that is a disaster!
Melting Chocolate for Gourmet Dipped Fruit
If the pears are the canvas, the chocolate is the masterpiece paint! Getting this right is crucial for a beautiful, shiny finish and a smooth bite. We need that chocolate velvety, not grainy or thick. You have two main options for melting, and I use both depending on how much I’m making.
For a smaller batch—like the one we are making here—the microwave is my go-to. Grab your good quality chopped chocolate and toss it into a microwave-safe bowl. If you’re using the optional teaspoon of coconut oil, add it now. The oil helps keep the chocolate flowing nicely, making the dipping so much easier. Microwave it on 30-second bursts. Seriously, stop and stir after every single blast! If you walk away, you’ll burn the bottom layer, I promise. Stir until it looks mostly melted, then just keep stirring for another minute off the heat until the residual warmth melts the remaining bits. It should look perfectly smooth, like silk almost.
If you’re feeling fancy or making a huge batch, use a double boiler. Just heat up a few inches of water in a pan and set a heat-safe bowl on top—make sure the bottom of the bowl doesn’t touch the water! Slowly heat the water, stirring the chocolate gently until it melts down. This second method gives you excellent temperature control, which is the secret to great chocolate adhesion. You want it warm enough to flow easily off the pear, but not so hot that it starts to set funny once it hits the fruit.
Assembling Your Elegant Chocolate Dipped Pear Hearts
Alright, deep breath! This is the grand finale where we turn our beautifully carved, totally dry pear hearts into the stunning Chocolate Dipped Pear Hearts you’ve been dreaming about. Once your chocolate is smooth and glossy, you can’t hesitate; you need to work quickly before it starts to thicken up. This is why having your baking sheet lined with parchment paper ready to go is so important!
Grab one pear heart—I like holding mine from the bottom edge, or if it has a nice bit of stem left, use that! Dip the pear right into the melted chocolate, making sure you only coat about two-thirds of the surface. You want a nice thick layer that ends in a clean line, not a runny mess. As you pull it out, gently tilt and rotate the pear so the excess chocolate drips right back into the bowl. This is key—let it drip until it slows down to just slow tears of chocolate.
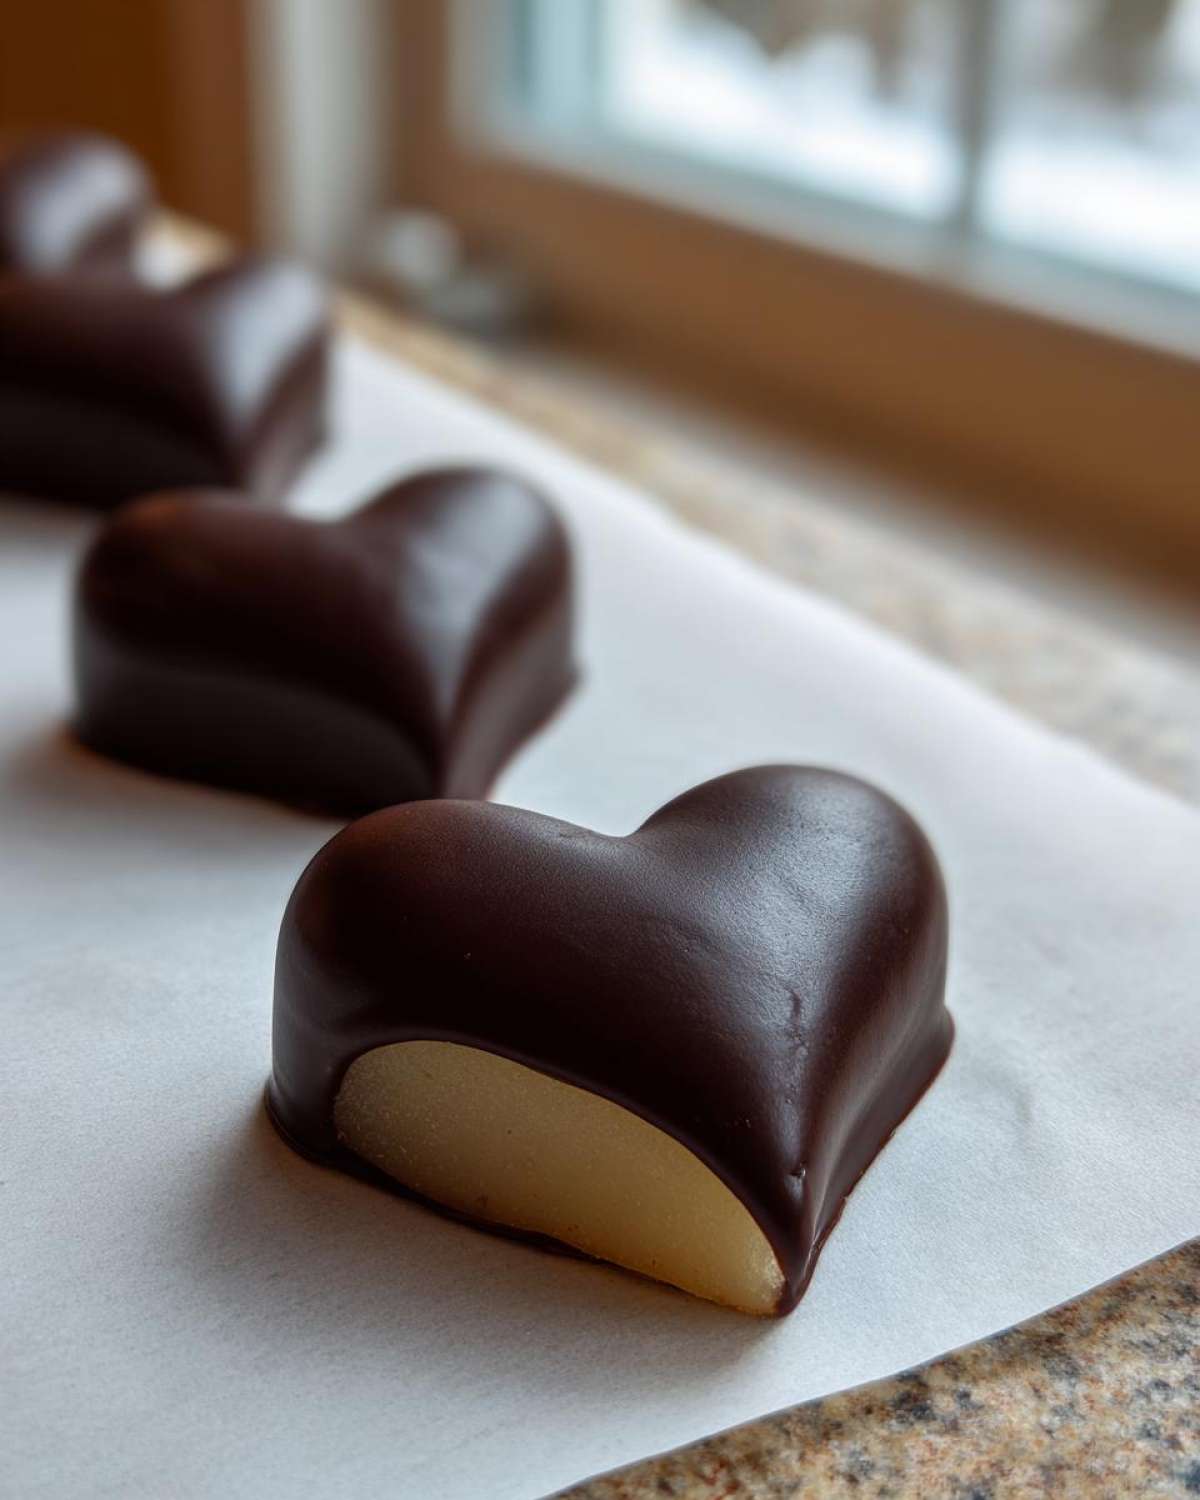
If you’re adding those fancy toppings like chopped nuts or sprinkles, do it right now while the chocolate is still wet! Maybe swirl a toothpick around the base line for a rustic look, too. Then, gently set the pear heart down on that waiting parchment-lined tray. Once all four (or eight!) are done, they need to chill out. Pop the whole tray into the refrigerator for at least 30 minutes until the chocolate is completely firm and set. Don’t try to rush this part; patience guarantees that beautiful, crisp shell. When you’re ready to serve this gorgeous Valentine’s Day pear dessert, you can reach out and let me know how they turned out! Contact me here if you have any last-minute questions!
Tips for Success with Chocolate Dipped Fruit Ideas
I’ve learned a couple of things the hard way over the years when making gourmet dipped fruit, so let me save you some heartache! First and foremost: DRY, DRY, DRY. I cannot stress this enough. If there is even a tiny bead of moisture left on that pear after the lemon bath and patting, your chocolate will start to seize up immediately, turning grainy and thick right in your bowl. Keep extra paper towels handy!
Second, if you notice at any point the chocolate gets too thick to dip smoothly, don’t panic! Just put the bowl back in the microwave for 10 seconds, stir well, and return to dipping. This keeps the consistency perfect throughout the whole batch. Working quickly and keeping the chocolate just warm enough ensures your coating is shiny and thin enough to crackle beautifully when you bite into it.
Storage and Presentation for Your Chocolate Dipped Pear Hearts
Once the chocolate is fully set, your gorgeous Chocolate Dipped Pear Hearts are ready to be admired—and eaten! Since we used fresh fruit, these are best enjoyed the day you make them, but they certainly keep well if you have leftovers. You need to store them in the refrigerator because of the fresh pear inside, but make sure they are in an airtight container. This prevents them from absorbing any funky smells from your fridge and keeps the chocolate from getting sweaty or sticky.
When you take them out to serve, give them about 15 to 20 minutes on the counter before you present them. That little bit of time lets the chocolate lose that super cold, hard snap and brings out the flavor a bit more. For the best presentation, skip the casual plate! Line a simple slate board or a white platter with some vibrant green mint leaves or maybe some contrasting dried rose petals. Arrange your Chocolate Dipped Pear Hearts artfully, maybe leaning a few against each other—it really elevates this dish into a showstopper for any gathering. If you want to learn more about my cooking philosophy behind simple, elegant food, check out my About Me page!
Frequently Asked Questions About DIY Chocolate Dipped Pears
I always get a few questions about these little gems after readers try them the first time! It’s my job to make sure your experience making these DIY chocolate dipped pears yields perfect results every time. Here are the things folks ask me most often when they are diving into making their own sweet heart shaped food.
Can I use poached pear hearts chocolate instead of raw?
That’s a great question! Yes, you absolutely can use poached pears if you prefer a softer texture, though the recipe specifically calls for raw fruit because it holds its shape better for carving. If you do decide to poach, remember what I noted: you only need to poach them in a very light simple syrup for about 5 minutes, just to take the raw edge off. The most important thing afterward is letting them cool completely and then chilling them well before dipping. A warm pear equals melted chocolate, and we definitely don’t want that!
What is the best way to get a thin, even chocolate coating?
This is all about temperature and technique, my dear! You want the chocolate to be just warm enough that it flows like a slow river, but not so hot that it melts the pear surface. If you used that little bit of coconut oil, it really helps achieve a perfect, thinner consistency. When you dip, pull the pear out slowly and let it hang over the bowl. Gravity does most of the work! I usually gently flick my wrist a couple of times—just a little wiggle—to encourage the excess to drip off. Too much chocolate pooling at the bottom means you didn’t let it drip long enough, so hang in there until it tapers off.
If you have any other tricky questions about making this delicious dessert using fresh pears, check out my site disclaimer for general baking advice, or feel free to drop me a line!
Estimated Nutritional Data for Chocolate Dipped Pear Hearts
Okay, now I have to put my responsible cook hat on for a second! While these lovely chocolate covered pear hearts recipe items feel incredibly decadent, they are actually quite reasonable in their nutritional profile, especially since they’re fruit-based. Remember, these numbers are just estimates based on the ingredients I list—your dark chocolate choice and the exact size of your pears will change things slightly, but this gives you a great ballpark.
I calculated this breakdown based on one pear half coated in dark chocolate, which is a good portion size for a satisfying treat. We are using real whole ingredients, so you get some nice benefits in there, too!
- Serving Size: About 1 pear half
- Calories: Around 250 calories per serving. Not too bad for a special occasion dessert, right?
- Fat: This comes mostly from the chocolate, about 15 grams total.
- Carbohydrates: You’re looking at about 30 grams, mostly natural sugars from the pear and added sweetness from the chocolate.
- Protein: A small boost, usually around 3 grams.
- Fiber: Thanks to that fresh pear, you get about 5 grams of fiber!
The beauty of making your own DIY chocolate dipped pears is you control the quality. If you use higher cocoa content chocolate, you lower the sugar a bit! It’s all about control. I always feel much better serving something I know exactly what went into!
Share Your Special Occasion Fruit Treats
Phew! After all that shaping and dipping, I truly hope you’re immensely proud of the beautiful Chocolate Dipped Pear Hearts you’ve created. They are one of those desserts that just demands a picture, so please, don’t keep them secret!
I would absolutely love to see how you styled them. Did you use toasted almonds, or maybe some edible gold dust? Snap a photo and tag me on social media—it honestly makes my day to see my recipes coming to life in your kitchens!
And if you found this recipe helpful, maybe you left a little rating for me? Five stars if you felt romantic making them! If you have any final thoughts, need clarification, or just want to tell me how much your partner loved them, please drop a comment right down below. Your feedback helps me keep making recipes that truly shine. For reference on how I handle user data and communications, you can always check out the site’s Privacy Policy!
PrintChocolate Dipped Pear Hearts

A recipe for shaping fresh pears into hearts and coating them with melted chocolate for an elegant dessert.
- Prep Time: 25 min
- Cook Time: 0 min
- Total Time: 55 min
- Yield: 4 servings
- Category: Dessert
- Method: Dipping
- Cuisine: American
- Diet: Vegetarian
Ingredients
- 2 firm ripe pears (e.g., Bosc or Anjou)
- 8 ounces dark or milk chocolate, chopped
- 1 teaspoon coconut oil (optional, for smoother dipping)
- 2 tablespoons chopped nuts or sprinkles (optional garnish)
Instructions
- Prepare the pears: Peel the pears completely. Slice the pear in half lengthwise, removing the core.
- Shape the hearts: Place each pear half cut-side down. Carefully use a small, sharp paring knife to trim the sides, creating a gentle heart shape. You can also use a small heart-shaped cookie cutter on the thickest part of the pear half after slicing.
- Prevent browning: Place the shaped pear pieces in a bowl of cold water mixed with 1 tablespoon of lemon juice for 5 minutes. Remove and pat them completely dry with paper towels. They must be dry for the chocolate to adhere.
- Melt the chocolate: Place the chopped chocolate and coconut oil (if using) in a microwave-safe bowl. Microwave in 30-second intervals, stirring well after each interval, until the chocolate is smooth. Alternatively, melt over a double boiler.
- Dip the pears: Hold a pear heart by the stem end or the bottom. Dip it into the melted chocolate, rotating to coat about two-thirds of the surface. Allow excess chocolate to drip off.
- Garnish and set: Place the dipped pears onto a baking sheet lined with parchment paper. Immediately sprinkle with chopped nuts or sprinkles, if desired.
- Chill: Refrigerate the pears for at least 30 minutes, or until the chocolate is completely firm.
Notes
- Use firm pears; soft pears will not hold their shape well during dipping.
- Ensure the pears are completely dry before dipping; moisture causes chocolate to seize.
- If you prefer a lighter flavor, you can briefly poach the pear halves in simple syrup for 5 minutes before cooling and shaping.
Nutrition
- Serving Size: 1 pear half
- Calories: 250
- Sugar: 25
- Sodium: 5
- Fat: 15
- Saturated Fat: 9
- Unsaturated Fat: 6
- Trans Fat: 0
- Carbohydrates: 30
- Fiber: 5
- Protein: 3
- Cholesterol: 5