

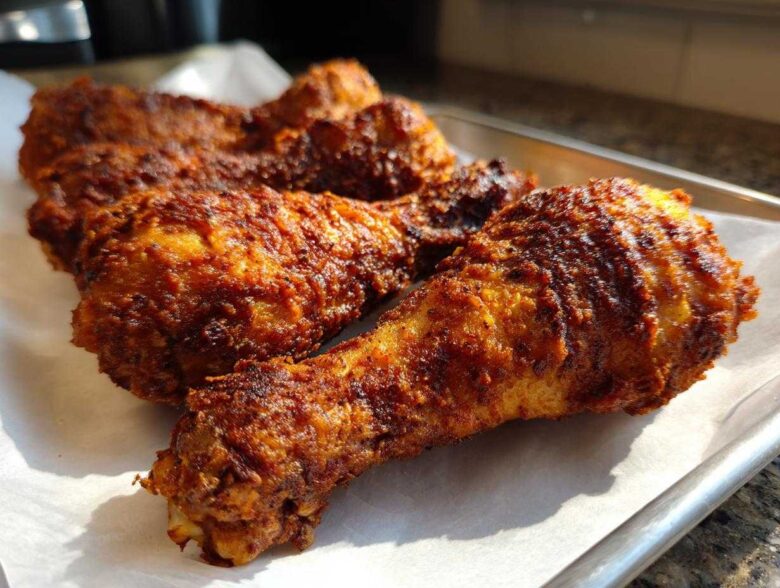
Oh, dinnertime emergencies. We all have those nights when you look in the fridge and realize you have exactly thirty minutes before everyone starts melting down, and sad leftovers just won’t cut it. That’s when this recipe for my Simple Crispy Baked Chicken Legs saves the day! Seriously, this isn’t just another standard roast—this is the cure for dry, boring poultry. I’m not kidding you, mastering the technique for getting that crackly, salty skin on these drumsticks while keeping the meat utterly juicy underneath changed my whole weeknight routine. It’s basic, it’s fast, and it uses spices I always have on hand. Trust me, once you nail the ratio on the seasoning rub, you’ll never go back to takeout!
Why You’ll Love This Easy Baked Chicken Legs Recipe
Honestly, this recipe is my secret weapon when I need a fantastic meal on the table without fuss. If you’ve struggled to get chicken legs that taste like they came from a fancy rotisserie, these are for you. Here’s why I always come back to this simple formula for my weeknight dinners:
- The Skin Secret: We focus hard on getting that golden, crunchy texture. No more flabby skin here!
- Perfectly Juicy Meat: By sealing in moisture early and hitting that exact temperature, the meat stays tender all the way to the bone. They are never dry!
- Super Fast Prep: We whip up the seasoning blend in minutes. Less than 10 minutes of hands-on time, and then the oven does all the hard work.
- Maximum Flavor, Minimal Ingredients: You don’t need fancy marinades. Just quality salt, pepper, and a few pantry herbs make these taste incredible.
- Family Favorite: Drumsticks disappear instantly at my house. They are the ultimate easy meal that everyone in the family happily eats.
Ingredients for Perfect Baked Chicken Legs
Listen, I want you to succeed with this recipe, so don’t skimp or try to substitute everything. The beauty of this simple preparation is that the ingredients listed do exactly what they’re supposed to do! If you’re cooking for a crowd, just double everything! We are making 4 servings here, so that’s two legs per hungry person.
Here’s what you’ll need to grab from the pantry and fridge:
- Eight chicken legs, bone-in and skin-on—that’s the only way to go for that crispy skin! Make sure they are roughly the same size so they cook evenly; that’s important for timing.
- One tablespoon of good, high-quality olive oil. Don’t worry, most of it drips off, but we need just enough to help the dry rub stick.
- One solid teaspoon of fine grain salt. I prefer fine grain because it adheres better to the skin than coarse Kosher salt in this specific recipe.
- Half a teaspoon of freshly cracked black pepper, please! Pre-ground just doesn’t have the same kick.
- One teaspoon of bright red paprika. This is mostly for color, giving us that beautiful roasted look, but it adds a lovely depth, too.
- Half a teaspoon of garlic powder. It distributes so much better than fresh minced garlic when you’re aiming for a dry, crispy surface.
- Half a teaspoon of dried oregano. This is my herbal secret! It pairs beautifully with the paprika. If you love rosemary, you could easily swap this out later, though!
Essential Equipment for Crispy Skin Chicken Drumsticks
Okay, setting yourself up right is half the battle when baking chicken legs. You don’t need a ton of specialized gear, but a few simple tools make the process foolproof, especially if you are trying to nail that perfect crispy texture.
These are the things I always pull out before I even think about preheating the oven:
- A sturdy, rimmed baking sheet. You need a place to sprawl out those drumsticks! I never use glass for this, just a regular metal sheet.
- Parchment paper or aluminum foil. This is non-negotiable for me! It saves you from scrubbing baked-on chicken fat later. Trust me, you want this for easy cleanup. If you want to get futuristic, you could use one of those oven-safe wire racks placed *on top* of the sheet, but foil works just fine.
- A medium mixing bowl. This is where we toss the chicken with the oil and then coat it thoroughly with that amazing spice rub. No need to dirty up a huge bowl for just eight legs.
- A small bowl or ramekin. Use this to mix up your dry spices beforehand. It ensures everything is perfectly combined before it hits the bird.
- A reliable instant-read meat thermometer. Seriously, if you try to make oven baked chicken legs recipe work without one of these, you are gambling! We need to know the exact internal temperature, and guessing just gets you dry chicken. This is your insurance policy for juicy meat.
Step-by-Step Instructions for Juicy Baked Chicken Legs
Alright, let’s get these beauties into the oven! Following these steps exactly is how we move from standard chicken legs to that incredible, flavorful result you see online. We’re focusing on technique here because that’s what guarantees the skin stays crispy while the insides stay succulent. This is the real deal for learning how to bake chicken legs until crispy! If you’re planning on using leftovers later, this quick roast will make them taste almost fresh, but you can peek at my advice on reheating over on my snacks page if you get impatient.
Prep Work: Drying and Seasoning Your Baked Chicken Legs
First things first—preheat that oven to 400°F (200°C)! Now, grab your chicken legs and a stack of paper towels. You absolutely must pat every single leg bone dry. I mean it—super dry! Moisture is the enemy of crispy skin, so spend ninety seconds on this part. While the oven warms, whisk together your salt, pepper, paprika, garlic powder, and oregano in that little bowl. Toss the dry legs lightly with the olive oil, then sprinkle that spice mix over everything, rubbing it in gently. Make sure every nook and cranny is coated!
Baking: Finding the Best Baked Chicken Legs Temperature
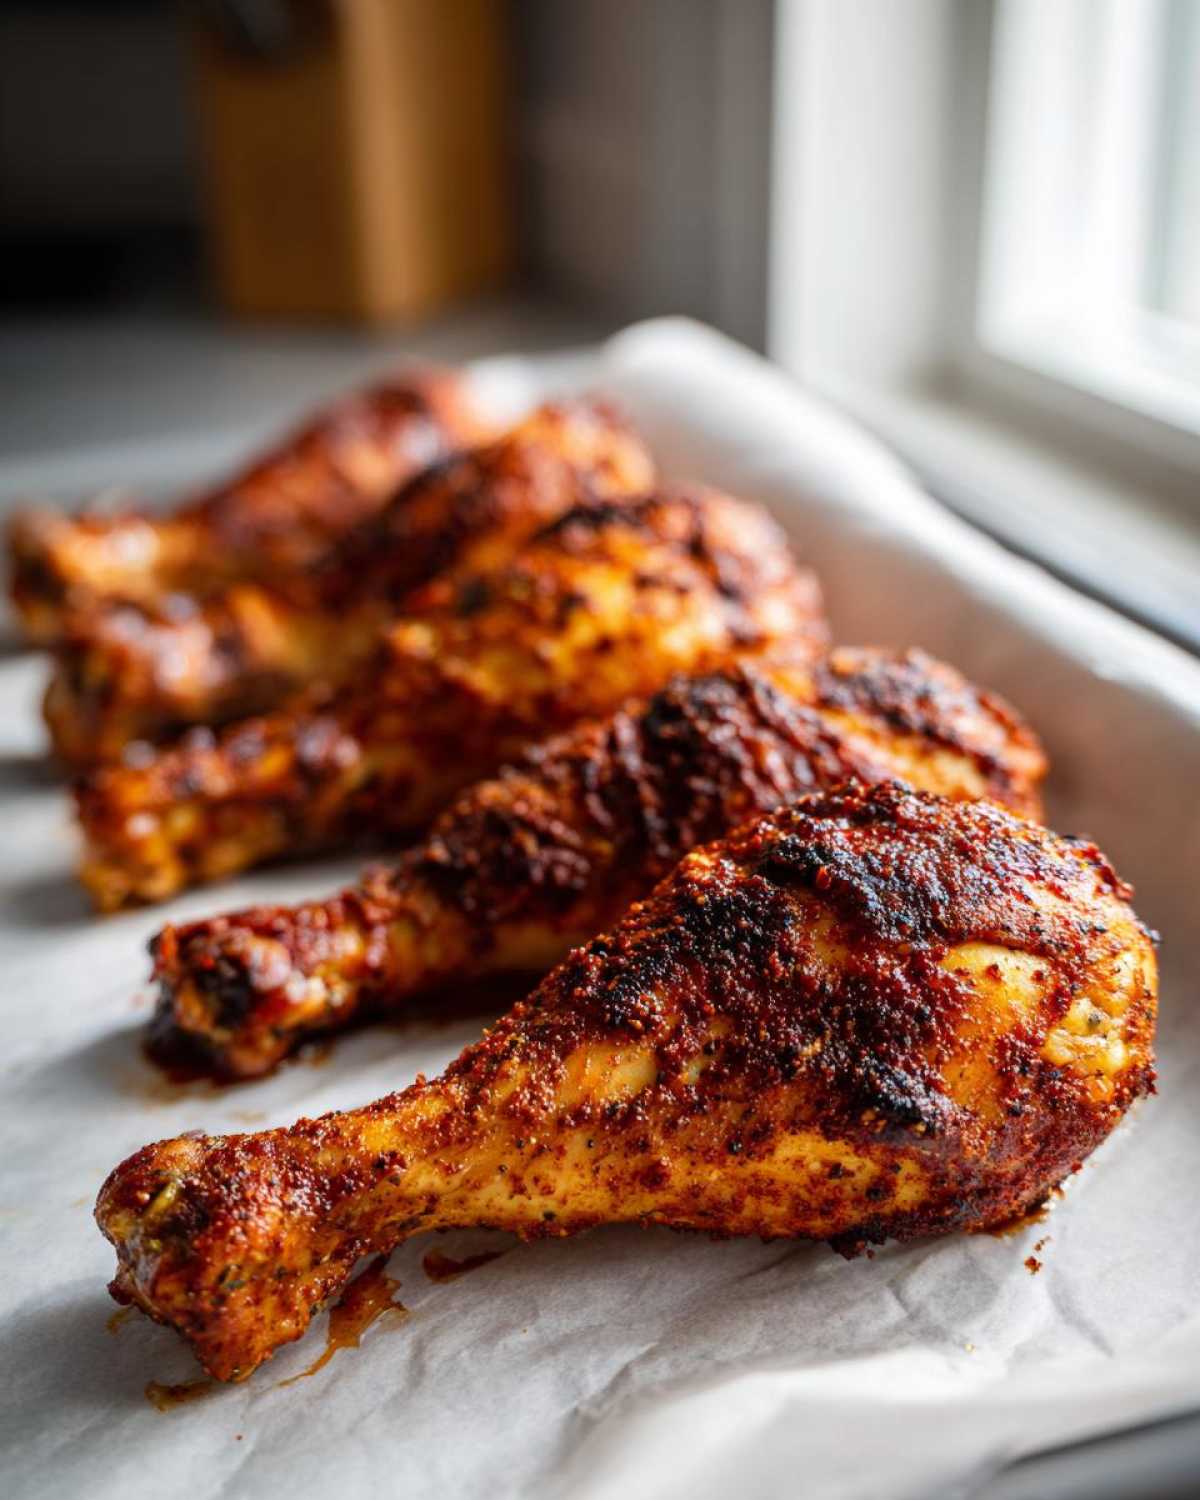
Time to arrange them on your foil-lined sheet. Lay the seasoned drumsticks out in a single layer, and this is important: they cannot be touching! They need space for the air to circulate around each piece so they can brown nicely. Pop them into that 400°F oven. You are looking for a cook time between 35 and 40 minutes. My golden rule is to check the temperature in the thickest part of the meat, aiming for 165°F (74°C). If you don’t hit that temp, they need a few more minutes. Knowing how long to bake chicken legs depends on their size, hence the thermometer!
Finishing Touches for Crispy Skin Chicken Drumsticks
If after 40 minutes they look great but the skin isn’t quite shattering crisp yet, don’t panic! Switch your oven over to the broiler setting, but watch them like a hawk! Seriously, two or three minutes max is usually all it takes to get that final snap. You don’t want to walk away, or you’ll go from crispy to charcoal instantly! Once they look perfect, pull them out. My final, crucial instruction for getting juicy baked chicken legs? Let them rest right there on the pan for five whole minutes before anyone touches them. This lets all those lovely juices redistribute!
Expert Tips for Achieving the Juiciest Baked Chicken Legs
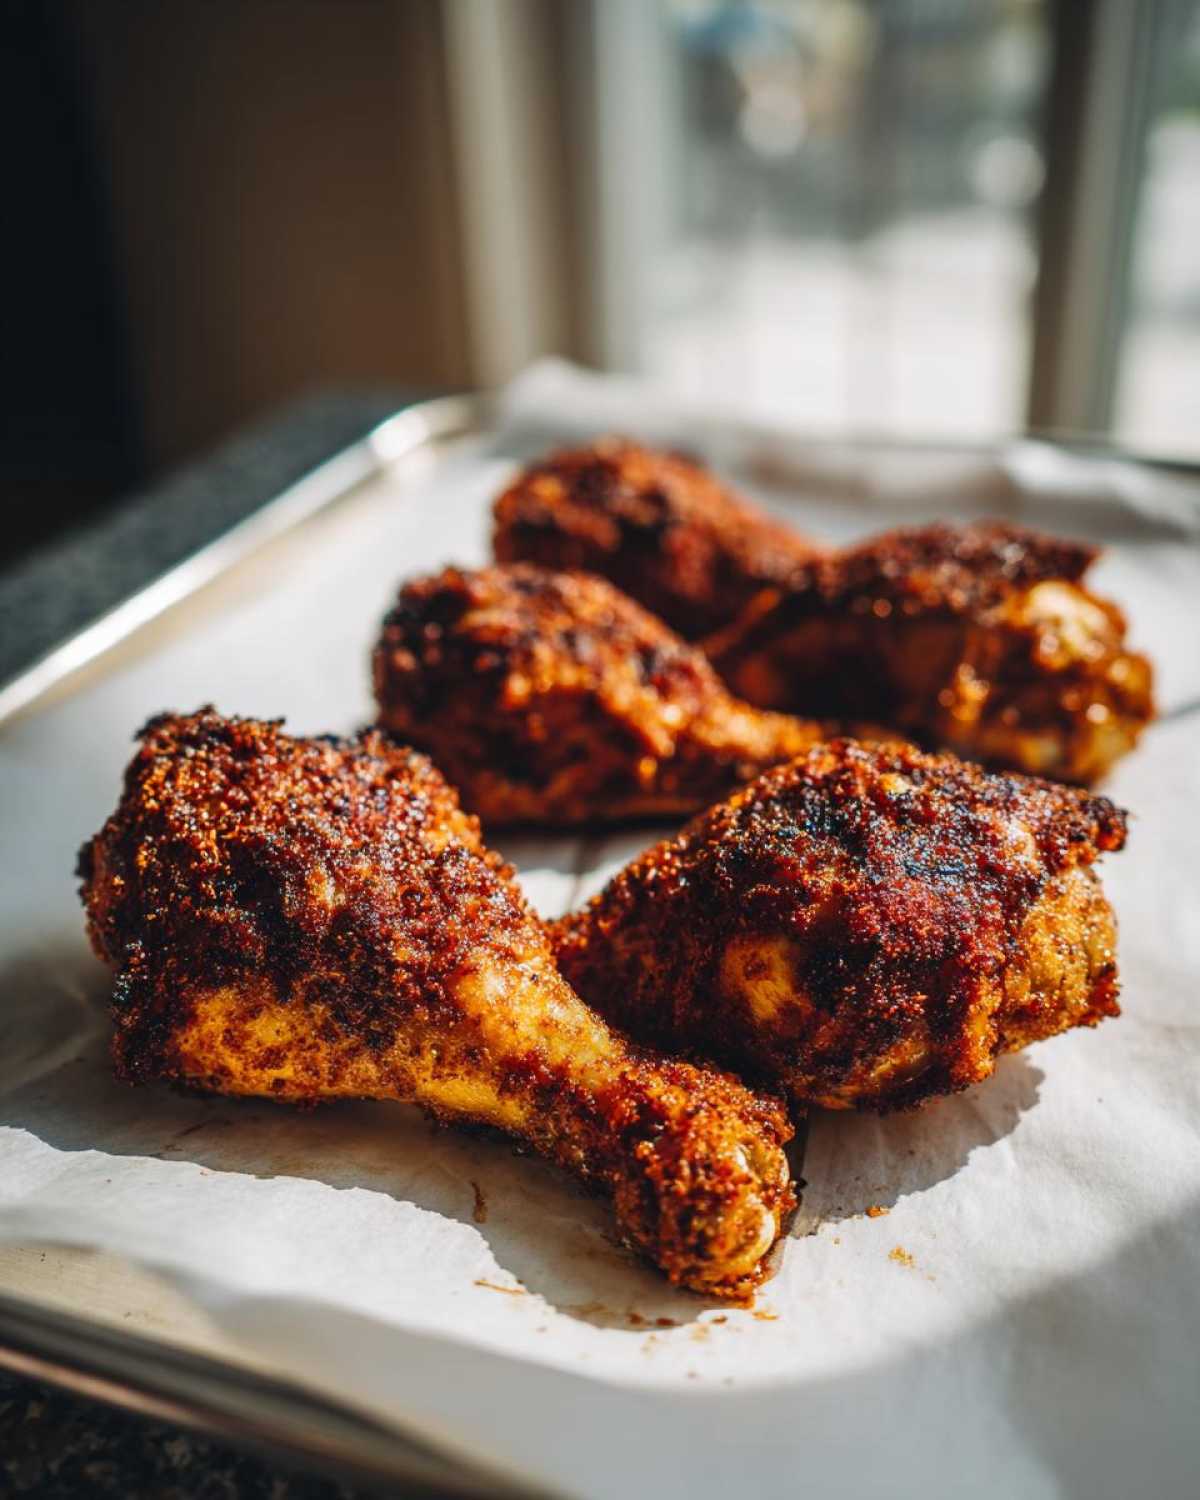
So, you followed the steps, but maybe you’re still worried about hitting that perfect ‘juicy’ level? I get it! Chicken legs are naturally forgiving, but these little secrets take them from ‘good’ to ‘you have to share the recipe’ status. My absolute biggest tip for keeping things moist is what I mentioned in the notes, but it bears repeating: add a tiny splash of liquid to the pan itself.
Pour maybe a quarter cup of water or—ooh, even better—some plain chicken broth into the bottom of the baking sheet *underneath* the foil. This creates a little steamy environment down there while the tops crisp up. It’s genius! Also, remember how I talked about size consistency? If you have four huge legs and four tiny ones, the small ones will dry out waiting for the big guys to finish. Try to pick legs that look like they weigh about the same amount. For more great tips on quick cooking, you can always browse my main recipe articles!
Variations on Classic Baked Chicken Legs
This basic template for oven baked chicken legs recipe is so simple, which means it’s just begging for you to play around with the seasoning! I love sticking to the original garlic-herb blend, but sometimes you just need something totally different for a busy Tuesday night. Don’t feel tied down to just salt and paprika!
The easiest way to change everything up is by swapping just one ingredient in that initial dry rub. If you want a real crowd-pleaser, go for the BBQ route. Simply skip the oregano in the original recipe and, during the last 10 minutes of baking, brush those drumsticks generously with about two tablespoons of your favorite store-bought BBQ sauce. It caramelizes beautifully under that high heat.
If you want to lean into a heartier flavor profile that still feels relatively “healthy baked chicken legs,” try deepening the herbs. You could easily make a fantastic Garlic Herb Baked Chicken Legs by adding dried thyme and a pinch of dried rosemary to the paprika and garlic powder. For something extra special that reminds me of one of my favorite seafood recipes, you could even mix in some onion powder. Honestly, you can’t mess this up!
Serving Suggestions for Your Family Dinner Chicken Leg Recipes
Okay, the baked chicken legs are resting, smelling incredible, and looking perfectly browned. Now, what goes with them? Because this is such a straightforward, flavorful main dish, you don’t need complicated sides clogging up your kitchen when you’re aiming for a fast family dinner chicken leg recipe. I like to use the same oven space if possible, which makes cleanup a total breeze!
For a classic, comforting meal, you absolutely cannot beat mashed potatoes. They are the perfect vehicle for scooping up any of the little bits of herb and seasoning left on the plate. My favorite way to make them is using those instant potato flakes on the nights I’m feeling extra lazy—don’t judge me! For me, however, a plate of chicken isn’t complete without some bright green goodness mixed in there. Roasted asparagus or green beans tossed with a little olive oil and salt are my go-to. They roast right alongside the chicken (just pull them out earlier, they cook faster!).
If you’re trying to keep things lighter or maybe stick to a lower-carb meal, roasted root vegetables like carrots and parsnips are phenomenal with this spice rub. If you’re in a hurry and need something for breakfast the next day—kidding!—but you can always check out some quick inspiration over on my breakfast ideas page for something totally different later in the week.
Storage and Reheating Instructions for Leftover Baked Chicken Legs
Sometimes, even with only eight legs, there are leftovers! And that’s a good thing because leftover roasted chicken is fantastic for lunch the next day. The trick with any baked chicken is making sure you store and reheat it properly so you don’t lose all that hard-earned juiciness and crispiness.
As soon as the chicken has cooled down just slightly after resting—maybe 30 minutes on the counter—get it tucked away. Don’t leave cooked chicken sitting out for more than two hours, that’s just kitchen safety 101! Wrap the legs tightly in plastic wrap first, and then place them in an airtight container. This double layer helps lock in moisture. They should stay perfectly fine in the fridge for about three to four days. I rarely have them last that long, but that’s the food safe window.
Now for the important part: reheating! If you try to microwave these, you’ll lose any remaining crispness instantly. Trust me, that’s a sad path. To bring these roasted chicken drumsticks back to life, you need dry heat. Preheat your oven—no need for 400°F this time, 350°F is plenty—and place the legs on a small, clean baking sheet. You can toss a tiny splash of water into the bottom of the pan, just like we did when cooking, to add steam back into the environment. Heat them for about 10 to 12 minutes, or until they are warmed through. If you want to try and salvage a bit of the skin, you can switch the oven to broil for the final 60 seconds, but watch it like a hawk!
Frequently Asked Questions About Oven Baked Chicken Legs Recipe
I know you might still have a few lingering questions—I certainly did when I first started testing this recipe for the best baked chicken legs temperature! It’s always better to ask than to risk an undercooked bird or, worse, dry meat. I’ve gathered the things people ask me most often about making this simple roast shine!
What is the safest internal temperature for baked chicken legs?
This is the big one! For poultry, we always aim for the magic number: 165°F (74°C) when checked in the thickest part of the drumstick, making sure you aren’t touching the bone. If you don’t have a thermometer, you’re just guessing, and guessing leads to disappointment! This step is the difference between a perfectly cooked, juicy baked chicken leg and something you’re nervous about serving. Use the thermometer; it’s your best friend in the kitchen, truly.
Can I make these chicken legs healthier?
Oh absolutely, that’s a great question if you are looking for healthy baked chicken legs! Remember how we stressed the importance of skin for crispiness? Well, if you want to cut down on fat, you can totally remove the skin *before* you toss them in the oil and seasoning. They will still be flavorful because of that great spice rub, but they will be leaner. Another easy adjustment is to just use half the measurement of salt listed, or skip the oil completely and use a tiny spritz of cooking spray instead. The dry patting step is still the most important part for texture, even without the skin!
What if I don’t have an oven? Is there an Air Fryer Chicken Legs Alternative?
Yes! Since we are so focused on getting that crispy skin, the theory translates perfectly over to the air fryer. If you have one, consider this your guide for Air Fryer Chicken Legs Alternative! The key ingredient here is still patting the skin completely dry—don’t skip that part. You’ll typically preheat the air fryer to around 380°F (195°C) and cook for about 20 to 25 minutes total, flipping halfway through. Since air fryers circulate heat aggressively, they might cook a tiny bit faster than the oven, so check that internal temperature early!
If you have any burning questions that my little tips didn’t cover, feel free to send me a message over on my contact page! Happy cooking!
PrintSimple Crispy Baked Chicken Legs

Follow these steps to bake chicken legs in the oven for juicy meat and crispy skin.
- Prep Time: 10 min
- Cook Time: 40 min
- Total Time: 50 min
- Yield: 4 servings
- Category: Dinner
- Method: Baking
- Cuisine: American
- Diet: Low Fat
Ingredients
- 8 chicken legs (drumsticks)
- 1 tablespoon olive oil
- 1 teaspoon salt
- 1/2 teaspoon black pepper
- 1 teaspoon paprika
- 1/2 teaspoon garlic powder
- 1/2 teaspoon dried oregano
Instructions
- Preheat your oven to 400°F (200°C). Line a baking sheet with parchment paper or aluminum foil for easier cleanup.
- Pat the chicken legs completely dry using paper towels. This step helps achieve crispy skin.
- In a medium bowl, toss the chicken legs with olive oil until lightly coated.
- In a small bowl, mix together the salt, pepper, paprika, garlic powder, and oregano.
- Sprinkle the spice mixture evenly over the chicken legs, rubbing it onto the skin.
- Arrange the chicken legs on the prepared baking sheet in a single layer, ensuring they do not touch.
- Bake for 35 to 40 minutes, or until the internal temperature reaches 165°F (74°C) when checked with a meat thermometer in the thickest part.
- For extra crispiness, switch the oven to broil for the last 2 to 3 minutes, watching carefully to prevent burning.
- Remove from the oven and let the chicken rest for 5 minutes before serving.
Notes
- For extra moisture, you can place a small amount of water or chicken broth in the bottom of the baking pan.
- If you prefer a BBQ flavor, skip the oregano and add 2 tablespoons of your favorite BBQ sauce during the last 10 minutes of baking.
- To ensure even cooking, try to use chicken legs of similar size.
Nutrition
- Serving Size: 2 legs
- Calories: 300
- Sugar: 1
- Sodium: 450
- Fat: 18
- Saturated Fat: 5
- Unsaturated Fat: 13
- Trans Fat: 0
- Carbohydrates: 1
- Fiber: 0
- Protein: 30
- Cholesterol: 100