

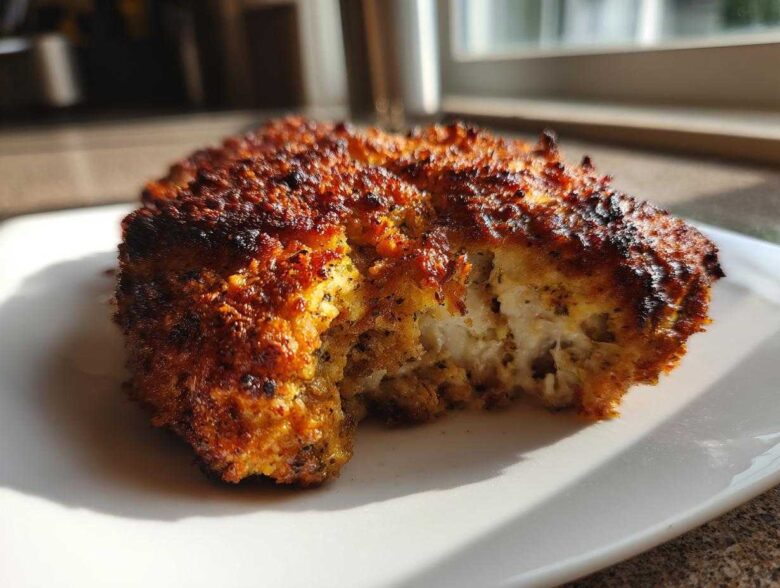
Is anyone else just completely over the weeknight dinner time crunch? Seriously, some nights I stare into the fridge, and my brain just short-circuits. We need flavor, we need speed, and we absolutely cannot deal with dirty frying pans splashed with oil. Trust me, after years of trial and error trying to get chicken breast right in under forty minutes, I finally nailed the ultimate fix. I’m talking about my Parmesan Baked Caesar Chicken, and I promise you, this is the fastest way to get a juicy, flavorful dinner on the table.
We get that fantastic, salty, crispy topping without ever turning on the stove, and the inside stays incredibly moist. I’ve made hundreds of oven chicken dinners over the years, and this Caesar-Parmesan combination is hands-down the winner for intense flavor without extra fuss. You’re going to want to grab your baking dish right now. If you’re looking for more speedy inspiration beyond just chicken, check out all my favorite weeknight dinner ideas!
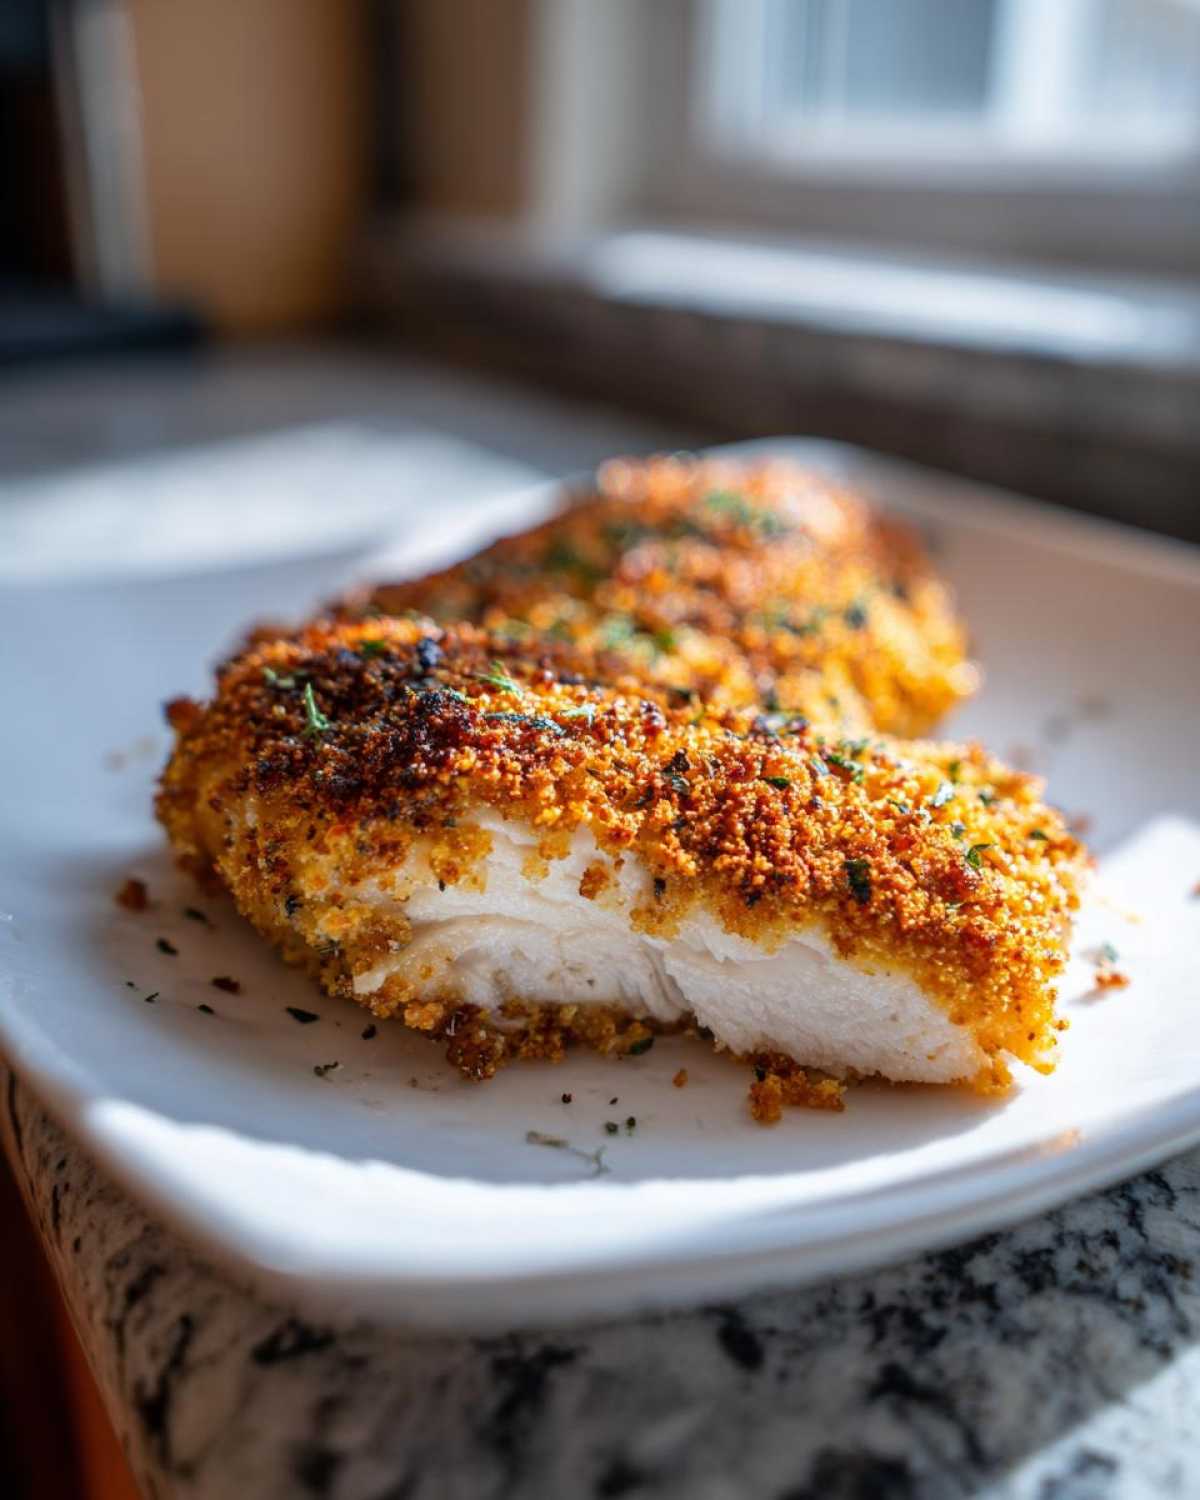
Why This Parmesan Baked Caesar Chicken Is Your New Weeknight Chicken Meal Idea
Look, flavor shouldn’t require an hour of active cooking time, especially on a Tuesday night. This recipe absolutely crushes the weeknight struggle. We’re talking about a genuine Weeknight Chicken Meal Idea that delivers huge flavor payoff for almost zero effort. It’s the perfect way to ensure you get a Juicy Baked Chicken Breast every single time, which is honestly harder than it sounds!
- Speed: Prep is done in about 10 minutes flat. Honestly, you can start this while the oven is preheating.
- Moisture Guaranteed: The secret binder—Caesar dressing mixed with mayo—locks in all that great moisture so you don’t end up with shoe leather.
- Flavor Bomb: You get that salty, garlicky punch from the Caesar seasoning that tastes like you spent ages marinating it.
Quick Prep Time for a Simple Oven Chicken Recipe
Ten minutes! That’s really all it takes for the prep work on this recipe. Seriously, it’s faster than deciding what you want to order for takeout. Getting this coated and into the oven means you have plenty of time to set the table or just decompress. It really shines as a Quick Family Chicken Dinner solution when you’re running on fumes by 6 PM.
Achieving a Crispy Parmesan Topped Chicken Finish
Okay, you want crispy, not soggy, right? That’s where the panko comes in! It’s flakier than regular breadcrumbs. When we mix it with that rich Parmesan and bake it hot—400 degrees, remember—it turns into this beautiful, golden crust. The topping stays put because of that dressing binder we talked about, so you get crunch on top and juiciness underneath. Perfection!
Gathering Ingredients for Parmesan Baked Caesar Chicken
Alright, let’s talk about what you need for this absolute showstopper. Since this recipe is designed to serve four people easily, you want decent-sized cuts of chicken breast. I always look for four identical ones so they cook evenly, but don’t stress too much! We’re aiming for about 6 ounces per breast. The beauty of this Cheesy Chicken Breast Recipe is that almost everything is standard pantry filler, but the quality of the Parmesan really matters here.
You’ll need your binder ingredients—Caesar dressing and mayo or yogurt—and then the crust components: Parmesan, panko, and your Caesar seasoning. Make sure you have everything measured out before you start dipping, because once you start coating, things move fast!
Specific Ingredient Clarity and Preparation Notes
This is where I get picky, but trust me, these checks save you headaches later. First, please make sure you are grating your Parmesan fresh! The stuff in the green shaker can’t absorb moisture for that crispy crust we want. We need heavy, salty flakes.
Second, regarding the Caesar seasoning—if you have a packet of the dry mix, go for it! If you don’t, I’ve listed my favorite homemade combo right there in the list. Also, if you’re using Greek yogurt instead of mayo for the binder, it keeps things a little lighter, but both work great to achieve that required moisture seal. Remember, we’re making 4 servings, so plan accordingly if you’re doubling up!
Step-by-Step Instructions for Your Crusted Chicken Bake
Okay, this is where the magic happens for your Crusted Chicken Bake! Everything comes together so quickly now that you have everything prepped. The key to this entire method, especially preventing that dry-chicken disaster, is that wet binder layer. It’s what marries the chicken to the crust and keeps the juices locked tight inside. Follow these steps, and I promise, you’ll have the juiciest chicken you’ve ever baked! For general kitchen tips while you’re in the cooking zone, I always refer back to my main cooking blog.
Prepping the Chicken and Oven Setup
First things first, get that oven hot! We need it at 400 degrees Fahrenheit. I always take an extra second here to grab paper towels and really pat every speck of moisture off the chicken breasts. If they are damp, the binder won’t stick to the chicken, and your nice topping will slide right off. If your breasts are super thick on one end, take a moment to lightly pound them even—I do this with a rolling pin between two sheets of plastic wrap. It’s a great little trick for ensuring everything cooks at the same rate.
Creating the Caesar Flavored Chicken Coating
You need two shallow dishes ready to go. In the first one, whisk together your Caesar dressing and the mayonnaise or yogurt. This is our moisture glue! In the second dish, combine your Parmesan, panko breadcrumbs, Caesar seasoning, and the salt/pepper. Now, dip each piece of chicken breast into the wet mix first—just a quick coat on both sides—and then press it firmly into the dry mix. Really pack that topping onto the top surface so it forms a real shield!
Baking Times and Temperature for Perfect Parmesan Baked Caesar Chicken
Place your coated pieces right into your prepared dish. Now, they go into that hot 400-degree oven for about 20 to 25 minutes. You aren’t looking for volume here; you are looking for temperature. You need the internal temperature to hit 165 degrees Fahrenheit when you check it with a thermometer. If you notice the beautiful Parmesan topping is getting too dark before the inside is cooked, just quickly throw a piece of foil loosely over the top for the last five minutes. That stops the burning while letting the center finish cooking perfectly.
Tips for Success with Your Cheesy Chicken Breast Recipe
Even with a great recipe, little tweaks make a huge difference, especially when baking chicken! Since we are aiming for that ultimate Cheesy Chicken Breast Recipe that delivers on juiciness every time, I want to share a couple of pointers I learned the hard way. Don’t skip letting these rest! Seriously, after they come out of the oven at 165 degrees, let them sit on a cutting board for five minutes under a loose fold of foil.
This resting period is non-negotiable. It lets those juices redistribute back into the meat instead of rushing out onto your plate when you slice it. Also, remember that foil tenting trick? If your oven runs hot, or if you have really thick chicken pieces, tenting during the last few minutes of baking keeps your beautiful Parmesan topping from scorching while the center just finishes cooking through. It handles texture control like a charm!
Variations for Caesar Flavored Chicken
While this Parmesan Baked Caesar Chicken is perfection as is, sometimes you just need to shake things up, right? I look at a base recipe like this as a canvas. Since the Caesar profile is already savory, garlicky, and a little tangy, it pairs beautifully with other sharp Italian flavors. For example, if you want something extra gooey and comforting, try turning it into a Mozzarella Parmesan Chicken Bake.
To do that, just toss about half a cup of shredded low-moisture mozzarella cheese into your Parmesan/panko mixture. After you coat the chicken and it’s been baking for about 15 minutes—when it’s almost done—sprinkle that mozzarella right on top. Let it bake uncovered for the remaining time until it melts and gets bubbly. Wow, it’s decadent!
Another fun swap is leaning into those broader Italian herbs. I often add a teaspoon of dried oregano and a pinch of red pepper flakes to the dry mix if I’m in the mood for something with a bit more kick. If you enjoy exploring those broader flavor profiles, you might also love my recipe for Italian Inspired Chicken Breast, which uses a similar coating technique but swaps the Caesar for sun-dried tomatoes and basil. It’s all about maximizing flavor in minimal time!
Serving Suggestions for Parmesan Baked Caesar Chicken
So you’ve pulled this incredible, crispy, juicy chicken out of the oven—now what sits next to it on the plate? Since this Parmesan Topped Chicken is already rich because of the cheese and the dressing binder, I usually lean towards sides that are bright, light, or carb-heavy to soak up any extra flavor.
The most obvious and perfect partner is, naturally, a pile of good greens. We already have those Caesar flavors baked right in, so grabbing a bag of romaine, tossing it with some fresh lemon juice, olive oil, and maybe a sprinkle of croutons and extra shaved Parmesan makes for an amazing pairing. It feels like a cohesive meal because it’s basically a full Caesar salad with killer chicken on top!
If you are serving this to hungry kids or just need something more substantial, pasta is your best friend. I love keeping it simple: boil up some linguine or spaghetti, toss it with just a little melted butter, maybe a clove of minced garlic sautéed quickly in that butter, and a tiny squeeze of fresh lemon. Don’t overthink the sauce; the chicken provides plenty of flavor! This light approach keeps the focus right where it should be: on that incredible Flavorful Oven Baked Chicken.
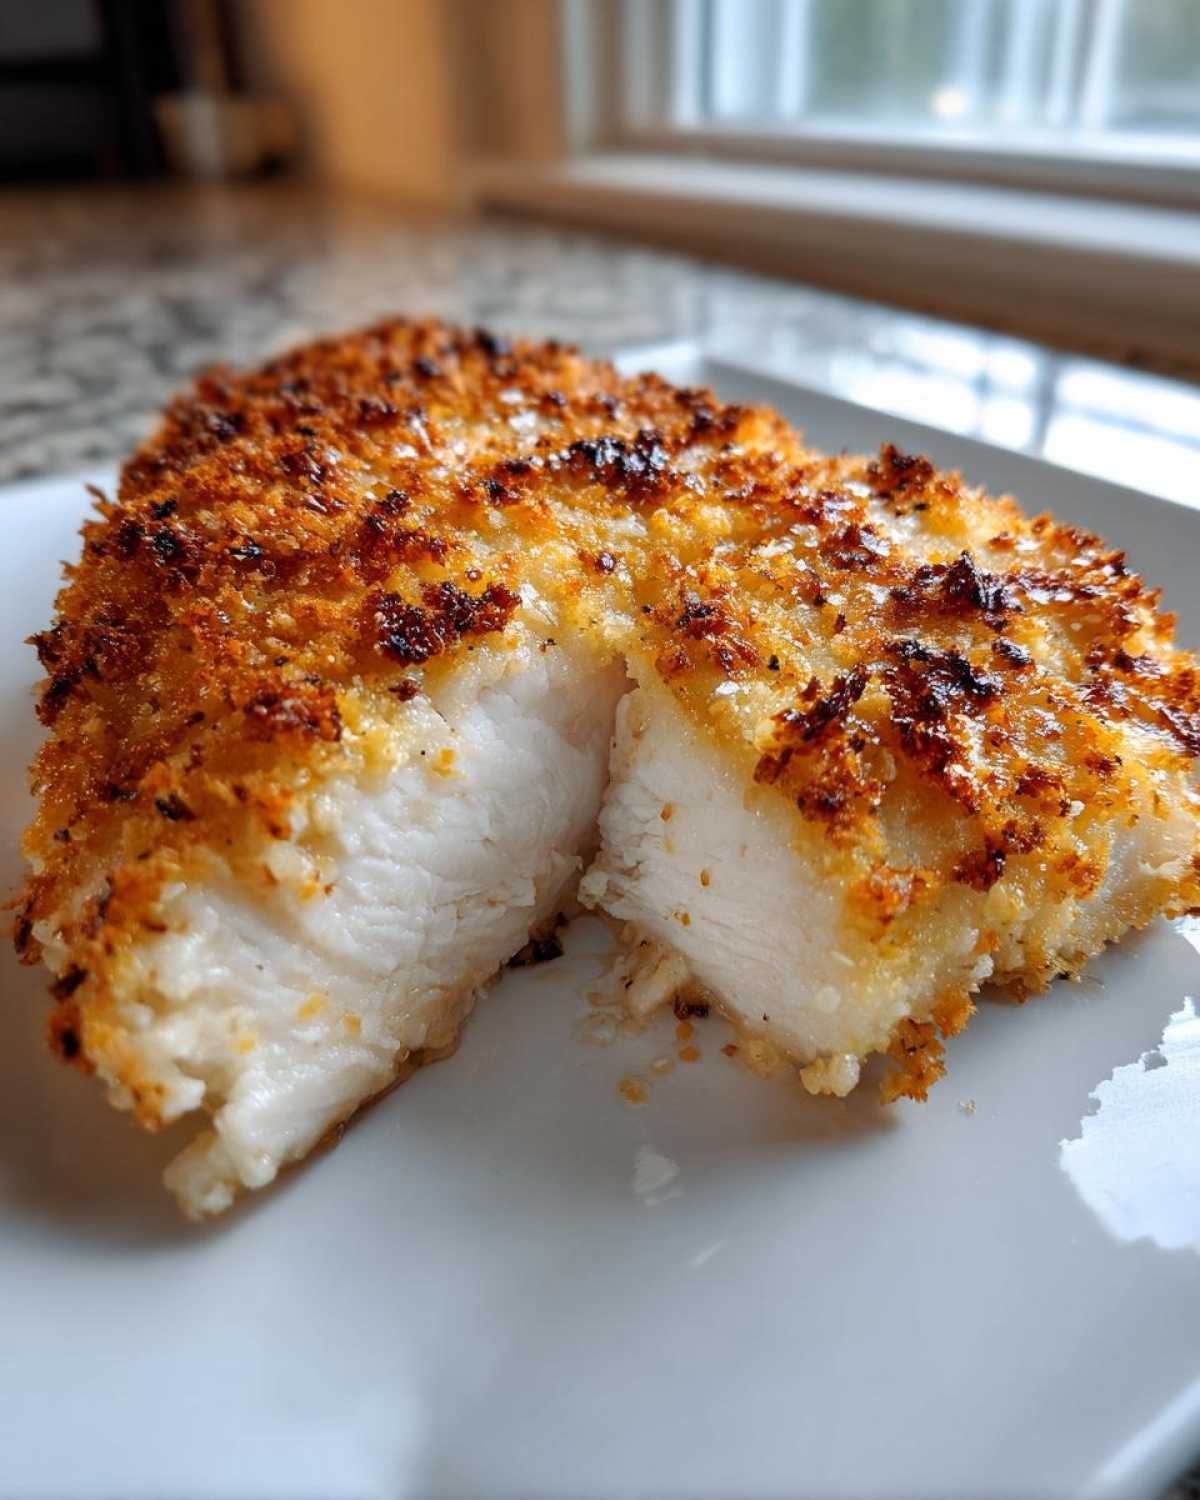
Storage and Reheating Instructions for Your Easy Baked Chicken Dinner
Listen up, because leftovers are a reality, and nobody wants sad, soggy chicken the next day. Good news: this Easy Baked Chicken Dinner freezes and reheats surprisingly well, provided you store it correctly. Once the chicken is completely cool—and I mean *totally* cool—you need to wrap those pieces individually in plastic wrap and then tuck them into an airtight container or heavy-duty freezer bag.
In the fridge, they typically last about three to four days. If you’re planning ahead, this actually makes a fantastic Make Ahead Chicken Dinner component you can prep on Sunday! The biggest question I always get is: how do I reheat this without ruining that gorgeous crust?
Forget the microwave if you can! The microwave will steam your panko crust instantly. If you’re just reheating one or two pieces, toss them directly onto a baking sheet in a 350-degree oven for about 10 to 12 minutes. If you have a toaster oven, that works even better because it gets hotter faster and crisps up the topping beautifully. The goal is just to get the internal temperature back up to safe levels without drying out the meat. If you must use the microwave, use short 30-second bursts, but then finish it under the broiler for just 60 seconds to try and bring some texture back to that topping!
Frequently Asked Questions About This Parmesan Baked Caesar Chicken
I know when I’m trying a new recipe, I always have a million little questions swirling around in my head before I even start mixing. Don’t worry, that’s totally normal! Here are the top things people ask me about making this killer Parmesan Baked Caesar Chicken so you can bake with confidence!
Can I make this recipe Low Carb Chicken Dinner friendly?
Absolutely, you can turn this into a fantastic Low Carb Chicken Dinner! The biggest hurdle is the panko breadcrumbs, which are your main carb source there. My go-to swap is using about 1/2 cup of crushed pork rinds! They give you an amazing crunch and zero carbs. You can also use almond flour, but you might need to press it on a little harder since it doesn’t have that airy texture of panko. Either way, keep the Parmesan and Caesar dressing binder—that’s where the flavor is!
What is the best way to ensure the topping stays crispy?
This is the million-dollar question for any baked topping! Remember that moisture-locking binder we use—the Caesar dressing and mayo mix? That’s crucial because it keeps the chicken juicy, but you have to make sure you don’t drown the chicken in it. You want a nice, thin coating, not puddles. Also, make sure your oven is preheated to a solid 400 degrees! Hot heat sets that topping fast and gets it golden brown before the moisture from the chicken has a chance to steam it soggy. Don’t be shy with that Parmesan either!
Can I use chicken thighs instead of breasts for this recipe?
Oh, yes, chicken thighs are richer and naturally more forgiving if you happen to overcook them a tiny bit! If you swap them in, you just need to adjust your timing because thighs are usually thicker and have a bit more fat rendering out. Instead of 20 to 25 minutes, you’ll want to aim for closer to 28 to 32 minutes, or until you hit that 175°F internal temp for thighs (since they are much better cooked past 165°F). They might need that foil tent a little sooner, too, since they can brown quickly!
Estimated Nutritional Data for Parmesan Baked Caesar Chicken
Okay, let’s talk numbers for those of you watching macros or just curious about what’s going into your amazing meal. Since this Parmesan Baked Caesar Chicken uses a little mayo/dressing binder but relies mostly on protein, it ends up being a powerhouse dinner!
Based on the recipe servings listed (4 breasts), here are the estimated nutritional highlights per serving. Remember, these are just my best guesses based on standard ingredient amounts, so they won’t be exact science, but they give you a great idea!
- Calories: Around 380
- Protein: A whopping 36 grams! That’s why this works so well for a filling dinner.
- Total Fat: About 22 grams (a little comes from the cheese and the mayo binder).
- Carbohydrates: Relatively low, around 10 grams, primarily from the panko breadcrumbs.
- Sugar: Very low, only about 2 grams. We aren’t adding any sugary sauces here!
If you want the full rundown, including sodium and cholesterol content, you can always check out my full nutritional disclaimer page for more detail on how I estimate these figures. Honestly, for a dinner that tastes this indulgent and cheesy, getting over 30 grams of protein is a huge win!
Share Your Experience Making This Flavorful Oven Baked Chicken
Whew, we made it! You’ve got the instructions, you know the secrets to keeping that chicken juicy, and now you have this fantastic, crispy Flavorful Oven Baked Chicken sitting on your plate. I truly hope you love this as much as my family does! It really saves those chaotic evenings around here.
Now, I have to ask—did it come out just how you wanted? Did you add any extra Parmesan? I absolutely crave hearing about your results! Please, take a minute to drop a comment below and let me know how your Parmesan Baked Caesar Chicken turned out. Hearing from you really helps me know what recipes the community loves the most.
If you took a beautiful picture of that golden, crusted chicken—and I bet you did!—please share it on social media and tag me! Connecting with you all is the best part of writing these recipes down. If you have any nagging questions that I didn’t cover, feel free to shoot me a note through the contact page. Happy baking, everyone!
PrintParmesan Baked Caesar Chicken

Bake juicy chicken breasts topped with a flavorful Parmesan and Caesar crust for a quick weeknight dinner.
- Prep Time: 10 min
- Cook Time: 25 min
- Total Time: 35 min
- Yield: 4 servings
- Category: Dinner
- Method: Baking
- Cuisine: American
- Diet: Low Carb
Ingredients
- 4 boneless, skinless chicken breasts (about 6 oz each)
- 1/2 cup Caesar salad dressing
- 1/4 cup mayonnaise or plain Greek yogurt
- 1/2 cup grated Parmesan cheese
- 1/2 cup panko breadcrumbs
- 1 tablespoon Caesar salad seasoning mix (or 1 teaspoon garlic powder, 1/2 teaspoon onion powder, 1/2 teaspoon dried dill)
- 1/4 teaspoon black pepper
- 1/4 teaspoon salt
Instructions
- Preheat your oven to 400 degrees Fahrenheit (200 degrees Celsius). Lightly grease a baking dish or line it with parchment paper.
- Pat the chicken breasts dry with paper towels. This helps the topping adhere better.
- In a small bowl, mix the Caesar dressing and mayonnaise (or Greek yogurt) together until combined. This mixture acts as a binder to keep the chicken moist.
- In a separate shallow dish, combine the grated Parmesan cheese, panko breadcrumbs, Caesar seasoning mix, salt, and pepper. Mix well.
- Dip each chicken breast first into the dressing mixture, coating both sides lightly.
- Press the coated chicken firmly into the Parmesan breadcrumb mixture, ensuring the top surface is completely covered with the topping.
- Place the coated chicken breasts in the prepared baking dish.
- Bake for 20 to 25 minutes, or until the internal temperature reaches 165 degrees Fahrenheit (74 degrees Celsius) and the topping is golden brown and crispy.
- Let the chicken rest for 5 minutes before serving.
Notes
- For extra moisture, you can lightly pound the thickest part of the chicken breasts to an even thickness before coating.
- If the topping starts browning too quickly before the chicken is done, loosely tent the dish with aluminum foil for the last 5-7 minutes of baking.
- Serve this chicken with a simple green salad tossed with extra Caesar dressing or alongside cooked pasta tossed with butter and garlic.
Nutrition
- Serving Size: 1 breast
- Calories: 380
- Sugar: 2
- Sodium: 550
- Fat: 22
- Saturated Fat: 7
- Unsaturated Fat: 15
- Trans Fat: 0
- Carbohydrates: 10
- Fiber: 1
- Protein: 36
- Cholesterol: 110