

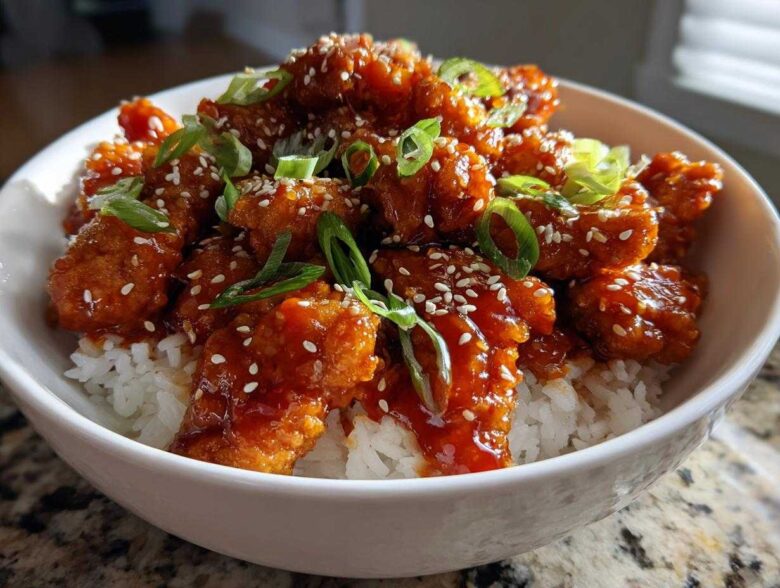
Oh my gosh, it’s 7 PM, you’re starving, and that takeout place is calling your name, but you know deep down you can make something way better and fresher at home, right? I totally get it! That’s why I spent weeks perfecting this Sticky Sweet Chili Chicken Bowl with Rice. Forget those watery, overly sweet glazes you get elsewhere. This recipe is my absolute go-to for that craving because the sauce is magically thick, glossy, and perfectly balanced—it hits sweet, just enough tang, and that gentle kick of chili heat.
Seriously, I must have gone through a gallon of sweet chili sauce testing the ratios on the brown sugar versus the vinegar and ginger. Getting that *perfect* sticky texture without it tasting like pure syrup took dedication! Trust me, once you nail this sauce, you’ll be making it constantly. And the best part? It comes together in under 35 minutes, making it one of my favorite Asian Rice Bowl Dinners.
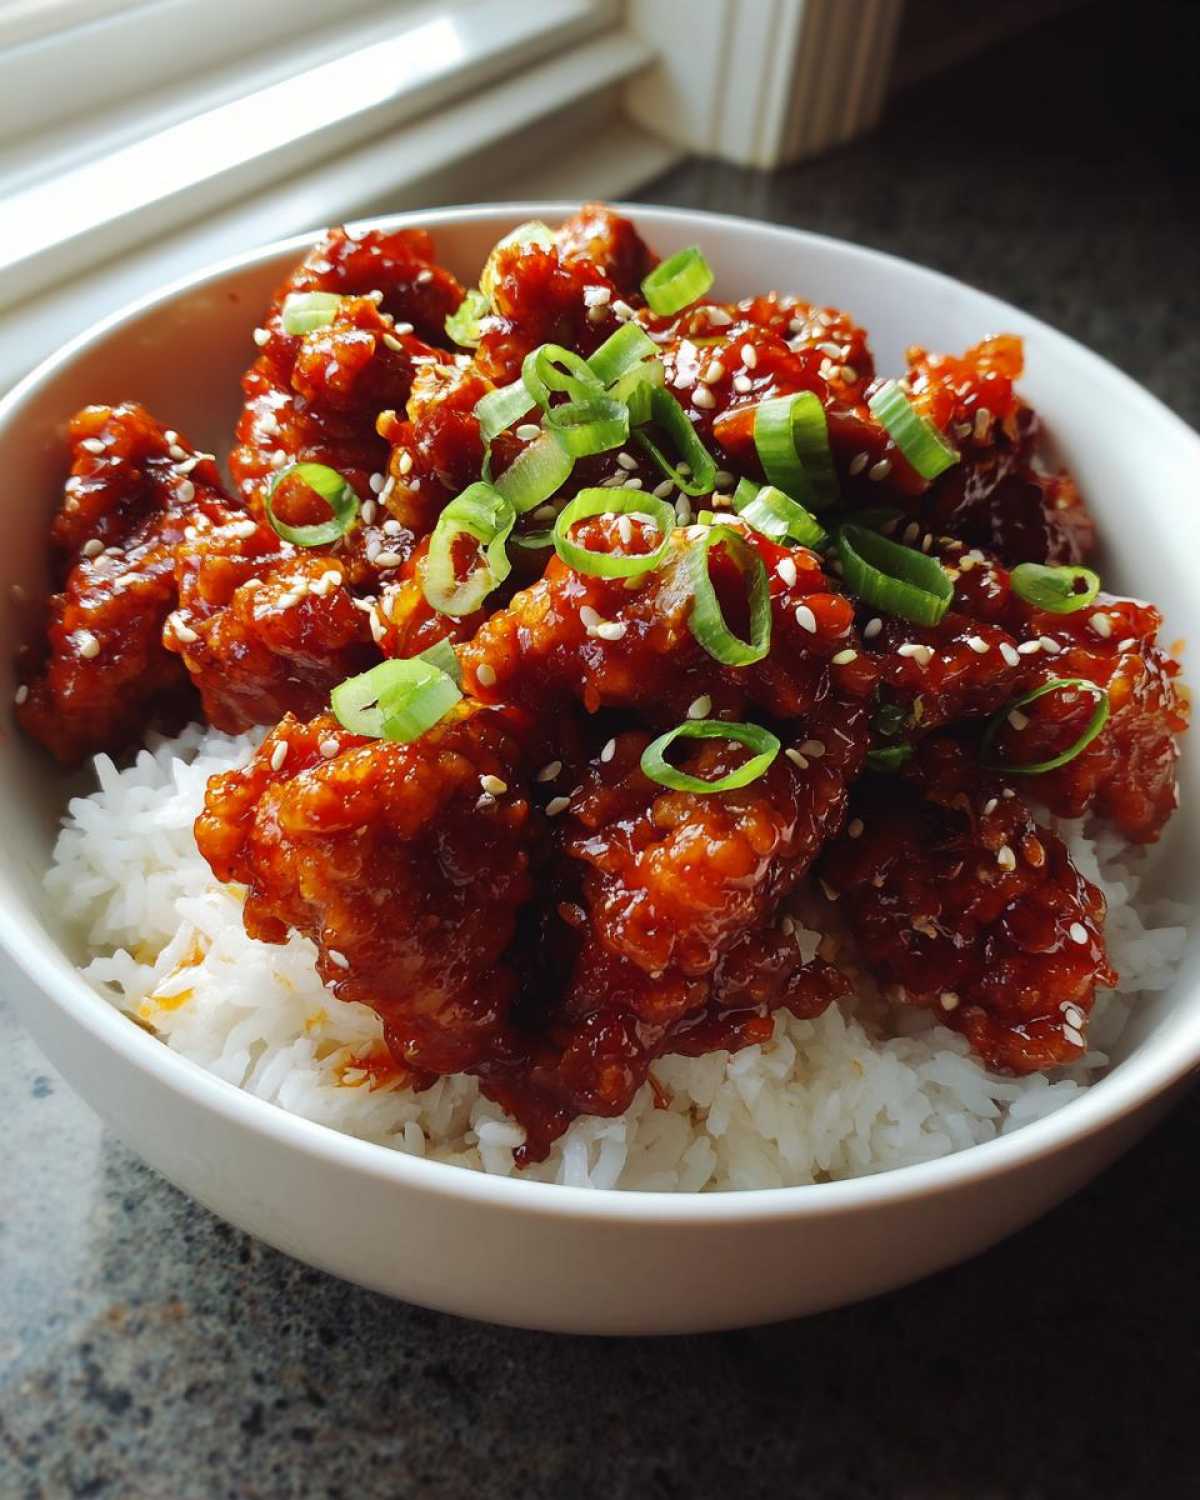
Why This Sticky Sweet Chili Chicken Bowl with Rice Works Every Time
You’re going to ditch those delivery menus after trying this, I promise! My goal with this recipe was to create a weeknight winner that tastes like high-end takeout but uses ingredients you probably have right now. It’s about giving you total control over what goes into your body.
Here’s the deal on why this Sticky Sweet Chili Chicken Bowl with Rice stands out:
- It’s lightning fast! Think 35 minutes total, which makes it perfect for a quick weeknight chicken meal.
- The homemade sauce is truly sticky, locking onto every piece of chicken without leaving a watery puddle in your bowl.
- You control the spice! If your family hates too much heat, you adjust the sriracha. Too sweet? Add a splash more vinegar.
- We use thighs because they stay incredibly juicy, even when simmering in that glaze.
Ingredients for the Ultimate Sticky Sweet Chili Chicken Bowl with Rice
Okay, get your station set up! Putting all your ingredients out first—what cooks call mise en place—is super important here because the cooking goes pretty fast once you start. We’re keeping this simple, but quality really matters, especially with the chicken.
I insist on using chicken thighs, honestly. They have a little more fat, which means they stay juicy even when you pull them off the heat to coat them in the glaze. If you use breasts, just watch them closely so they don’t dry out! This recipe makes enough for about four hungry people.
Here is what you need to pull off this amazing Sticky Sweet Chili Chicken Dinner:
- You’ll need about 1.5 lbs of boneless, skinless chicken thighs or breasts, chopped up into nice, even 1-inch pieces.
- One tablespoon of vegetable oil to get things sizzling in the pan.
- For serving, you’ll want 1 cup of cooked Jasmine rice per person—that’s the perfect base!
- For the glaze magic, get together 1/4 cup of water and 1/4 cup of rice vinegar. The vinegar brings that essential tang!
- Soy sauce time: 1/4 cup, or if you’re avoiding gluten, just use tamari instead.
- To balance the tang, we need 1/3 cup of brown sugar, packed down nice and tight.
- About 1/4 cup of your favorite sweet chili sauce. Store-bought is fine when you’re in a rush, but I’ve got a homemade version linked if you want to go all out!
- Two tablespoons of ketchup—yes, ketchup! It adds a depth of color and a touch of acidity that helps the glaze cling.
- Freshness is key: 1 tablespoon of ginger, grated fine, and 2 cloves of garlic, minced up. Don’t use the jarred stuff for this; fresh makes a huge difference!
- For the heat, start with 1 teaspoon of sriracha or chili garlic sauce. You can always add more later, but you can’t take it out!
- And finally, the secret to the stick: you need 1 tablespoon of cornstarch mixed really smoothly into 2 tablespoons of cold water. That’s your slurry!
- Don’t forget the pretty stuff: 2 green onions, sliced thin, and 1 teaspoon of sesame seeds for garnish right at the end.
Mastering the Sticky Sweet Chili Glaze: How to Make Sticky Chicken Sauce
This is where the magic happens, folks! If you want that takeout look—where the sauce clings to the chicken like it’s meant to be there forever—you HAVE to nail the thickening process. Learning How to Make Sticky Chicken Sauce is all about timing the cornstarch slurry. So, once your sugar is melted into the liquid base, bring it to a gentle simmer. Don’t boil it vigorously yet! I used a little bit of store-bought sauce as a base, but if you want to make yours entirely from scratch, check out my Homemade Sweet Chili Sauce recipe.
Before you pour in that cornstarch slurry, give it a really brisk whisk so the cornstarch doesn’t settle at the bottom. Then, pour it in slowly while you whisk the sauce like crazy! It will look runny for a second, but keep that medium heat going. Within 60 to 90 seconds, you’ll see it transform from a thin liquid into a glorious, glossy, see-through glaze. That’s your cue! If you cook it too long after it thickens, it can scorch, so be ready to pull it off the heat and toss that chicken in right away.
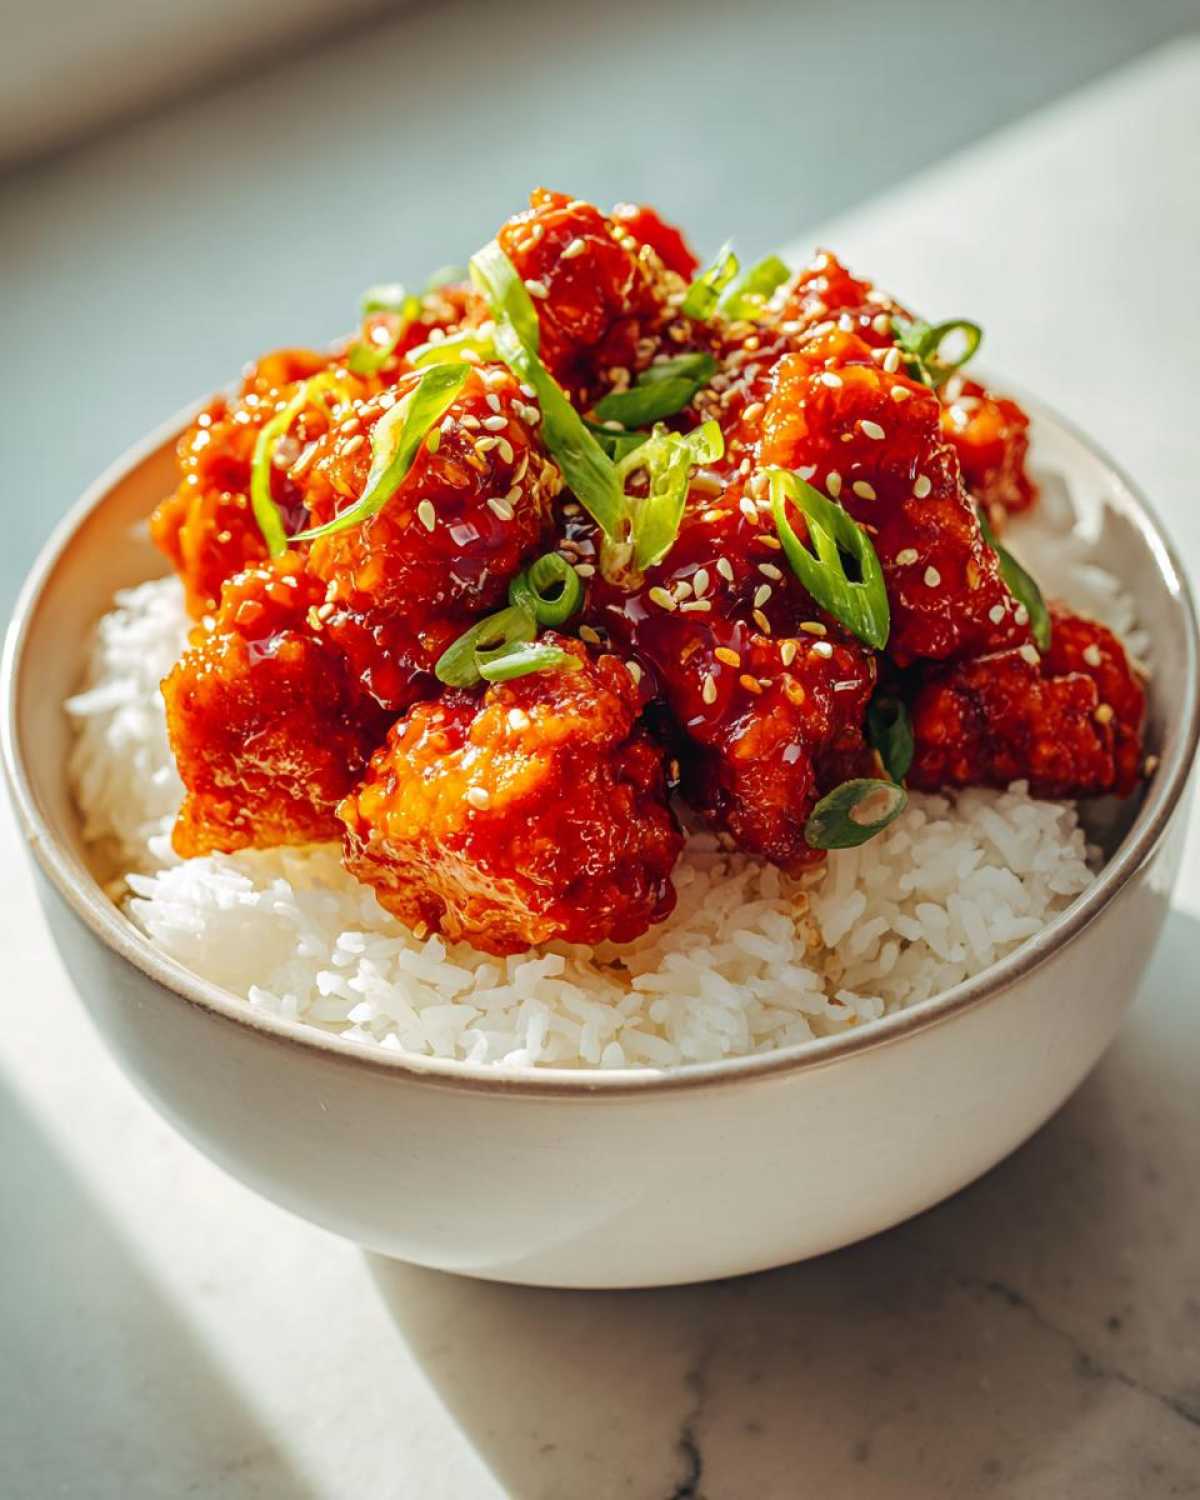
I really find that this homemade glaze method beats anything you can buy off the shelf because you can customize it perfectly before you add the star of the show.
Balancing Sweet, Tangy, and Spicy Notes
The flavor profile is everything here. If you want more zing—that bright pop—add another teaspoon of rice vinegar. If it’s tasting too sharp, add a tiny bit more brown sugar. For the heat, remember that sriracha builds as it cooks, so add a half teaspoon at a time until it sings that perfect spicy-sweet duet!
Step-by-Step Instructions for Your Sticky Sweet Chili Chicken Bowl with Rice
Alright, let’s ditch the guesswork and get this amazing Simple Asian Chicken Recipe on the table tonight! Following these steps exactly ensures that beautiful, even coating we talked about. Since everything moves quickly once you start cooking, make sure your rice is already done and your veggies (if you’re adding any) are chopped and ready to go.
I’m giving you the pan-fry method because it’s the fastest, but remember that note about baking the chicken beforehand? If you have an extra 15 minutes, baking it first at 400°F means the chicken surface is a little drier, and that thick glaze adheres even better. Just a thought if you’re feeling ambitious!
Here’s exactly how we bring this Sticky Sweet Chili Chicken Bowl with Rice together:
- First things first: If you haven’t already, give those chicken pieces a good pat down with paper towels. Seriously, dry chicken equals better browning. Heat up that tablespoon of oil in a large skillet over medium-high heat. You want it hot, but not smoking!
- Toss in the chicken chunks and let them cook undisturbed for a few minutes to get a nice sear. We’re aiming for browned and cooked through, which usually takes about 6 to 8 minutes total. Once they look great, scoop them out onto a clean plate and set them aside for a minute.
- Now, wipe out the skillet if there’s too much debris, or just use the same pan—your choice! Combine all your sauce ingredients: water, vinegar, soy sauce, brown sugar, the chili sauce, ketchup, fresh ginger, garlic, and that sriracha. Bring this mixture to a gentle simmer over medium heat, stirring only until that sugar is totally dissolved.
- Time for the stickiness! Whisk your cornstarch slurry one final time, and pour it in slowly while stirring the sauce constantly. Keep whisking and let it bubble gently. Within a minute or two, it’ll thicken up nicely and look glossy.
- Return that cooked chicken to the skillet immediately! Toss it gently but thoroughly until every piece is blanketed in that shiny, sticky sauce. Let it simmer together for just one final minute so the chicken soaks up all that flavor.
Cooking the Chicken for Optimal Sauce Adhesion
The key here is the sear, not steaming! Don’t overcrowd your pan; if you have too much chicken in there, the temperature drops, and the meat starts steaming instead of browning. Cook in batches if you need to. Remember, a good pre-sear creates little rough spots on the surface that the sticky glaze can grab onto, making sure every bite is coated beautifully when you serve up your Glazed Chicken and Rice.
Assembling the Perfect Glazed Chicken and Rice
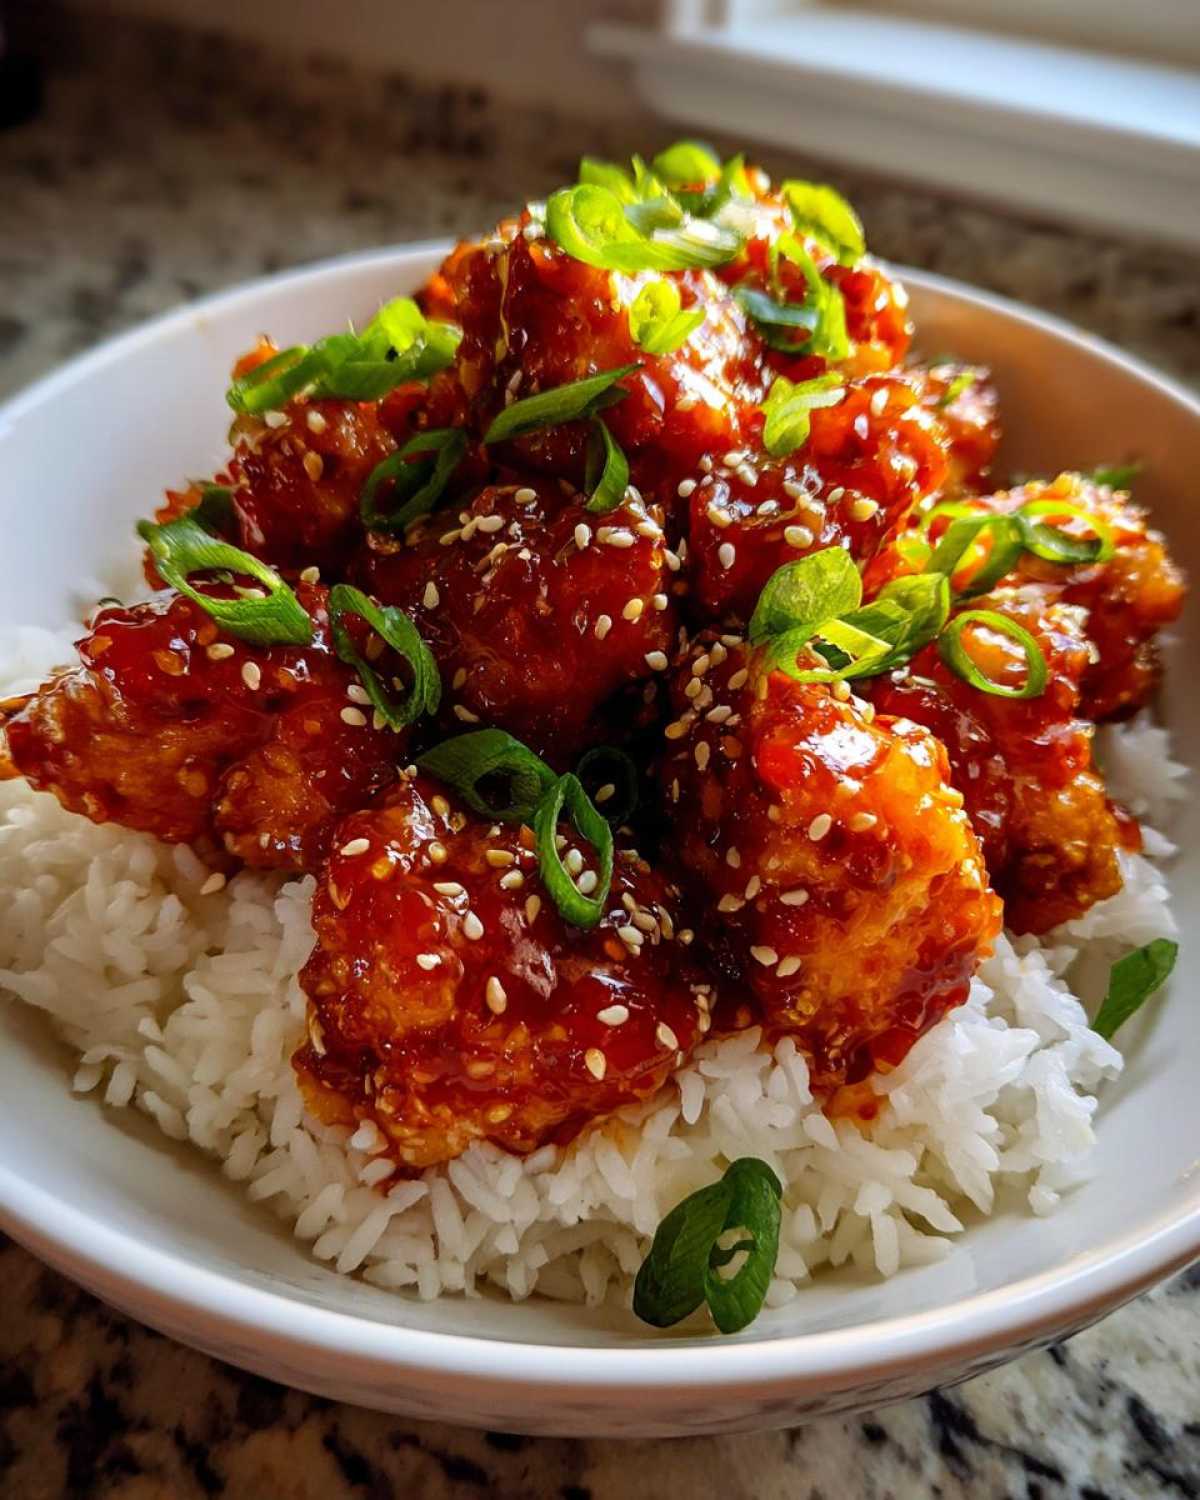
This is the fun part! Grab your favorite bowls. Spoon your cooked Jasmine rice—it’s the best for soaking up extra sauce, by the way—evenly into the bottom of each bowl. Then, use tongs or a slotted spoon to top that rice with the saucy chicken pieces. Finally, sprinkle those bright green onions and the toasted sesame seeds over the top. It smells incredible, and it’s ready to eat!
Choosing the Right Rice for Your Sticky Sweet Chili Chicken Bowl with Rice
So, you’ve got your sticky chicken ready—now we need the perfect canvas! The rice is more than just a filler here; it’s essential for soaking up all those complex, delicious glaze leftovers. This recipe calls for Jasmine rice, and I stand by it. It has a beautiful, slightly perfumed aroma that just screams Flavorful Chicken Over Rice and cooks up nice and fluffy, which contrasts perfectly with the thick sauce.
But hey, I know people have strong feelings about their grains! Basmati is a great option if you like your grains a bit longer and drier. The only one I caution about for this specific dish is the very sticky, short-grain sushi rice. While delicious, it can sometimes get *too* gummy when layered with a thick glaze like this one. For the best Glazed Chicken and Rice experience, you want that slight separation!
Ultimately, this is a step in building the Best Chicken and Rice Meal! Choose the one you love most, but give Jasmine a try first; I think you’ll see why it made the official ingredient list!
Tips for Success with Your Easy Sticky Chicken Bowls
Getting these Easy Sticky Chicken Bowls on the table fast is all about being prepared and using a couple of tricks I learned through trial and maybe a little bit of burning my kitchen down once or twice—oops! The biggest pitfall is scorching that sugar-heavy sauce, so you always want your chicken back in the pan just as the sauce reaches peak stickiness.
Remember how I stressed whisking your cornstarch slurry well? Do it right before you pour it in! If it sits for even five minutes, that cornstarch settles to the bottom, and you end up dumping a clump of goo into your beautiful sauce, which is nobody’s idea of a Sweet Chili Chicken Recipe.
Also, a crucial check: make sure your chicken is cooked through *before* it goes into the glaze. That final minute in the pan is just for coating, not for cooking raw meat. If you have doubts, cut into the thickest piece. If it’s still even a little pink, give it another minute or two on medium heat before moving on to the glazing step. Simple steps like these ensure your bowls are perfect every single time!
Variations and Additions for Your Spicy Sweet Chicken Dinner Ideas
Just because this recipe works perfectly for the Sticky Sweet Chili Chicken Bowl with Rice doesn’t mean we can’t play around with it, right? I love shaking things up when I make this for Takeout Style Chicken Bowl night; it keeps things interesting!
If you’re looking to bulk up the nutrition or change the protein, you’ve got options. Tofu works amazingly well—just make sure you press it first so it crisps up nicely before you toss it in the glaze. Shrimp is super fast, too, but watch the cooking time closely because they go from perfect to rubbery in about 30 seconds!
To make this a fuller meal and add some crunch, toss in some crisp veggies during that final minute of glazing. Broccoli florets or sliced red bell peppers are excellent additions; they steam just slightly in the sauce and absorb all that sweet chili goodness. This is my secret for easy Spicy Sweet Chicken Dinner Ideas when I feel like I should be eating more greens!
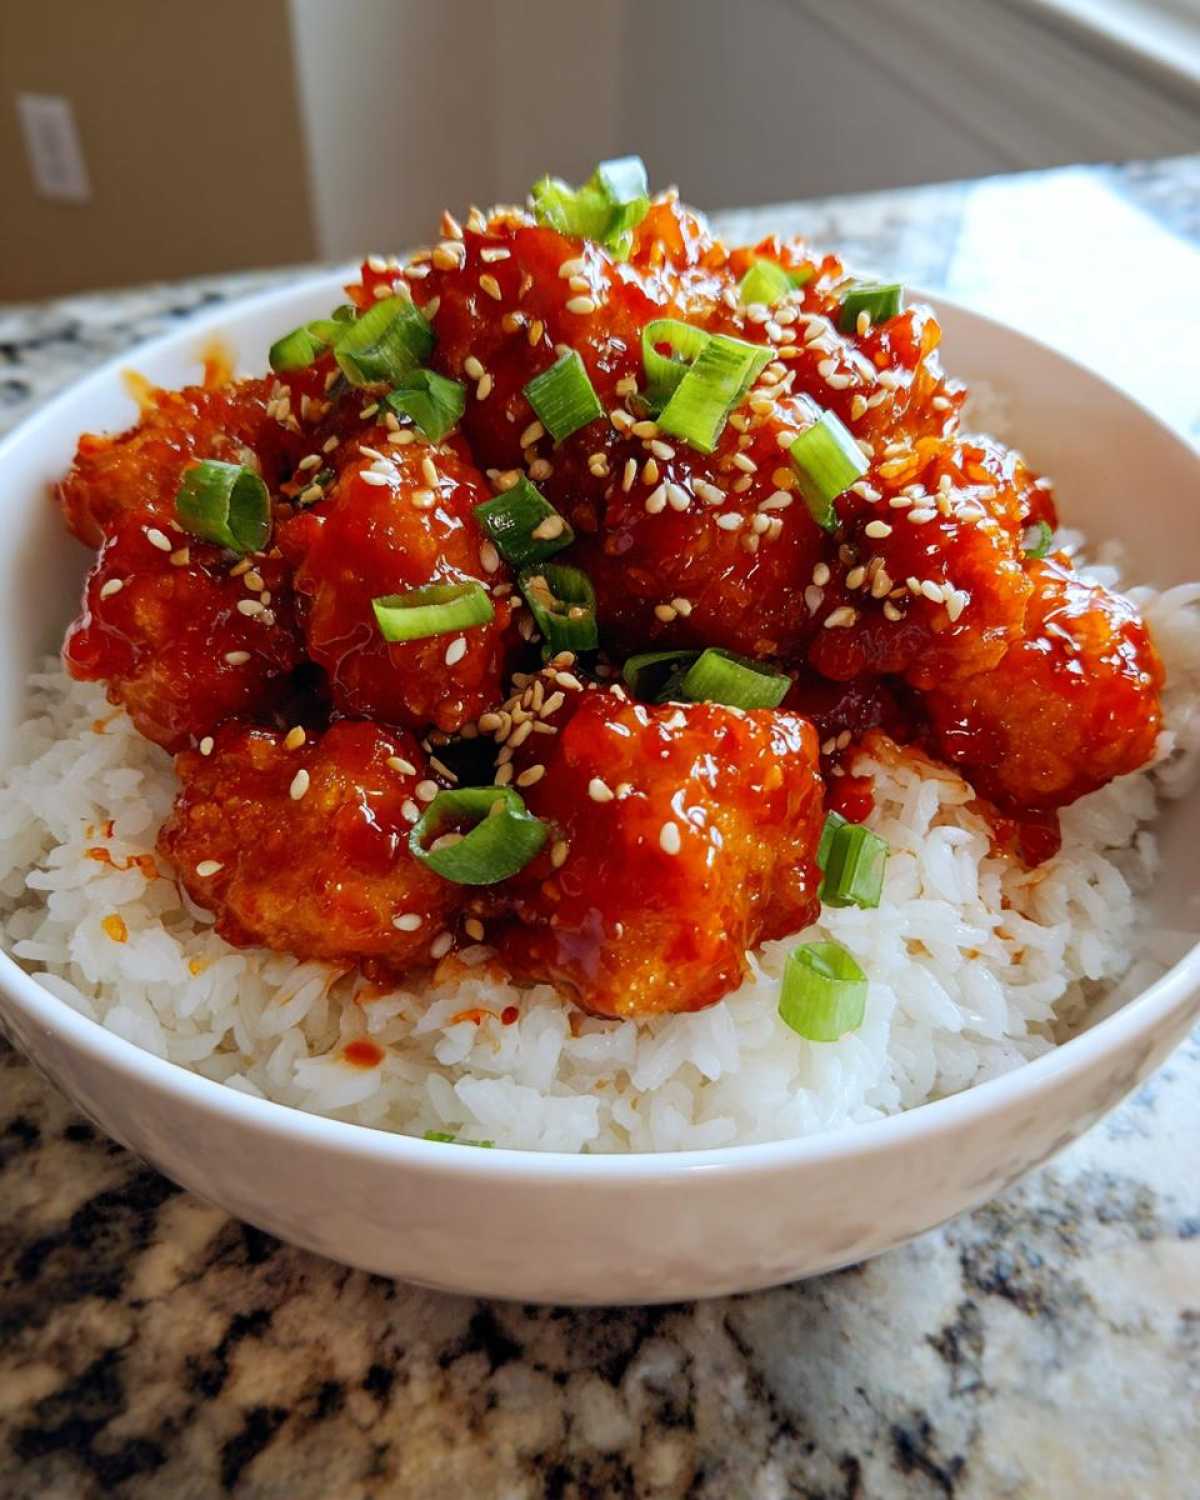
Storing and Reheating Your Sticky Sweet Chili Chicken Bowl with Rice
One of the best things about this dish is that it’s fantastic for Meal Prep Sticky Chicken! If you’re planning ahead, I highly recommend storing those components separately. Keep your cooked rice in one airtight container and the saucy chicken in another. This stops the rice from getting soggy under the glaze.
When you reheat, use a small skillet on medium-low heat. Dump the chicken in and stir gently just until it’s hot again. If you microwave it, use short 30-second bursts because that high sugar content can burn fast under intense heat! Reheating in a pan keeps that amazing stickiness intact.
Frequently Asked Questions About the Sticky Sweet Chili Chicken Bowl with Rice
Can I use chicken breast instead of thighs for this Sticky Sweet Chili Chicken Bowl with Rice?
You absolutely can! Chicken breast is leaner, so it cooks faster, which is great if you’re super tight on time. Just do me a favor: make sure you pat it really dry before you sear it, and when you cook it, pull it out of the pan right when it looks done. Chicken breast dries out much faster than thighs do, and since we’re going to glaze it later, you don’t want it overcooked to begin with. Aim for just cooked through when you set it aside!
My sauce seems too watery after I added the cornstarch slurry. What went wrong?
Oh, that’s the classic panic moment! Don’t worry, this happens when you don’t let the mixture simmer long enough after adding the slurry. Remember, the cornstarch needs a burst of heat (a simmer, not a rolling boil) to activate its thickening power. Whisk it constantly, and once you see it start to bubble and get glossy, give it another solid 30 seconds before you take it off the heat and toss in the chicken. That final simmer is what creates that beautiful, non-runny finish for your entire Asian Rice Bowl Dinner.
How can I adjust this recipe to make less sweet chicken?
This is a common request because sometimes those recipes lean way too sugary. If you want less sweet, you need to amp up the tang and the heat! The easy fix is to reduce the brown sugar by 1 or 2 tablespoons and, crucially, increase your rice vinegar by one full tablespoon. If you’re still missing that complexity, add a little extra grated ginger or a tiny dash more soy sauce. These salty/sour elements really cut through the sugar wonderfully.
I don’t have cornstarch. Can I still make the sticky glaze?
It’s tricky to get that exact glossy stick without cornstarch, but you have a couple of backups! If you have arrowroot powder, use that instead; it works almost identically. If you are truly out of starch thickeners, you’ll have to rely on reducing the liquid. You’ll need to let your sauce simmer down uncovered for a much longer time—maybe 8 to 10 minutes longer—until it reduces by about half and coats the back of a spoon. It won’t be quite as “clear” sticky, but it will absolutely taste amazing!
What are the best toppings for this Glazed Chicken and Rice?
The green onions and sesame seeds are non-negotiable for me because they give you that fresh, clean bite against the heavy glaze. But if you want more texture, definitely try adding some quick-pickled cucumbers—the cold crunch is a dream! Toasted cashews or even a sprinkle of crushed peanuts give a wonderful savory crunch. For color, thinly sliced red chili peppers (if you like heat) or julienned carrots that haven’t been cooked go great on top, too!
Nutritional Estimates for This Flavorful Chicken Over Rice
Now, I always tell people that keeping track of nutrition is important, but remember, these estimates are based on averages and the specific brands of soy sauce and sweet chili sauce I used when testing this Flavorful Chicken Over Rice recipe. Cooking is personal, and if you use a low-sodium soy sauce or skip the sugar, your numbers will change! Don’t let these figures stress you out too much; just enjoy that fantastic homemade meal that’s way better than what you’d find delivered.
This breakdown is for one serving, based on the yield of 4 bowls:
- Calories: Around 450 per bowl
- Protein: A walloping 40 grams! That chicken really adds up.
- Fat: About 10 grams total. We used chicken thighs, which have some fat, but it’s mostly good fat!
- Carbohydrates: Roughly 45 grams, mostly coming from the Jasmine rice and the sugars in the glaze.
- Sugar: We’re looking at about 25 grams here. That’s where the ‘sticky’ comes from, so it’s expected in a glaze!
- Sodium: This one comes in around 750mg, mainly from the soy sauce. You can definitely lower this by using low-sodium soy sauce or tamari.
If you want the nitty-gritty science breakdown on exactly how I landed on those numbers, you can check out my full nutritional disclaimer. But truly, the most important number is the one that says ‘delicious’! Happy cooking, and enjoy your Sticky Sweet Chili Chicken Bowl with Rice!
PrintSticky Sweet Chili Chicken Bowl with Rice

Make a flavorful chicken bowl featuring tender chicken coated in a homemade, balanced sticky sweet chili glaze served over rice.
- Prep Time: 15 min
- Cook Time: 20 min
- Total Time: 35 min
- Yield: 4 servings
- Category: Dinner
- Method: Stovetop Pan-Frying
- Cuisine: Asian Fusion
- Diet: Low Fat
Ingredients
- 1.5 lbs boneless, skinless chicken thighs or breasts, cut into 1-inch pieces
- 1 tablespoon vegetable oil
- 1 cup cooked Jasmine rice, for serving
- 1/4 cup water
- 1/4 cup rice vinegar
- 1/4 cup soy sauce (or tamari for gluten-free)
- 1/3 cup brown sugar, packed
- 1/4 cup sweet chili sauce (store-bought or homemade)
- 2 tablespoons ketchup
- 1 tablespoon fresh ginger, grated
- 2 cloves garlic, minced
- 1 teaspoon sriracha or chili garlic sauce (adjust to taste)
- 1 tablespoon cornstarch mixed with 2 tablespoons cold water (slurry)
- 2 green onions, sliced, for garnish
- 1 teaspoon sesame seeds, for garnish
Instructions
- Prepare the chicken: Pat the chicken pieces dry. Heat the vegetable oil in a large skillet over medium-high heat. Add the chicken and cook until browned and cooked through, about 6-8 minutes. Remove the chicken from the skillet and set aside.
- Make the sauce: In the same skillet (or a small saucepan), combine the water, rice vinegar, soy sauce, brown sugar, sweet chili sauce, ketchup, ginger, garlic, and sriracha. Bring the mixture to a simmer over medium heat, stirring until the sugar dissolves.
- Thicken the sauce: Whisk the cornstarch slurry one more time and pour it slowly into the simmering sauce while stirring constantly. Continue to cook for 1-2 minutes until the sauce thickens significantly and becomes glossy. This creates the sticky texture.
- Glaze the chicken: Return the cooked chicken to the skillet. Toss the chicken pieces gently until they are completely coated in the thick, sticky sauce. Cook for 1 minute to heat through.
- Assemble the bowls: Divide the cooked Jasmine rice among serving bowls. Top the rice evenly with the sticky sweet chili chicken.
- Garnish and serve: Sprinkle the sliced green onions and sesame seeds over the chicken before serving immediately.
Notes
- For extra flavor, bake the chicken at 400°F for 15 minutes before tossing it in the sauce.
- Jasmine rice works well for its aroma, but Basmati or short-grain sushi rice are good alternatives.
- Adjust the sriracha amount to control the heat level of the glaze.
- To achieve maximum stickiness, ensure you let the sauce simmer long enough after adding the cornstarch slurry.
Nutrition
- Serving Size: 1 bowl
- Calories: 450
- Sugar: 25g
- Sodium: 750mg
- Fat: 10g
- Saturated Fat: 2g
- Unsaturated Fat: 8g
- Trans Fat: 0g
- Carbohydrates: 45g
- Fiber: 2g
- Protein: 40g
- Cholesterol: 110mg