

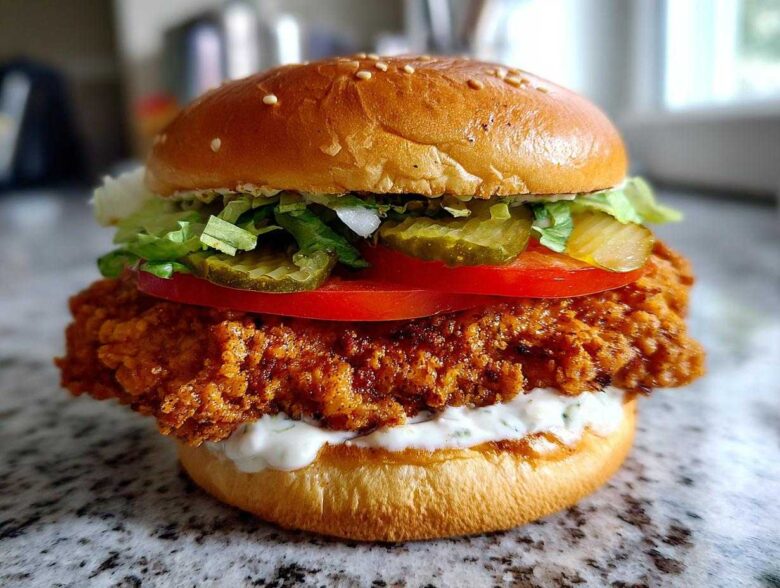
Okay, stop what you’re doing. If you’ve ever sat down at a fast-food place, taken a bite of that perfect, shatteringly crisp chicken sandwich, and wondered, “How in the world do they get it that crunchy?”, trust me, I’ve been there. For years, my kitchen was a disaster zone of soggy breading and unevenly cooked chicken.
But I cracked the code! I’m telling you, this isn’t just a chicken burger; it’s an experience. We’re talking juicy on the inside, with an armor-like coating that laughs in the face of mayo. The real magic? It’s all about the double dredge and resting technique. Get ready, because today we’re nailing the ultimate Crispy Chicken Burger with Garlic Mayo recipe, and you’ll never look at takeout the same way again.
Why This is the Best Crispy Chicken Burger with Garlic Mayo Recipe
I know everyone claims their recipe is the best, but honestly, mine is different because I focus on texture first! You get verifiable results that you can taste immediately. This recipe hits those major highlights every single time.
- Maximum crunch achieved through a simple double-dredging method.
- Our Homemade Garlic Mayonnaise Sauce elevates the whole sandwich—it’s creamy and punchy!
- Perfectly balanced assembly ensures the bun doesn’t get soggy before you take that first bite.
When you look at the full process of making this Crispy Chicken Burger with Garlic Mayo, you’ll see we set the stage for success right from the start. If you want to see my other favorite kitchen hacks, check out my latest recipe posts for more inspiration!
Ingredients for the Ultimate Crispy Chicken Burger with Garlic Mayo
Okay, let’s get our mise en place ready! Having everything laid out before you start breading is non-negotiable when you want that restaurant-style crunch. You’re going to need ingredients for the bird itself, the coating that makes it crispy, and of course, that stunning garlic mayonnaise.
For the Juicy Chicken Fillets
Remember, we want Juicy Inside Crispy Outside Chicken Fillet, so preparation matters here. You’ll be using 2 boneless, skinless chicken breasts, but make sure you slice those in half horizontally so you get four thin cutlets. This helps them cook fast and stay moist!
- 2 boneless, skinless chicken breasts, halved horizontally (for 4 fillets)
- 1 cup all-purpose flour
- 1 teaspoon salt
- 1 teaspoon black pepper
- 1 teaspoon paprika
- 1/2 teaspoon garlic powder
- 1/2 teaspoon onion powder
- 1 cup buttermilk
- 2 large eggs
For the Homemade Garlic Mayonnaise Sauce
This is where the incredible flavor comes from! Don’t reach for that jarred stuff; take five minutes to make this Homemade Garlic Mayonnaise Sauce. Fresh garlic is the secret weapon here, so make sure those cloves are minced finely.
- 1/2 cup mayonnaise (good quality!)
- 2 cloves garlic, minced very well
- 1 teaspoon lemon juice
- Pinch of salt
For Assembling Your Crispy Chicken Burger with Garlic Mayo
Don’t forget the finishing touches! You need the right canvas for this crispy masterpiece. Plus, you need enough oil to get a proper fry going, which is necessary for that signature crispness on the Crispy Chicken Burger with Garlic Mayo.
- Vegetable oil, for frying (about 1.5 inches deep)
- 4 burger buns (I like Brioche or potato buns best)
- Butter, for toasting
- Lettuce leaves (to prevent sogginess!)
- Tomato slices
- Pickle slices
Mastering the Secret to Crispy Fried Chicken Breading
This section is where we win the war against mushy chicken. If you want that amazing, textured crunch that lets you call this the Crispy Chicken Burger with Garlic Mayo, you need to pay attention to the breading process. It’s more than just dipping; it’s building a fortress around that juicy meat!
Getting the coating to stick perfectly means you need to set up a proper station. Trust me, having three dishes lined up ready to go saves so much hassle later when the oil is hot and you’re working fast.
Preparing the Chicken and Breading Station
First things first—those chicken breasts. Take those halves we cut earlier and pound them gently until they are all about a half-inch thick. This gives you that fantastic ratio of outside crunch to inside tenderness. Once they are flat, set up your three stations:
- The seasoned flour mix (remember the paprika and powders!).
- The wet mix—that lovely buttermilk and egg bath.
- More seasoned flour waiting for the final texture layer.
It’s super important the flour is seasoned well, because that’s where most of your flavor is locked in before the fry!
The Double Dredge Technique for Maximum Crunch
Here’s the non-negotiable secret for the ultimate texture, which I learned from making my famous buttermilk fried chicken: we are double dredging! Dip the chicken in the flour first, shake off the excess, then dunk it into the wet batter. But here’s the key:
When you press it back into the second round of flour, you have to use your hands and literally *press* that flour mixture onto the chicken. Don’t just roll it; press it firmly so you build little craggy bits of coating. These bits fry up into those glorious crispy edges you crave in a great Crispy Chicken Burger with Garlic Mayo.
After you’ve thoroughly pressed the coating on, set the chicken pieces on a wire rack for about 10 minutes before they hit the oil. This resting period is vital! It allows the moisture from the buttermilk to hydrate the flour slightly, which glues that coating on tight, so it doesn’t fall off when it hits the hot fat.
How to Make Creamy Garlic Sauce for Sandwiches
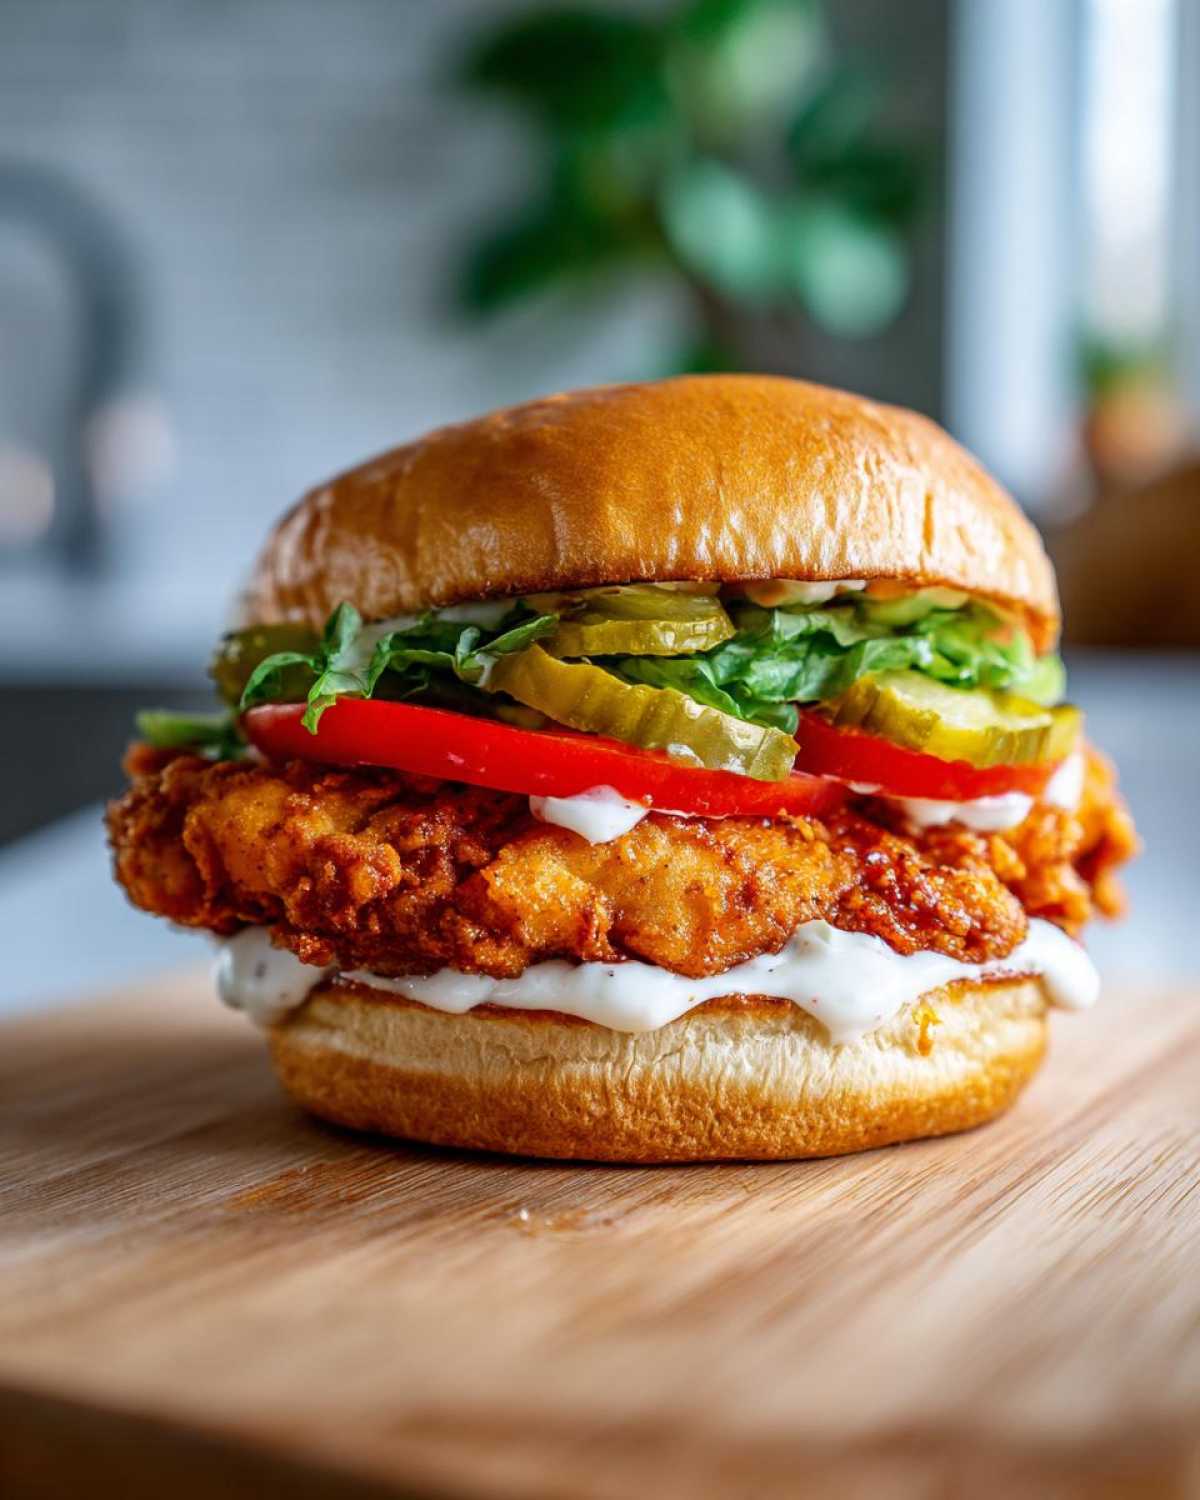
You simply cannot serve a top-tier Crispy Chicken Burger with Garlic Mayo without a killer sauce, right? This homemade garlic mayonnaise is so easy, and honestly, it tastes a million times better than anything store-bought. It’s bright, garlicky, and just creamy enough to balance that salty, spicy crust on the chicken.
We need just four things here, and you’re done in under five minutes. The sauce really complements the robust flavor of the fried fillet, hitting that “Creamy Garlic Sauce for Sandwiches” sweet spot perfectly.
Here’s my little trick that I always use for my homemade garlic aioli—it’s about tempering the garlic. Take your minced garlic and put it into your mixing bowl along with the teaspoon of lemon juice *first*. Let those two hang out together for about five minutes before you add the mayo. The acid in the lemon juice slightly mellows out that sharp, raw bite of the fresh garlic, giving you a much smoother flavor profile. It’s a tiny step, but it makes such a noticeable difference!
Once that garlic has had its little acid bath, just whisk in your mayonnaise and that final pinch of salt until it’s perfectly pale and smooth. That’s it! It’s ready to go onto your toasted buns. If you’re looking for more ways to get creative with your condiments, you should definitely check out some of my other quick homemade burger sauce recipes!
Frying Instructions for Deep Fried Chicken Patty Perfection
We’ve built the perfect crust, so now we need the perfect environment for frying. Getting the oil temperature wrong is the quickest way to ruin this whole operation! We are aiming for that sweet spot of 350°F (175°C). If it’s too cool, the breading soaks up oil and gets gummy, and if it’s too hot, the outside burns before the inside cooks. Nobody wants an undercooked Crispy Chicken Burger with Garlic Mayo!
Pour in about an inch and a half of vegetable oil into your skillet or Dutch oven—deep enough to let the chicken move freely, but not so much that it feels dangerous. Heat it up and check that temperature! Once you carefully place the coated chicken in (don’t drop it!), make sure you don’t overcrowd the pan. We need space for the oil to circulate evenly around each fillet.
Fry these beauties for about 4 to 6 minutes on each side. Because we pounded them thin, they cook relatively fast. You’re looking for a gorgeous, deep golden brown. Always cook them until that internal temperature hits 165°F (74°C) to be safe! Now, for the expert tip that keeps the crunch alive during draining: Don’t put them on a stack of paper towels! Paper towels trap steam underneath, making the bottom soggy. You absolutely must use a wire rack over a baking sheet so the air can circulate all around that glorious crust. Let them drain, sprinkle with a tiny bit more salt immediately, and get ready for assembly.
Tips for Success with Your Crispy Chicken Burger with Garlic Mayo
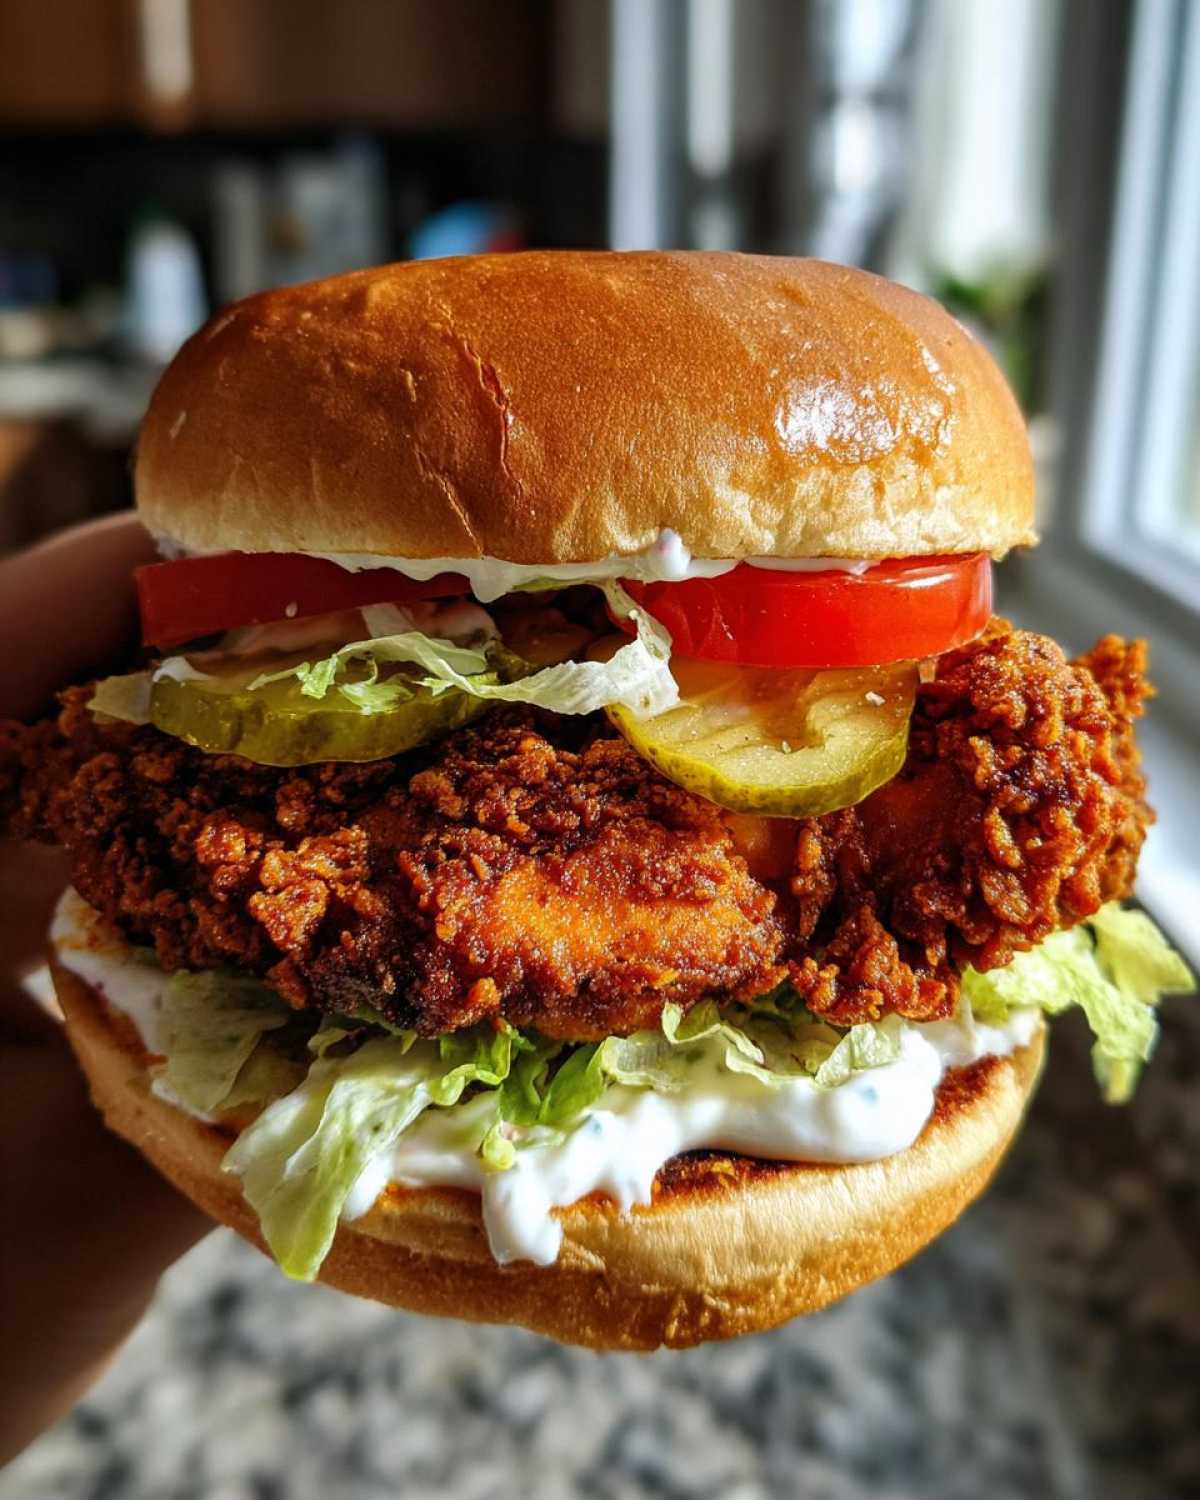
We’ve nailed the breading and the frying (or baking!), but a few final touches can take your Crispy Chicken Burger with Garlic Mayo from great to legendary. Honestly, half the battle is knowing what to do once the chicken comes out of the oil. That immediate step seals in the saltiness and keeps everything performing at peak crispiness.
When those golden fillets come off the rack, grab your salt shaker—the fine grain sea salt works best here—and hit them immediately while they are still glistening. They absorb the salt much better when they are still piping hot. This small thing shows you’re paying attention to the details, building that trust that this recipe truly delivers every time.
Also, don’t be afraid to experiment with the build! I love using potato buns, but if you’re looking for a lighter approach, you’ve got options. I’ve messed around with making this recipe healthier using my air fryer, and the results are surprisingly crunchy!
Air Fryer Crispy Chicken Burger Option
I know not everyone wants to deep fry, and honestly, it’s messy unless you’re doing a huge batch. If you want the convenience factor, the air fryer is great, but you have to treat the breading kindly. You can absolutely use the exact same double-dredged chicken coating we perfected earlier.
For the air fryer method, you want to spray both sides of the coated chicken lightly with cooking oil—I use avocado oil spray for a higher smoke point. Pop them into the basket, ensuring they aren’t touching; work in batches if you have to! Set your temperature to 380°F (195°C) and cook them for about 15 to 20 minutes total. You must flip them halfway through to make sure that breading gets that all-over crunch we are looking for in our Crispy Chicken Burger with Garlic Mayo.
The Perfect Burger Assembly Guide for Your Crispy Chicken Burger with Garlic Mayo
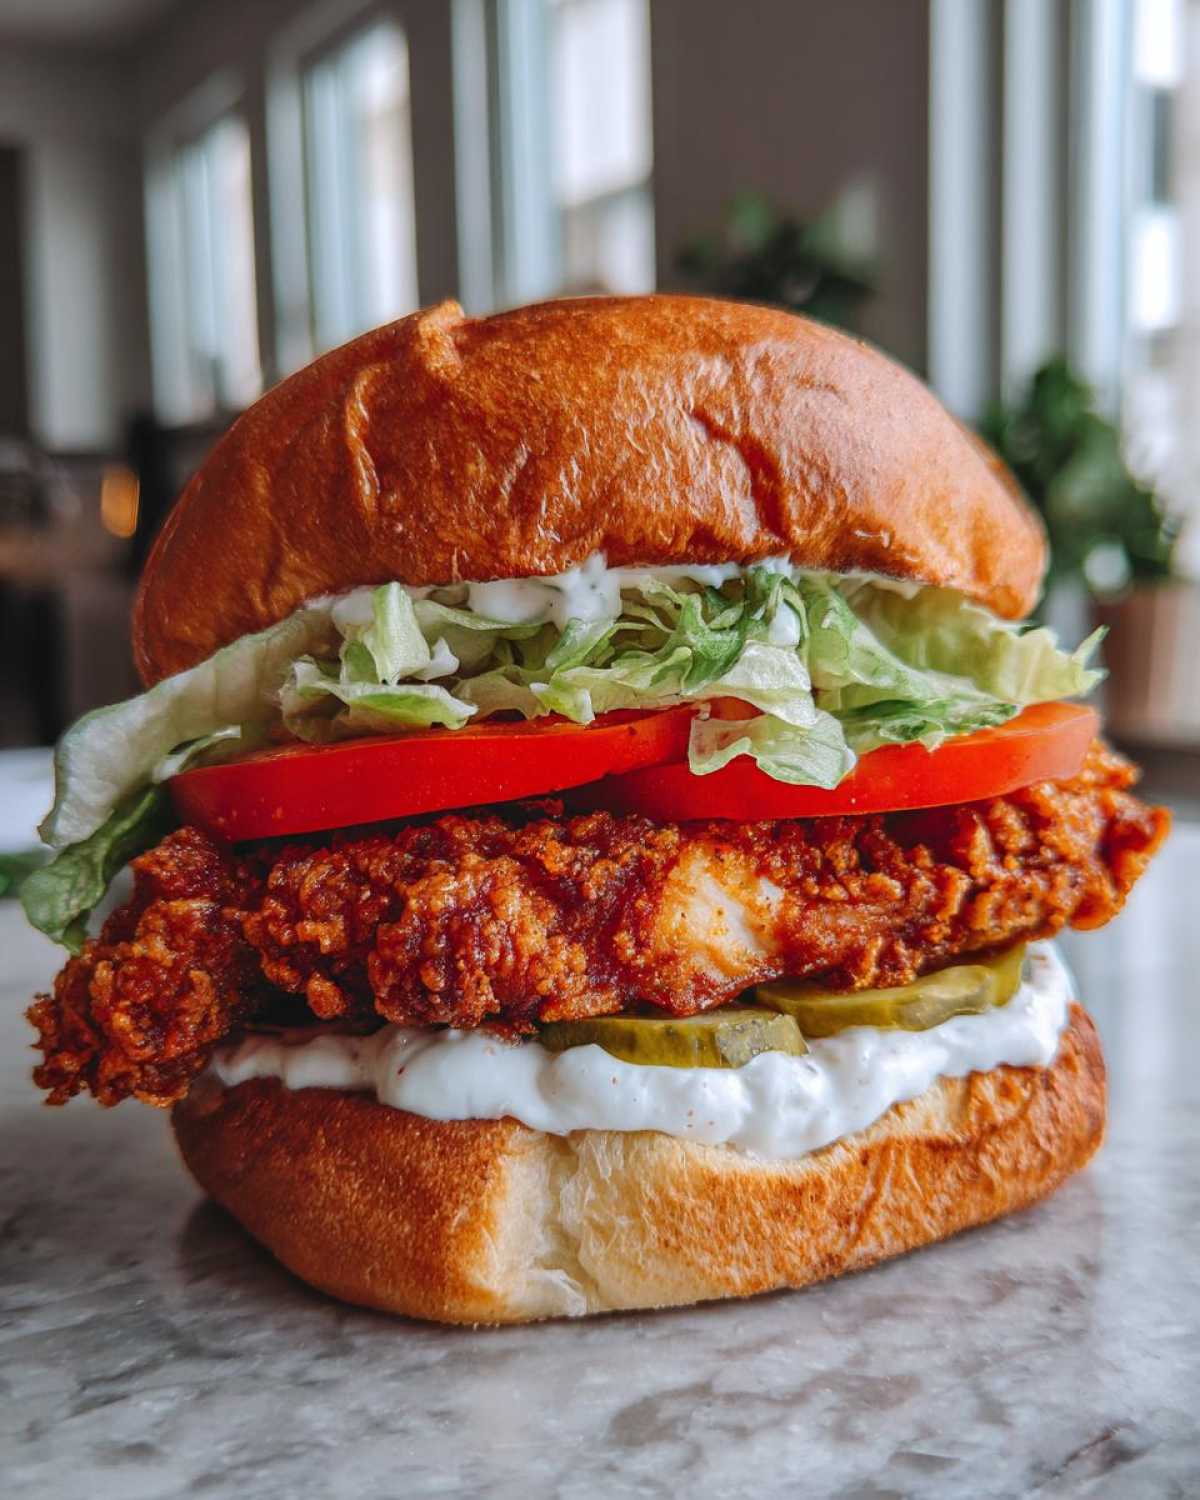
We’ve made the star of the show—that crunchy fillet—and whipped up the best garlic mayo you’ve ever tasted. Now, we have to make sure we don’t ruin all that hard work in the final step! A great Crispy Chicken Burger with Garlic Mayo is all about the layering. If you put the sauce directly on the bun and then let the hot chicken sit there, you win a soggy bottom bun battle, and nobody likes a soldier who surrenders early!
The very first thing you need to do is toast those buns! I always use butter and toast them cut-side down in a dry pan until they are beautifully golden brown. That toasting creates a hydrophobic surface, kind of like a raincoat, that keeps the mayo from seeping in too fast. If you want to try some other fun sandwich builds, check out my recipe for cheeseburger quesadillas; the layering logic is surprisingly similar!
Here is the perfect order of operations for the ultimate build. This technique ensures maximum flavor distribution without sacrificing that beautiful, loud crunch of the chicken:
- The Sauce Armor: Generously spread that creamy Homemade Garlic Mayonnaise Sauce on both the top and bottom bun halves. Yes, both! It adds flavor from every angle.
- The Moisture Barrier: Place a few crisp lettuce leaves right on top of the mayo layer on the bottom bun. This acts as a fantastic buffer between the wet ingredients and the toasted bun surface.
- The Star: Set your piping hot, freshly seasoned crispy chicken fillet right on top of the lettuce.
- The Fresh Stuff: Layer your tomato slices on the chicken, followed by a few crunchy pickle slices. The acidity of the pickles cuts through the richness of the mayo perfectly.
- The Crown: Cap it off with the mayo-slathered top bun.
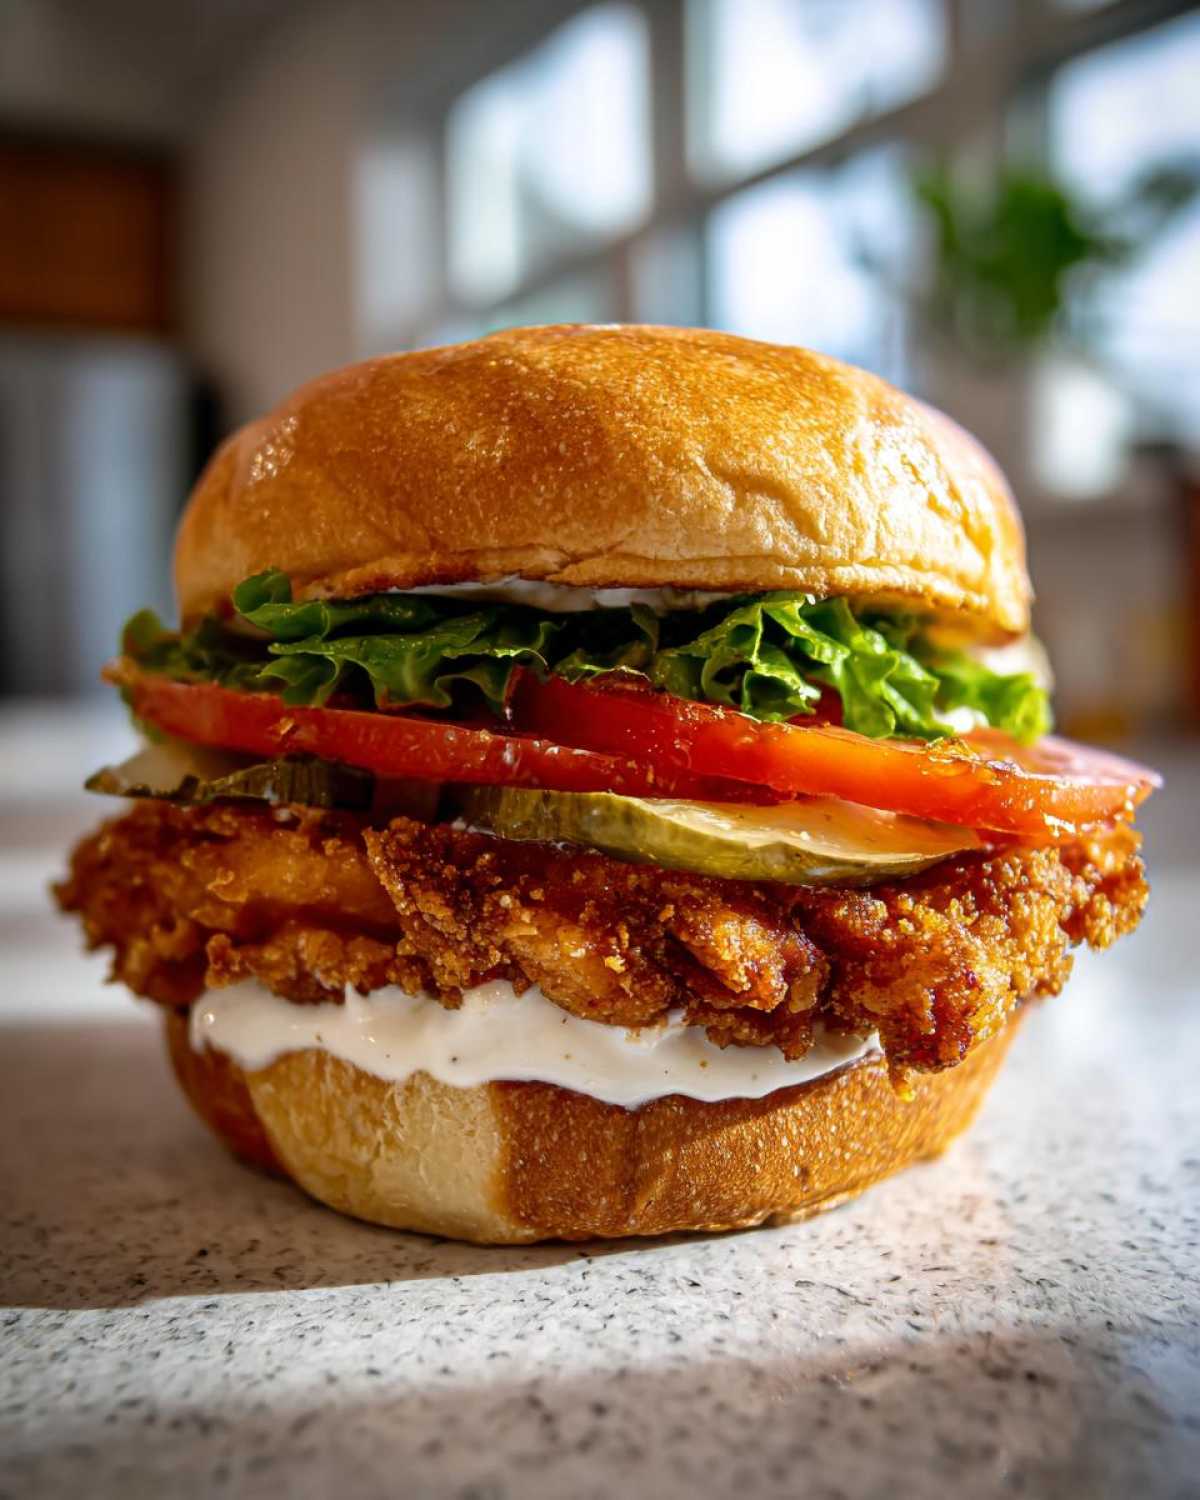
Serve it immediately! When you take that first bite of your homemade Crispy Chicken Burger with Garlic Mayo, you should hear the crunch before you taste the flavor. You did it!
Storing and Reheating Your Crispy Chicken Fillet
I know, I know. When you make something this perfectly crispy, you want to eat it all right now! But chances are, you have leftovers, or maybe you prepped the chicken ahead of time. The biggest mistake anyone makes when saving crispy chicken is—you guessed it—the microwave. Never, ever use the microwave unless you genuinely enjoy eating wet cardboard.
For the very best results when storing your lovely crispy chicken fillets, you need to keep the components separate if you can. Don’t assemble the whole Crispy Chicken Burger with Garlic Mayo if you plan to eat it the next day. Moisture is the enemy of crispiness, and the sauce and tomatoes are moisture factories!
Keep the crispy chicken in a paper bag or an open container in the fridge. Anything airtight will trap the condensation and ruin that beautiful armor we worked so hard to build with that triple dredge. The garlic mayo is fine in a sealed jar in the fridge for up to a week, but I’m warning you, it never lasts that long at my house.
When it comes to reheating, your goal is to re-crisp, not reheat evenly. If you’re only reheating one or two fillets, the air fryer is always my go-to recommendation. Set the air fryer to about 375°F (190°C) and pop the chicken in for about 5 to 7 minutes. You might want to give the outside a very light spray of oil right before putting it in, just to help it wake up.
If you’re reheating a bigger batch, the oven is your friend. Preheat your regular oven to 400°F (200°C). Place the fillets directly onto a wire rack set over a baking sheet. That rack keeps the air circulating underneath, which is honestly crucial for restoring that diner-style crunch. We want them in there for about 10 to 12 minutes. Keep an eye on them, because they can go from perfectly crispy to slightly dry quickly. Once they are piping hot throughout, they are ready to be rebuilt into another incredible Crispy Chicken Burger with Garlic Mayo!
Frequently Asked Questions About Making the Crispy Chicken Burger with Garlic Mayo
I gathered up some of the questions I hear most often when people try to replicate this perfect sandwich at home. Seriously, I love hearing how much people enjoy finally ditching the takeout menus!
Can I use chicken thighs instead of breasts for this Crispy Chicken Burger with Garlic Mayo?
Oh, absolutely! Chicken thighs are actually one of my secret favorites for a few reasons. They have a little more natural fat, so they stay unbelievably juicy, even if you happen to cook them a minute or two longer. The flavor is richer, too! The only thing you have to watch out for is thickness. Thigh meat can be uneven, so make sure you trim away any big, floppy bits and pound the thickest parts down gently so the whole fillet cooks evenly. You might need an extra minute or two in the oil compared to the breast cutlets, but the payoff is worth it for an even juicier result!
What is the best bun to use for a Diner Style Crispy Chicken Sandwich?
This is such an important question because a weak bun just collapses under the weight of our crunchy chicken and rich mayo. You need something that has structure! I mentioned brioche and potato buns before, and I stand by them. They are soft enough to yield nicely when you bite down, but they have enough density and fat content to hold up against the juices from the tomato and the creamy Garlic Mayo.
Avoid those flimsy, airy white buns if you’re going for that classic, sturdy Diner Style Crispy Chicken Sandwich feel. You want a bun that has been properly toasted, too, because that slightly dry, warm surface gives the sauce something firm to grip onto!
How can I make the Homemade Garlic Mayonnaise Sauce spicier?
I totally get that! Sometimes you need that kick to balance out all that delicious, salty crispiness. My Homemade Garlic Mayonnaise Sauce is mild by design so everyone loves it, but it’s super easy to amp up the heat.
You have a couple of great options depending on what kind of heat you like. For a straightforward warmth, add about a quarter teaspoon of cayenne pepper right into the mix when you add the salt. Whisk it thoroughly! If you want more depth of flavor along with the heat, try stirring in a half teaspoon of your favorite smoked paprika or even a small dash of your go-to hot sauce before you mix in the main amount of mayo. Just start with a little bit; you can always add more, but you can’t take it out once it’s in there!
PrintCrispy Chicken Burger with Garlic Mayo
Follow these steps to make a chicken burger with a very crispy coating and a homemade garlic mayonnaise sauce.
- Prep Time: 20 min
- Cook Time: 15 min
- Total Time: 35 min
- Yield: 4 servings
- Category: Main Course
- Method: Frying
- Cuisine: American
- Diet: Low Fat
Ingredients
- 2 boneless, skinless chicken breasts, halved horizontally
- 1 cup all-purpose flour
- 1 teaspoon salt
- 1 teaspoon black pepper
- 1 teaspoon paprika
- 1/2 teaspoon garlic powder
- 1/2 teaspoon onion powder
- 1 cup buttermilk
- 2 large eggs
- Vegetable oil, for frying
- 4 burger buns
- Butter, for toasting
- Lettuce leaves
- Tomato slices
- Pickle slices
- For Garlic Mayo: 1/2 cup mayonnaise
- 2 cloves garlic, minced
- 1 teaspoon lemon juice
- Pinch of salt
Instructions
- Prepare the chicken: Pound the chicken halves to an even 1/2-inch thickness.
- Set up the breading station: In one shallow dish, mix the flour, salt, pepper, paprika, garlic powder, and onion powder. In a second dish, whisk the eggs and buttermilk together.
- Dredge the chicken: Dip each chicken piece first into the flour mixture, shaking off excess. Then dip it into the wet mixture, letting excess drip off. Finally, press the chicken firmly back into the flour mixture, ensuring a thick, even coating. Set aside on a rack for 10 minutes.
- Make the garlic mayo: Mix the mayonnaise, minced garlic, lemon juice, and salt in a small bowl. Set aside.
- Heat the oil: Pour about 1.5 inches of vegetable oil into a deep skillet or Dutch oven. Heat the oil to 350°F (175°C).
- Fry the chicken: Carefully place the coated chicken into the hot oil, ensuring not to overcrowd the pan. Fry for 4 to 6 minutes per side, until golden brown and the internal temperature reaches 165°F (74°C).
- Drain: Remove the chicken and place it on a wire rack lined with paper towels to drain excess oil. Sprinkle lightly with salt immediately after removing from oil.
- Toast the buns: Lightly butter the cut sides of the burger buns and toast them in a dry pan until golden brown.
- Assemble the burger: Spread a generous amount of garlic mayo on both halves of the toasted bun. Place lettuce, the crispy chicken fillet, tomato slices, and pickles on the bottom bun. Top with the other bun half.
Notes
- For extra crispiness, double dredge the chicken: after the first flour coating, dip it back into the wet mixture and then back into the flour mixture again.
- If you prefer not to deep fry, you can air fry the chicken at 380°F (195°C) for 15-20 minutes, flipping halfway, using a light spray of cooking oil.
- Brioche or potato buns work well for holding the crispy texture.
Nutrition
- Serving Size: 1 burger
- Calories: 650
- Sugar: 8
- Sodium: 950
- Fat: 35
- Saturated Fat: 7
- Unsaturated Fat: 28
- Trans Fat: 0
- Carbohydrates: 45
- Fiber: 3
- Protein: 40
- Cholesterol: 120