

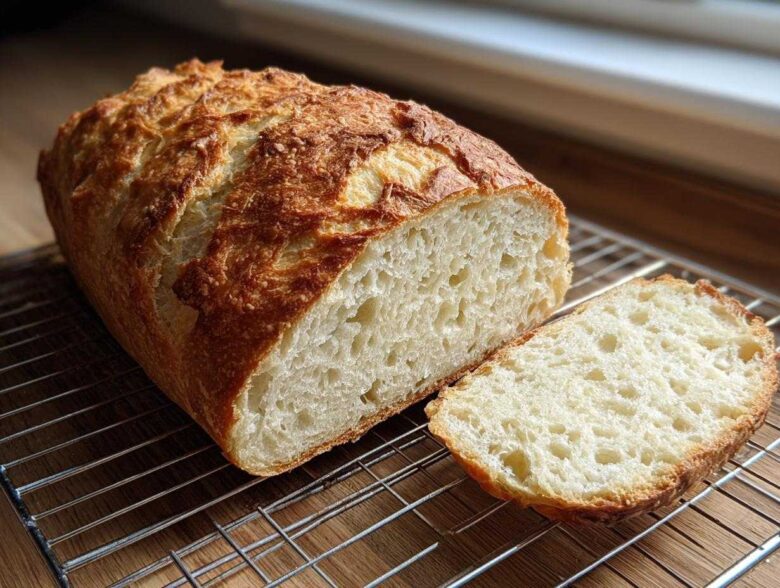
There is genuinely nothing that smells like home quite like baking day. Seriously, that warm, yeasty aroma wrapping around the entire house? It’s instant therapy, isn’t it? For me, Noah, that comforting smell means it’s time to tackle my absolute favorite bake: the classic, crusty loaf. You know, the one that cracks just perfectly when you squeeze it? I spent ages trying to get that bakery-style crusty Italian bread without needing a huge professional oven. Trust me, after a few frustrating late nights wrestling with dough, I finally cracked the code! This homemade Italian bread recipe is built on simple pantry staples, making it totally approachable. It’s the result of a lot of patient mixing and learning exactly what the dough needs to sing.
If you’re new to baking, don’t sweat it! This is exactly the kind of recipe we wanted to share here at Spoon Swirl. Check out our story about how this all started right here!
Why This Homemade Italian Bread Recipe Works for Beginners
I know that look—the one that says, “Bread baking is too fussy for me.” But that’s exactly why I honed this particular recipe. We made sure every part of this process screams simplicity while still delivering that amazing result. This isn’t about complicated techniques; it’s about reliable flavor and texture.
If you’ve been intimidated by yeast before, consider this your gentle introduction to Easy Crusty Bread Baking. Seriously, this is the best place to start your Beginner Bread Making journey!
- You get that coveted crunchy, golden exterior that makes people think you bought it from an artisan shop.
- The inside stays incredibly soft and wonderfully chewy—perfect for soaking up sauce.
- It uses the most basic ingredients you probably already have right now. No weird enzymes required!
- The rising stages are straightforward and highly visible, so you know exactly when you’re on the right track.
Gathering Ingredients for Your Perfect Italian Bread
Okay, stop what you’re doing and look in your pantry! This rustic Italian bread doesn’t ask for much, which is part of why I love it so much. We’re keeping things simple here. All you need are five basic things, plus a little olive oil for handling and shine. Because we want that perfect rise, pay attention to the details on the water and the yeast!
Here’s exactly what you need:
- 3 1/2 cups all-purpose flour (don’t stress about bread flour here—AP works beautifully!)
- 1 1/2 teaspoons salt
- 1 teaspoon granulated sugar
- 2 1/4 teaspoons active dry yeast (That’s one standard packet, just to be sure!)
- 1 1/2 cups warm water (This is important: check the temp, aim for 105-115°F so you don’t shock the yeast.)
- 2 tablespoons olive oil, plus more for coating the bowl later.
That’s it! Simple, right? Having these ready means we can get to the mixing part way faster.
Step-by-Step Instructions for Crusty Italian Bread Baking
Now for the fun part! This is where the magic happens. Making a fantastic Bakery Style Italian Loaf isn’t about complicated industrial equipment; it’s about patience in the right spots and knowing what your dough is telling you. We’re going to break this down into easy, manageable chunks so you don’t feel overwhelmed. Remember that link I shared about getting that perfect crust? It’s a great resource if you want to dive deeper, but honestly, we’ve got all the essentials right here on our blog!
Activating Yeast and Mixing the Italian Bread Dough
First things first: we need to wake up that yeast! Grab your large bowl and pour in the warm water and sugar. Sprinkle the yeast right over the top—don’t stir it much. Now, just walk away for about 5 to 10 minutes. If you come back and see foam sitting on top, like a little creamy beard, your yeast is happy and ready to go! If nothing happens, your water was likely too hot, and we’ll have to start that specific step over, so watch the temperature!
Once you have that beautiful foam, toss in your salt and the flour. Mix everything with a strong wooden spoon—go until it looks messy and shaggy. Don’t try to make it pretty yet; just get the ingredients combined.
Kneading and First Rise for Chewy Italian Loaf Texture
Time to get your hands dirty! Turn that shaggy mess out onto a counter dusted with just a little flour. You need to knead this dough for a full 8 to 10 minutes. I know, it feels long, but this is how we build structure for that chewy Italian loaf interior! I used to stop too soon, and the bread came out soupy. You’re looking for smooth, very elastic dough that feels soft, not stiff. If it tries to cling to your hands, dust on the tiniest bit more flour, but honestly, try to let it work itself out. It’s worth the arm workout!
Once it’s beautifully smooth, find a clean bowl (lightly coat it with a little olive oil first so it doesn’t stick) and toss the dough in, turning it over once to lightly coat the top. Cover it up tight with plastic wrap or a clean towel. Pop it somewhere warm—my oven with the light on works great—and let it do its thing for 1 to 1.5 hours. It needs to double in size! Check out our general baking tips for more on a warm spot!
Shaping and Second Proofing of the Italian Bread
When it’s doubled, gently punch the air out—it feels so satisfying! Turn the dough onto your floured work surface again. Now, gently shape it into a long, oval loaf. Be gentle; we want to keep some of those lovely air bubbles we just made. Pop that shaped loaf onto a baking sheet lined with parchment paper. Brush the top lightly with a little more of that olive oil.
Cover it loosely again and let it rest for its second rise, which usually takes about 30 to 45 minutes. It should look puffy but shouldn’t be quite double this time. You’ll know it’s ready when it springs back slowly if you poke it with a clean finger.
Achieving the Golden Brown Crust Bread Finish
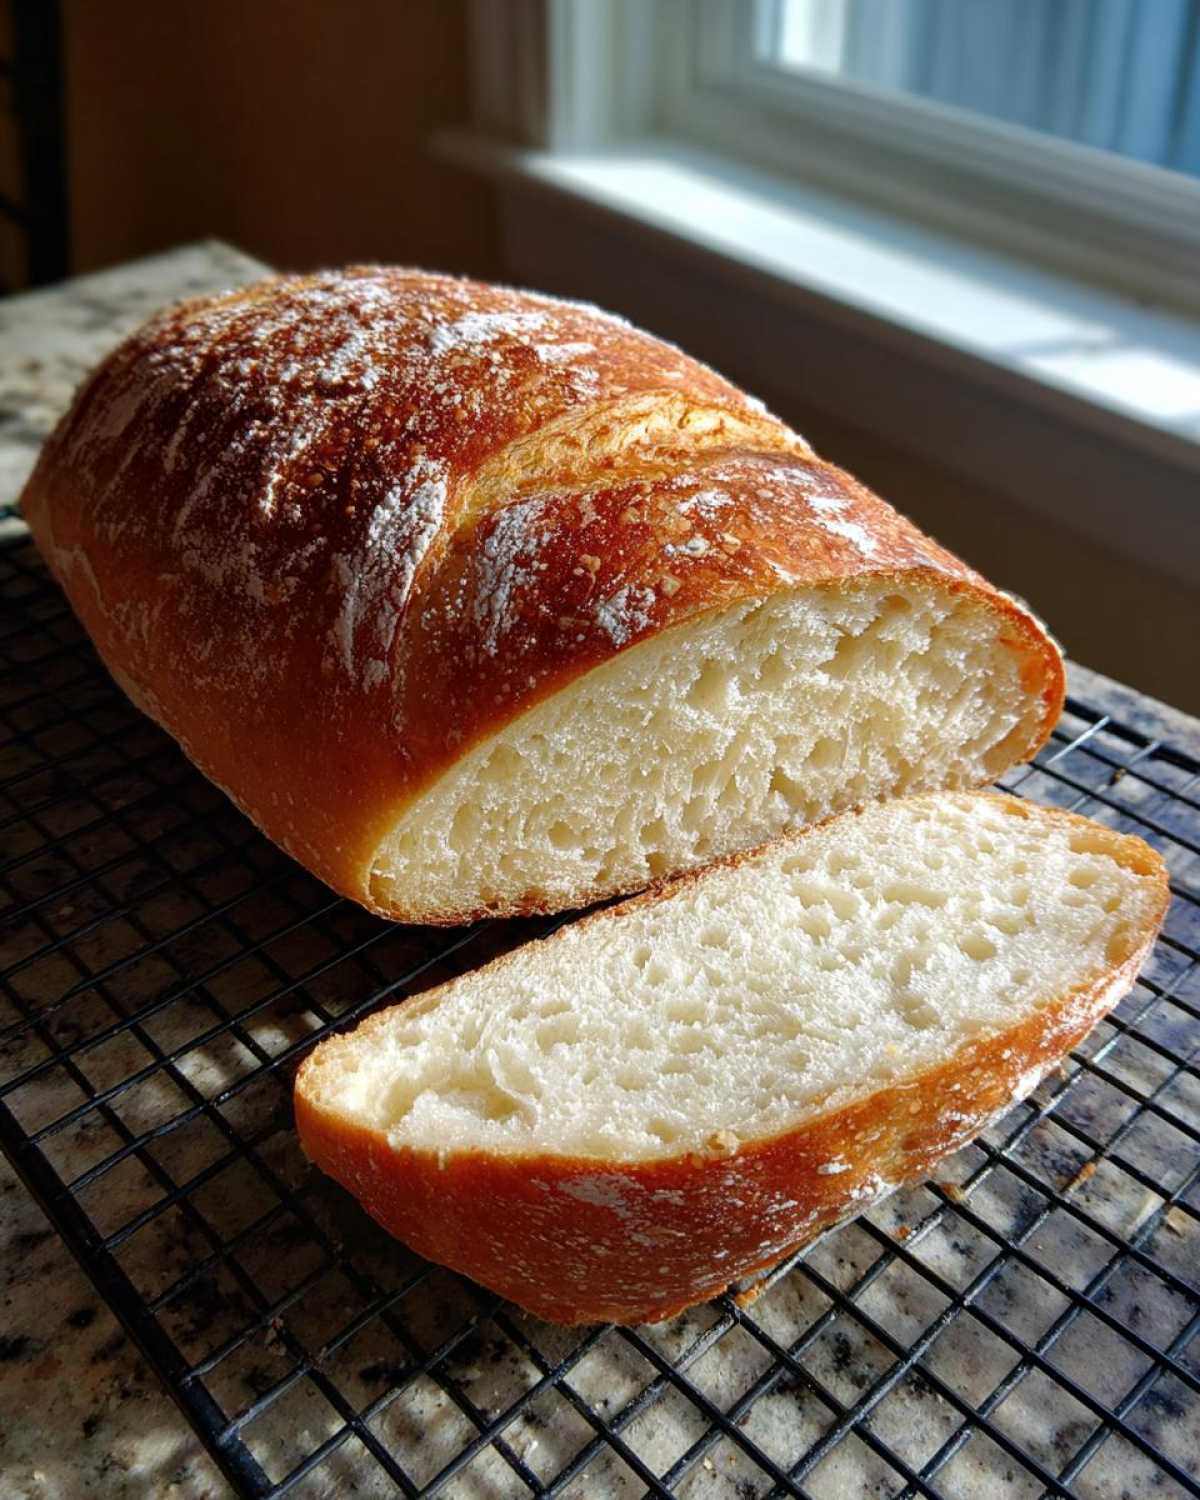
This is the secret military operation for that famous crackly crust: STEAM! About 15 minutes before the dough is done proofing, crank your oven up to 400°F (200°C). Crucially, place a metal pan—a pie tin works great—on the very bottom rack while it preheats. This pan is going to hold boiling water later!
Just before you slide the loaf in, use a super sharp knife to score the top with three clean, diagonal slashes. This lets the bread expand gracefully. Then, quickly open the oven, pour about half a cup of hot water into that hot pan you preheated—watch out for the steam cloud!—and shut the door fast. Bake it for 25 to 30 minutes until that crust is stunningly deep golden brown. If you give it a gentle tap on the bottom, it should sound hollow. Perfection!
Tips for Success When Making Your Italian Bread
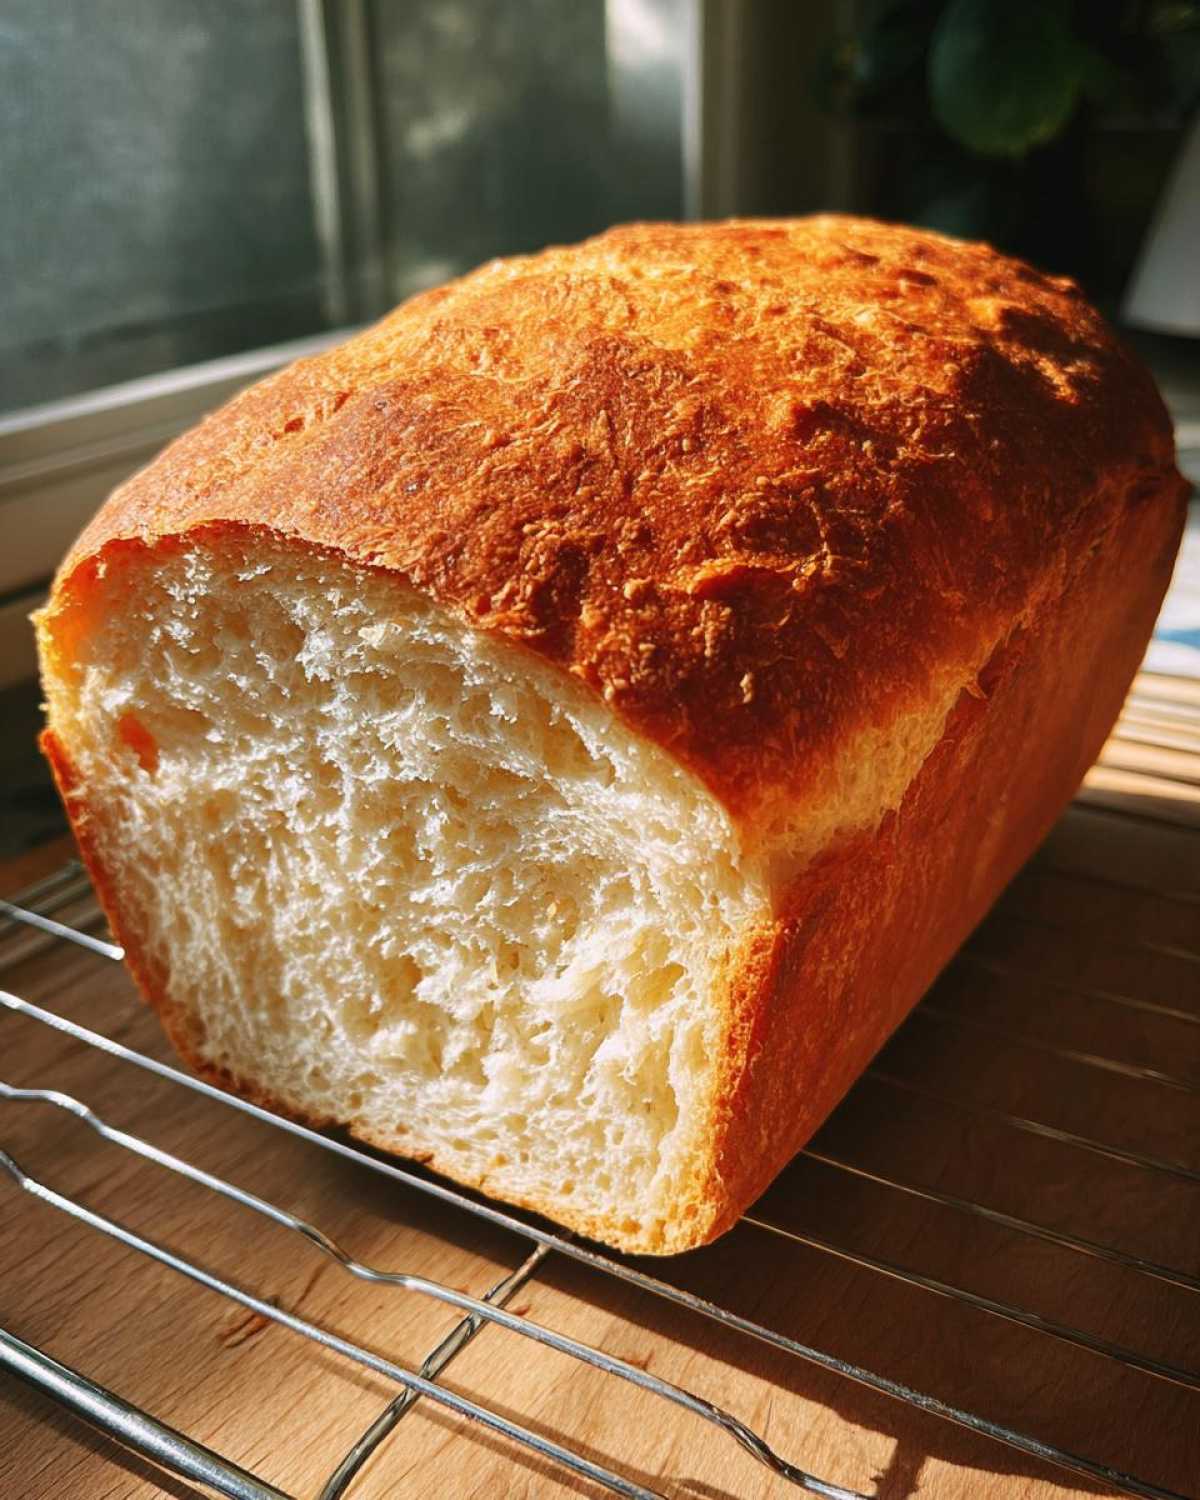
You’ve got the dough mixed, you’ve shaped your loaf, and now you’re wondering how to make sure it looks and tastes like something pulled straight from a fantastic bakery counter. Baking good bread becomes great bread when you know these little tricks. I’ve learned (Noah here!) that temperature control and humidity make a huge difference in achieving that crunchy exterior we’re after.
Don’t worry if your first try isn’t exactly what you pictured; that’s part of learning this craft. But if you follow these simple adjustments, you’ll feel like you’re already creating true Artisan Bread at Home.
For That Extra Crispy Crust: A Little Water Goes a Long Way
The steam we created in the oven is the biggest hero for the crust, but we can give it a little extra help during the first few minutes of baking. If you notice the loaf already looking pale or like the crust is hardening too quickly before it browns, grab a clean spray bottle filled with water.
Open the oven door quickly and cautiously—watch out for that hot steam!—and give the dough a couple of light spritzes of water. You want to do this maybe two or three times within the first 10 minutes of baking. This keeps the surface moist just long enough for the bread to puff up fully before the crust sets hard and crackly. Please remember to be careful when opening that hot door!
Want a Truly Chewy Interior? Try the Cold Ferment
If the 2-hour total time for this recipe is already feeling too fast for you, or if you really want to deepen that classic Italian flavor and up the chew factor, I highly suggest using the refrigerator for a slow, cold rise. This is a pro move that takes zero effort but gives big flavor rewards.
After you finish the first rise (when the dough has doubled), punch it down, shape it gently, and instead of letting it proof on the counter, stick the loaf (covered tightly!) into the fridge. Let it chill overnight, or for at least 8 hours. The cold slows everything down, letting complex flavors develop. Pull it out in the morning, let it warm up on the counter for an hour, and then proceed with Step 4 (the second proofing and baking). It makes checking out this recipe guide worthwhile for the insight on long ferments!
Remember, patience in that fridge window truly deepens the flavor profile of your homemade Italian bread recipe!
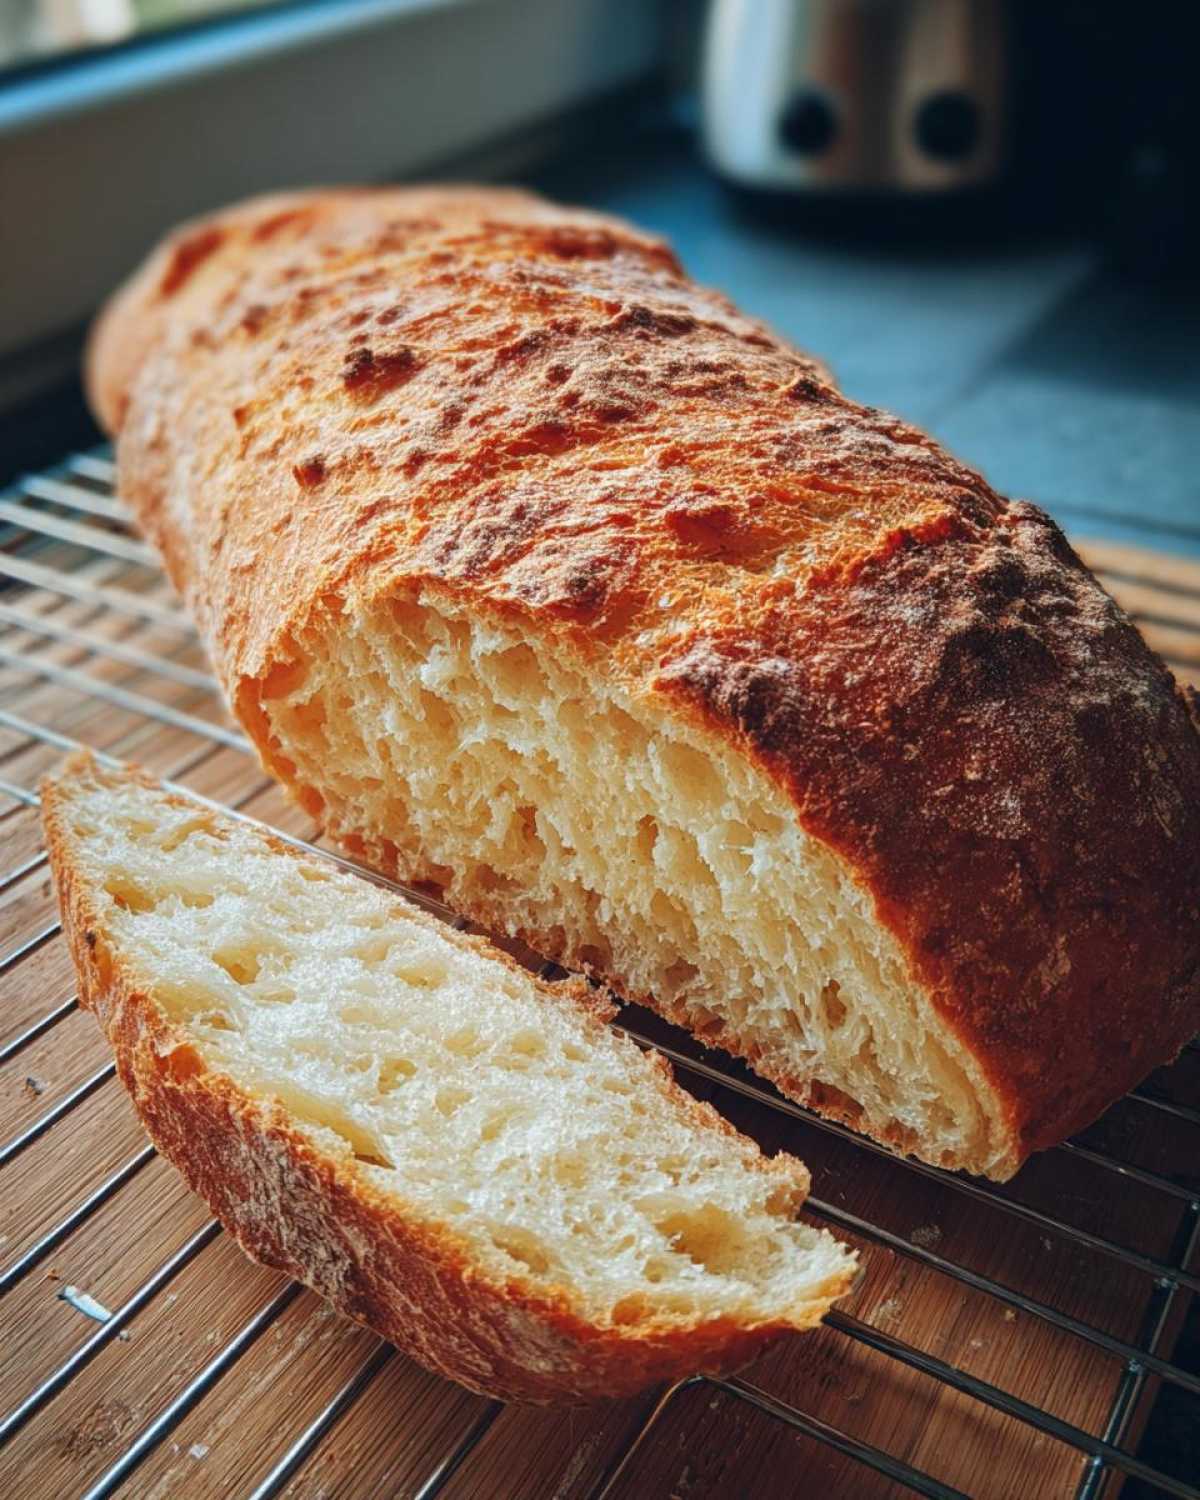
Trust me, even if you have to try a couple of times to time your steam perfectly, the reward of slicing into warm, homemade dough is unbeatable.
Serving Suggestions for Your Fresh Baked Bread Aromas
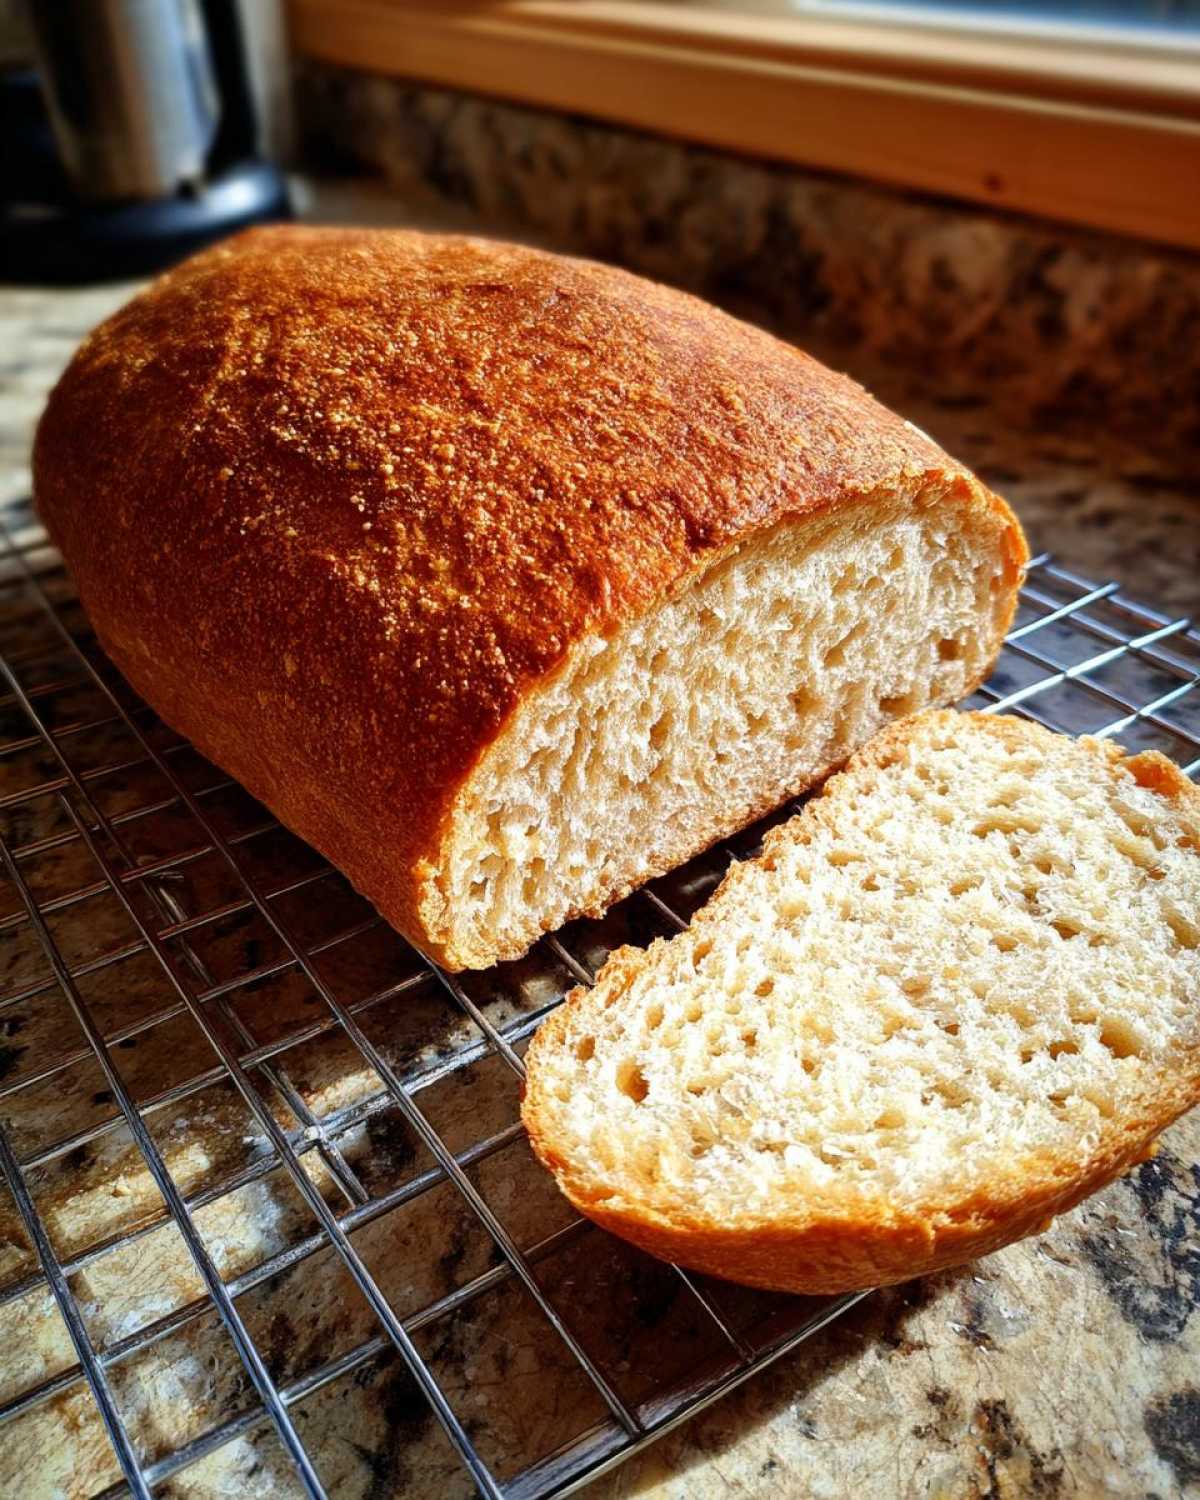
Oh, wow. Once this italian bread comes out of the oven, you realize you’ve created something truly special. The scent alone is enough to make any weeknight dinner feel like a full Italian feast! I mean, what are we even doing if we don’t immediately tear off a hunk while it’s still warm? Hana and I are always fighting over the first slice.
Since you put in all that wonderful work achieving that perfect chew and golden crust, let’s make sure we show this loaf off properly. It deserves more than just sitting on the counter! This bread is so versatile, whether you need a simple accompaniment or the foundation for something amazing.
For Dipping and Appetizers
Forget the store-bought garlic bread; this is what you need! If you’re serving soup, stew, or anything saucy, this loaf is a non-negotiable side dish. It’s perfect for making dedicated Dipping Bread Recipes. My favorite thing to do is slice it thick, toast it lightly, and drizzle it with good quality olive oil and a tiny sprinkle of flaky salt. It’s simple perfection.
Speaking of dipping, if you’re looking for something really decadent that pairs brilliantly with this loaf, you should check out our sharp cheddar fondue recipe. Dunking this crusty bread into warm, tangy cheese? Yes, please. That’s comfort food royalty right there.
The Ultimate Sandwich Foundation
If you’re using this as a base for lunch, you’ve won already. Because we worked so hard kneading that dough to get the right structure, it holds up beautifully under heavy fillings. It won’t fall apart like softer supermarket bread.
Think hearty cold cuts, thick slices of tomato and fresh mozzarella, or even just layers of salty cured meats. This is the perfect Dinner Side Bread Recipes base that upgrades everything. I even hear people use the leftovers to make fantastic paninis the next day!
Perfect Side for Italian Meals
Naturally, this is meant to accompany your favorite Italian classics. When you’ve got a big pot of bolognese or lasagna bubbling away, you need something authentic on the side to wipe the plate clean. That’s what Italians call fare la scarpetta, right? Cleaning your plate with bread? You absolutely must do it with this loaf. Check out this baker’s tip if you want to build on that authentic crust!
Honestly, even just serving thick slices next to a simple salad elevates the entire meal because the aroma of the fresh baked bread is just so inviting.
Storing Your Homemade Italian Bread
Alright, you nailed it! Your beautiful loaf of Italian bread is cooled down, and the aroma is still lingering—that’s the smell of victory! Now, the big question is, how do we keep that incredible crust crunchy and the inside soft for as long as possible? This is where things can go sideways quickly if you aren’t careful. Trust me, nothing is sadder than waking up to stale, rock-hard bread the next morning.
Here is my routine for keeping this bread happy. It really depends on when you plan to eat it!
The Day-Of Rule: Room Temperature is Best
If you plan on eating your entire loaf within about 24 hours of baking, do not, under any circumstances, put it in the refrigerator. The fridge is bread’s worst enemy because the starches crystallize much faster in the cold. That’s what turns the soft, chewy interior into an eraser!
You want to store it at room temperature. The best way I’ve found is either loosely wrapped in parchment paper or just sitting cut-side down on a clean cutting board. Some folks even use a paper bag. The key is to let it breathe a little bit so the crust doesn’t go soggy from trapped humidity. If you have an open-faced bread box? Perfect, use that!
The Overnight Stasher: The Partial Fridge Trick
If you know you’ll have leftovers for day two, you have to be strategic. If you put the hot loaf in the fridge, you’re guaranteeing staleness. If you wait until it’s totally cool, you can try the partial fridge method. Noah tends to wrap the loaf tightly in plastic wrap first, squeezing all the air out, and *then* putting it into a zip-top bag. This seals in pretty much all the moisture.
It won’t be as crusty as it was fresh from the oven, but the inside will stay soft for up to three days this way. Just know that the crust will have softened significantly. That leads right into my next piece of advice…
Reviving That Crust: The Reheat Trick
This is the secret weapon for making that sad day–two bread taste like it just came out of the oven. If you’ve stored your bread wrapped, unwrap it completely. If you stored it cut-side down, unwrap it.
You are going to reheat it quickly, using the residual heat to crisp the outside back up. Set your oven to about 350°F (175°C) for just about five minutes. Sometimes seven minutes if it’s an entire loaf. Watch it closely! You just want it hot all the way through and for that beautiful golden brown crust to start crackling again. It’s incredible how perfectly this trick works to restore the quality of your italian bread!
Frequently Asked Questions About This Italian Bread Recipe
I always get so many questions when people try baking this for the first time, especially around timing and getting that perfect textural contrast. That’s totally normal when you are moving from store-bought to homemade italian bread recipe! I tried to make this recipe as foolproof as possible so you can feel confident, but here are the common snags I hear about most often.
If you are looking for more detailed visual guides, check out this tutorial, it shows some great technique points!
Can I make this Italian bread faster by skipping the second rise?
This is the big one when people are looking for a Quick Italian Bread Tutorial. I totally get the desire to cut time, but honestly, I would strongly advise against skipping that second rise. The first rise builds the main structure, but the second rise—that short, puffy rest after shaping—is what gives your loaf that crucial final volume and that soft inside crusty outside bread texture.
If you skip it, you end up with a dense, squat loaf that might taste okay, but it won’t have that light, airy chew you’re hoping for. It just won’t have the beautiful oven spring when it hits that hot, steamy oven. Think of it as your bread taking a little nap to gather its strength before the big bake!
What is the best flour substitute for this recipe?
For this recipe, I specify all-purpose flour because it’s reliable and gives us that wonderful soft-yet-chewy middle ground. However, many people ask about bread flour, which is a fantastic swap!
If you use bread flour instead, you’ll notice the dough might feel a little stiffer when you knead it, and the final italian bread might end up slightly chewier, almost pulling apart more distinctly when you tear it. Bread flour just has more protein, so it builds more gluten structure. It’s totally fine to substitute 1:1, but just be prepared for a slightly tighter crumb.
I would avoid using only whole wheat or pastry flour unless you are ready to start playing around with hydration levels, because those will change the necessary water ratios quite a bit!
Estimated Nutritional Data for This Italian Bread Loaf
Okay, so we’ve talked about taste, texture, and how to get that beautiful golden crust—but what about the numbers? I always like to give a rough idea of what’s inside this glorious loaf. Please remember, because baking involves variables like how much flour sticks to your hands versus how much ends up in the bowl, these figures are just estimates!
This data is calculated based on using the standard ingredients listed above and yields one large loaf, broken down into roughly 16 slices. It’s based on standard food calculations for Classic Italian Baking ingredients.
Here is the rough breakdown per serving (1 slice):
- Calories: 150
- Fat: 2g
- Saturated Fat: 0.3g
- Trans Fat: 0g
- Cholesterol: 0mg
- Sodium: 250mg
- Carbohydrates: 30g
- Fiber: 1.5g
- Sugar: 0.5g
- Protein: 5g
Not bad for a full loaf of fresh, homemade bread, right? It’s wonderfully low in sugar, letting the natural flavor of the yeast and wheat shine through. Since this recipe uses incredibly simple ingredients, it’s easy to feel good about enjoying a thick slice!
Share Your Spoon Swirl Moment: Rate This Italian Bread
Whew! You made it! You took plain flour and water and turned it into that magnificent, crackly, glorious italian bread. I am absolutely beaming for you right now. Seriously, this is what baking is all about—taking that humble beginning and creating something wonderful that fills your home with comfort.
Now that you’ve conquered the kneading and mastered the steam shield, I really, truly want to hear about it. This whole Spoon Swirl community exists because of the joy we find in the process, remember? That meditative, quiet time together in the kitchen is what sets us apart.
Rate Your Loaf and Tell Us What You Think
Did you get that gorgeous golden brown crust? Did your family fight over the heel of the loaf? Don’t be shy! Head down to the rating section below—give this recipe the 5 stars it deserves if it brought a little comfort to your table. If you struggled with Step 4, tell us about it in the comments so we can help you troubleshoot for next time. We learn so much from each other!
Sharing Photos of Your Homemade Success
If you took a picture of your finished loaf—maybe you sliced it open perfectly, or perhaps you’ve dipped it into some amazing sauce—please, please share it! Seeing your successful bakes is honestly the highlight of our week. You can tag us on social media (or use the comment section if you can attach photos there). We love seeing how this recipe looks across different kitchens.
If you want some inspiration for your next big bake, checking out this recipe collection might give you some ideas. And if you want to see what another baker achieved with a focus on that soft inside, Ben’s results are amazing!
Thank you for joining us on this baking adventure. We hope this crusty Italian bread becomes a warm, comforting staple in your own kitchen, just like it is in ours. Happy baking, and keep swirling!
PrintEasy Homemade Crusty Italian Bread Recipe for a Perfect Loaf
Bake bakery-style Italian bread at home with this simple recipe. You will achieve a golden, crunchy crust and a soft, chewy interior using basic pantry ingredients. This recipe is perfect for beginners.
- Prep Time: 20 min
- Cook Time: 30 min
- Total Time: 2 hours 20 min
- Yield: 1 large loaf
- Category: Bread
- Method: Baking
- Cuisine: Italian
- Diet: Vegetarian
Ingredients
- 3 1/2 cups all-purpose flour
- 1 1/2 teaspoons salt
- 1 teaspoon granulated sugar
- 2 1/4 teaspoons active dry yeast (one packet)
- 1 1/2 cups warm water (about 105-115°F)
- 2 tablespoons olive oil, plus more for the bowl
Instructions
- In a large bowl, mix the warm water, sugar, and yeast. Let this mixture sit for 5 to 10 minutes until it becomes foamy. This shows your yeast is active.
- Add the flour and salt to the yeast mixture. Mix with a wooden spoon until a shaggy dough forms.
- Turn the dough out onto a lightly floured surface. Knead the dough for 8 to 10 minutes until it becomes smooth and elastic. If the dough sticks, add a small amount of flour, but try to keep the dough soft.
- Lightly grease a large bowl with olive oil. Place the dough in the bowl, turning it once to coat. Cover the bowl with plastic wrap or a clean kitchen towel.
- Let the dough rise in a warm place for 1 to 1.5 hours, or until it has doubled in size. This is your first rise.
- Gently punch down the risen dough. Turn it out onto a lightly floured surface and shape it into a long, oval loaf.
- Place the shaped loaf on a baking sheet lined with parchment paper or on a pizza stone. Lightly brush the top of the loaf with olive oil.
- Cover the loaf loosely and let it rise again for 30 to 45 minutes, or until it looks puffy. This is your second rise.
- Preheat your oven to 400°F (200°C). For extra steam to help the crust, place a shallow pan on the bottom rack while preheating.
- Just before baking, use a sharp knife to score the top of the loaf with three diagonal cuts.
- Carefully pour about 1/2 cup of hot water into the preheated shallow pan on the bottom rack to create steam, then quickly close the oven door.
- Bake for 25 to 30 minutes, or until the crust is deep golden brown and sounds hollow when tapped.
- Remove the loaf from the oven and transfer it to a wire rack to cool completely before slicing. Enjoy your **crusty Italian bread**!
Notes
- For a crispier crust, you can lightly spritz the loaf with water a few times during the first 10 minutes of baking.
- If you want a chewier interior, let the dough rise slowly in the refrigerator overnight after the first rise.
- This **homemade Italian bread recipe** is excellent for dipping in olive oil or serving with pasta sauces.
Nutrition
- Serving Size: 1 slice
- Calories: 150
- Sugar: 0.5
- Sodium: 250
- Fat: 2
- Saturated Fat: 0.3
- Unsaturated Fat: 1.7
- Trans Fat: 0
- Carbohydrates: 30
- Fiber: 1.5
- Protein: 5
- Cholesterol: 0