

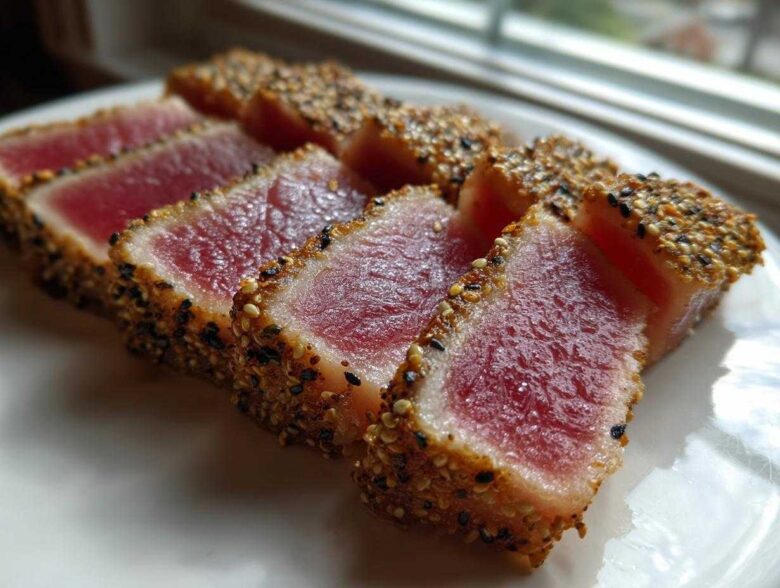
Listen, I know what you’re thinking. Searing something this gorgeous and pristine, like actual Seared Ahi Tuna, feels like something only professional chefs can handle. But I promise you, mastering this technique is one of the most rewarding things you can learn in the kitchen! It’s pure culinary confidence when you nail that crust. Hana and I love this recipe because it transforms simple, high-quality ingredients into something truly gourmet in minutes. If you are ready to bring that restaurant-quality snap and rare center home, this guide to the perfect sear is exactly what you need. It’s quick, it tastes incredible, and mastering that high heat felt like a genuine victory the first time for me. For more on why we cook the way we do, you can always check out our story over on the About Us page.
Why This Seared Ahi Tuna Recipe Delivers Gourmet Results
When you invest in quality sushi grade tuna, you want to treat it right! That’s what makes this approach so satisfying. We aren’t baking or stewing this fish—we are harnessing intense, dry heat for a perfect contrast. This truly is a gourmet tuna experience that feels complex but is actually so simple. Plus, it’s the perfect candidate for a busy night when you need a genuinely quick seafood recipe.
- The outside gets that beautiful dark, flavorful crust, locking in all the moisture.
- The inside stays cool, tender, and buttery—just how it should be.
- It takes less time to cook than boiling a pot of pasta!
Achieving the Perfect Rare Center with Seared Ahi Tuna
With high-quality fish like this, cooking it past rare is almost a shame, isn’t it? The magic is serving it just barely warmed through. That means we use extremely high heat for a very short window. Trust me, those 60 to 90 seconds per side are crucial! If you cook it much longer, you lose that delicate, almost silky interior that makes this fish so special.
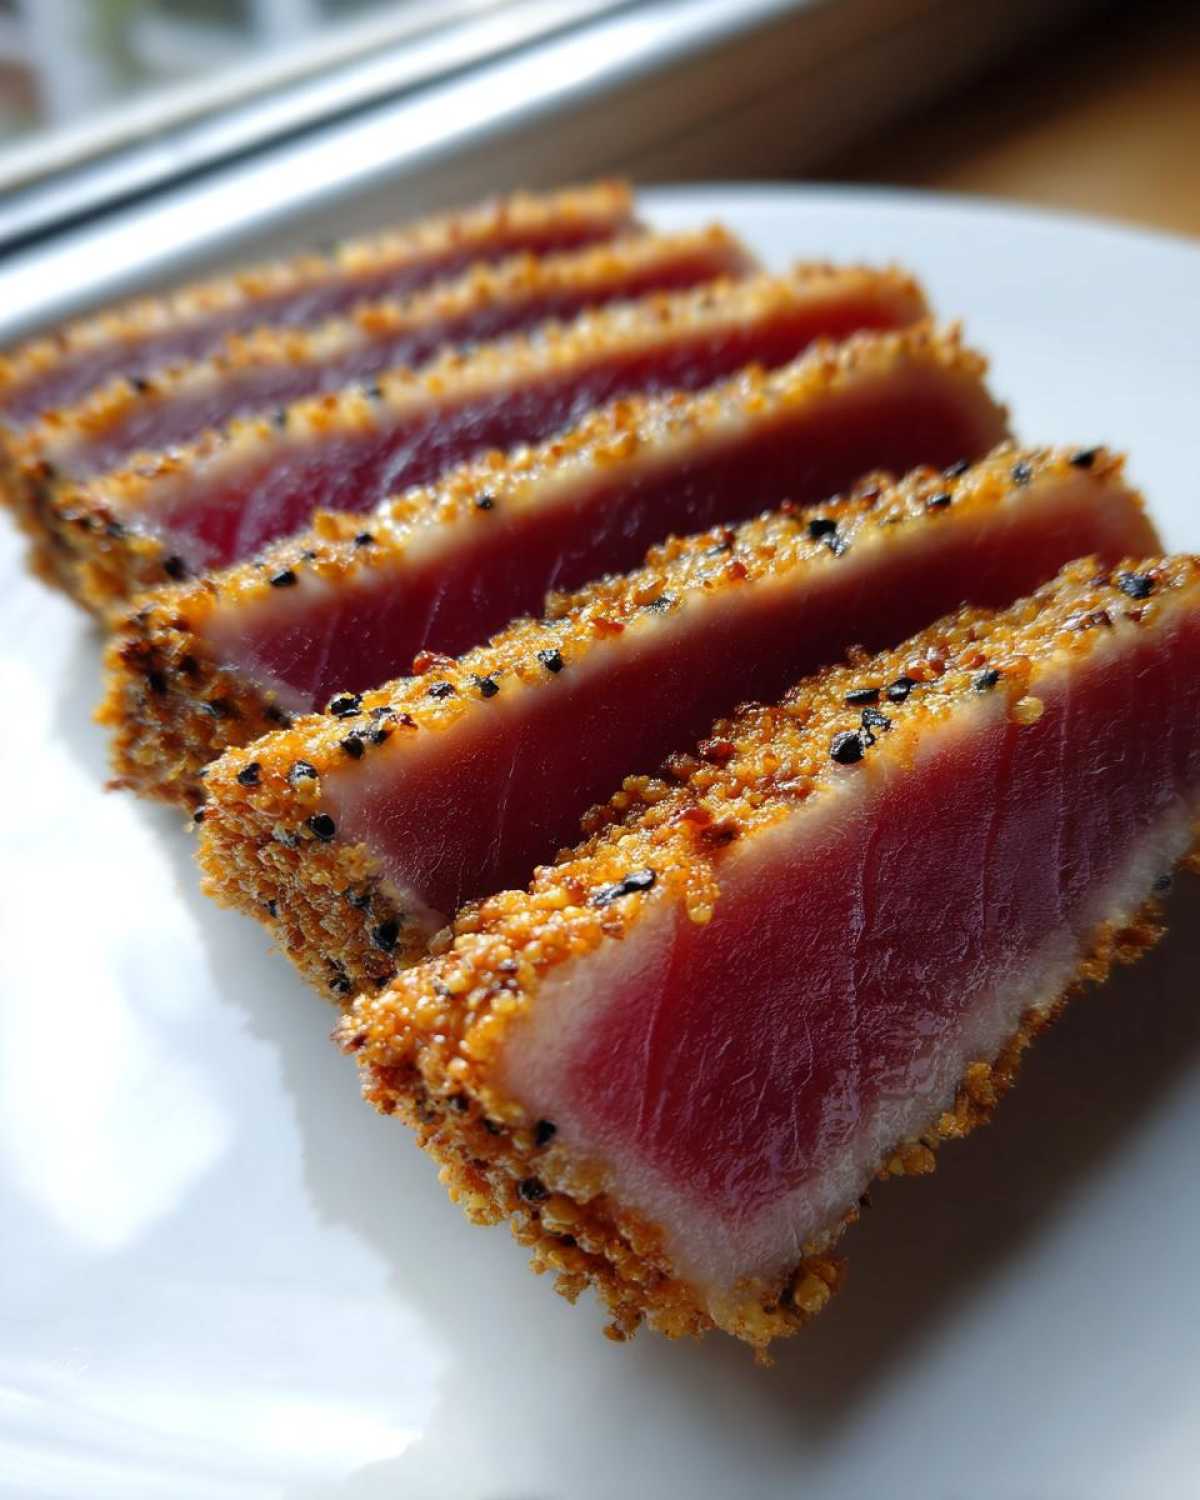
Flavor Profile of Our Asian Tuna Recipe
We keep the marinade light because we really want the flavor of the tuna to shine through. We rely on fresh ginger, garlic, and soy sauce to create that beautiful, salty-umami background. This simple, savory base is what defines our Asian tuna recipe and complements the richness of the yellowfin so perfectly without overpowering it.
Essential Ingredients for Perfect Seared Ahi Tuna
Okay, this is where we get serious about quality. Since this is such a quick cook time, every single component matters a lot. You want to make sure what you’re using is the freshest, best quality available because there’s nowhere for weak flavors to hide. I laid out exactly what we use below, but don’t skip the notes! They are non-negotiable for getting that fantastic outer crust and perfect texture.
- 2 (6 ounce) sushi grade tuna steaks (This is the starring role!)
- 2 tablespoons sesame oil (Use the toasted kind for the best aroma!)
- 1 tablespoon soy sauce or tamari
- 1 teaspoon grated fresh ginger (Please use fresh, not the jarred stuff!)
- 1 clove garlic, minced
- 1/2 teaspoon black pepper
- 1/4 cup sesame seeds (A mix of black and white looks far more gourmet, in my opinion.)
Ingredient Notes and Substitutions for Seared Ahi Tuna
If you can find them, look specifically for high-quality yellowfin tuna; it has the best texture for this kind of searing. If you or someone you’re cooking for needs to avoid gluten, you can happily swap in tamari for the soy sauce—it gives you that amazing salty depth needed for a great Seared Ahi Tuna. Also, remember that ginger needs to be grated super finely until it’s almost a paste. That’s how those little flavor bursts get distributed evenly throughout the coating.
Step-by-Step Instructions for Seared Ahi Tuna
This is where the magic happens, and honestly, it moves fast! Once you get the timing down, you’ll be whipping this up for weeknight dinners. I find that patience during the pat-dry stage makes all the difference for your Seared Ahi Tuna. Don’t rush it; we need those steaks completely bone-dry so that sear can actually happen. Once you prepare the marinade, don’t leave the fish sitting in it for too long. We are building flavor, not turning it into ceviche!
Once you’ve got everything prepped—and remember, organization matters when the heat is high—you can find more great process tips over on the main Spoon Swirl Blog.
Preparing the Yellowfin Tuna for Searing
First things first: grab some paper towels. You must pat your fish dry. I mean *really* dry. Any surface moisture turns to steam the second it hits the hot pan, and steam equals zero crust. After blotting, whisk up that simple marinade—sesame oil, soy sauce, ginger, garlic, pepper—and give the steaks a nice five-minute coat bath. Seriously, no more than 10 minutes total, and only at room temperature. Submerging sushi grade tuna in acid for too long breaks down the delicate proteins, making the edges mushy instead of firm when you cook them. Then, press those coated steaks firmly into your sesame seeds—make sure you get full coverage!
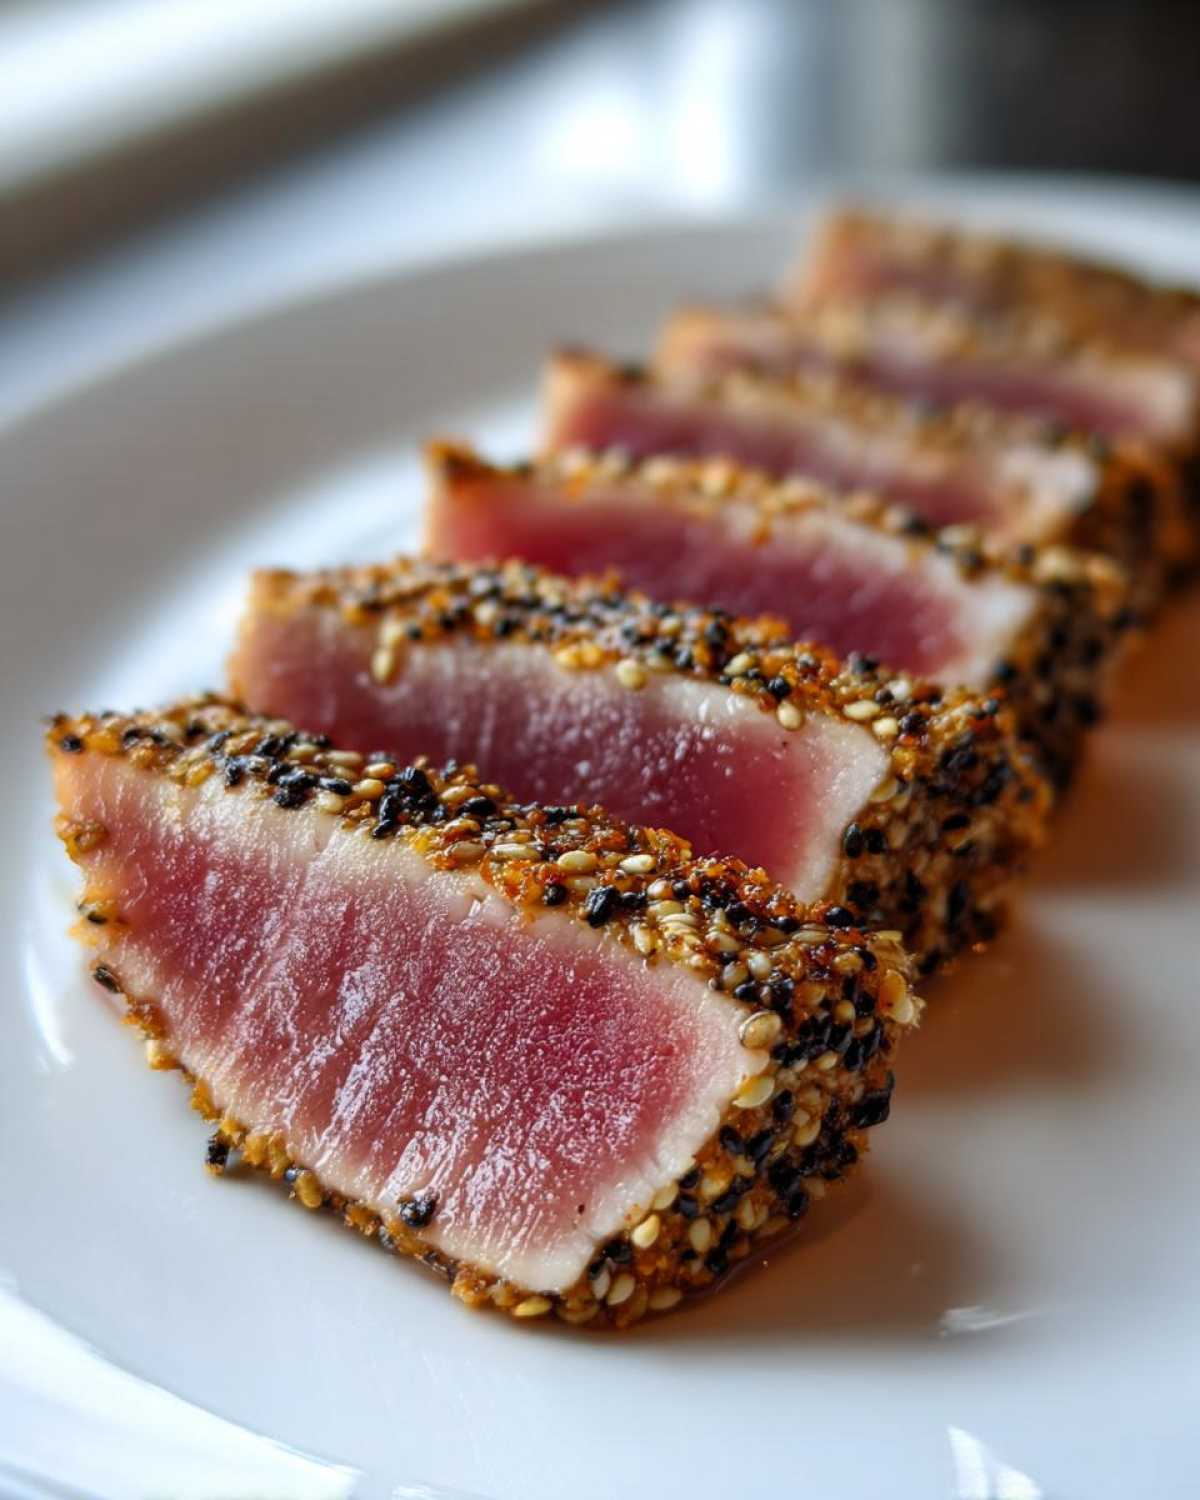
Mastering the High-Heat Sear for Seared Ahi Tuna
Time to crank up the heat! I swear by my trusty cast iron skillet here. Get that pan screaming hot—it should be almost smoking before the fish touches it. You want that immediate sizzle. Gently place your crusted tuna steaks into the bare, hot pan. Now, set your timer! We’re talking 60 to 90 seconds on the first side for that perfect dark crust. Flip carefully and do the exact same thing for the second side. This short blast of heat keeps the center beautifully rare. Immediately pull it off the heat and let it rest for five peaceful minutes before you slice it against the grain.
Tips for Success When Making Seared Ahi Tuna
You’ve got the ingredients and the timing down, but let me share a few little wrinkles I learned through trial and error—or what Hana calls my ‘technical testing phase’! The absolute biggest mistake people make with Seared Ahi Tuna is not getting the pan hot enough. If it’s not almost smoking, the sesame seeds will burn before the sear even starts to happen, and you’ll just end up steaming your beautiful fish. That crust needs aggressive heat!
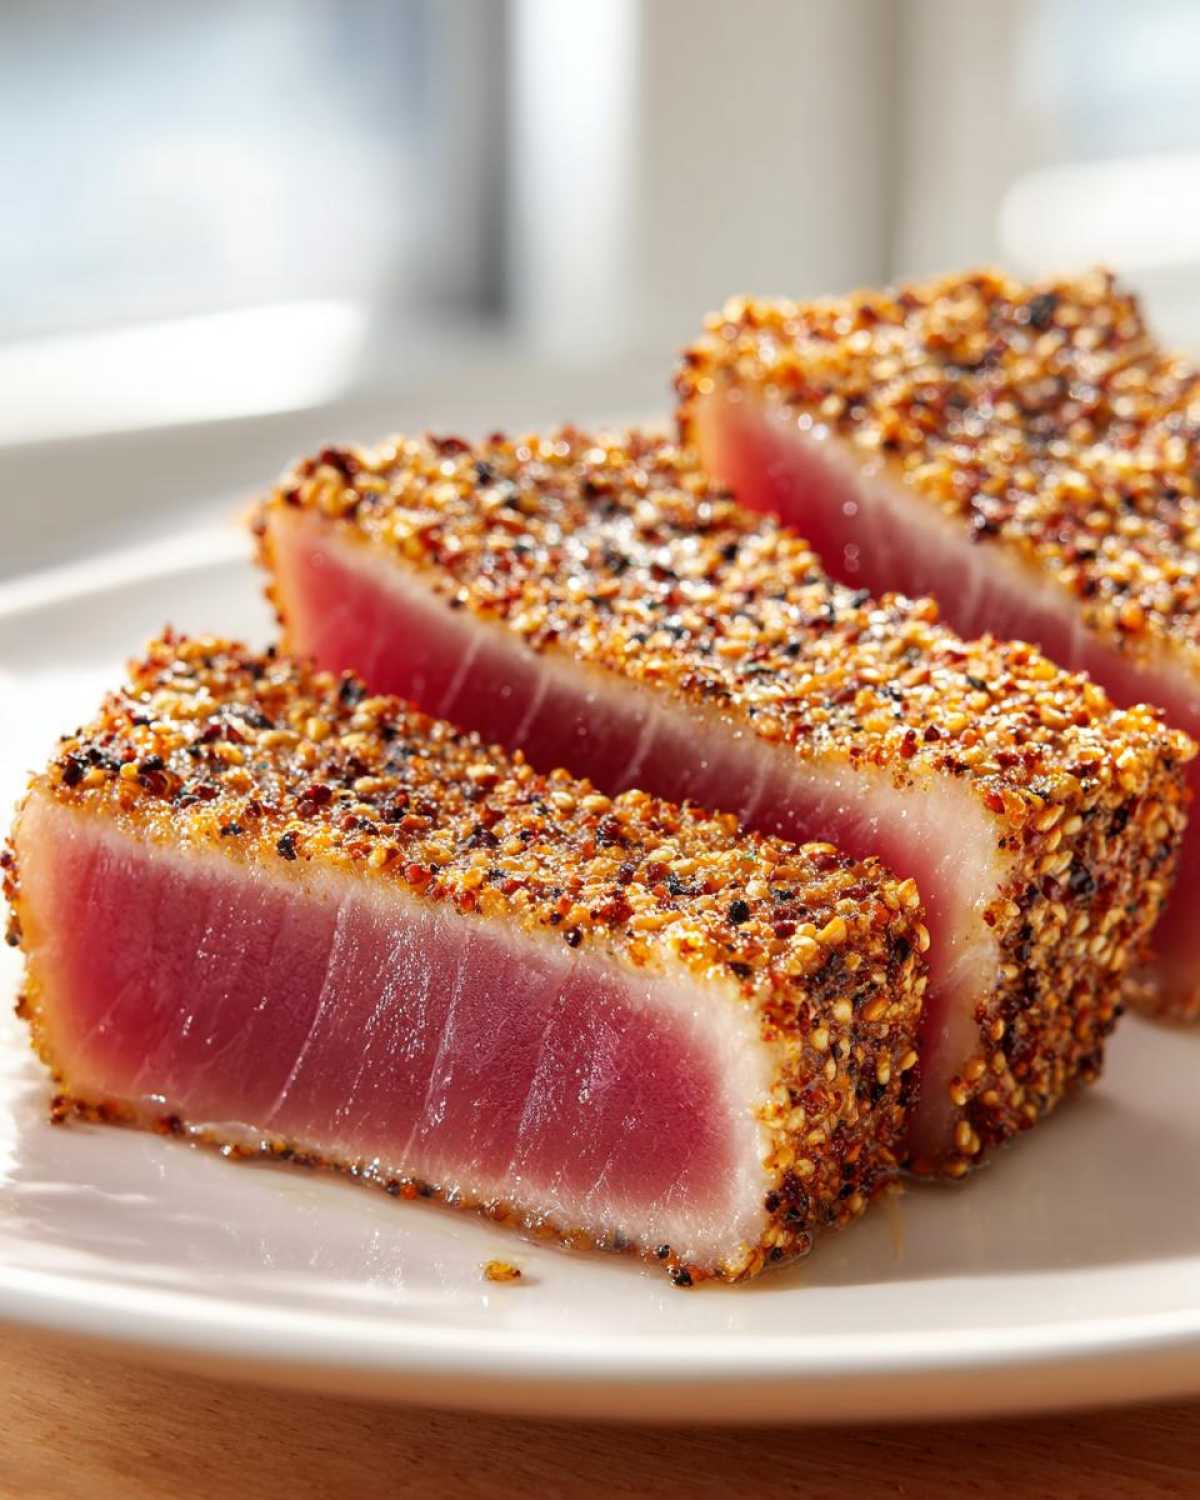
Also, when you press on those seeds, really press them in. You want maximum seed-to-fish contact because that’s what creates the barrier holding the internal moisture in. And please, please, let it rest! Five minutes might seem like forever when you are hungry, but that rest allows the very thin ribbon of cooked fish on the outside to settle. It helps keep the tuna tender when you finally slice into it.
Serving Suggestions for Your Healthy Dinner
Alright, now that you have this incredible, perfectly seared fish sitting there, what are we actually going to eat it with? Because this is such a naturally light and lean dish, it fits perfectly into our goal of offering satisfying yet truly healthy dinner options. We want sides that complement the savory, nutty flavor without weighing the whole plate down. It’s all about balance!
I usually have a few go-to pairings when I make this quick seafood recipe, and the beauty is that they are often things I already have on hand. Head over to the Dinner category when you’re looking for more easy meal inspiration!
- Perfect Steamed Rice: You can’t beat simple, fluffy white rice to soak up any little bit of that sesame marinade that might drip off. If you want to step it up, use short-grain sushi rice—it’s got a bit more body.
- Quick Pickled Veggies: A side of thinly sliced cucumber or carrots quickly tossed in a splash of rice vinegar and a pinch of sugar adds the perfect bright, acidic crunch. It cuts right through the richness of the tuna.
- Simple Greens: I often steam some broccoli or asparagus until they are just tender-crisp (blanching works great too!). A tiny drizzle of olive oil and a sprinkle of sea salt makes them perfect. Keeping the greens vibrant green makes the plate look gourmet, honestly.
- Avocado Slices: If you need a little more healthy fat and creaminess on the plate, thin slices of perfectly ripe avocado are amazing served alongside.
The key is keeping the sides fresh, simple, and relatively neutral so your beautiful seared tuna is absolutely the star of the show. Enjoy this light and satisfying meal!
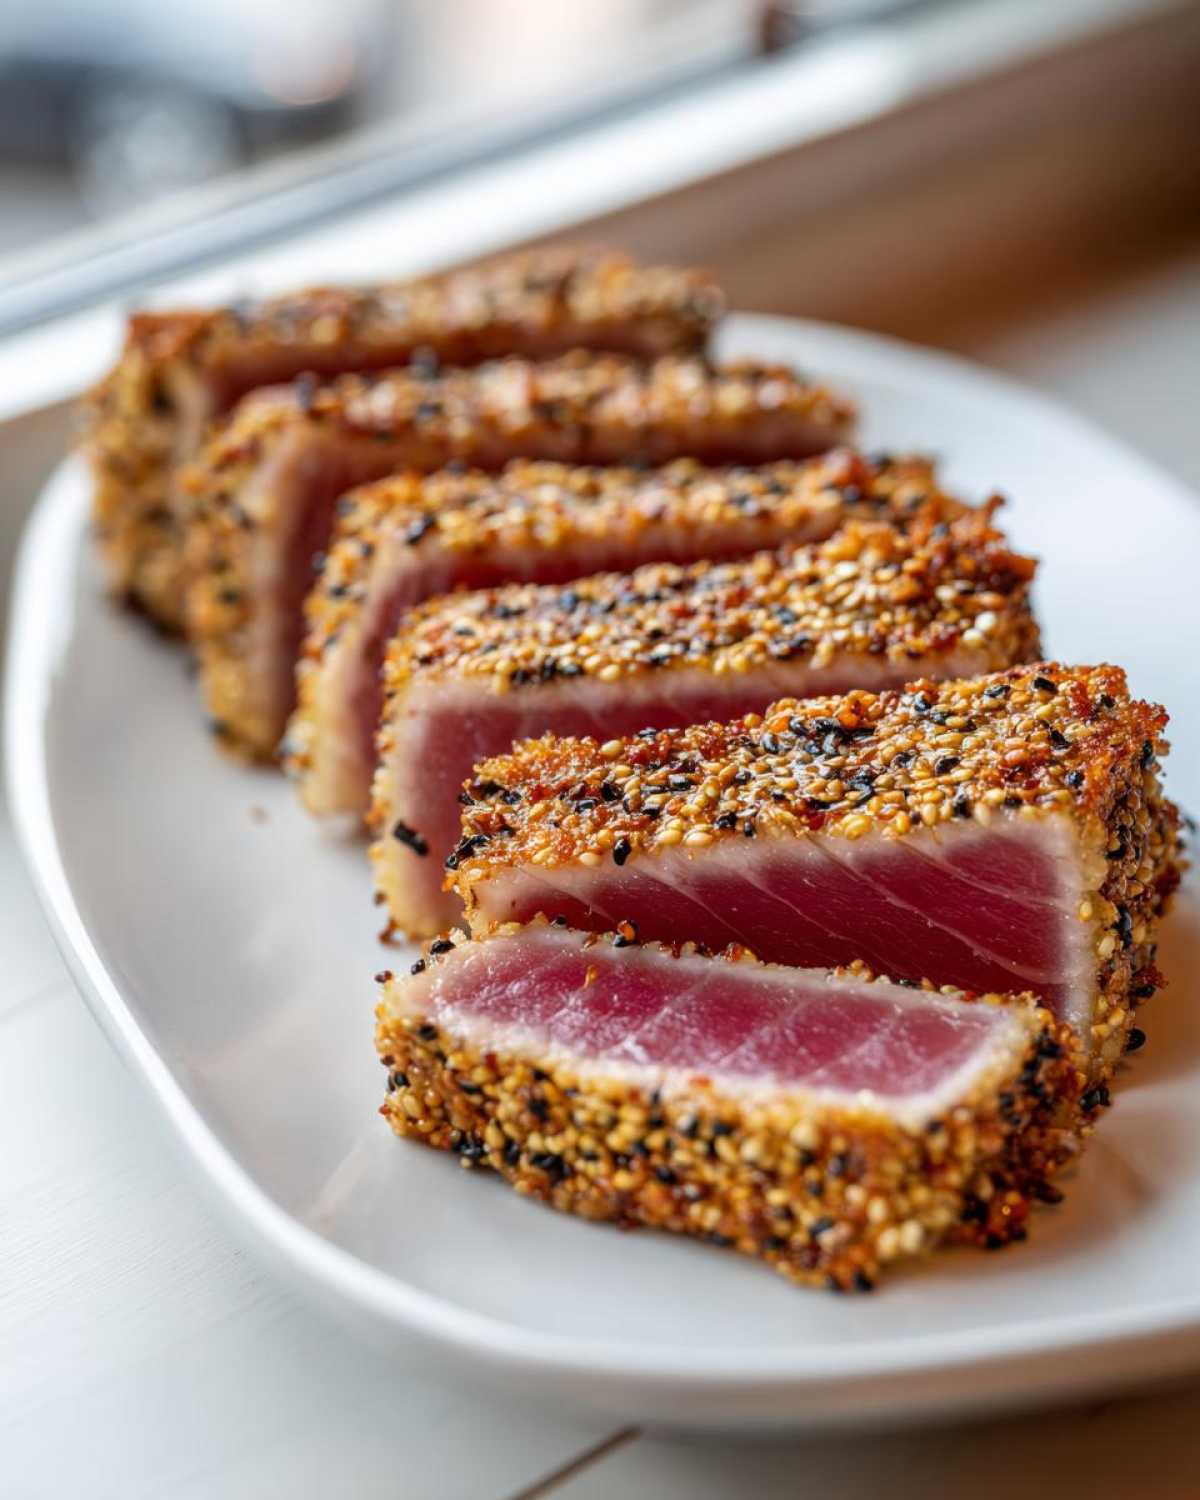
Storage and Reheating Instructions for Seared Ahi Tuna
Okay, this is important, so please listen to me on this one! Because we worked so hard to get that perfect center—that beautifully rosy, rare bit of sushi grade tuna—this dish absolutely needs to be eaten right away. I mean, the second it comes off the cutting board! The crust is crispy, the inside is cool, and that contrast is what makes it so incredible. It’s just not the same five minutes later, let alone stored overnight.
If you do have leftovers, and I mean tiny leftovers because I hope you don’t have much!—they must be treated carefully. Gently wrap the sliced tuna up and get it into an airtight container right away. Keep it in the coldest part of your refrigerator, and honestly, try to eat it within 24 hours, tops. That remaining cooked edge is going to firm up, and the raw center will start to change texture the longer it sits, even when cold.
Now for the big warning: You absolutely should not try to reheat seared fish like this. Seriously, don’t even try it! Putting those slices back into a pan, even on low heat, will turn that gorgeous, tender interior into dry, flaky fish steak, and we just spent all that effort establishing the perfect sear. If you have leftovers, the best way to enjoy them is cold, perhaps sliced very thinly over a salad the next day. Think of beautifully prepared leftovers as a quick, cold seafood snack, not as a warm dinner replacement!
Frequently Asked Questions About Seared Ahi Tuna
It’s totally normal to have a few questions popping up when you’re working with such a high-quality ingredient for the first time. I’ve gathered some of the ones Hana and I always get when we introduce people to this amazing dish. Don’t hesitate to ask in the comments if you have something else on your mind!
Can I use frozen tuna steaks for this Seared Ahi Tuna recipe?
Oh, I really wouldn’t recommend it if you are aiming for a truly gourmet experience. When you freeze and then thaw high-quality fish, especially something meant to be served nearly raw, it often loses structural integrity. Freezing creates ice crystals that puncture the delicate cell walls of the sushi grade tuna. When you go to pat it dry—which is our main secret step—you’ll find it releases way too much water, and you’ll end up steaming the fish instead of searing it. Stick to fresh, never-frozen if you can find it for this recipe.
What is the best way to slice the tuna after searing?
This is a technique I learned the hard way! You absolutely must slice your tuna *against the grain*. Look closely at the muscle fibers running through the steak once it’s done resting. You want your knife to cut perpendicularly across those lines, not parallel to them. Slicing against the grain shortens those tough muscle fibers, making every single piece unbelievably tender when you chew it. If you slice with the grain, even if it’s perfectly cooked, it can feel a little chewy, and we don’t want chewy!
Is this considered a healthy dinner option?
It certainly is! This is one of the greatest things about relying on high-quality protein like this. The Seared Ahi Tuna is naturally very low in fat—especially saturated fat—and it’s absolutely packed with protein. When you look at the estimated nutrition facts, you see very little sugar or carbs, provided you serve it alongside simple rice or steamed vegetables instead of something heavy. It cooks in just minutes, making it the perfect light, energizing, and healthy dinner.
Nutritional Estimates for Seared Ahi Tuna
I always think it’s helpful to have a general idea of what we’re eating, especially when we’re aiming for a lighter meal! Because we use such clean, simple ingredients in this Seared Ahi Tuna recipe—mostly pure protein and healthy fats—it really stacks up well. We aren’t adding heavy sauces or deep frying anything, which keeps the numbers looking really nice.
Remember, these figures are just estimates based on the recipe above, as I mentioned over on our official disclaimer page. Your exact numbers might shift slightly depending on the thickness of your tuna steaks or if you decide to use a bit more soy sauce in the marinade! But here is a reliable average for one serving:
- Serving Size: 1 steak
- Calories: 280
- Protein: 32g
- Fat: 15g (Mostly unsaturated fats, which is great!)
- Saturated Fat: 2g
- Carbohydrates: 4g
- Sugar: 0.5g
- Sodium: 350mg (This is impacted by how salty your soy sauce is!)
See? It’s a fantastic, high-protein offering that keeps the fat content manageable. It’s a real win-win for feeling satisfied without feeling weighed down. I hope seeing these numbers gives you confidence that this is a fantastic, healthy option for any night of the week!
Share Your Perfect Seared Ahi Tuna Creation
Now that you’ve experienced the joy of that high-heat sear—wasn’t it easier than you thought? I genuinely can’t wait to hear how it turned out for you! Hana and I pour our hearts into developing these recipes, and knowing they work beautifully in your home kitchen makes all the testing worthwhile.
Please, take a moment and drop a star rating right below this section. It really helps other people find this guide to making the best Seared Ahi Tuna. More importantly, jump into the comments! Tell me what sides you served it with. Did you stick with the simple sesame crust, or did you try something wild?
We love seeing your recreations over on social media, too! Knowing someone else found that moment of quiet peace in their kitchen over perfectly cooked yellowfin tuna is exactly why we started Spoon Swirl. Happy cooking, and we look forward to reading your notes!
PrintPerfectly Seared Ahi Tuna Steaks
Learn how to sear sushi grade yellowfin tuna perfectly for a quick, healthy, and gourmet seafood dinner.
- Prep Time: 10 min
- Cook Time: 3 min
- Total Time: 18 min
- Yield: 2 servings
- Category: Dinner
- Method: Pan Searing
- Cuisine: Asian
- Diet: Low Fat
Ingredients
- 2 (6 ounce) sushi grade ahi tuna steaks
- 2 tablespoons sesame oil
- 1 tablespoon soy sauce or tamari
- 1 teaspoon grated fresh ginger
- 1 clove garlic, minced
- 1/2 teaspoon black pepper
- 1/4 cup sesame seeds (mixed black and white preferred)
Instructions
- Pat the ahi tuna steaks completely dry using paper towels. This step is key for a good sear.
- In a small bowl, whisk together the sesame oil, soy sauce, ginger, garlic, and black pepper to create the marinade.
- Place the tuna steaks in a shallow dish and pour the marinade over them, turning to coat both sides. Let them marinate for 10 minutes at room temperature. Do not marinate longer, as the acid can start to cook the fish.
- Spread the sesame seeds out on a plate. Remove the tuna from the marinade, letting any excess drip off, and press each side firmly into the sesame seeds until fully coated.
- Heat a heavy-bottomed skillet (cast iron works best) over high heat until it is very hot, almost smoking.
- Carefully place the sesame-crusted tuna steaks into the hot, dry skillet. Sear for 60 to 90 seconds per side for rare to medium-rare (sushi grade tuna should be served rare in the center).
- Remove the tuna from the skillet immediately. Let the steaks rest on a cutting board for 5 minutes before slicing against the grain into 1/2-inch thick pieces.
Notes
- For an extra layer of flavor, serve this quick seafood recipe with a side of soy sauce mixed with a little wasabi paste.
- If you prefer a stronger crust, you can use only black sesame seeds.
- This recipe works well with high-quality yellowfin tuna.
Nutrition
- Serving Size: 1 steak
- Calories: 280
- Sugar: 0.5
- Sodium: 350
- Fat: 15
- Saturated Fat: 2
- Unsaturated Fat: 13
- Trans Fat: 0
- Carbohydrates: 4
- Fiber: 1
- Protein: 32
- Cholesterol: 75