

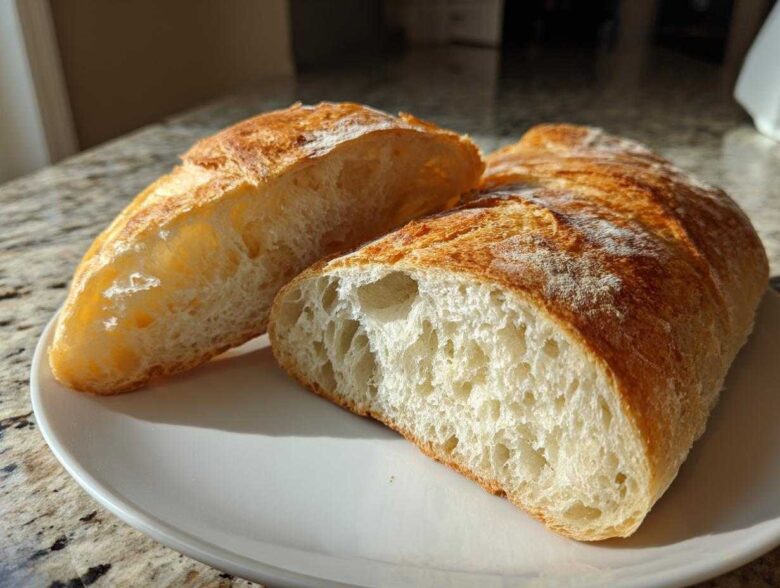
There’s truly nothing that beats the smell of fresh, homemade French bread filling your entire house—is there? It’s the smell of comfort wrapping around you! If you’ve been dreaming of that perfect loaf—you know, the one with the slightly crackly, thin crust on the outside and the soft, airy, fluffy interior—I have good news. Noah and I finally nailed down this recipe that gives you that amazing bakery quality in under two hours. Trust me, watching Noah obsess over the rise and the steam until we got the texture just right was worth every second. Now we can share that magic with you!
This recipe is the one we use every week, and you can read more about how we got started on our journey to finding these perfect comfort recipes over on our About Us page. It’s proof that you don’t need to spend all day waiting for dough that just won’t cooperate. This Homemade French Bread Recipe is easy enough for your first time trying yeast bread, but amazing enough to serve at any big dinner.
Why This Easy French Bread Recipe Works for Beginners
I know what you’re thinking—yeast bread is scary! But honestly, this is what we call our No-Fuss Bread Baking guide. We wrote this recipe specifically so that anyone new to baking homemade bread can get a fantastic result right out of the oven. Don’t worry about complicated techniques; we focus on simple steps that build confidence quickly. This is perfect if you’re just starting out on your Beginner Bread Baking adventure!
Achieving the Perfect Soft French Bread at Home Texture
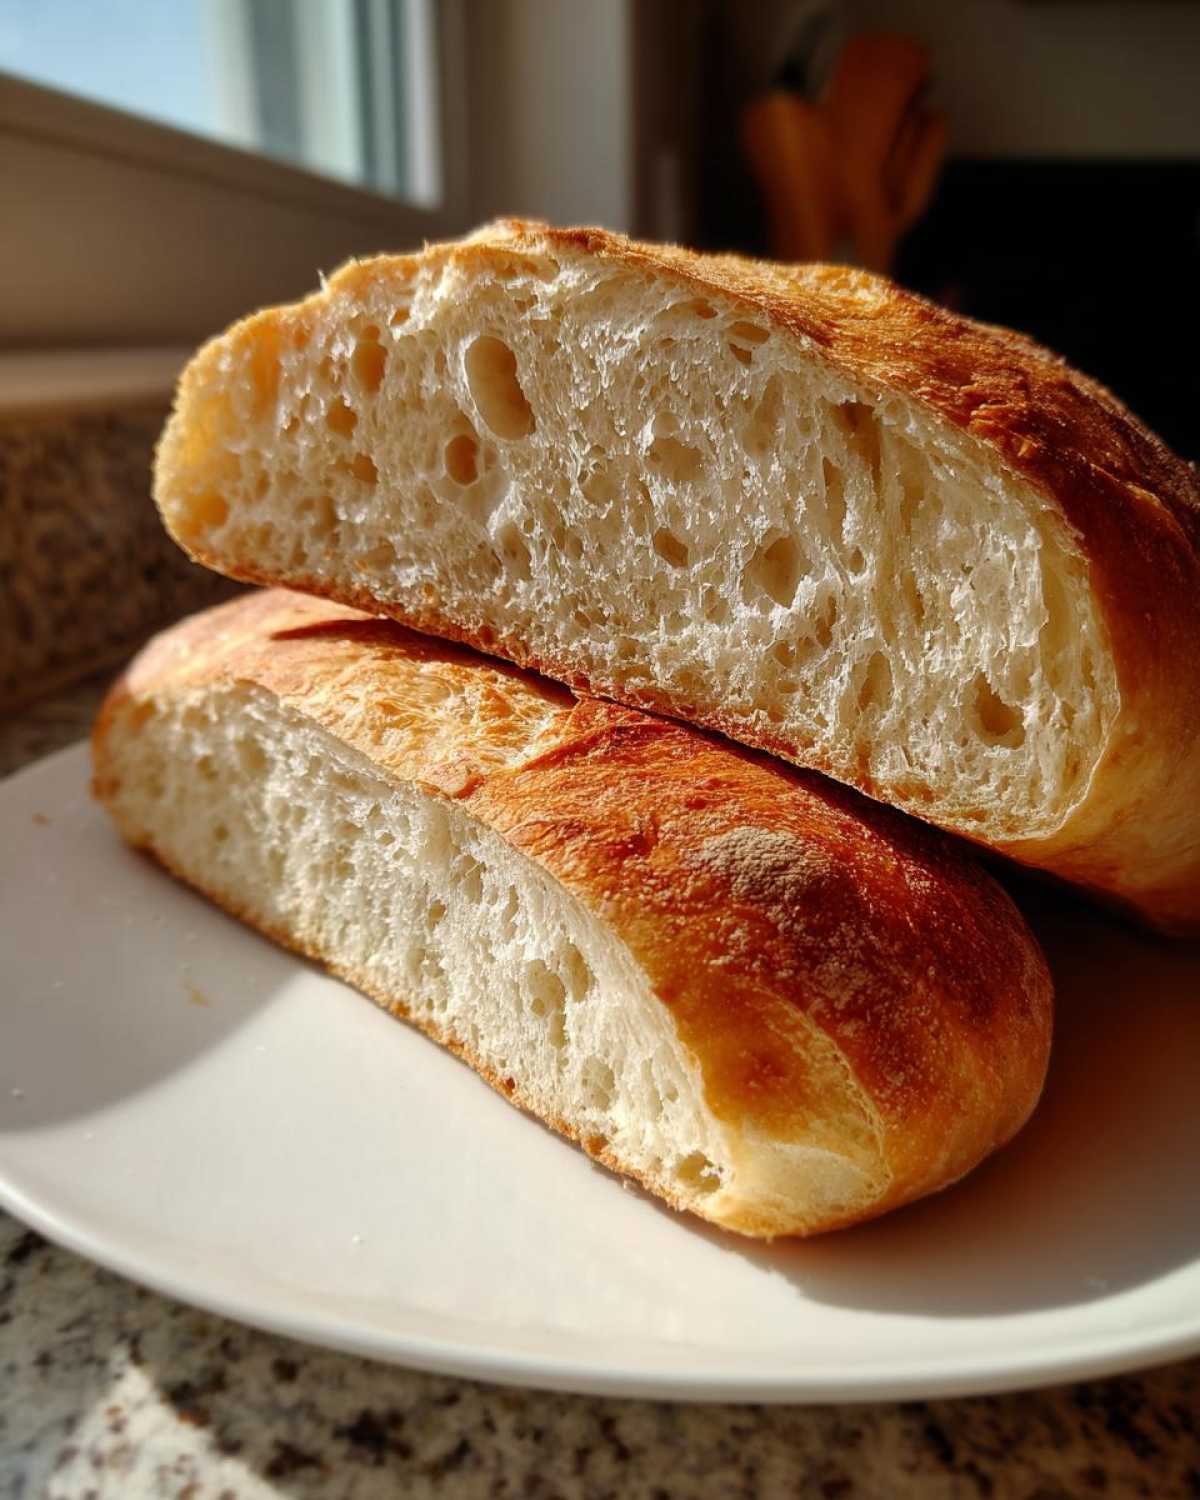
The magic here is balancing the crust and the crumb. We aren’t going for that super tough artisan loaf you need a saw to cut! We want that wonderfully soft interior, that Soft French Bread at Home texture everyone loves. The way we handle the shaping and the steam in the oven ensures you get a beautiful, thin, crisp shell protecting a totally fluffy center. It’s the best of both worlds.
Quick French Bread Recipe Timeline
Time is everything when you need bread for dinner tonight! This is absolutely a Quick French Bread Recipe. While you do have about an hour and a half total with the rising times, most of that is hands-off waiting time. You are actively working for maybe twenty minutes total. That means you can start this recipe after work and still have warm slices on the table before dessert!
Ingredients for Your Homemade French Bread Recipe
When you’re making a Homemade French Bread Recipe like this one, the list is beautifully simple, which is exactly what I love! We’re not using anything fancy here; just pantry staples that combine to make something magical. You’ll need about three cups of all-purpose flour, one teaspoon of salt, one full packet of active dry yeast—make sure it’s active dry so you can see that foam!—one and a quarter cups of warm water, and just a tablespoon of sugar to feed that yeast. Oh, and keep one egg white plus a tiny splash of water nearby for that beautiful golden wash before baking.
Ingredient Notes and Substitutions for French Bread
Let’s talk water temperature for a second because this is where beginners sometimes run into trouble with yeast. You don’t want it scalding hot, or you’ll kill your yeast before it even starts working! Aim for that sweet spot between 105°F to 115°F. If you don’t have a thermometer, just test it on your wrist—it should feel pleasantly warm, not hot. Noah sometimes swaps in bread flour instead of all-purpose, which gives you a slightly chewier experience, but the AP flour keeps that fluffy interior we are after. Don’t substitute the active dry yeast for instant unless you adjust the water amounts; sticking to the written instructions is the easiest path for your first time!
Step-by-Step Instructions for Making French Bread
Okay, this is where the real fun starts! Getting the technique right for this Simple Yeast Bread is what separates a good loaf from the one that makes everyone ask for the recipe immediately. Always follow these steps in order, and remember, the dough will tell you what it needs if you just take a minute to feel it!
Activating Yeast and Mixing the Dough for Soft French Bread
First things first, we activate the yeast. In your big bowl, dissolve that sugar into the warm water we talked about—remember, pleasantly warm, not hot!—and then sprinkle the yeast on top. Wait about five to ten minutes until it gets foamy and bubbly. If it doesn’t foam, well, you start over with fresh yeast because that means your water was too hot or the yeast was old. Once it’s bubbly, toss in the flour and salt and mix it up with a sturdy wooden spoon until you have a messy ball of dough that’s shaggy.
First Rise and Shaping Your Fluffy Loaf Recipe
Now for kneading! Dump that shaggy dough onto a lightly floured counter and work it. You need to knead this for a solid 8 to 10 minutes. Noah always tells me, “Keep going until it feels like a baby’s bottom—smooth and slightly tacky.” That’s the secret to that incredible rise later. Once it’s smooth, stick it in an oiled bowl, cover it loosely, and let it hang out somewhere warm for 60 to 90 minutes until it doubles. Gently punch it down once it’s puffed up, divide it into two equal pieces, and shape them loosely into those classic loaf shapes. They need a short rest for this Fluffy Loaf Recipe, so let them sit covered for another 30 minutes.
Creating the Bakery Style Bread Crust with Steam
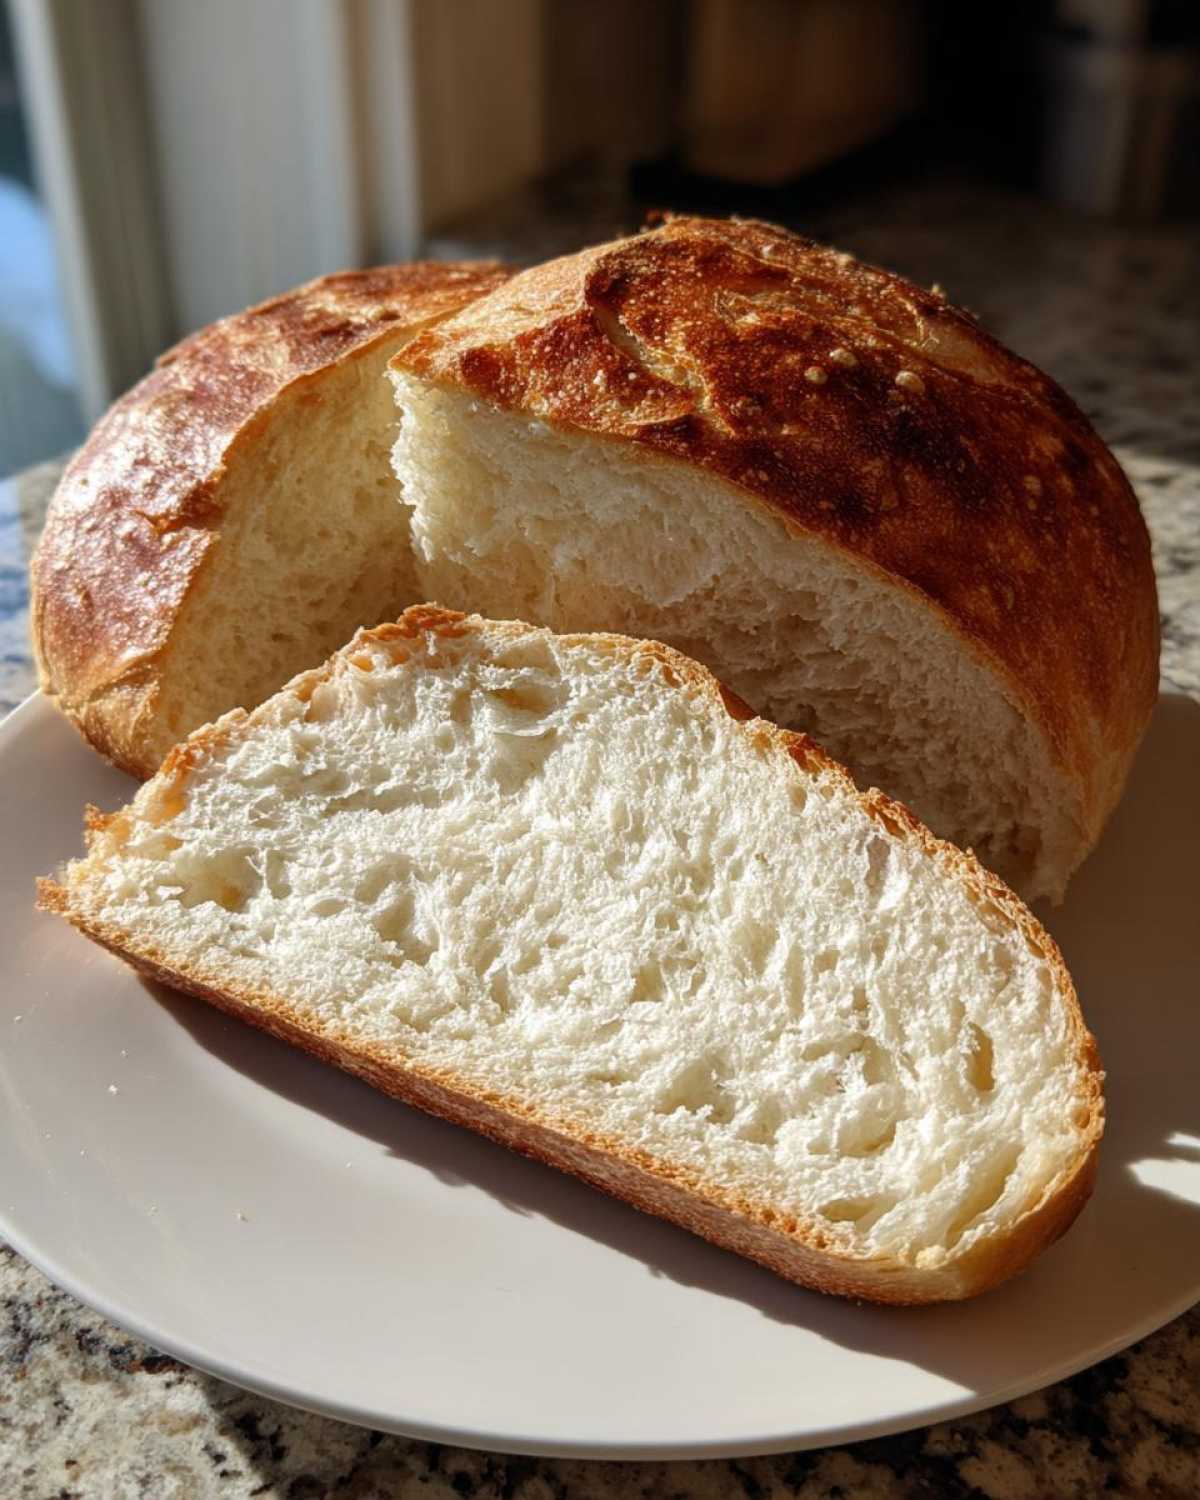
While the loaves are resting for their second puff, crank your oven up to 400°F (200°C). If you have a baking stone, toss that in now so it gets screaming hot! Right before the bread goes in, mix that egg white with one teaspoon of water and brush it over the tops—this helps with color. Then, take a super sharp knife and make three nice diagonal slashes on each loaf. This is key for that Bakery Style Bread look! The final trick for the exterior? Have a shallow pan ready on the bottom rack. When you slide your bread in, quickly pour about half a cup of hot water into that pan. That burst of steam is what makes your crust shatter beautifully. Bake for 20 to 25 minutes until they sound hollow when tapped. Once they are out, put them right on a cooling rack. If you want to check out where we talk more about our favorite baking experiments, you can look at our recent posts on the Spoon Swirl Blog!
Tips for Baking Homemade Bread That Tastes Bakery Style Bread
You’ve got a smooth loaf, you’ve baked it golden brown, but now we need to lock in that professional finish. Achieving that true Crusty Exterior Bread feel after it cools sounds hard, but it just takes a couple of extra little steps. These are the Baking Homemade Bread Tips that Noah insisted on testing thousands of times until we got it perfect every single time. Seriously, these small differences make the loaf feel like it came straight from a real French bakery window.
Baking Homemade Bread Tips for a Tender Crumb Bread
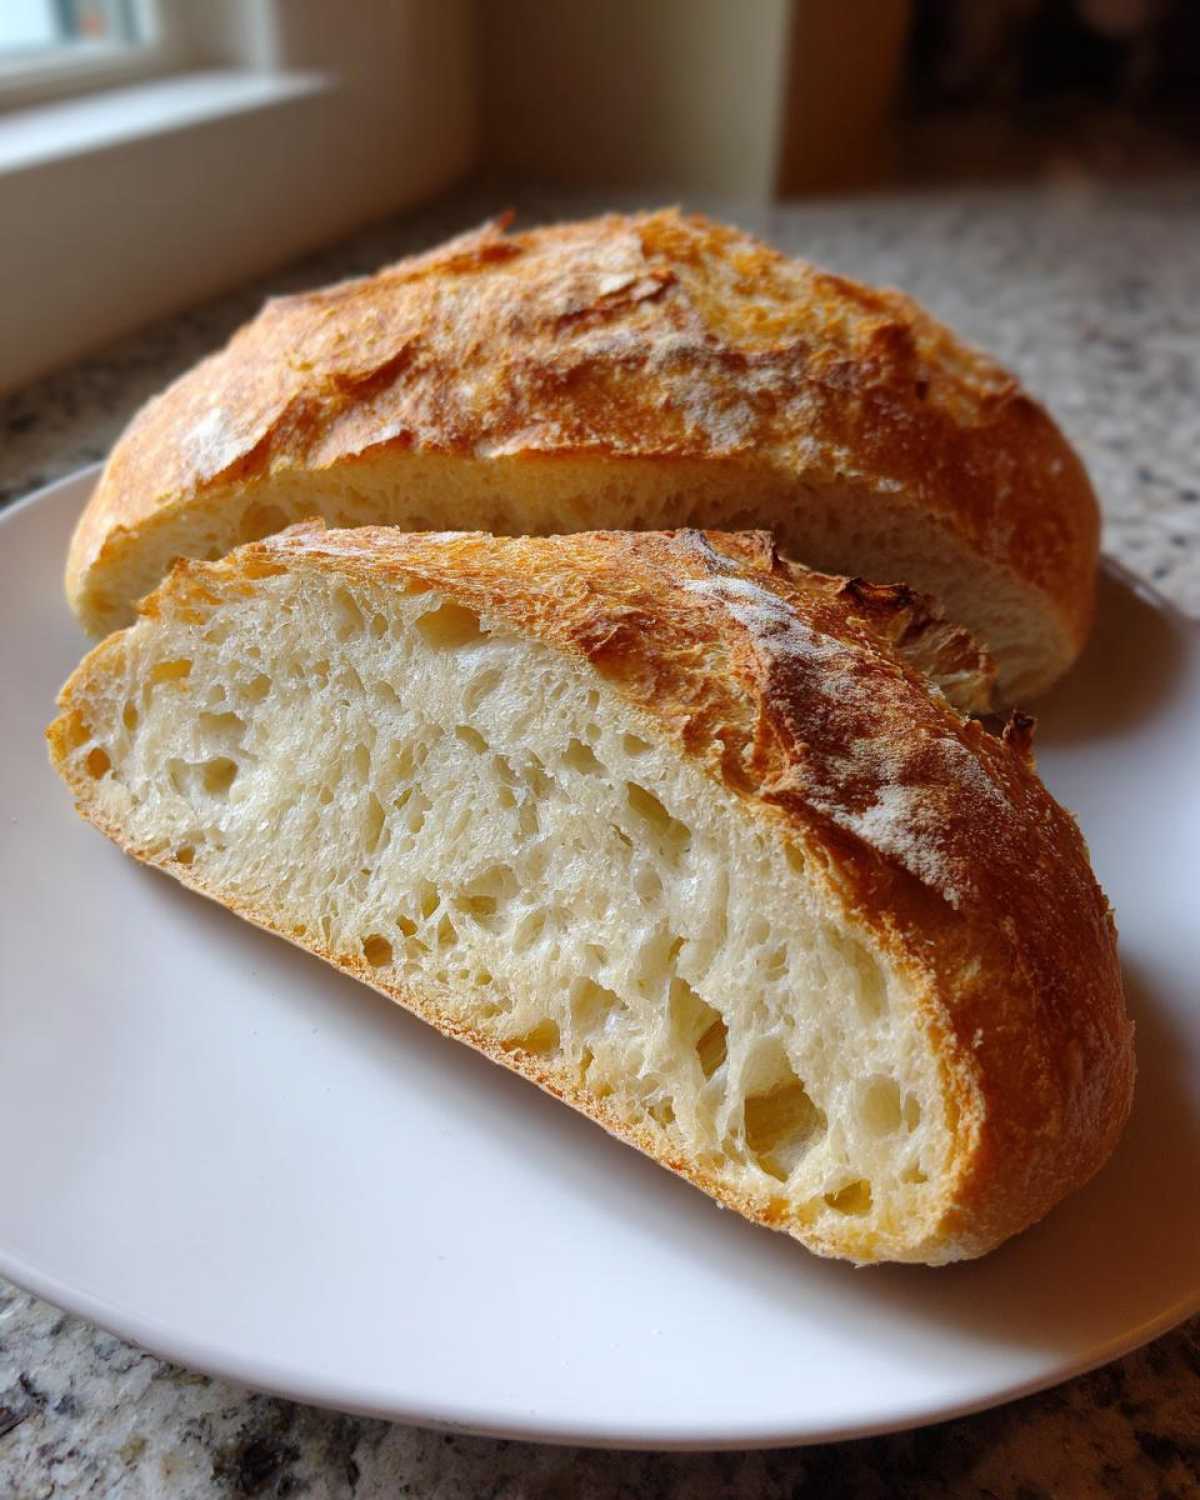
The secret to that heavenly interior—that Tender Crumb Bread texture—starts before the oven. If you under-knead, the gluten structure won’t develop, and your loaf will feel dense and heavy, no matter how long you let it rise. Conversely, if you punch the dough down too roughly after the first rise, you knock all that precious air out. Be gentle! Think of it like tucking a baby in for a nap, not waking up a grumpy teenager. A proper, gentle second rise ensures that when the dough hits the heat, it expands beautifully, creating those open little air pockets that make the bread soft inside but firm enough to hold up to butter or dipping!
If you want to see another fantastic recipe that prioritizes speed while still offering great results, check out this one for quick baking inspiration: Easy 2-Hour French Bread Recipe.
Serving Suggestions for Your Easy French Bread
Now that you have two absolutely perfect loaves of French bread cooling on the rack, you might just want to tear into them right away, and honestly, I support that completely! But these loaves are so versatile, they deserve a starring role in your next meal. They are hands-down the perfect Dinner Side Bread. Just slicing one open while it’s still warm and slathering it with soft butter is a meal in itself, especially when paired with a hearty bowl of chili or soup.
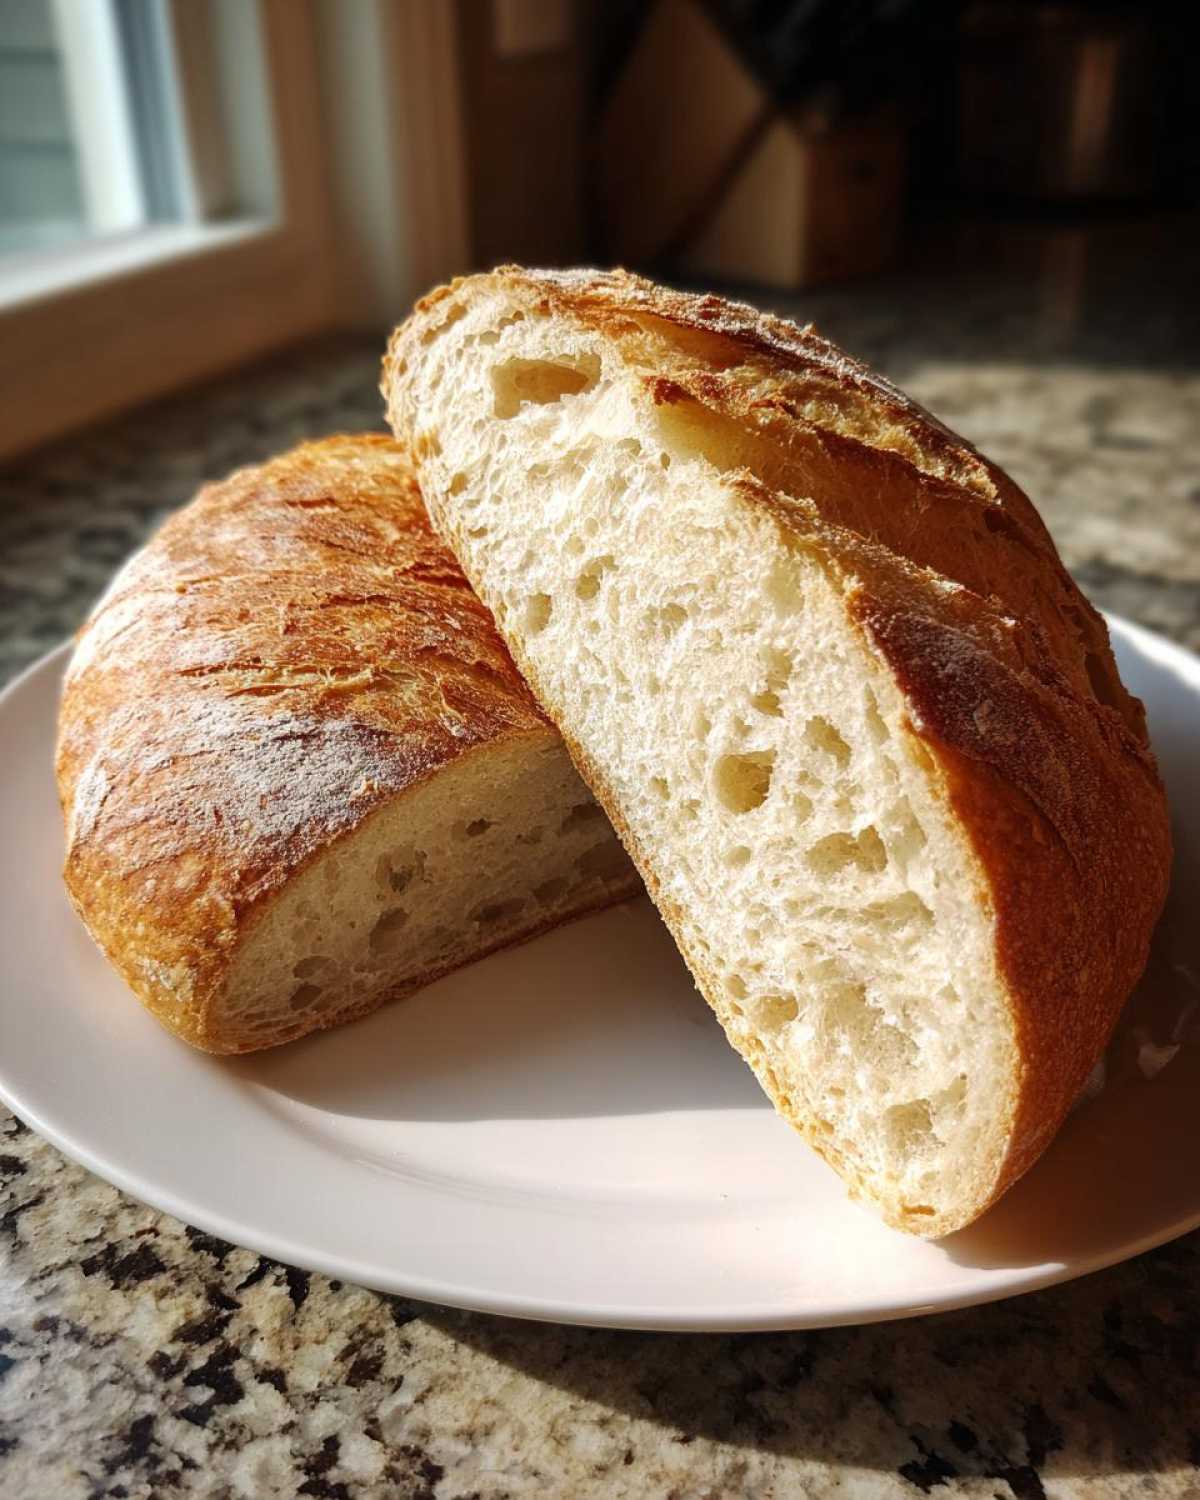
And trust me on this, you absolutely have to try making a Bread for Sandwiches out of these. The soft interior holds up wonderfully to fillings without getting soggy too fast. Whether you’re making Italian subs or just a simple ham and cheese, this homemade loaf elevates it instantly. For a fun, flavorful change, try dipping slices into some garlic butter after a quick toast—you won’t regret it! If you want a really decadent pairing idea, check out how we use bread in our Garlic and Parsley Crab Leg Bake for a truly special night.
Storage and Reheating Instructions for French Bread
Okay, so this is the hard part: trying not to eat both loaves in one sitting! If you somehow manage to have leftovers, you have to store them right to keep that lovely combination of crust and crumb going. Don’t keep your French bread in the fridge; it just makes it stale faster, which is the worst experience. Keep it on the counter, loosely wrapped in a paper bag or a clean kitchen towel. The paper bag helps keep the crust from getting totally soft overnight.
If they are a day old, don’t fret about reheating! Just spritz the loaf lightly with a little water—just a fine mist, don’t soak it—and wrap it tightly in foil. Pop that foil-wrapped bread into a 350°F oven for about 10 minutes. That steam trapped inside by the foil will wake up the crumb, and when you unwrap it and let it sit for two minutes, the crust crisps right back up. It’s like magic, honestly. You’ll have fresh-tasting bread again!
Frequently Asked Questions About Making French Bread
I get so many messages asking about adjustments, time, and texture, so I gathered up the most common ones right here! Isn’t it great how this recipe is so flexible while still sticking to our core goal of soft, crusty deliciousness? Don’t worry if your first attempt isn’t magazine-perfect; baking bread is all about practice and learning to trust your hands.
Can I make this a One Hour Bread Recipe?
That’s a super common question since you hear about those very quick recipes out there! You absolutely *could* rush this French bread, especially if you give your dough a warmer spot to rise, but honestly, I wouldn’t recommend it if you’re chasing that soft, fluffy texture we love. The main reason this recipe takes just shy of two hours is that second, shorter rise. That rest period lets the gluten completely relax after shaping, which helps give you that beautiful, airy interior. Rushing it usually results in a tighter crumb.
How do I make my Homemade French Bread Recipe crustier?
The steam during baking is your secret weapon for getting a truly Crusty Artisan Bread finish! Remember how I mentioned pouring hot water into a pan on the bottom rack just as you slide the loaves in? Keep doing that—it creates steam, which keeps the surface moist initially so the loaf can fully expand before the crust sets hard. If you want an extra little boost for a crispier exterior, try brushing the tops of the loaves with a little plain water right before they go into the oven, too. That thin water layer evaporates quickly, hardening the surface.
What if I want to make a Baguette Recipe Easy version?
Good news! The shaping instructions we went over—where you divide the dough and gently roll it into an even log—is essentially the technique for making a slightly smaller, easier-to-handle Baguette Recipe Easy loaf right in your home oven. Since we aren’t using a special baguette pan, just make sure your loaves are long and somewhat tapered on the ends. The diagonal slashes help control where the bread breaks open, just like in a traditional baguette. It’s the same dough, just a different, wonderfully rustic shape!
Estimated Nutrition for This French Bread
I know, I know, when you’re baking up a big, beautiful loaf of French bread, you’re probably not thinking about the macros! But since we are talking about being an informed baker, here’s a fun little breakdown. Remember, this is just an estimate based on the basic ingredients we used here. Noah, being the technical guy, ran the numbers based on dividing the totals across 24 slices total (12 per loaf). Don’t treat this as a hard science, but gives you a general idea!
- Serving Size: 1 slice
- Calories: 150
- Fat: 1g
- Saturated Fat: 0g
- Carbohydrates: 31g
- Protein: 4g
- Sugar: 1g
- Fiber: 1g
- Sodium: 250mg
I always tell people, any low number here is generally because the loaf is so light and airy thanks to our rising technique! It’s not like we are adding tons of butter or oil to the actual dough itself—most of the goodness comes from the flour and yeast working hard. If you’re making this into giant, thick Bread for Sandwiches slices, just remember to adjust how many slices you count for your daily total! This is just a helpful guide for eating this wonderful Homemade French Bread Recipe responsibly.
Share Your Soft Fluffy French Bread Creations
Now that you have your own warm, crusty loaves of French bread cooling, we would absolutely *love* to see what you’ve made! Seriously, seeing your results—whether you got a picture-perfect golden crust or maybe a slightly wonky but delicious loaf—is the absolute best part of our day. It makes all those hours Noah spent perfecting the dough totally worth it.
Please, if you loved this Easy French Bread recipe, come back and leave a star rating right below the recipe card. It helps other home bakers know that this recipe is trustworthy, and we always read every single comment you leave! If you snap a photo of your beautiful homemade creation, tag us on social media! We love compiling photos of our community’s wonderful Homemade Bread together; it’s like having a giant virtual potluck.
Remember how this whole thing started with one quiet gesture from Noah? Sharing your triumphs, even the small ones, is what keeps this kitchen feeling like a warm, happy place. If you have any questions about the rise time or tweaking the steam for that perfect crust, don’t hesitate to reach out to us directly through our Contact page! We are always here to cheer you on as you move from beginner to baking like a pro!
PrintEasy Homemade French Bread Recipe for Soft and Crusty Loaves
You can make amazing, truly soft fluffy French bread at home with simple ingredients. This easy step-by-step recipe delivers bakery-style loaves perfect for dinner or sandwiches, ready in under two hours.
- Prep Time: 20 min
- Cook Time: 25 min
- Total Time: 1 hour 55 min
- Yield: 2 loaves
- Category: Baking
- Method: Baking
- Cuisine: French
- Diet: Vegetarian
Ingredients
- 3 cups all-purpose flour
- 1 teaspoon salt
- 1 packet (2 1/4 teaspoons) active dry yeast
- 1 1/4 cups warm water (about 105-115°F)
- 1 tablespoon sugar
- 1 egg white, lightly beaten (for wash)
- 1 teaspoon water (for wash)
Instructions
- In a large bowl, dissolve the yeast and sugar in the warm water. Let this mixture sit for 5 to 10 minutes until it becomes foamy. This shows the yeast is active.
- Add the flour and salt to the yeast mixture. Mix with a wooden spoon until a shaggy dough forms.
- Turn the dough out onto a lightly floured surface. Knead for about 8 to 10 minutes until the dough is smooth and elastic. You are looking for a soft, slightly tacky dough.
- Place the dough in a lightly oiled bowl, turning it once to coat. Cover the bowl with plastic wrap or a clean kitchen towel. Let the dough rise in a warm place for 60 to 90 minutes, or until it has doubled in size.
- Gently punch down the risen dough. Divide it into two equal pieces. Shape each piece into a long, even loaf, similar to a baguette shape.
- Place the shaped loaves on a baking sheet lined with parchment paper, leaving space between them. Cover loosely and let them rest for a second rise for 30 minutes.
- Preheat your oven to 400°F (200°C). If you have a baking stone, place it in the oven while preheating for a better crust.
- Mix the egg white and 1 teaspoon of water to create the egg wash. Brush the tops of the loaves lightly with the wash.
- Using a sharp knife or razor blade, make three diagonal slashes across the top of each loaf.
- Bake for 20 to 25 minutes, or until the crust is golden brown and the bread sounds hollow when tapped on the bottom.
- Remove the loaves from the oven and transfer them to a wire rack to cool completely before slicing. Enjoy your homemade French bread!
Notes
- For a crispier crust, place a shallow pan on the bottom rack while preheating and pour 1/2 cup of hot water into it just as you place the bread in the oven to create steam.
- If you want a quicker result, look for a one hour French bread recipe, but this slightly longer rise time helps achieve a softer, fluffier interior crumb.
- This tender crumb bread is perfect for making sandwiches or serving alongside soup for dinner.
Nutrition
- Serving Size: 1 slice
- Calories: 150
- Sugar: 1
- Sodium: 250
- Fat: 1
- Saturated Fat: 0
- Unsaturated Fat: 1
- Trans Fat: 0
- Carbohydrates: 31
- Fiber: 1
- Protein: 4
- Cholesterol: 0