

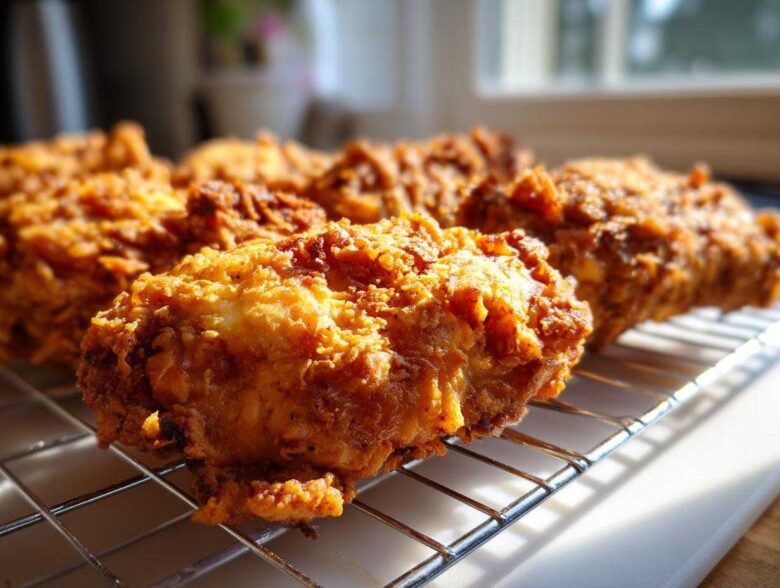
Oh, my heart! If you are anything like me, after a long week, nothing hits the spot quite like that perfect, savory comfort food, right? For Noah and me, that means achieving the absolute pinnacle of homemade fried chicken. We spent so much time tweaking this recipe because a good piece of chicken isn’t just dinner—it’s a little bit of magic wrapped in crunch.
I’m so excited to share my Spoon Swirl journey to the best Ultra-Crispy Buttermilk Southern Fried Chicken. We aren’t messing around here; we are talking about meat that stays juicy for days inside a crust that shatters when you bite into it. Trust me, once you see how easy the brine is, you’ll never look back. This recipe feels like a warm hug from the South itself!
Why This Buttermilk Southern Fried Chicken Recipe Works
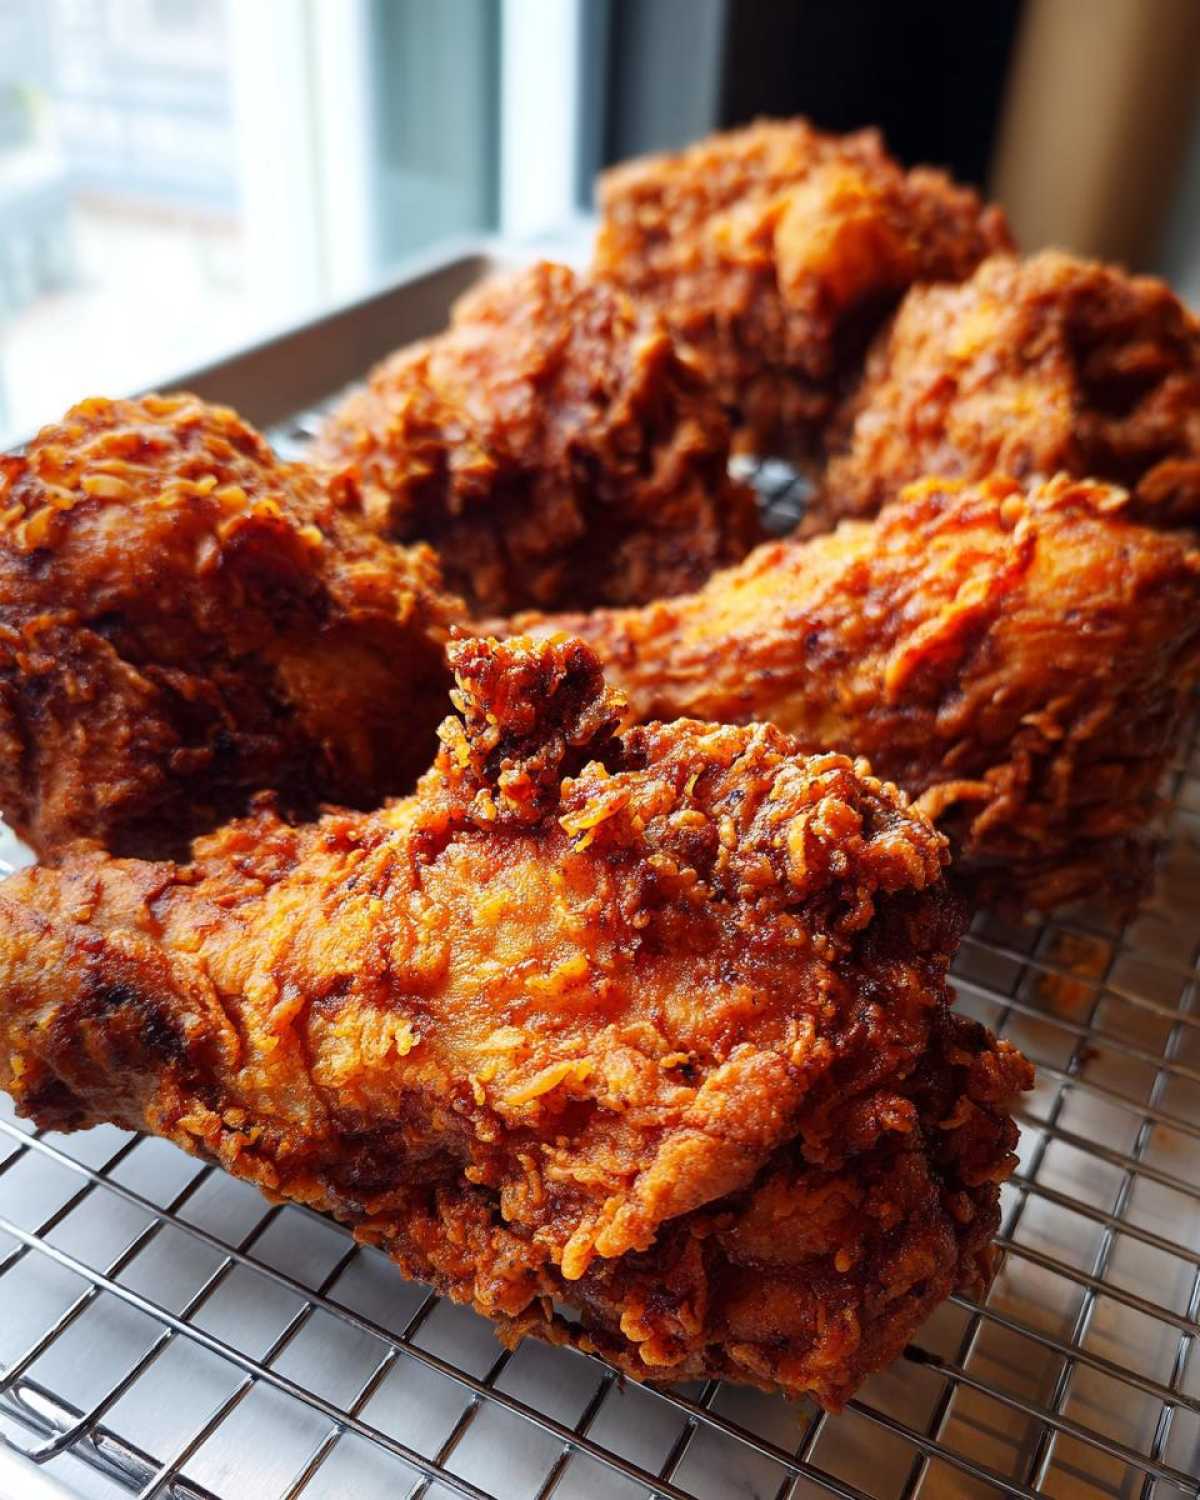
Okay, listen, the reason this is my go-to recipe for juicy and crispy chicken isn’t random luck; it’s pure science mixed with a little bit of Southern know-how! We unlock the tenderness with that magical buttermilk brine. That lactic acid tenderizes the meat beautifully, making sure everything stays incredibly moist no matter how long it fries.
Then we move to the coating. That wonderful, bumpy, crunchy chicken coating? That’s thanks to the cornstarch mixed right into our flour. It helps absorb moisture from the buttermilk residue but cooks up hard and shatteringly crisp around the chicken. It’s the perfect marriage of tenderness inside and crunch outside.
The Secret to Ultra-Crispy Fried Chicken
If you want true, deep-fried texture that lasts, you have to try the double dip. After your first coat of seasoned flour, take that floured piece and dip it *quickly* back into the leftover buttermilk—just a quick splash—then immediately back into the flour again. Press that final layer on firmly. This creates those fantastic craggy little peaks that turn into pure golden crunch when they hit the hot oil. Most people skip this step, but it’s non-negotiable for me!
Gathering Ingredients for Classic Fried Chicken
Alright, let’s get our gear ready for this amazing fried chicken! Since we’re aiming for comfort food perfection, no substitutes on the main players. You’ll need about four pounds of bone-in, skin-on chicken pieces—thighs and drumsticks are my favorites because they stay juicy so well. Make sure you have plenty of buttermilk for the magic soak, four cups of all-purpose flour, and that crucial half-cup of cornstarch to help that coating stay crisp.
I always keep the salt, pepper, and a tiny bit of cayenne reserved for that initial buttermilk brine. Everything else, like paprika and garlic powder, goes straight into the flour dredge to build flavor right onto the crust!
Ingredient Notes and Substitutions for Perfect Fried Chicken
When it comes to the fry fat, please, skip the olive oil! We need something neutral that can handle high heat, so stick with vegetable oil or shortening. They give you that beautiful, stable temperature we talked about earlier. Chicken thighs are the MVP here—they just forgive you if you leave them in for an extra minute. If you use breasts, just keep a close eye on them so they don’t dry out!
How To Make Fried Chicken: Step-by-Step Instructions
Now for the fun part! Getting that golden, crispy exterior and perfectly cooked inside takes a steady hand, but it’s totally achievable, I promise. If you have a cast iron skillet, pull it out now! Noah insists that his cast iron skillet holds the heat so much better, giving us that true, authentic texture we are aiming for with this fried chicken.
Brining the Chicken for Maximum Juiciness
First things first, we need to wake up those chicken pieces with the buttermilk mixture. Combine the buttermilk, salt, pepper, and cayenne in a big bowl or a sturdy zipper bag. Dunk your four pounds of chicken in there until it’s completely covered. This soak is the magic ticket for juicy and crispy chicken later on. You absolutely must let this sit for a minimum of four hours in the fridge. If you can wait, do it overnight! That long soak makes all the difference in preventing dry spots.
Achieving the Golden Brown Chicken Coating
While the chicken is chilling, whisk together all your flour and seasonings really well. Once the brine time finishes, pull the chicken out, letting what milk drips off, but don’t rinse it—we need that wet surface! Dredge each piece thoroughly in the flour mixture. Here’s where you press hard! Make sure that flour sticks everywhere so we get a substantial fried chicken crust. Remember my secret? If you want that craggy, extra-crunchy shield, do that quick second dip back into the buttermilk and immediately re-coat it in the flour mixture, pressing again.
Frying Technique for Foolproof Fried Chicken
Heat up your oil in that cast iron skillet to a happy 325°F. You *must* use a thermometer here; guessing is how you end up with greasy, sad chicken. Only drop 3 or 4 pieces in at a time—do not overcrowd the pot! If the oil temperature drops too low, the crust gets heavy. Drumsticks and thighs usually take about 12 to 15 minutes total, flipping them halfway through. To make sure your foolproof fried chicken is done safely, check the thickest part with a thermometer; it needs to hit 165°F internally. Once they are beautifully golden brown, pull them out onto a wire rack. Seriously, use a rack, not paper towels!
Tips for the Best Homemade Fried Chicken Every Time
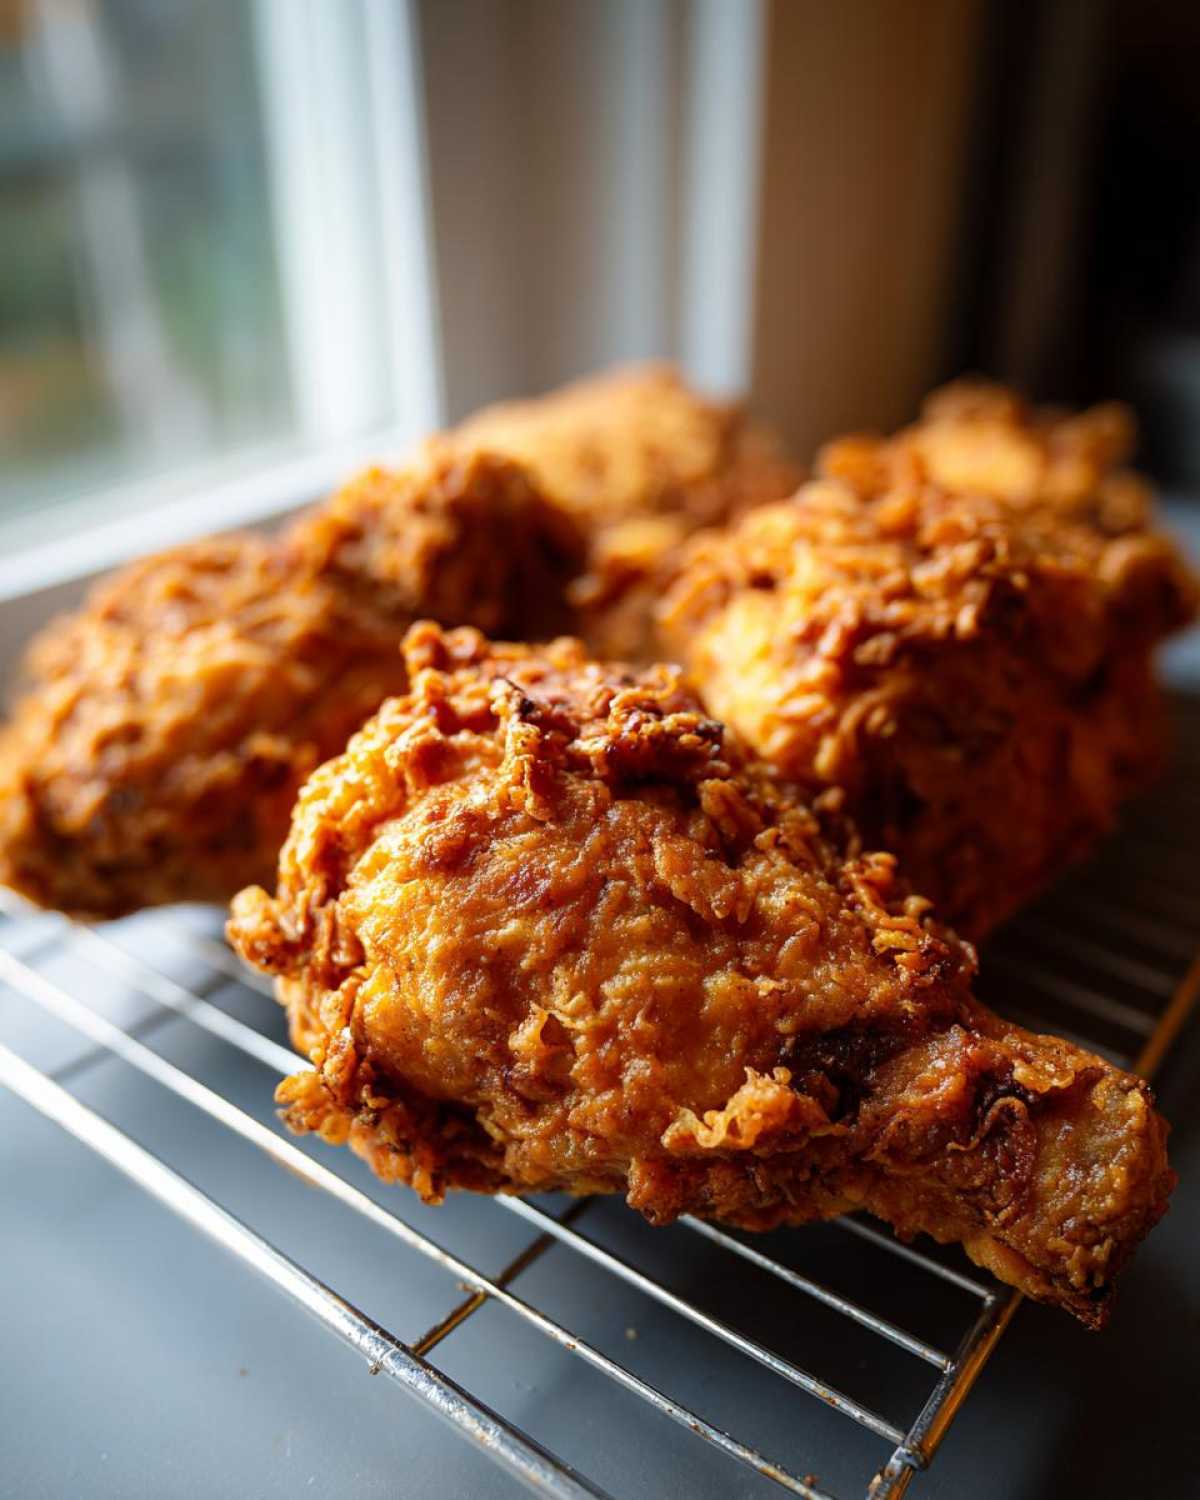
Even with the best recipe, things can go sideways when you’re frying, I know! That’s why I always keep three things in mind to guarantee this is foolproof fried chicken and never ends up greasy. We want that golden, shatteringly crisp exterior on our fried chicken, not heavy, oil-logged meat.
The biggest mistake I see people make is letting the oil temperature wander off. If you’re frying too many pieces at once, the temperature plummets, and suddenly, you’re boiling the meat instead of frying it. That’s when the crust gets soggy and heavy!
Maintaining Consistent Oil Temperature
Seriously, get yourself a good clip-on thermometer. This isn’t the time for guesswork! If the oil dips below 315°F, the crust pretty much dissolves into the oil, soaking up excess grease. That makes for heavy chicken, and honestly, it just breaks my heart a little bit.
On the flip side, if it gets too hot—say, over 350°F—the outside is going to look perfectly golden brown in five minutes, but the inside bone-in pieces will still be raw and pink. Ugh, we want perfectly cooked food! Stick to that 325°F mark, fry in small, uncrowded batches, and your coating will stay crisp and your meat will stay juicy every single time.
Serving Suggestions for Your Savory Chicken Dinner Ideas
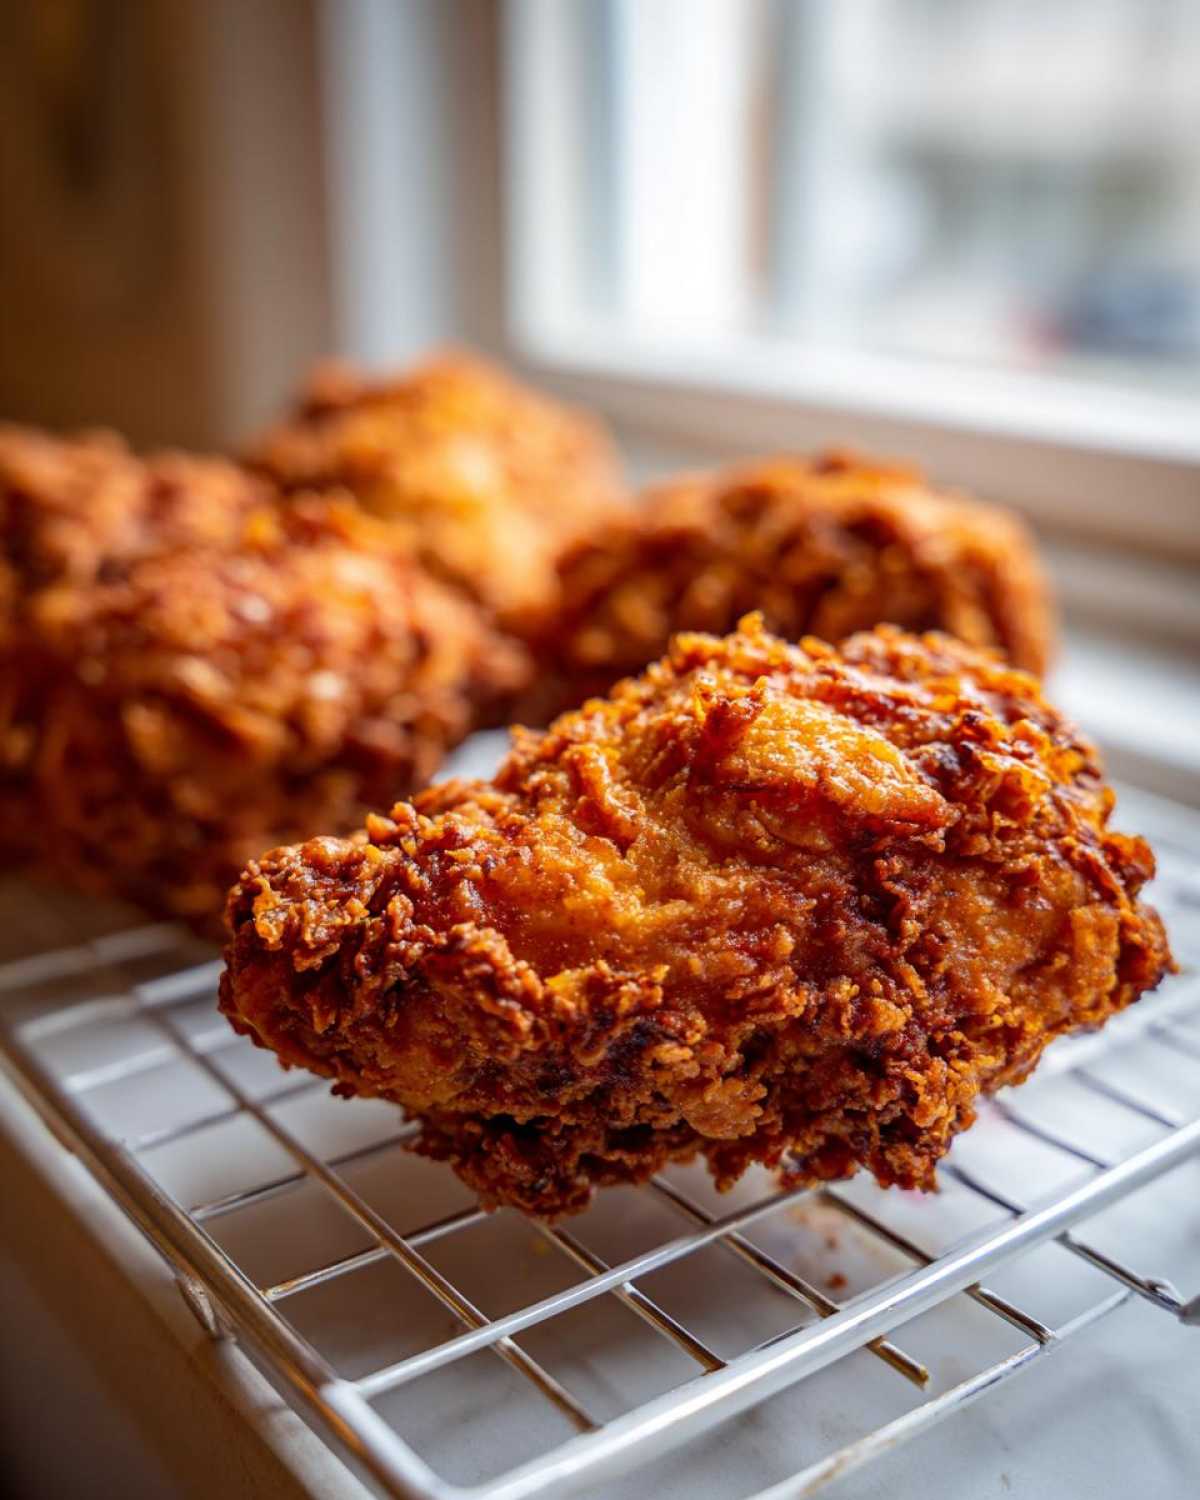
You’ve just made the most incredible fried chicken; you can’t stop at just meat now! This deserves a proper feast, right? This dish is the centerpiece of any easy fried chicken dinner.
Personally, I think the richness of the chicken begs for something bright and cool on the side. You absolutely must have creamy mashed potatoes to soak up any little drippings—but don’t forget those greens!
For a real Southern spread, try serving it alongside crunchy coleslaw and some warm biscuits. Oh, and if you want to knock your guests’ socks off, I use a recipe for a Seven-Layer Dip that features pimento cheese on the bottom. It’s unexpected, savory, and unbelievably good next to that crunchy coating. Absolute perfection!
Storage and Reheating Instructions for Leftover Fried Chicken
If you even have leftovers—which is a miracle in my house after making this fried chicken—you need to store it correctly. The enemy of crispiness is steam! Never put it straight into a container while it’s still warm. Let it cool completely, then store the pieces loosely layered on a paper towel, but honestly, using a wire rack set over a paper towel is even better until it’s totally room temperature.
When you are ready to eat that glorious fried chicken again, forget the microwave—it makes everything sad and soggy. The best way to bring that crunch back is either in a moderate oven (around 375°F) or in the air fryer until it heats through. That dry, steady heat crisps everything right back up beautifully!
Frequently Asked Questions About Making Fried Chicken
I always get so many questions after people try this recipe for the first time, especially when they are learning how to make fried chicken that rivals the restaurants! Don’t worry if something seems unclear; that’s why I’m here at Spoon Swirl to help you navigate every step. Here are the things I get asked most often about achieving that perfect classic fried chicken!
Can I make this Southern Fried Chicken in an Air Fryer?
Yes, you totally can adapt this! Since the air fryer relies on circulating hot air rather than deep fat, the texture will be different than our deep-fried masterpiece. You’ll still want to do the full buttermilk brine for juiciness. Instead of frying, spray the dredged chicken with a little oil and air fry at 380°F until golden and cooked through (check that temp!). It will be crispy, but it won’t have that thick, craggy, deep-fried coating we worked so hard for!
What if I don’t have buttermilk for my fried chicken brine?
Oh, this is an easy fix! If you’re out of buttermilk, just make a quick substitute! Take four cups of regular milk—whole milk is best—and stir in four tablespoons of white vinegar or lemon juice. Let that sit on the counter for about ten minutes until it curdles slightly. It mimics the acidity of buttermilk perfectly for marinating your chicken!
How long do I need to marinate the chicken for the best results?
While you can technically get away with coating and frying the chicken after just an hour of marinating, please try to give it longer! For the absolute best, most tender, and flavorful fried chicken, aim for at least four hours, but truly, overnight is what makes the stars align. The longer the meat soaks, the more tender and flavorful it becomes!
My coating keeps falling off! What am I doing wrong?
This is usually an oil temperature issue or a mixing issue! If the oil isn’t hot enough (below 325°F), the crust doesn’t set fast enough, and it just sloughs off while settling in the fryer. Also, make sure you are really pressing that flour mixture onto the chicken, almost massaging it in there, especially after that quick second dip if you try it!
If you have more questions about making your fried chicken or if you want to share your success story, please reach out through our contact page!
Nutritional Estimates for This Crispy Fried Chicken Recipe
Now, I know we aren’t making this batch of fried chicken for a health kick, right? It’s total comfort food! But for those of you who track things, here are the estimated numbers based on one piece, like a thigh. We are looking at around 450 calories and about 28 grams of fat.
Don’t forget, since we’re deep frying, the final numbers really depend on how much oil your final piece soaks up! For all the details on how we calculate these, you can check out the full breakdown on our disclaimer page. But trust me, it’s worth every delicious, crispy bite!
Share Your Spoon Swirl Comfort Food Chicken Creations
I am just so incredibly excited for you to try this recipe! Making this beautiful, crispy fried chicken honestly feels like a little ritual in our house. Once you’ve pulled that first batch off the rack, I really want to know everything!
Please come back and leave a rating below—did your crust shatter the way mine did? Did you manage to keep the oil temperature perfect? Snap a picture of your perfectly golden dinner and share it with our Spoon Swirl family! We love seeing your kitchen creations!
PrintUltra-Crispy Buttermilk Southern Fried Chicken
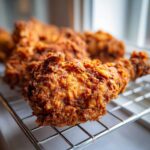
Achieve the best homemade fried chicken with this Southern recipe. You get juicy meat inside and an ultra-crispy, golden crust every time thanks to the buttermilk brine.
- Prep Time: 20 min
- Cook Time: 45 min
- Total Time: 4 hours 5 minutes (includes overnight brine)
- Yield: 4 servings
- Category: Dinner
- Method: Deep Frying
- Cuisine: Southern American
- Diet: Low Fat
Ingredients
- 4 lbs bone-in, skin-on chicken pieces (thighs, drumsticks, breasts)
- 4 cups buttermilk
- 2 tablespoons kosher salt
- 1 tablespoon black pepper
- 1 teaspoon cayenne pepper (optional, for a kick)
- 4 cups all-purpose flour
- 1/2 cup cornstarch
- 2 tablespoons paprika
- 1 tablespoon garlic powder
- 1 tablespoon onion powder
- Vegetable oil or shortening, for frying (about 4-6 cups)
Instructions
- Prepare the Brine: In a large bowl or resealable bag, combine the buttermilk, kosher salt, black pepper, and cayenne pepper. Add the chicken pieces, ensuring they are fully submerged. Cover and refrigerate for at least 4 hours, or preferably overnight, for the juiciest results.
- Prepare the Dredge: In a separate wide, shallow dish, whisk together the flour, cornstarch, paprika, garlic powder, and onion powder. This mixture creates the crunchy coating.
- Heat the Oil: Pour enough oil or shortening into a large, heavy-bottomed pot or Dutch oven to reach a depth of about 2 inches. Heat the oil to 325°F (160°C). Use a thermometer to monitor the temperature; maintaining this heat is key for crispy fried chicken.
- Coat the Chicken: Remove the chicken from the buttermilk, letting the excess drip off slightly, but do not rinse. Dredge each piece thoroughly in the flour mixture, pressing the flour onto the chicken to ensure a thick, craggy coating. For an extra crispy coating, you can perform a double dip: dip the floured chicken back into the remaining buttermilk briefly, then dredge again in the flour mixture.
- Fry the Chicken: Carefully place 3 to 4 pieces of chicken into the hot oil, ensuring you do not overcrowd the pot, which lowers the oil temperature. Fry chicken thighs and drumsticks for about 12-15 minutes, turning occasionally, until deep golden brown and cooked through (internal temperature of 165°F). Breast pieces may require slightly less time.
- Drain and Rest: Remove the cooked chicken from the oil using tongs and place it on a wire rack set over a baking sheet. Do not place it directly on paper towels, as this steams the bottom crust. Let the chicken rest for 5 minutes before serving.
- Repeat: Adjust the oil temperature back to 325°F before frying the next batch. Serve your classic fried chicken hot.
Notes
- For the best texture, use a cast iron skillet for frying; it holds heat well.
- If you want to make this a Chicken Fried Chicken variation, skip the buttermilk brine and instead pound thin chicken breasts, dredge, and serve immediately smothered in white gravy.
- Keep the oil temperature consistent. If it drops too low, the chicken absorbs too much oil and becomes greasy.
Nutrition
- Serving Size: 1 piece (thigh)
- Calories: 450
- Sugar: 3
- Sodium: 650
- Fat: 28
- Saturated Fat: 8
- Unsaturated Fat: 20
- Trans Fat: 0
- Carbohydrates: 18
- Fiber: 1
- Protein: 30
- Cholesterol: 110